5 Sep
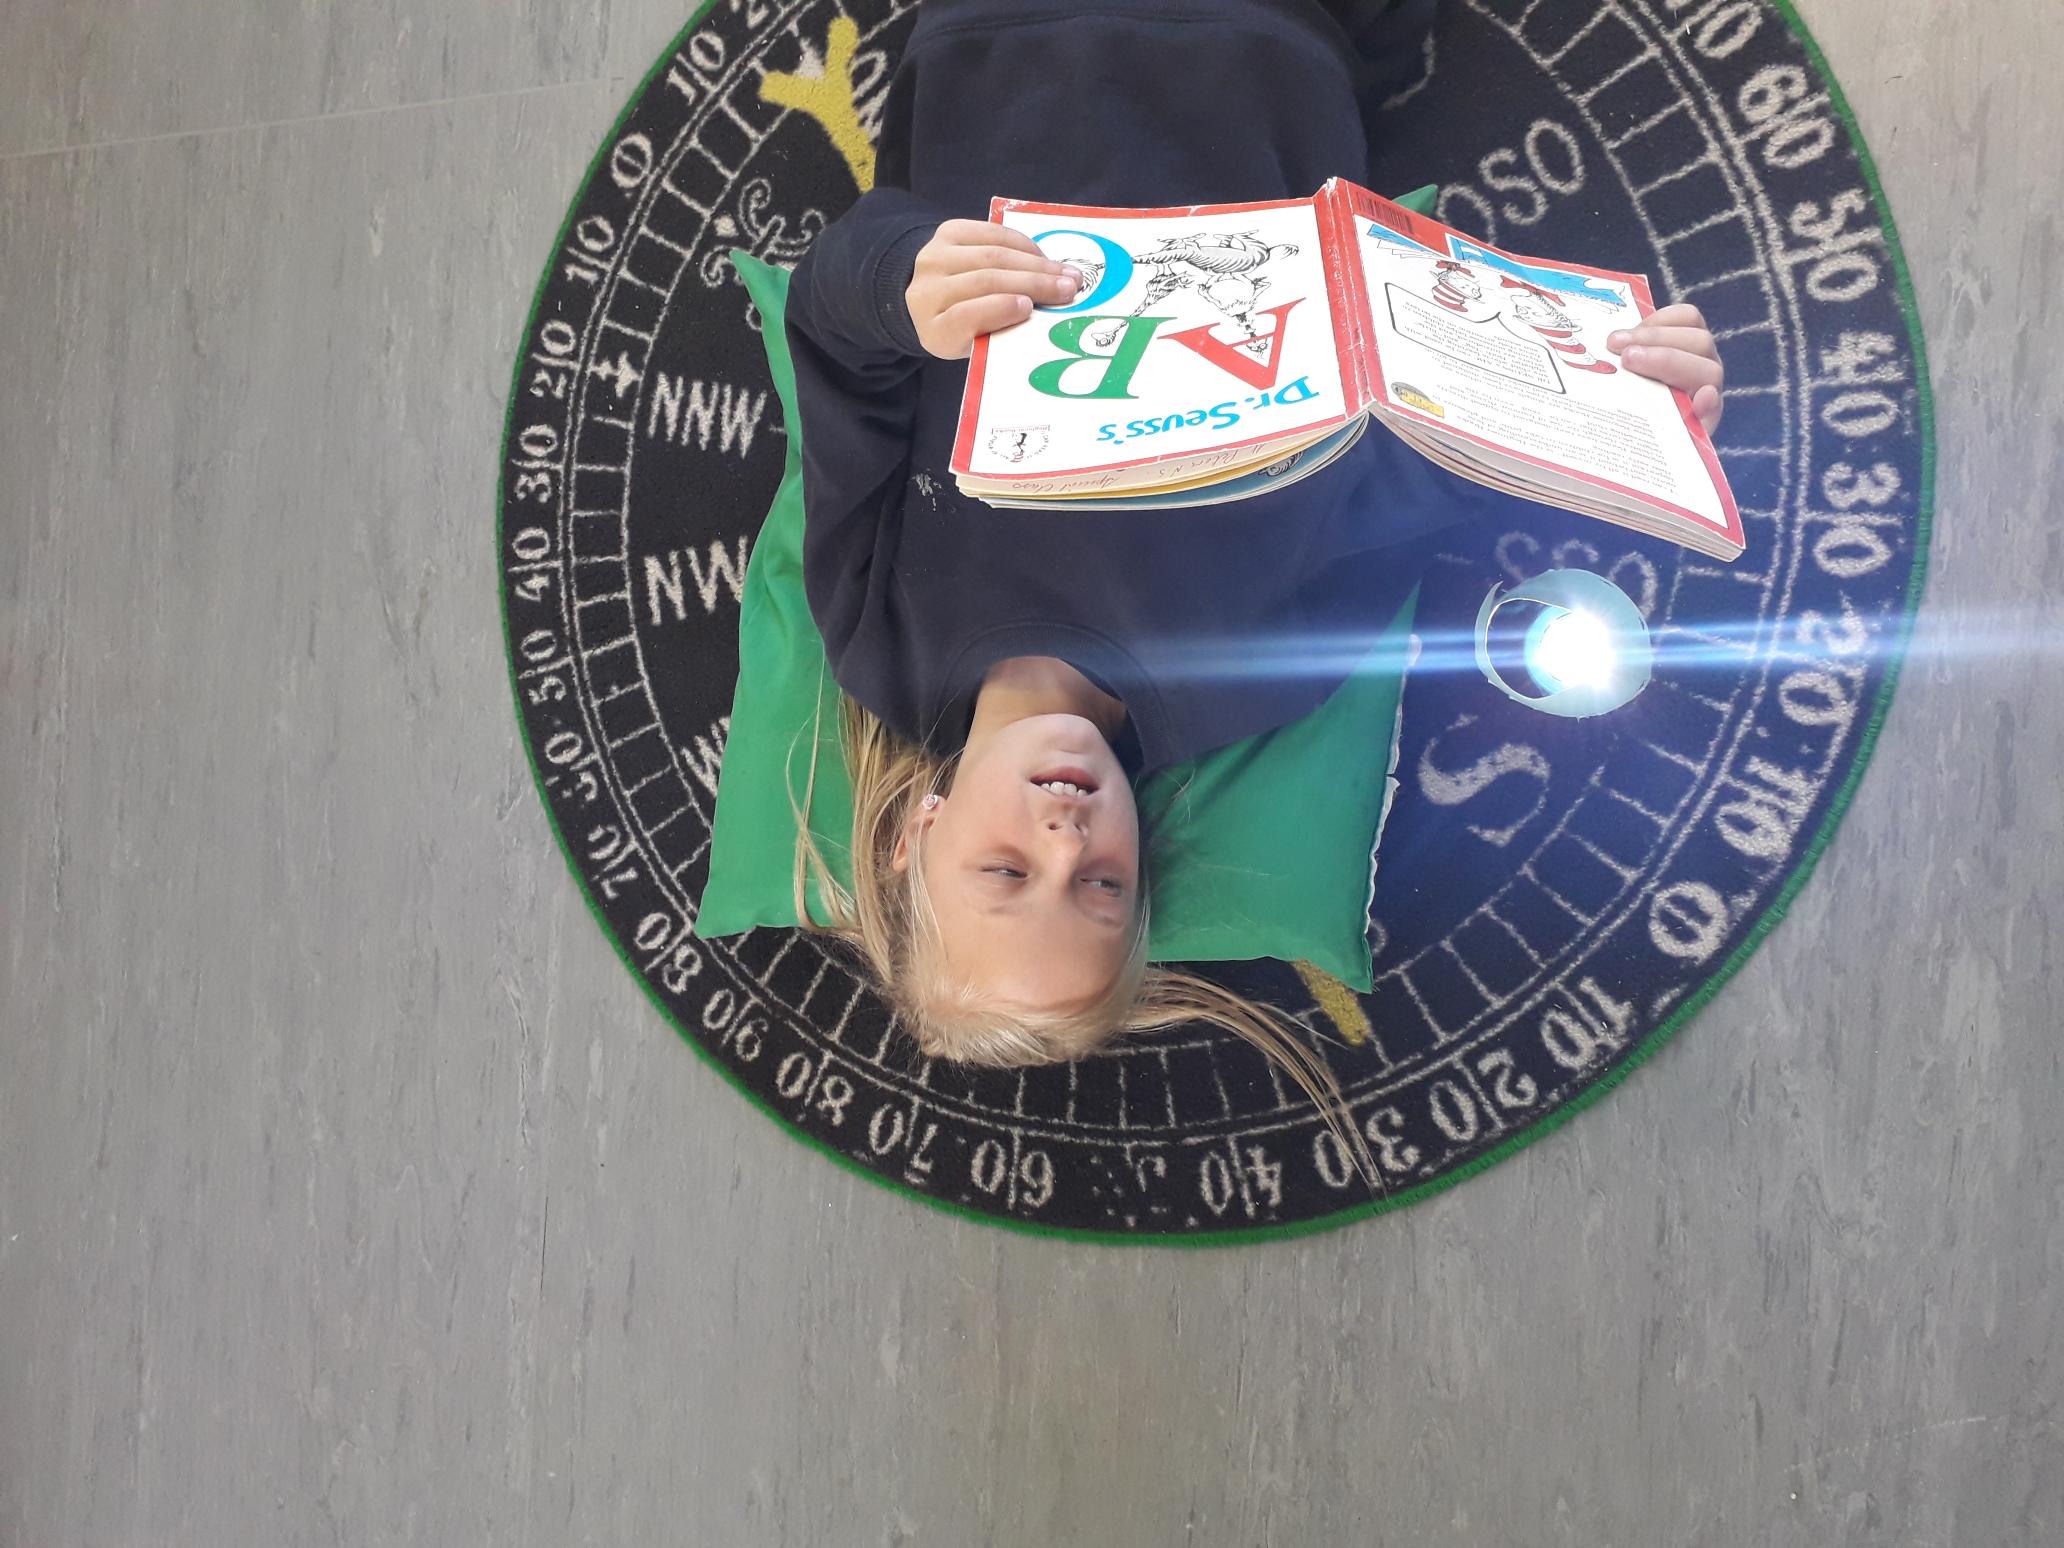
Senior infants showing what they can do during literacy stations! Great start to the new school year pic.twitter.com/uA2QT0zfHo
— St. Peter's Primary (@StPetersBray) September 3, 2018

Senior infants showing what they can do during literacy stations! Great start to the new school year pic.twitter.com/uA2QT0zfHo
— St. Peter's Primary (@StPetersBray) September 3, 2018
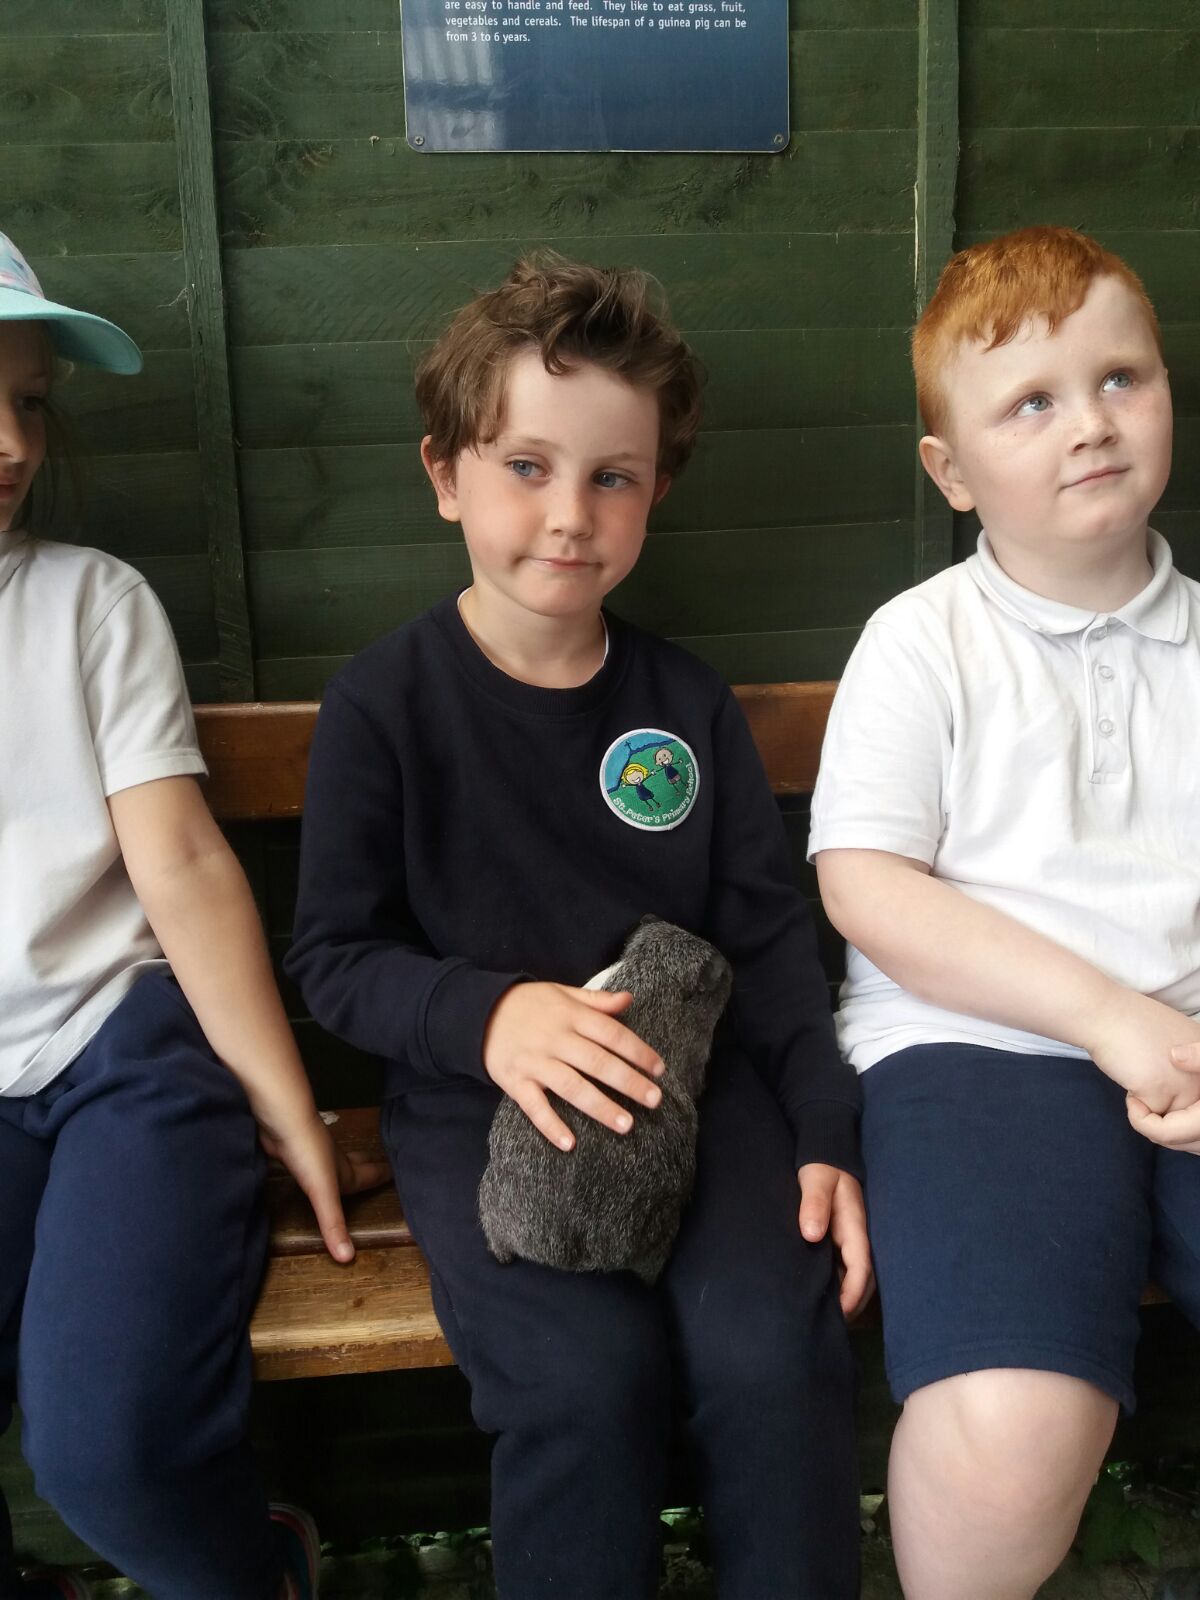
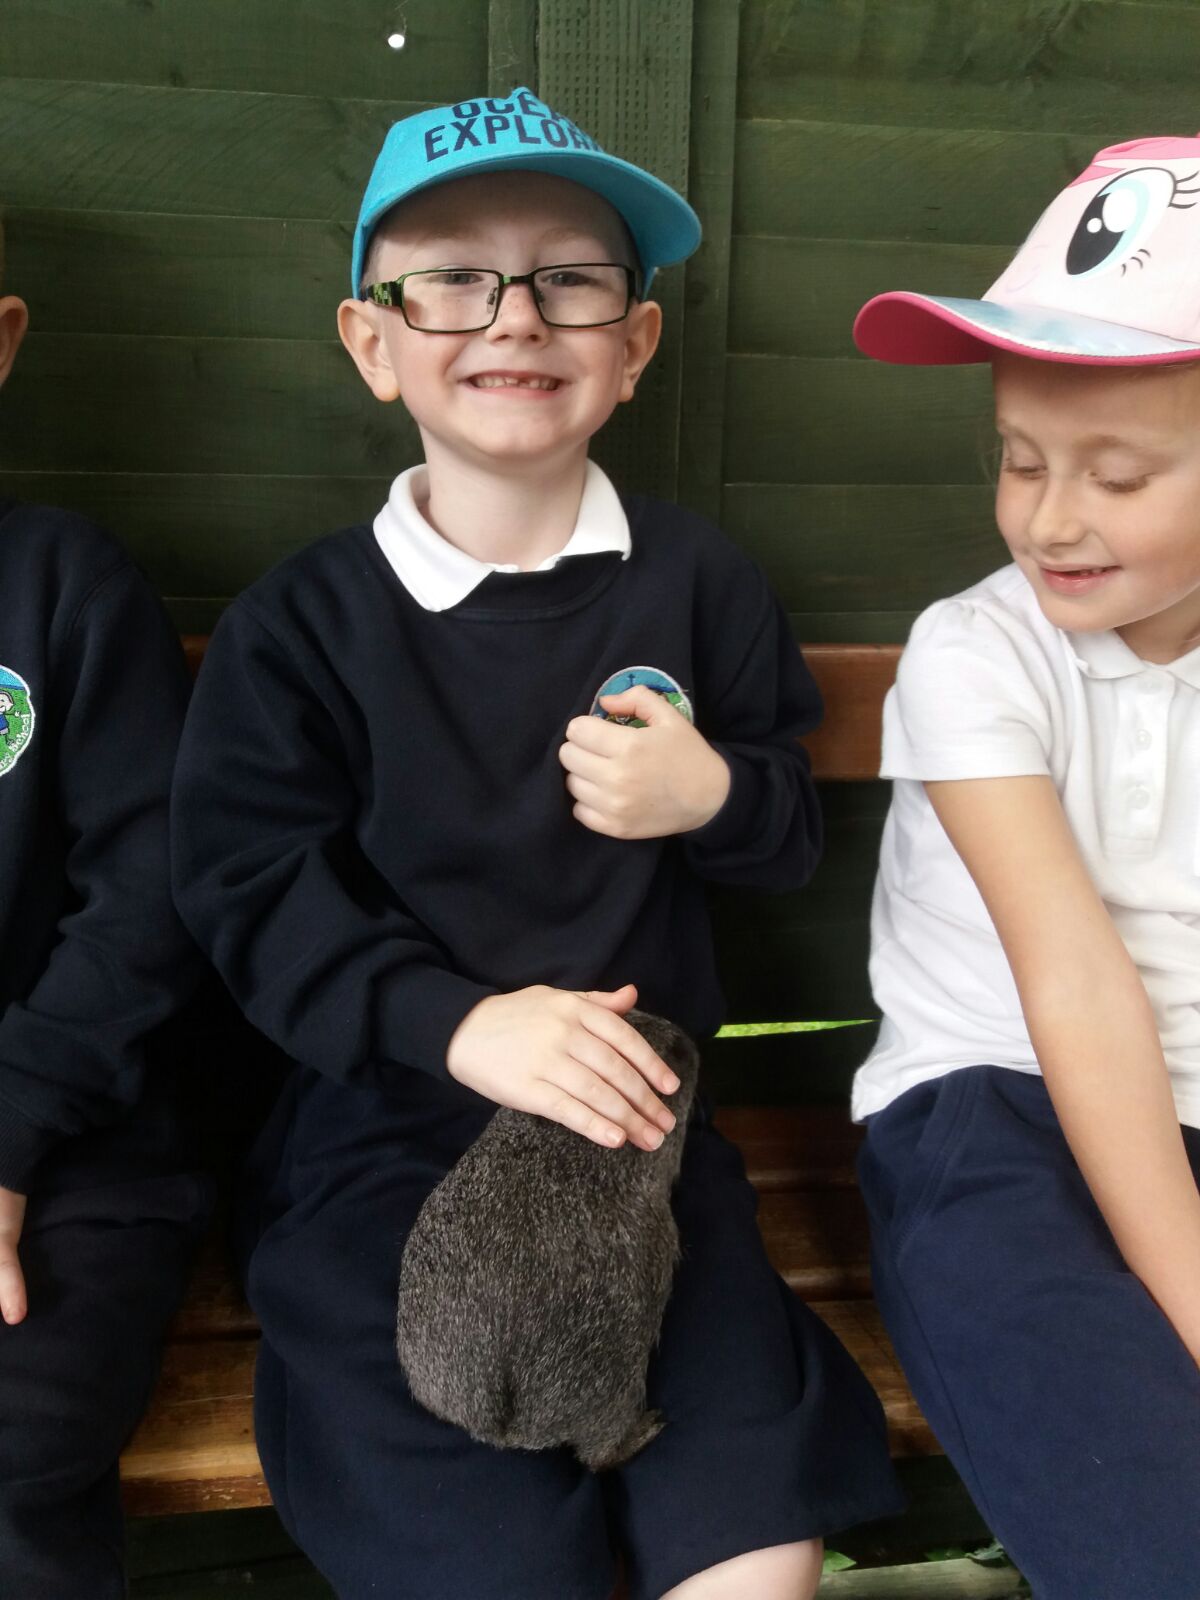
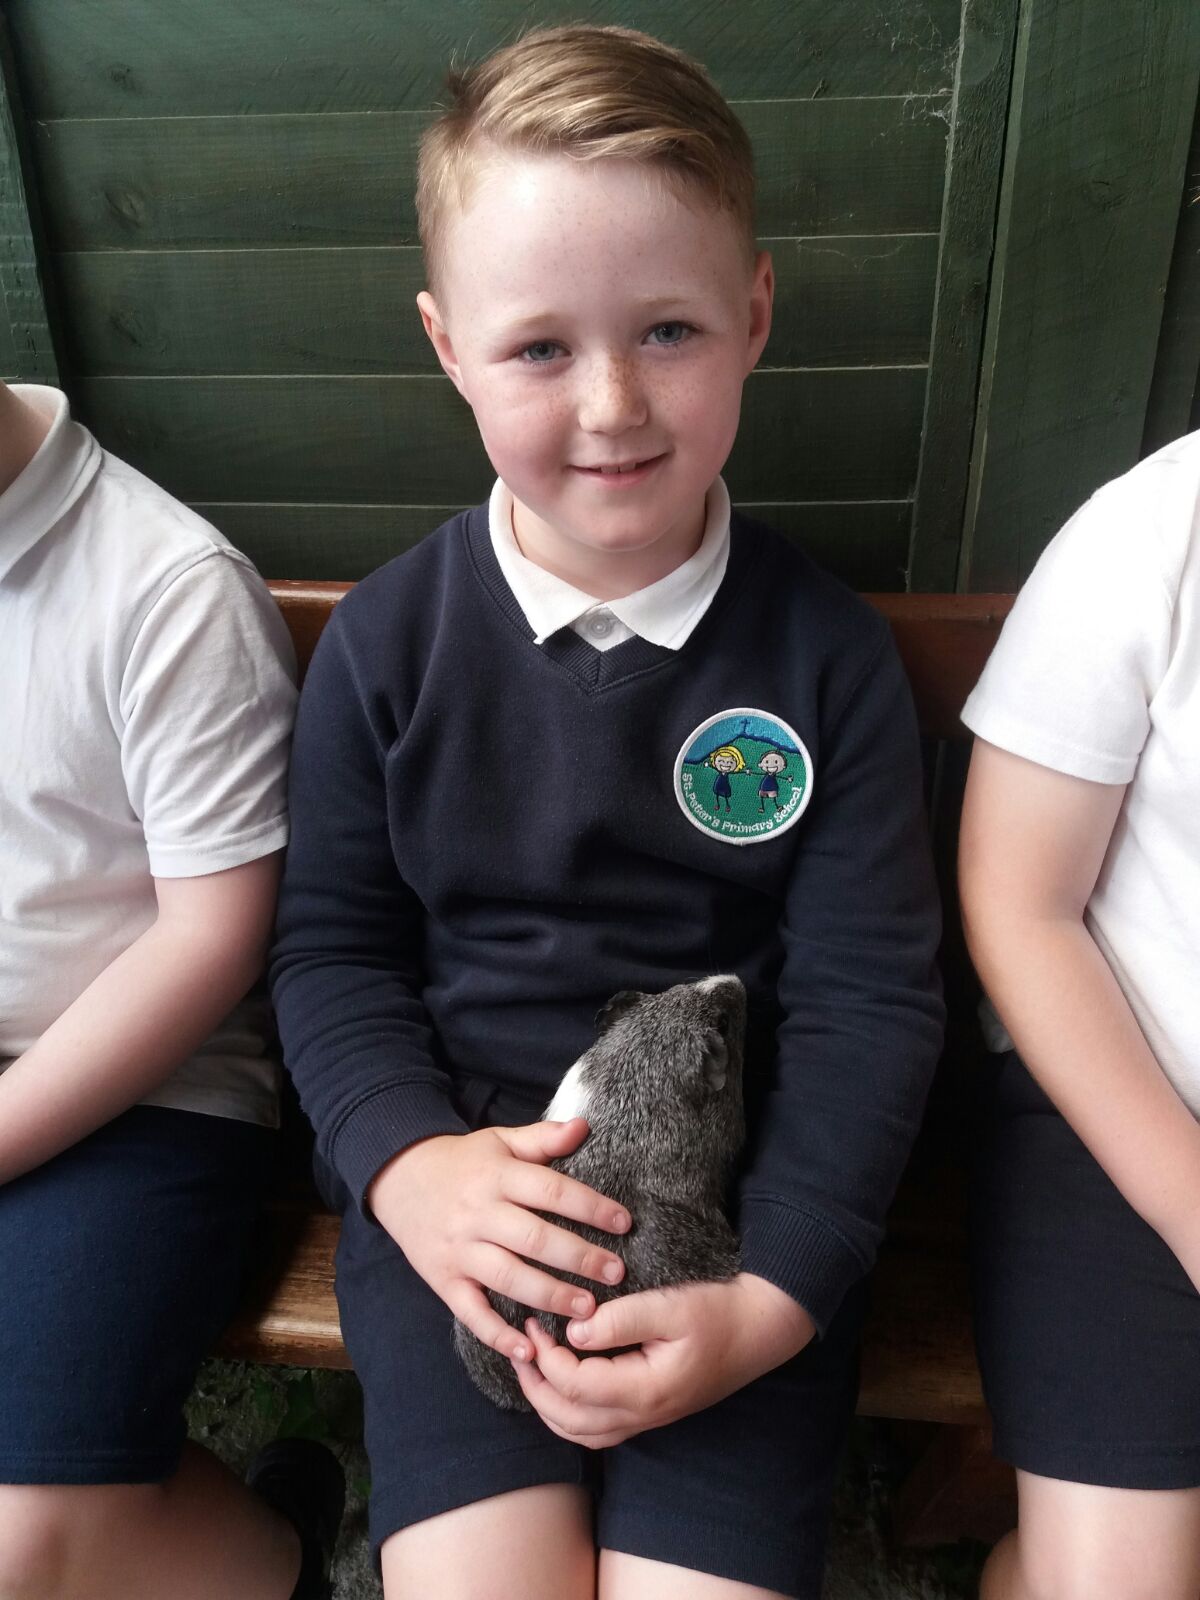
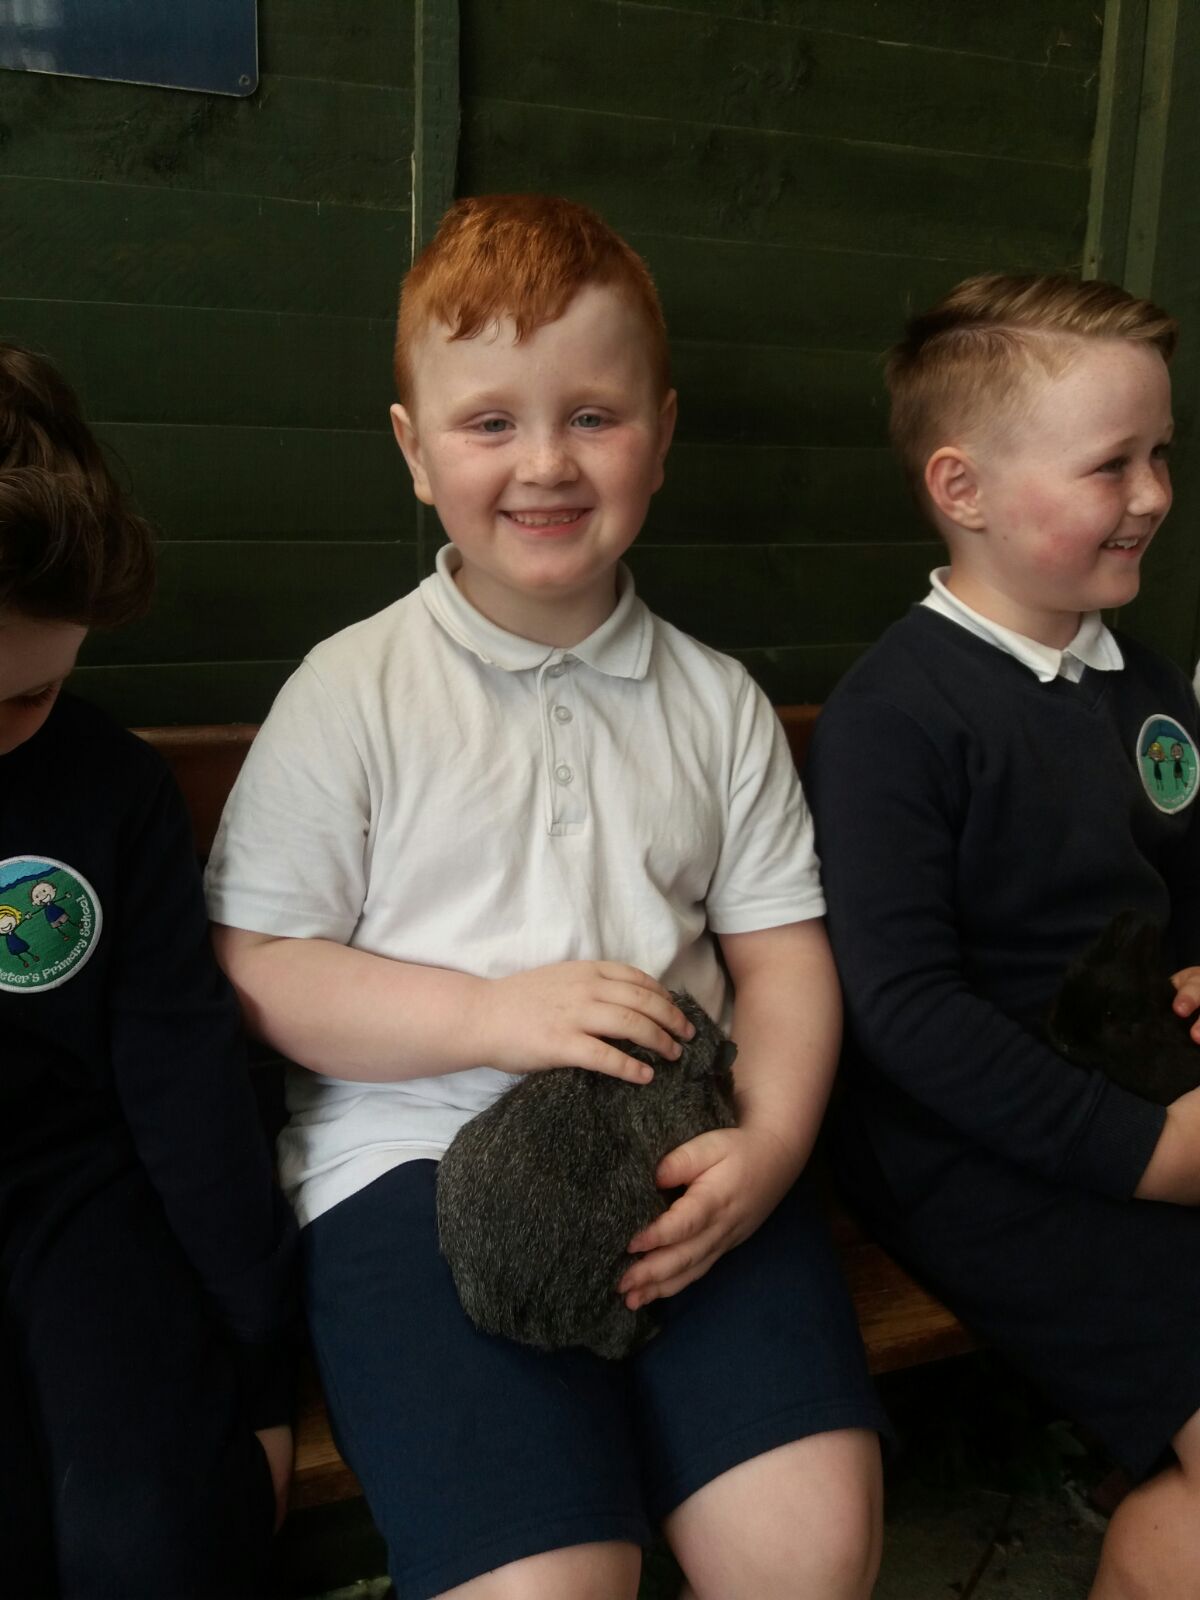
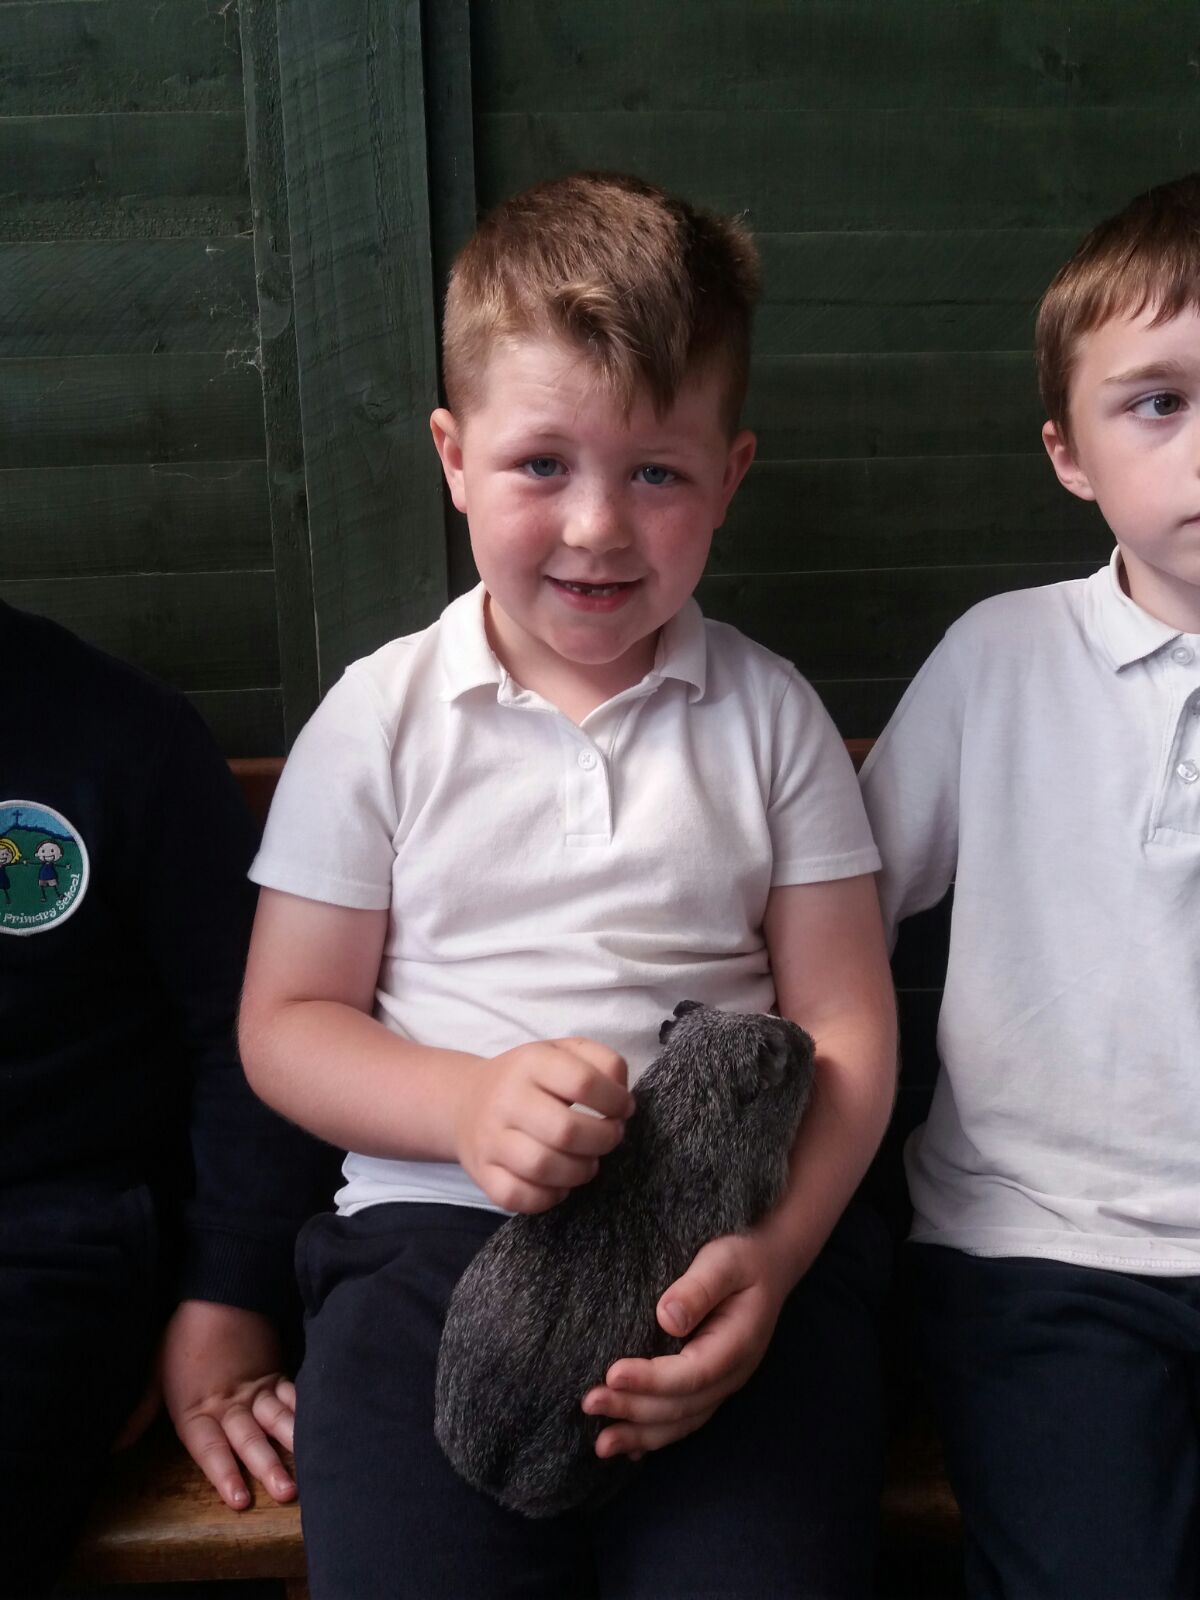
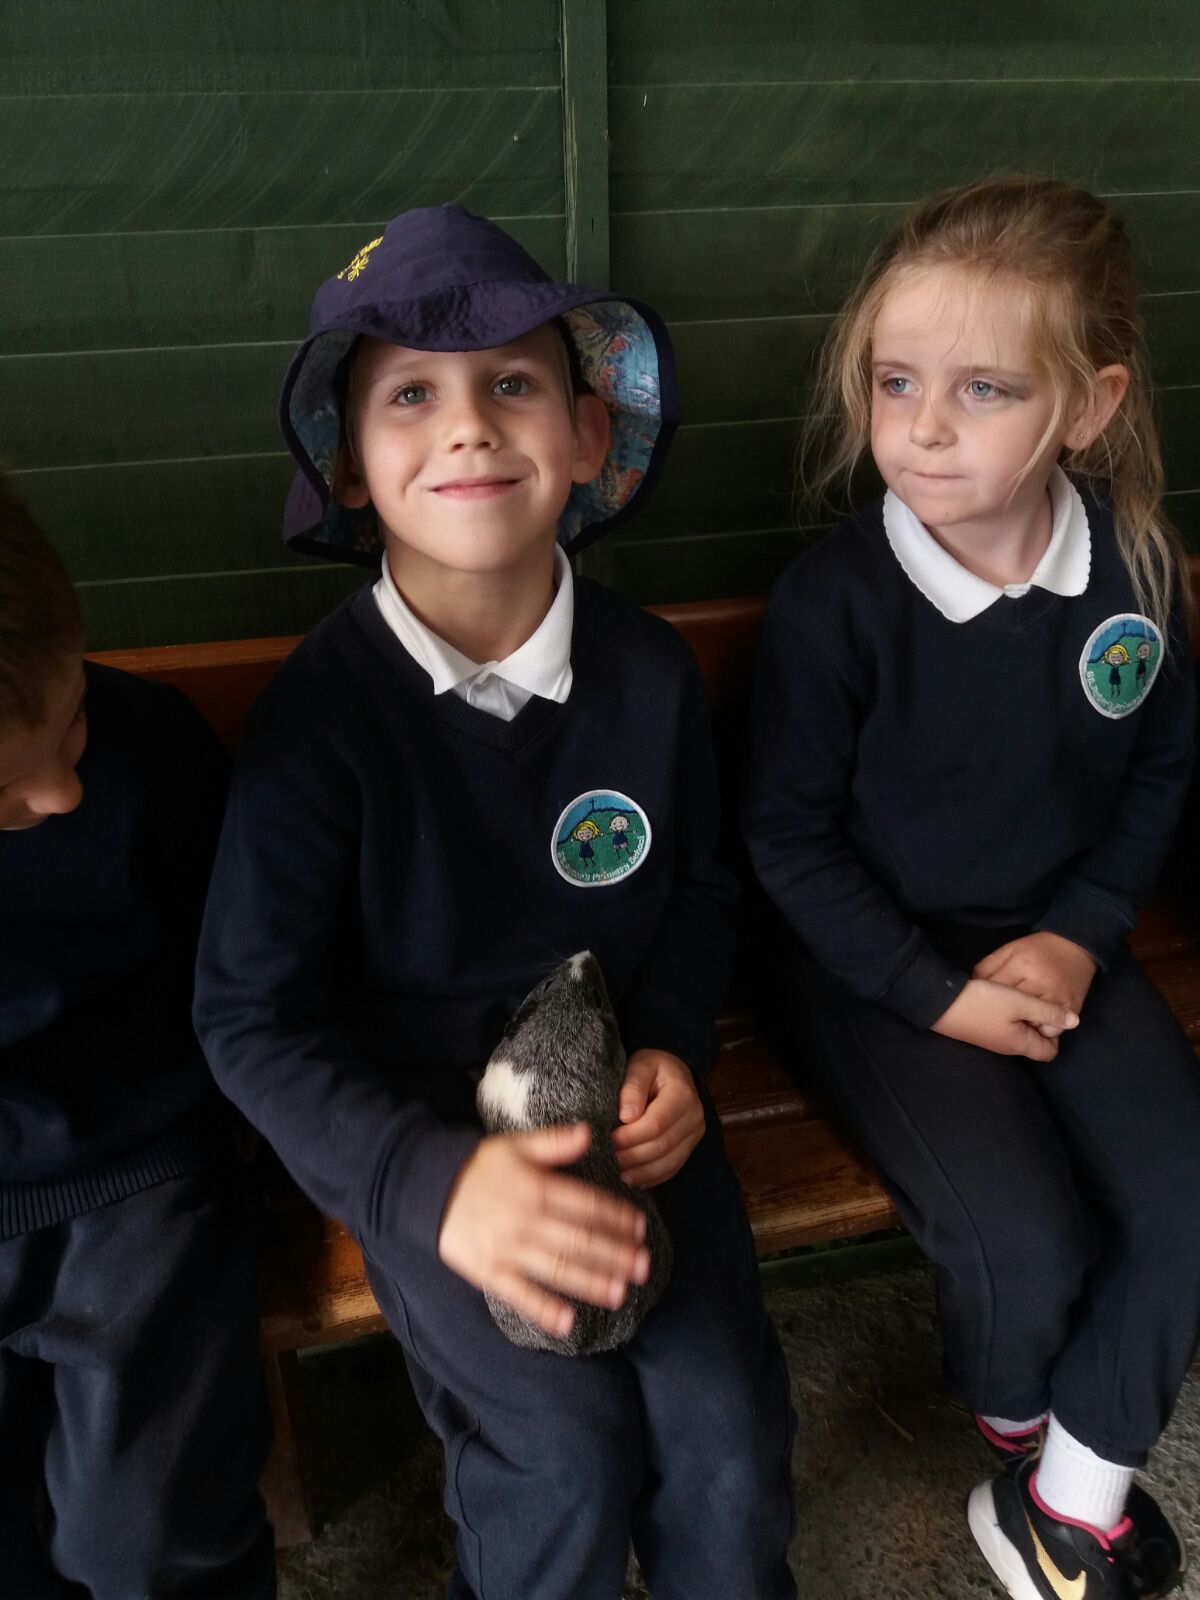
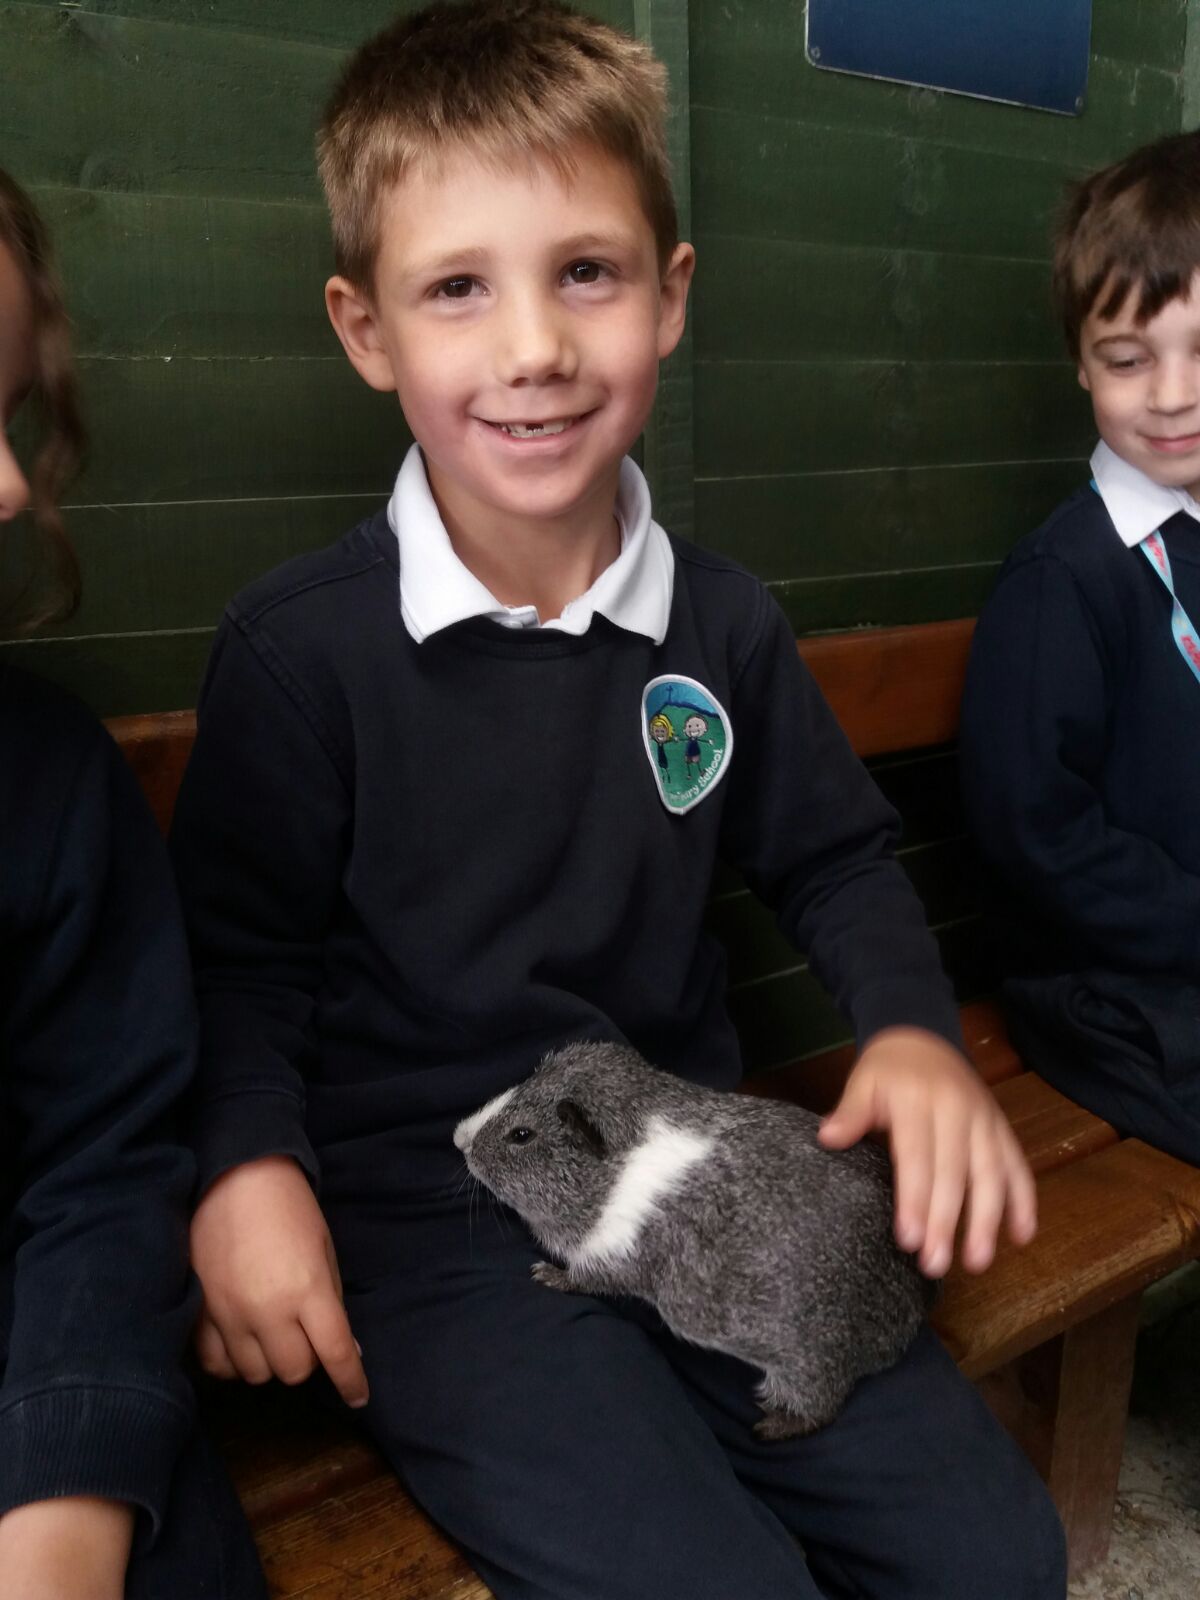
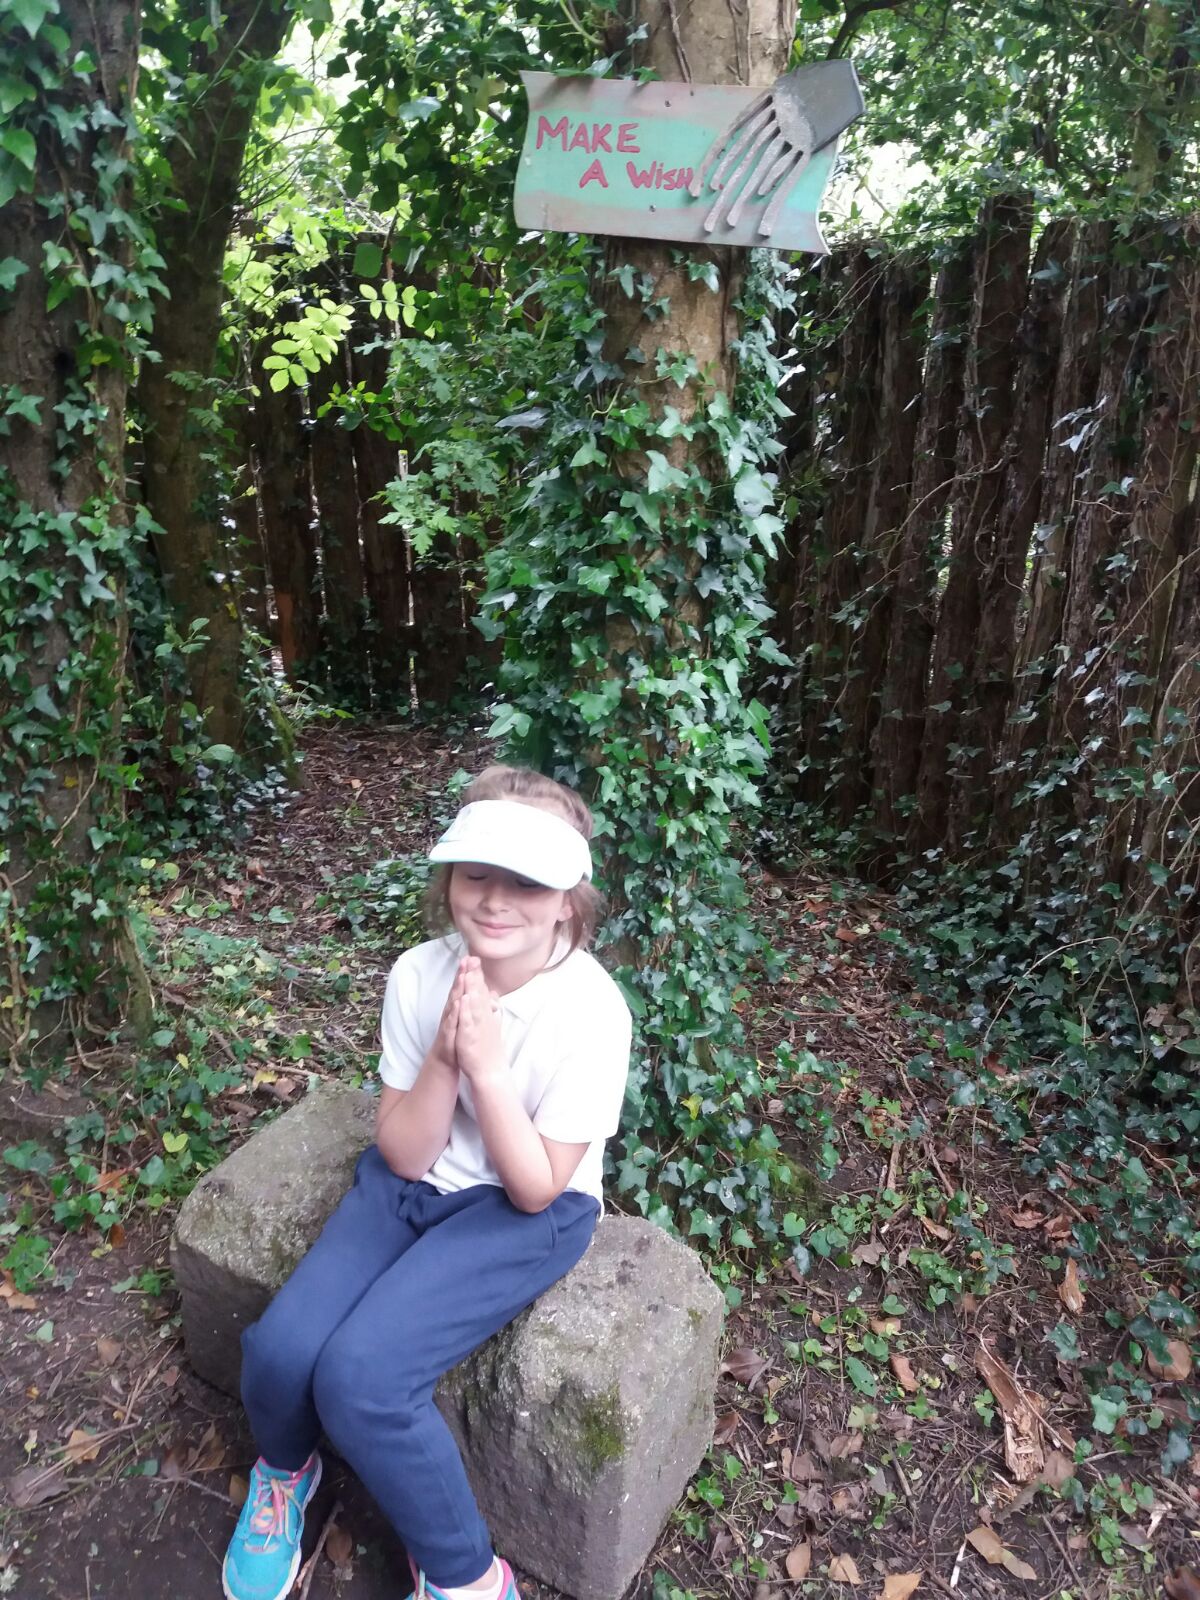
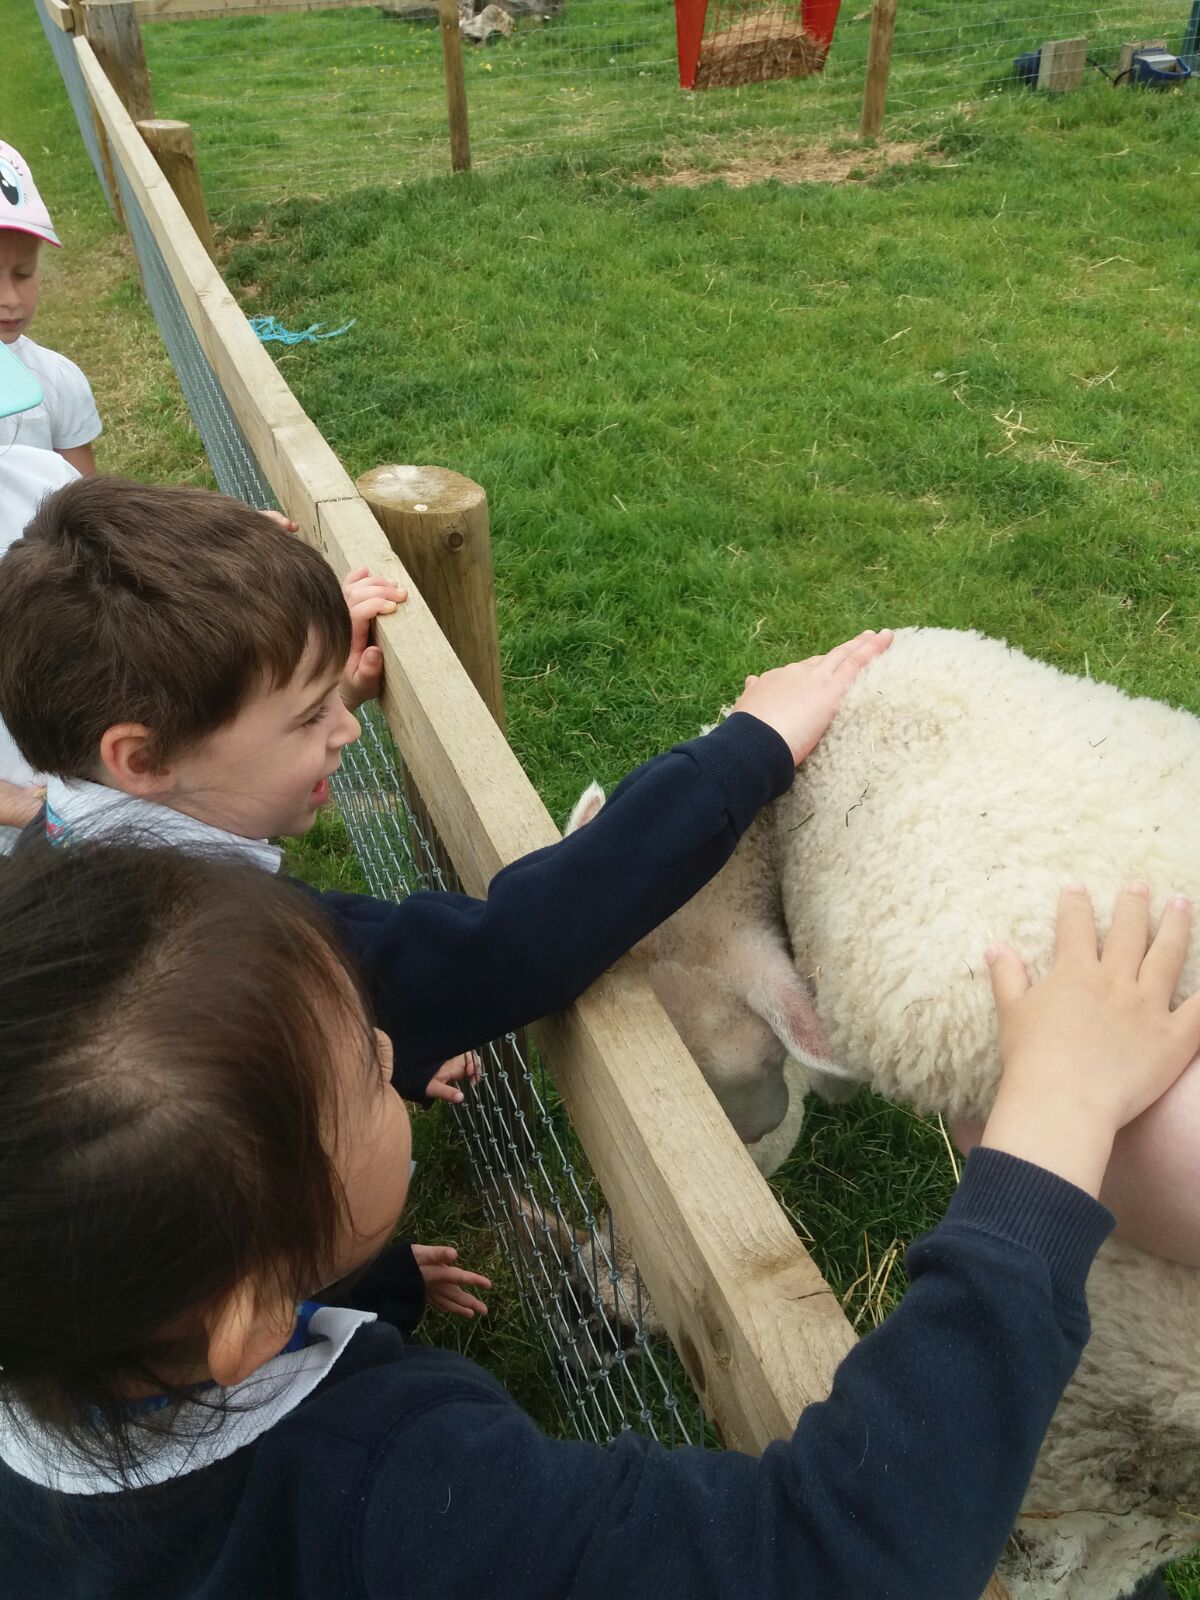
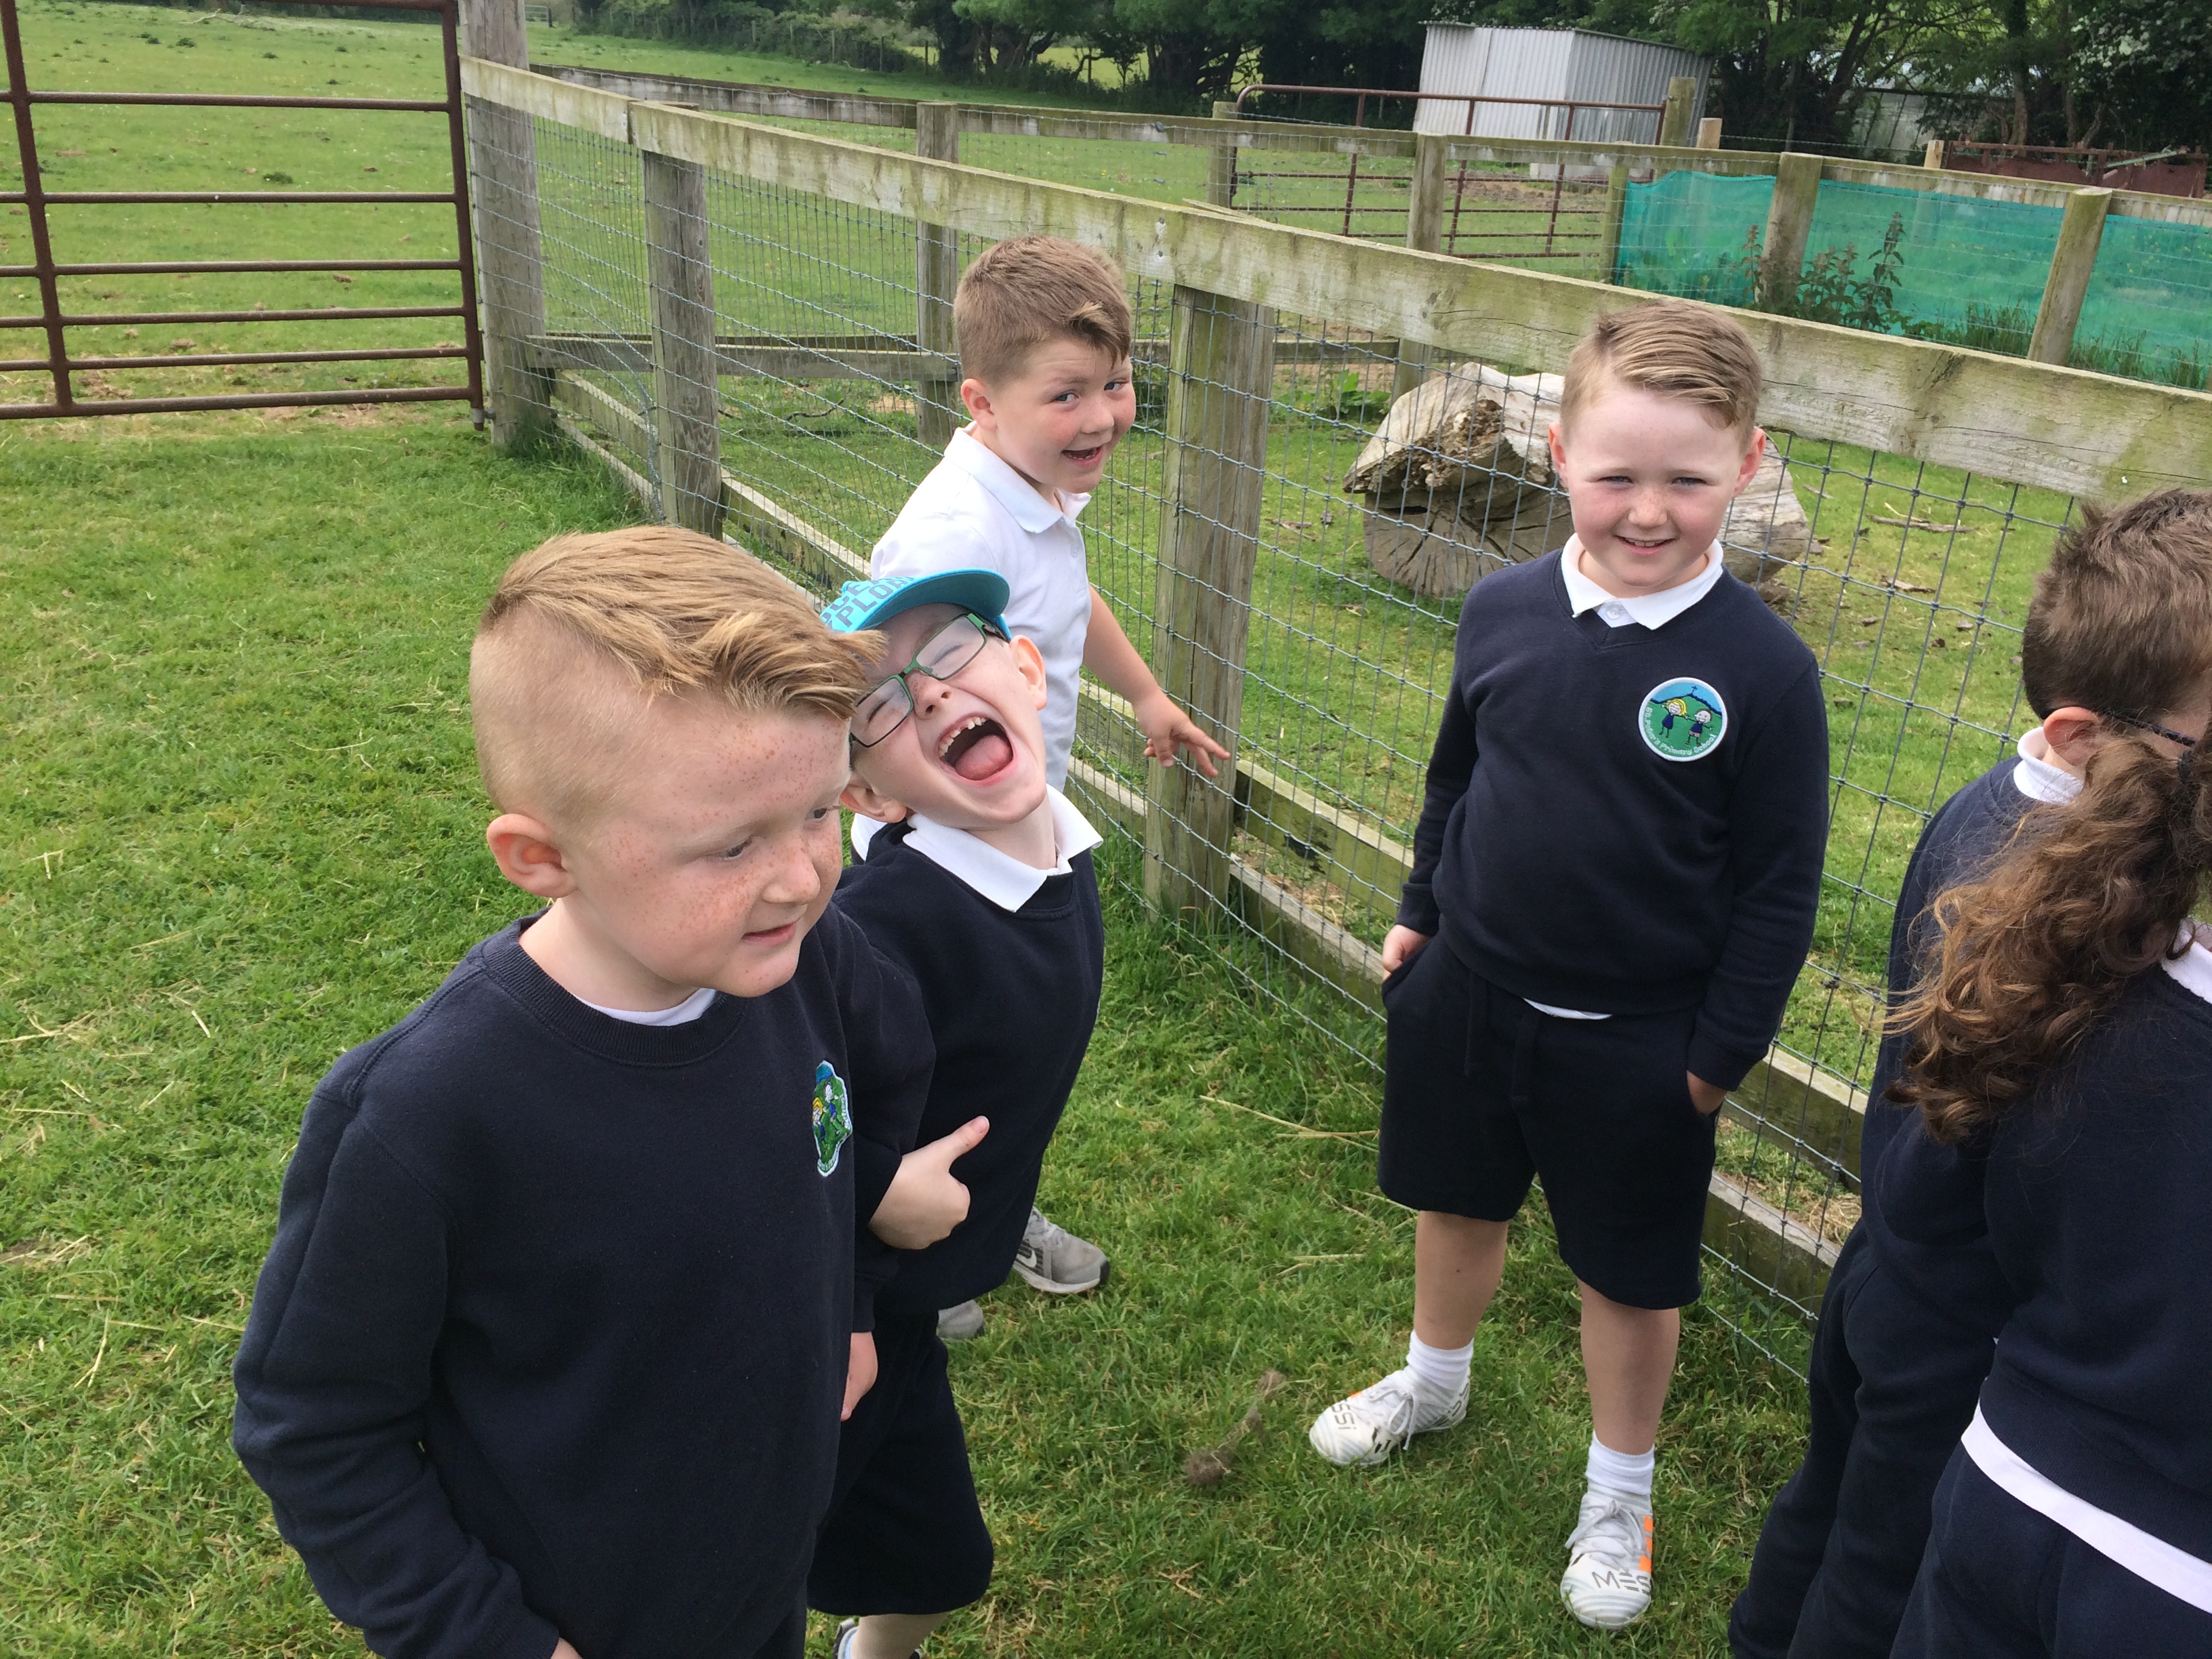
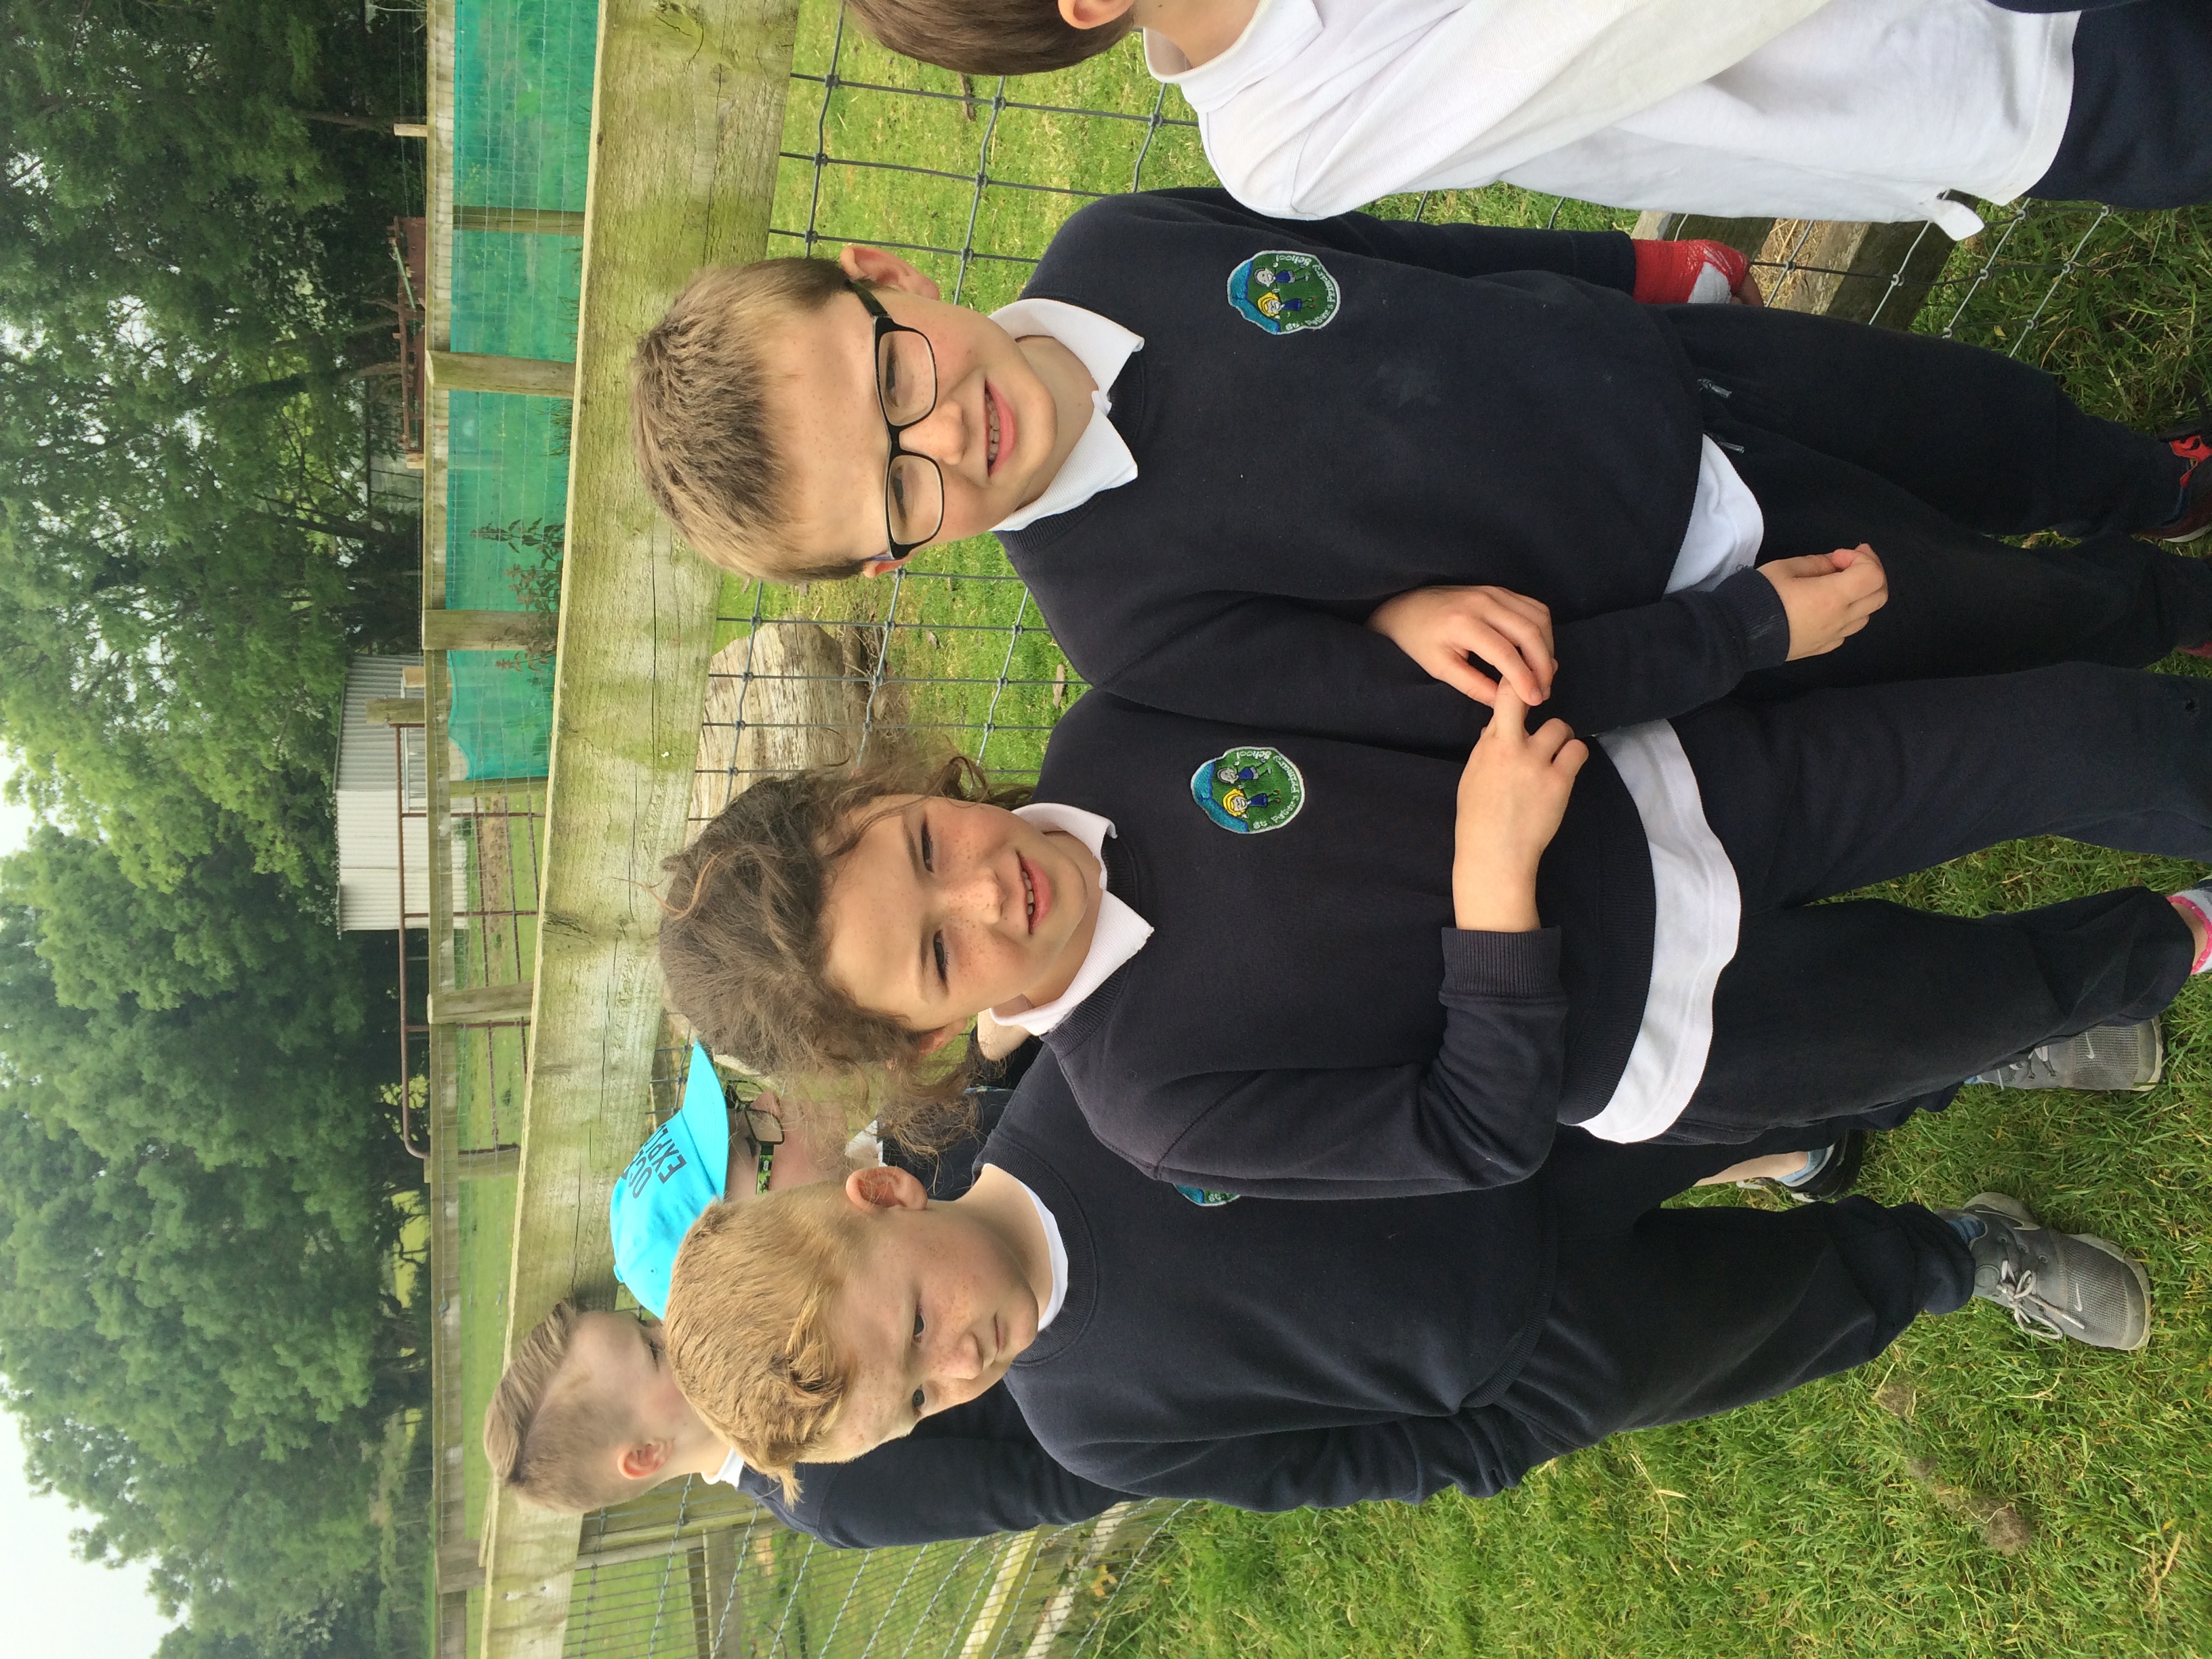
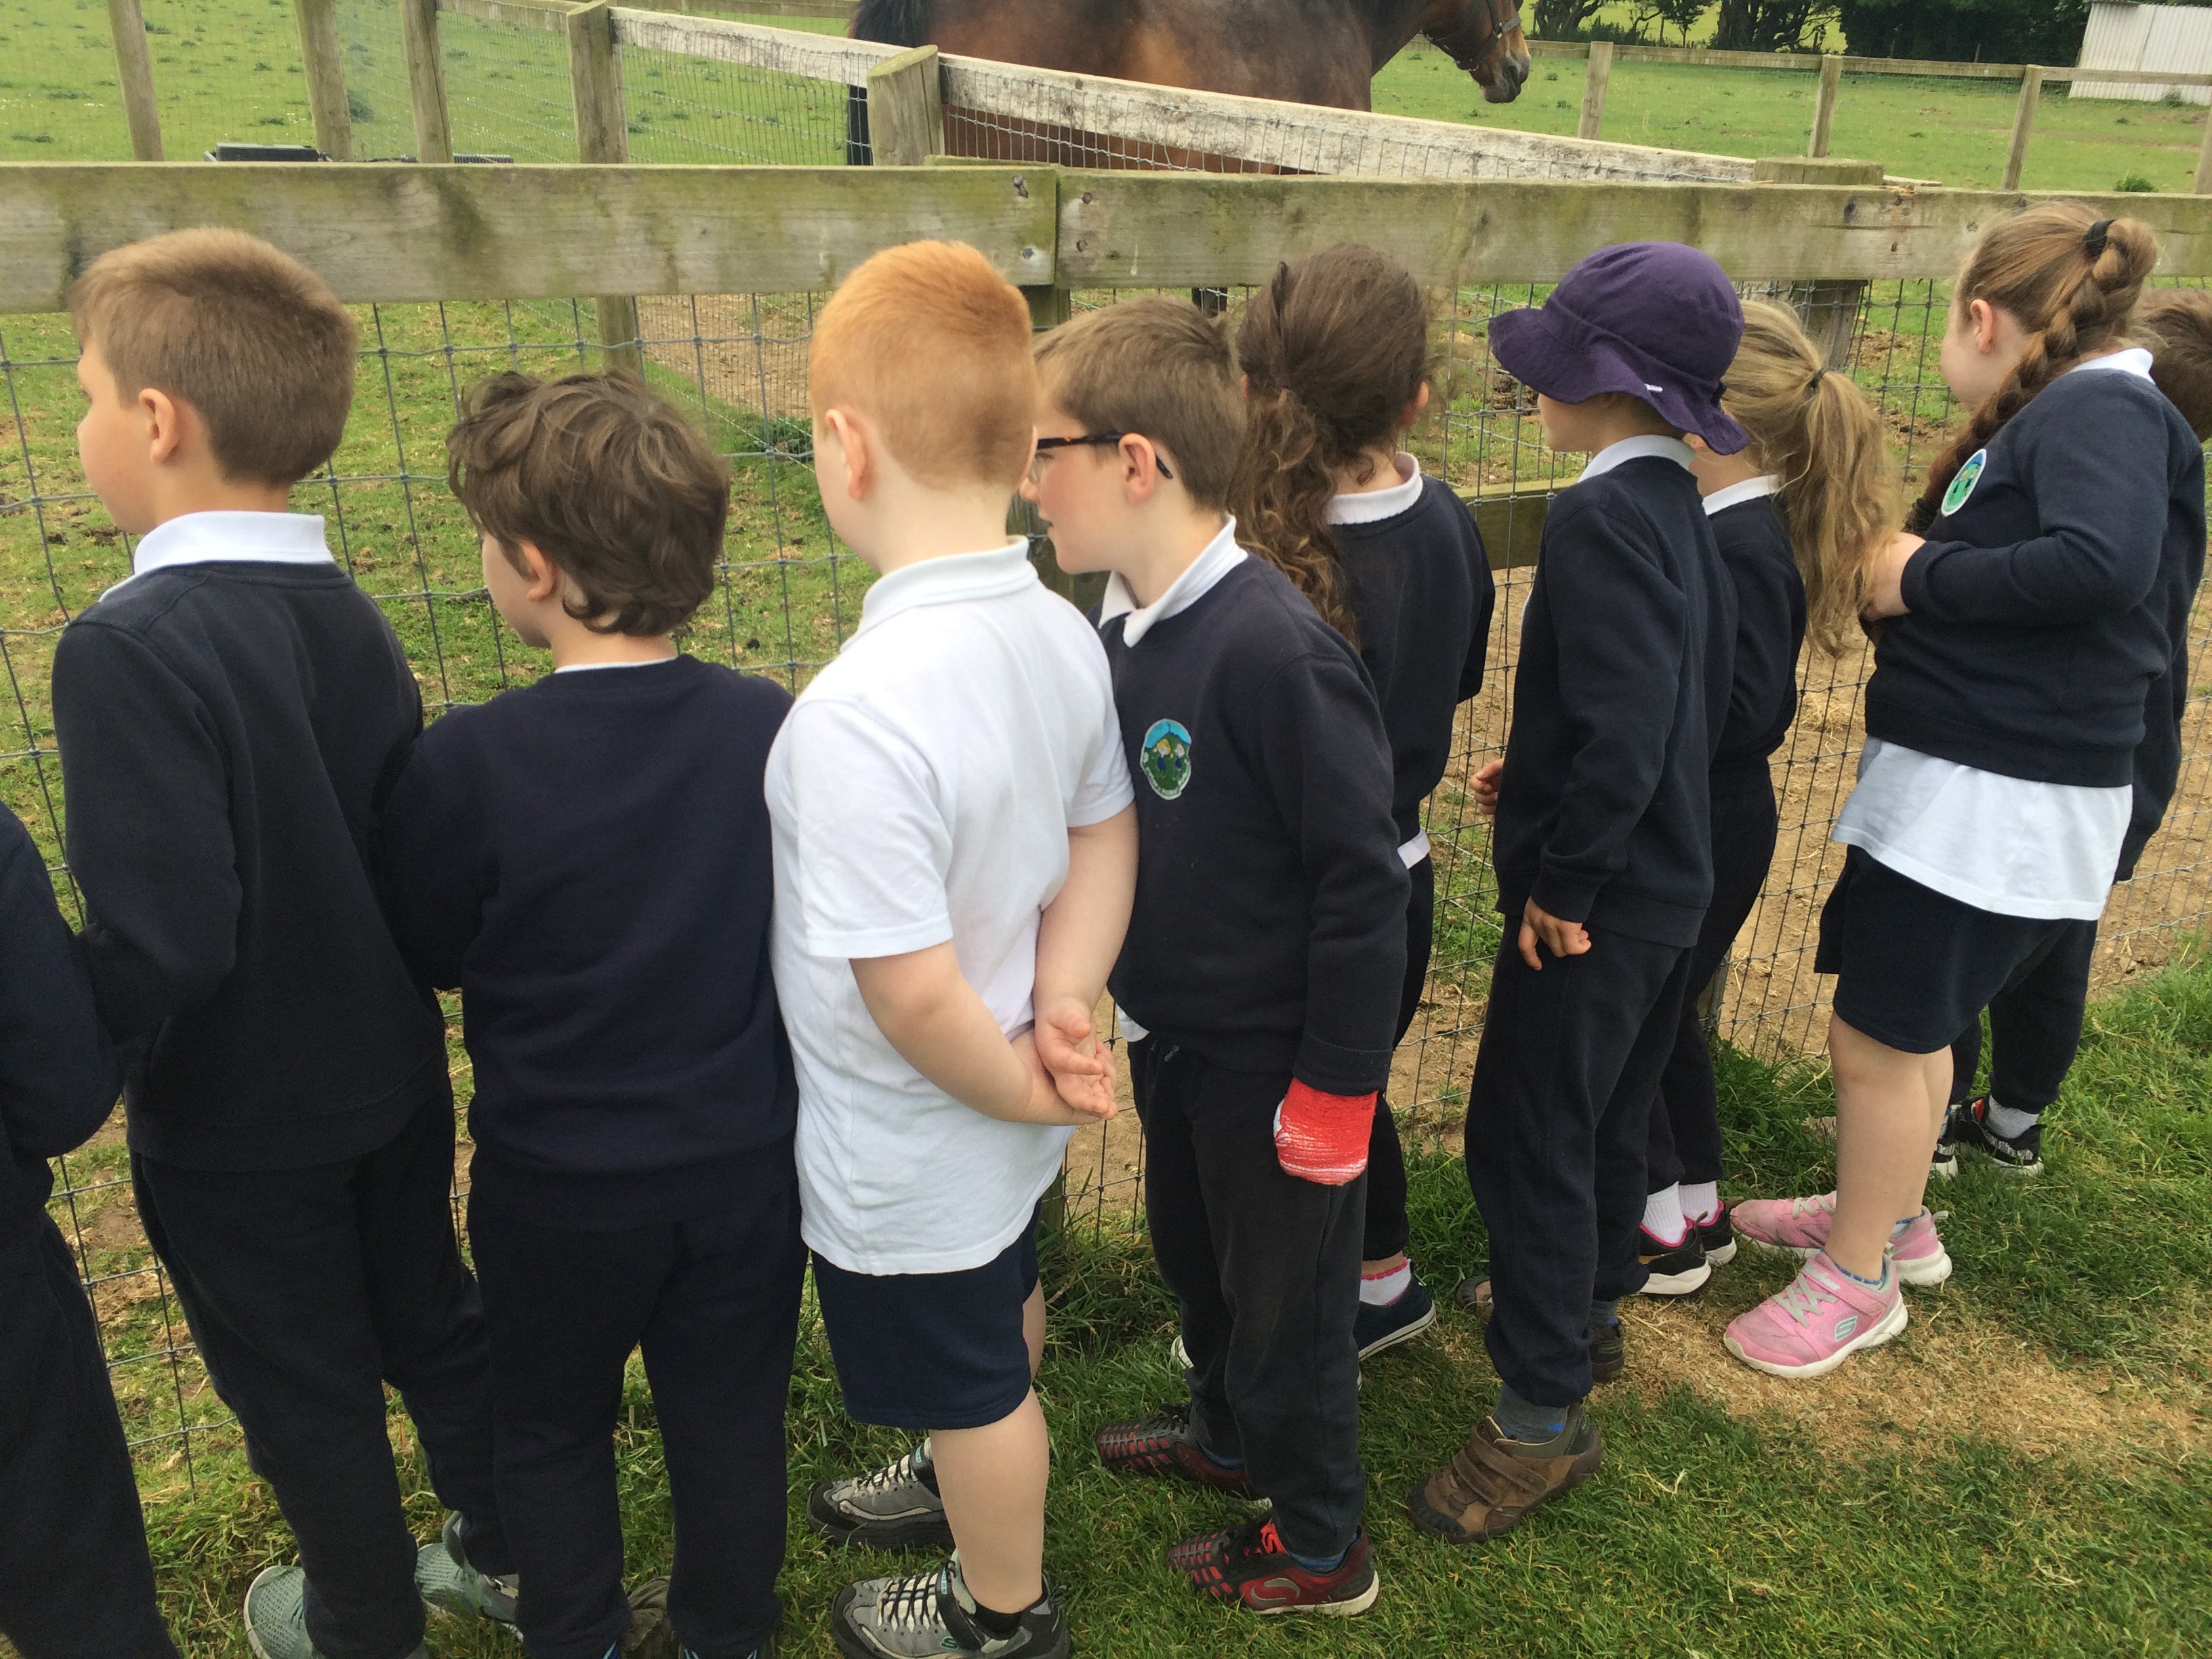
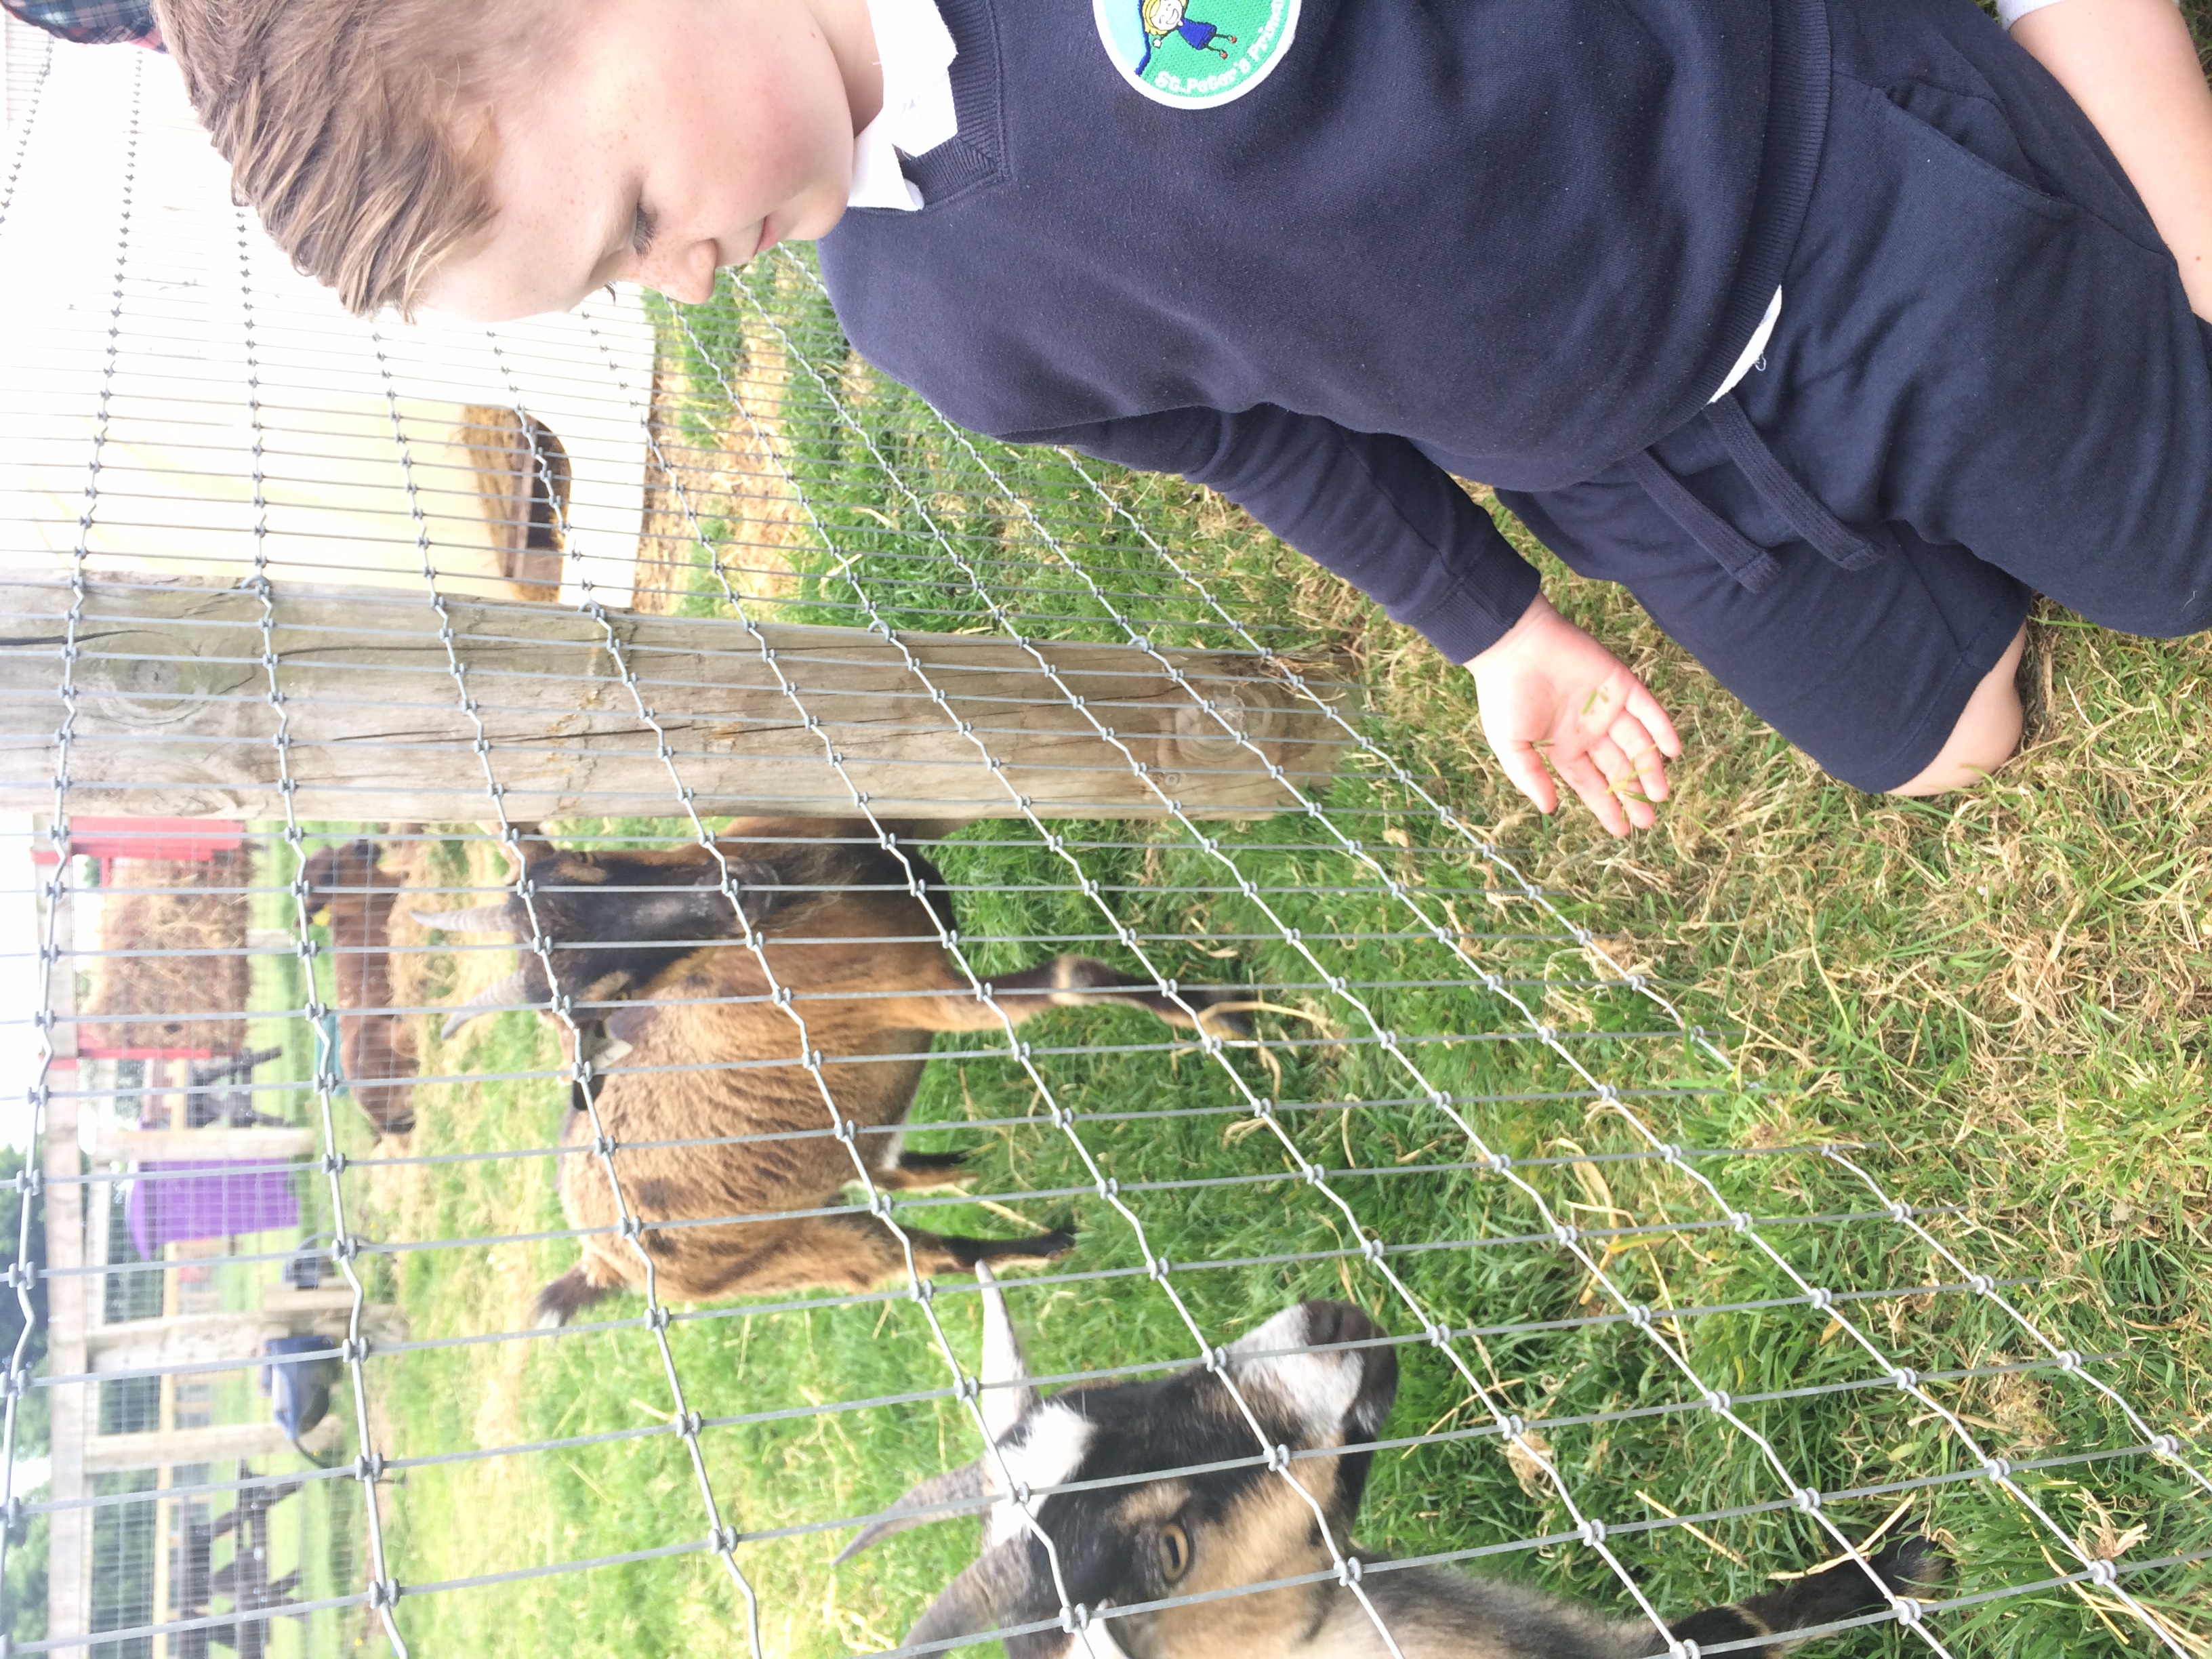
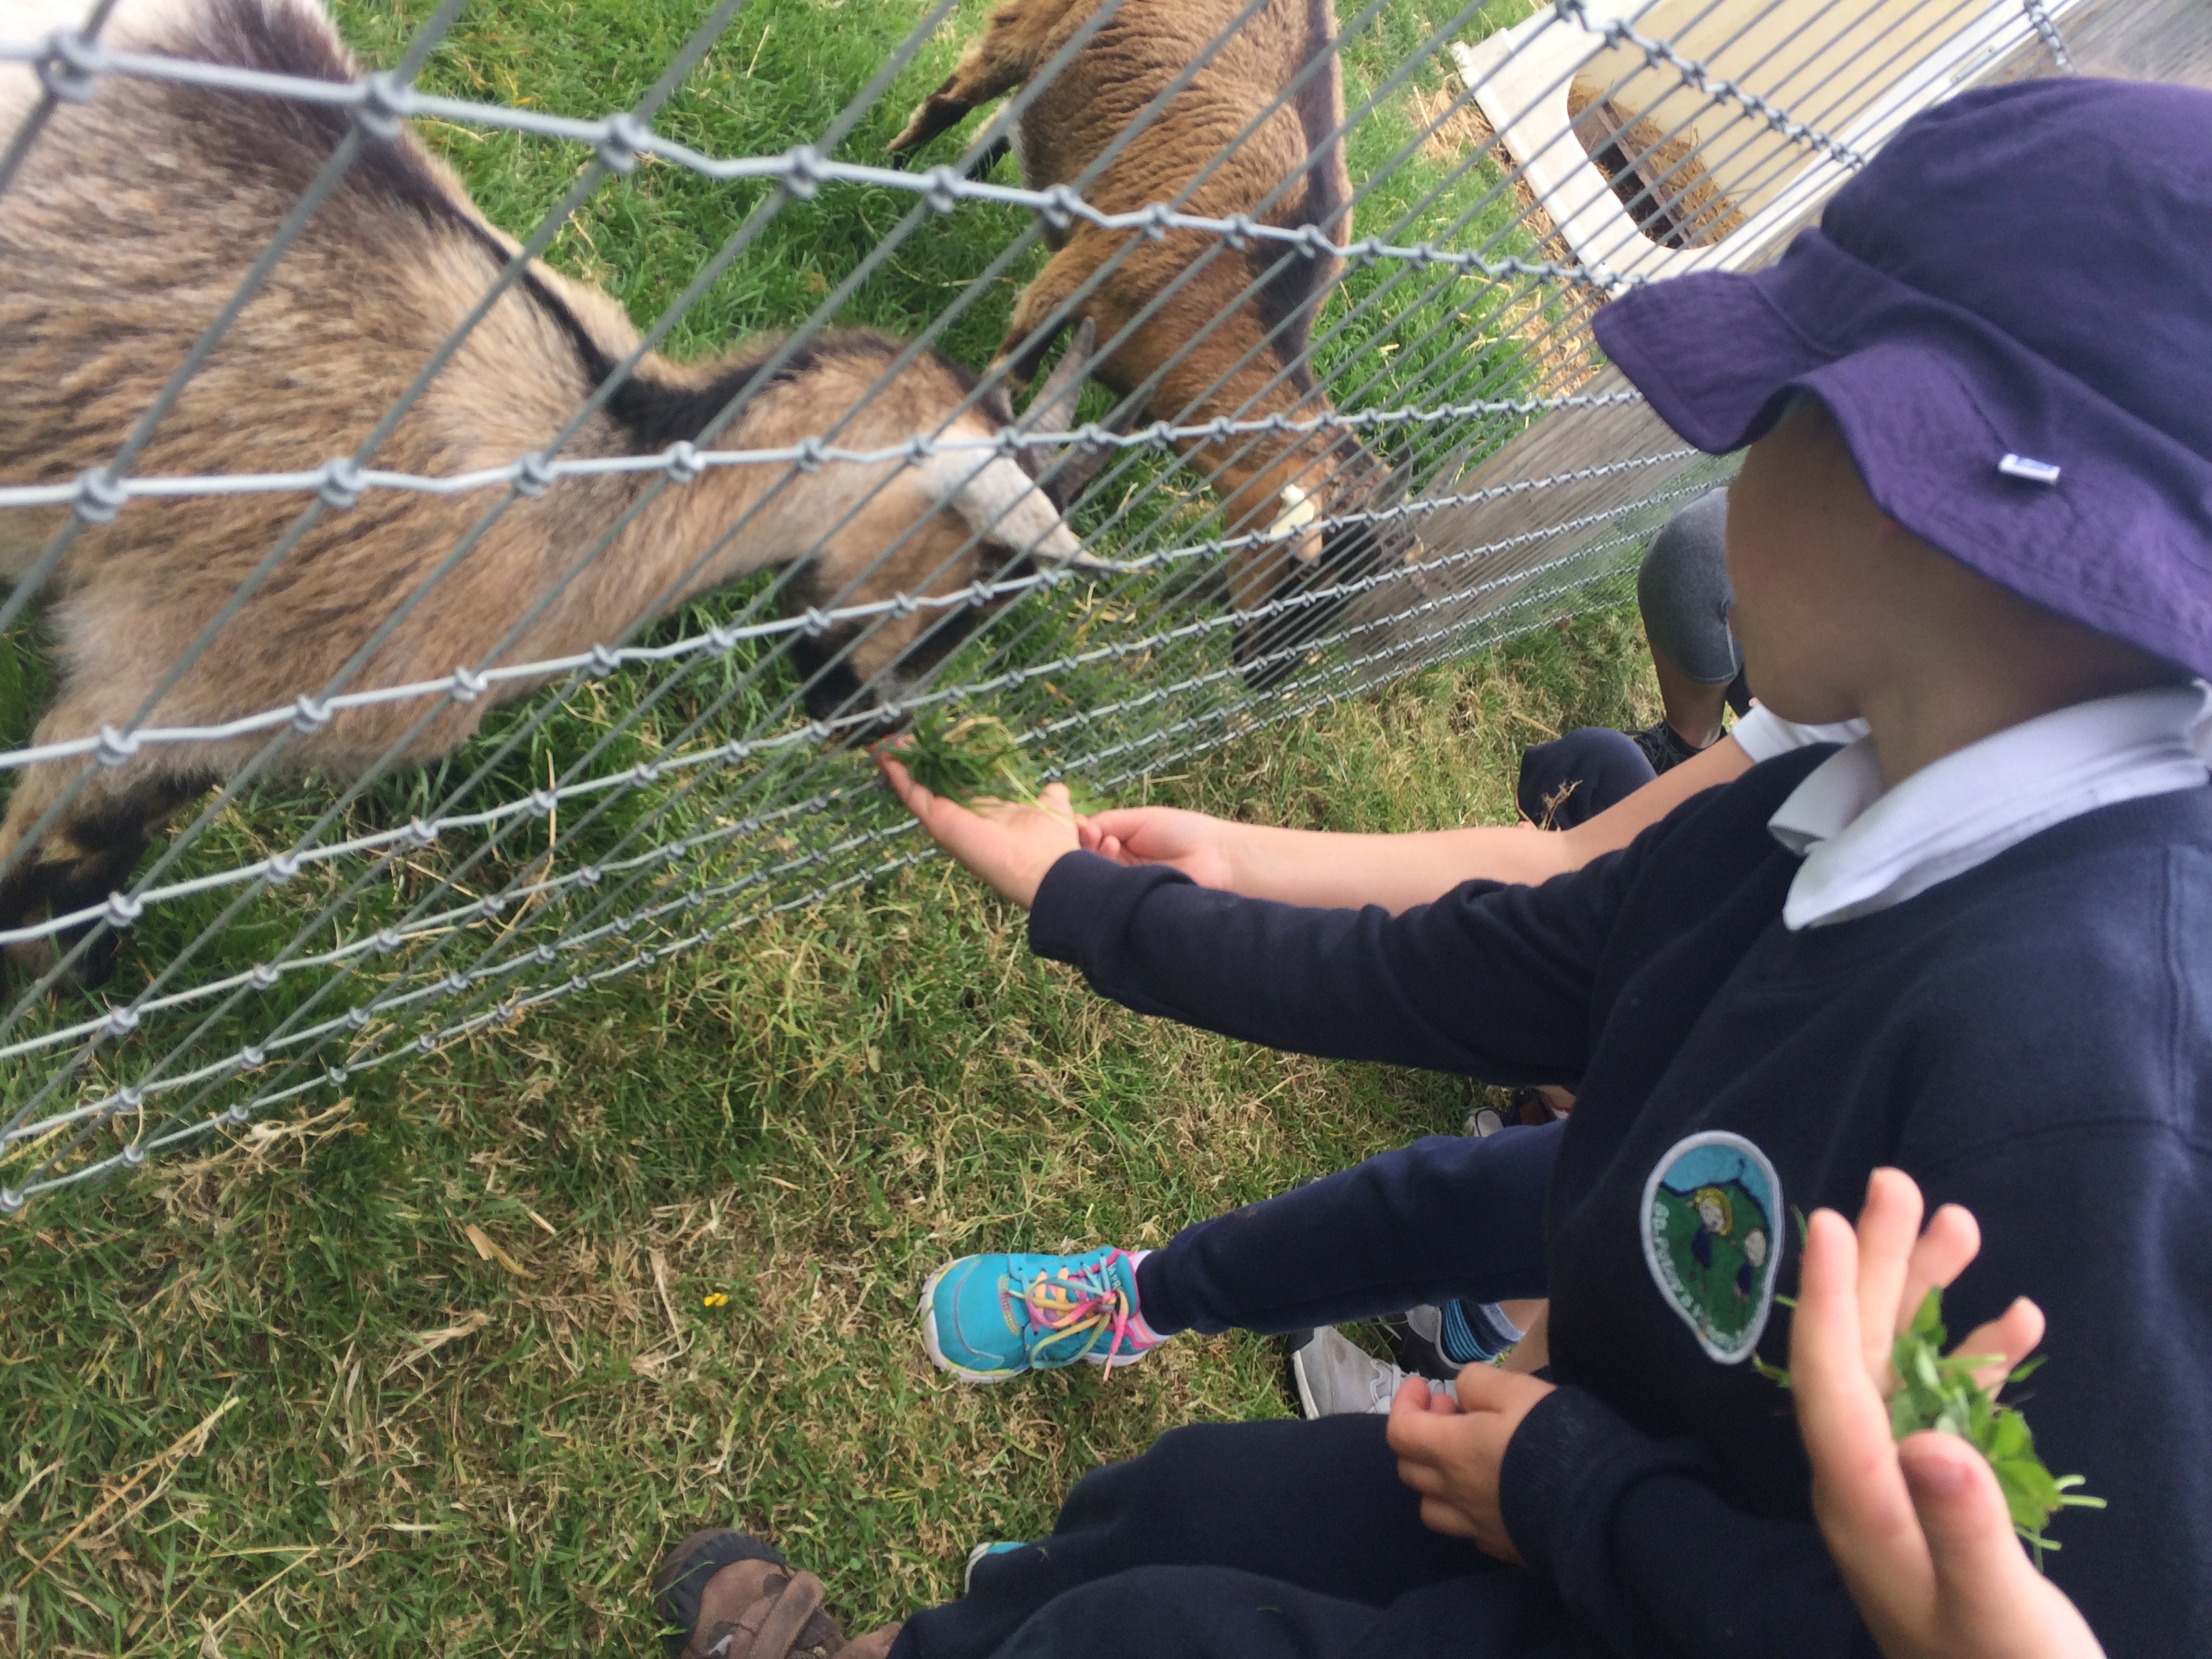
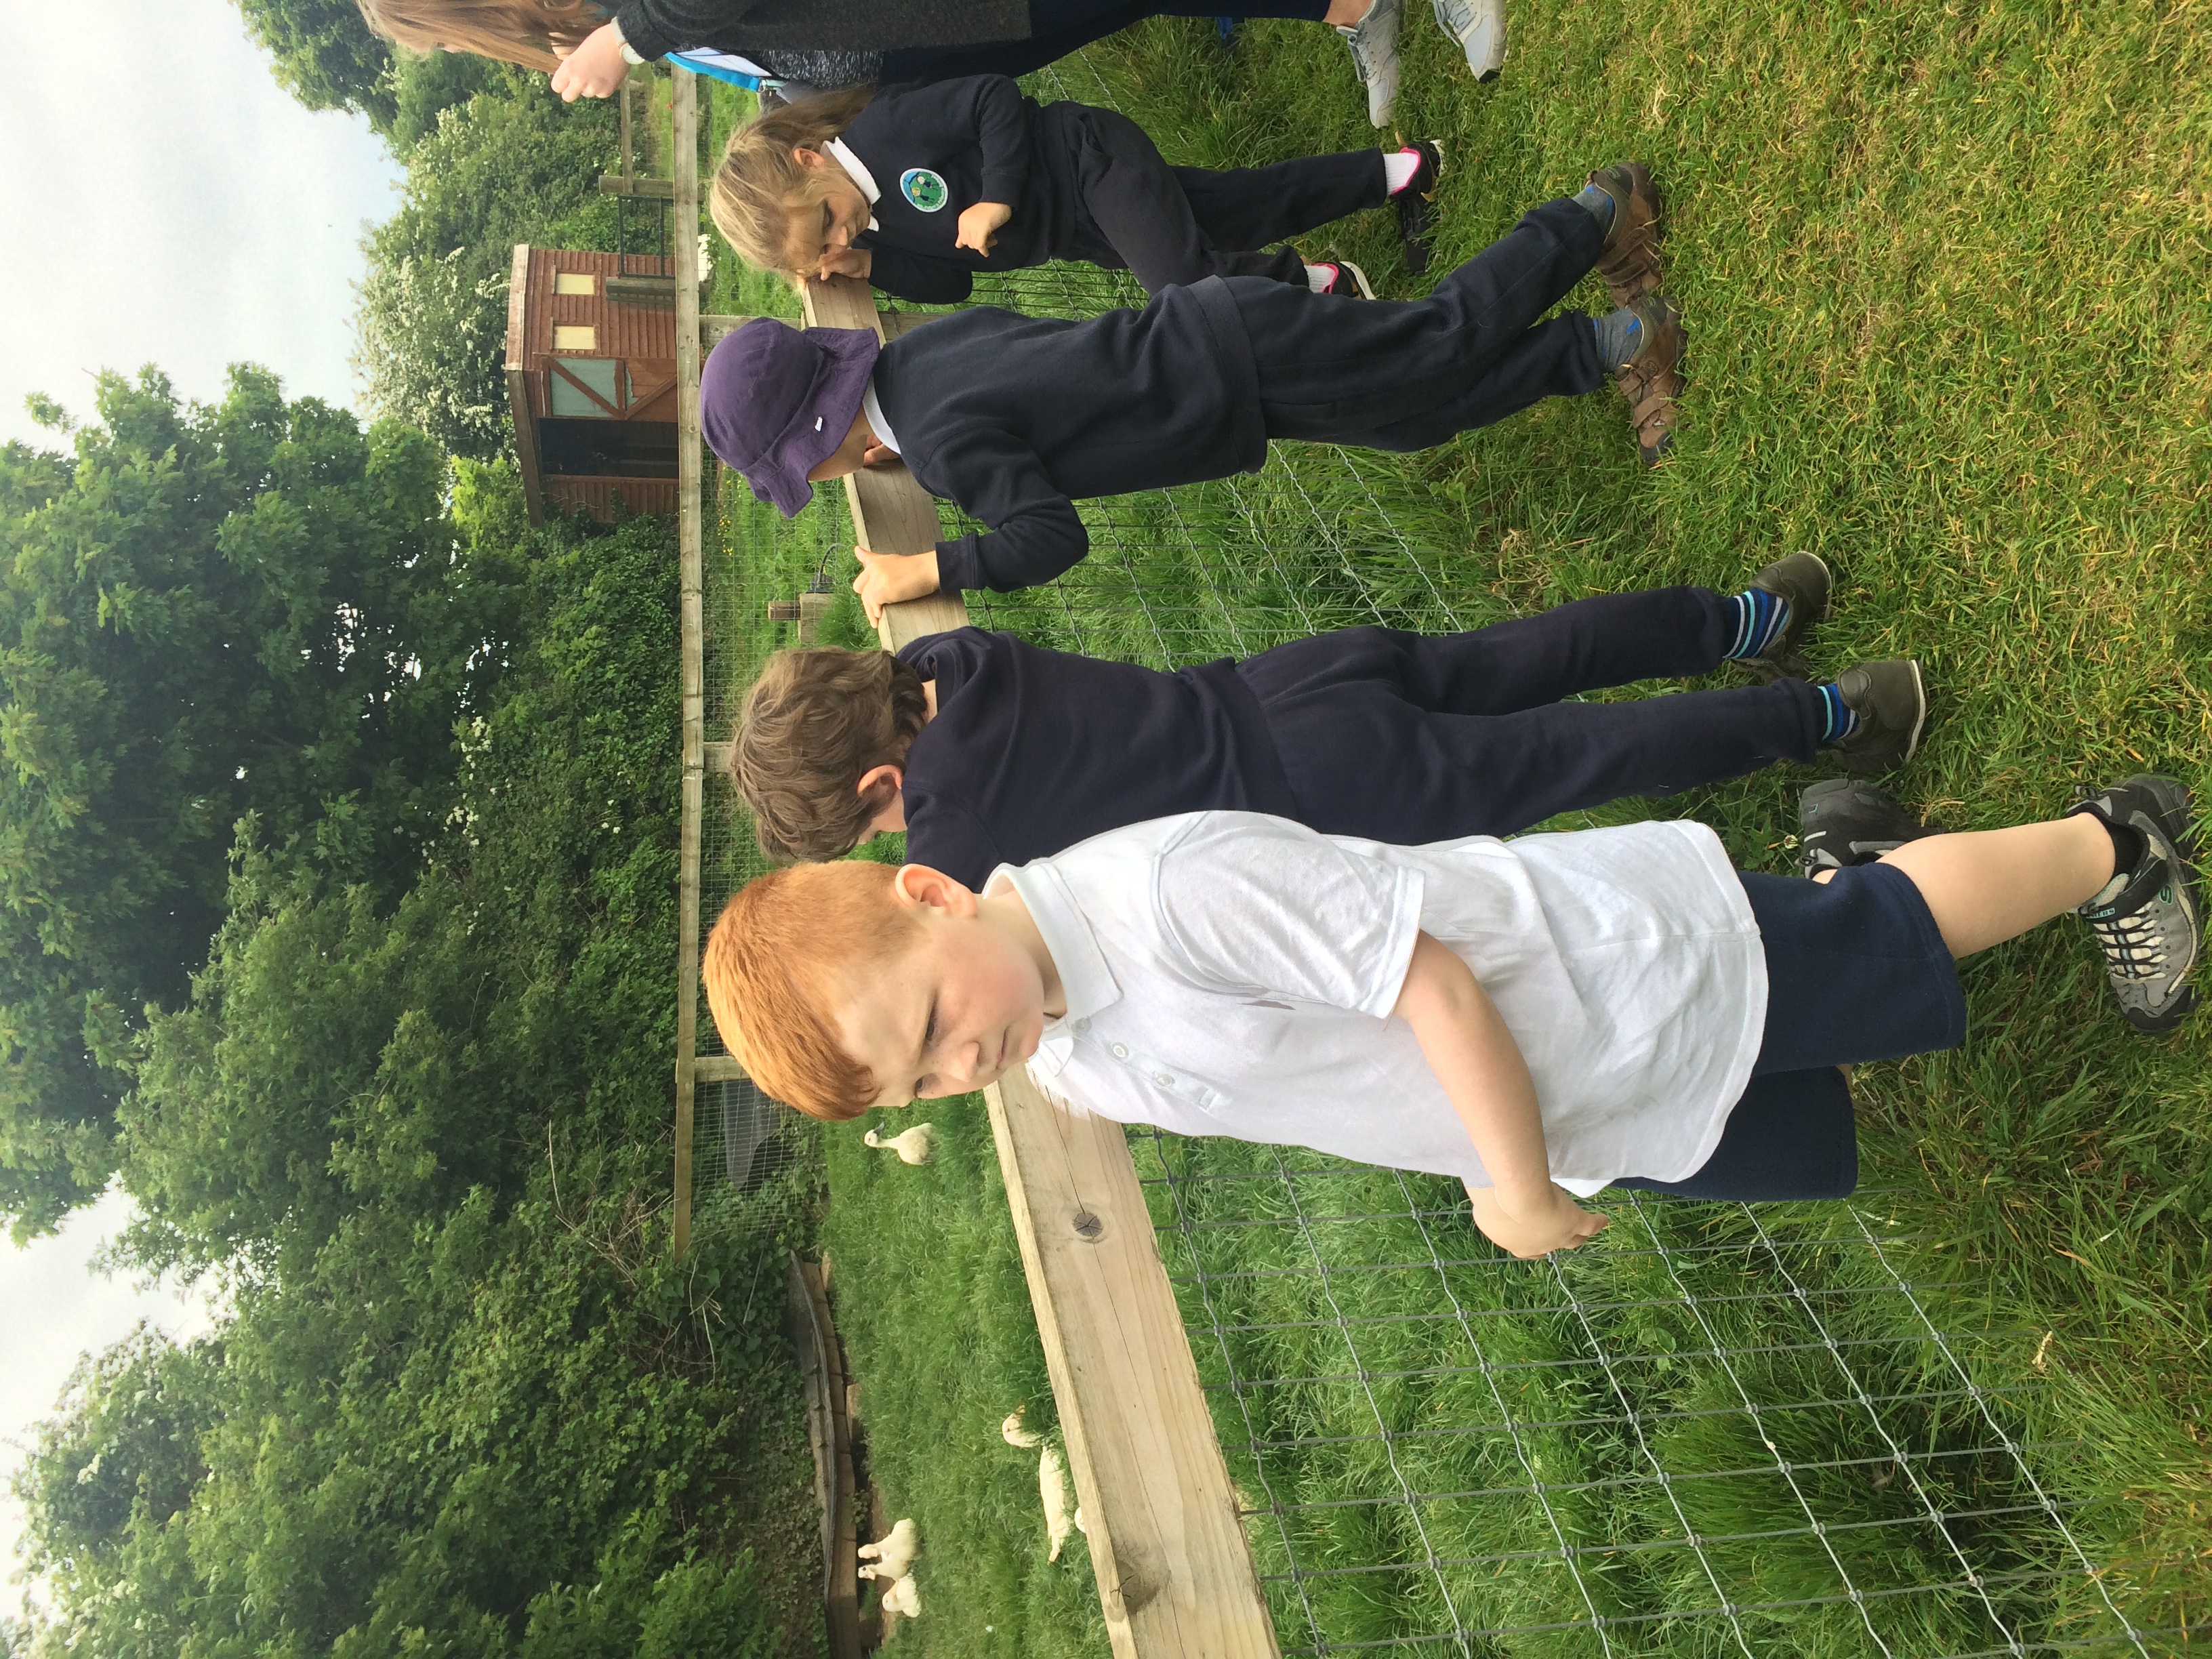
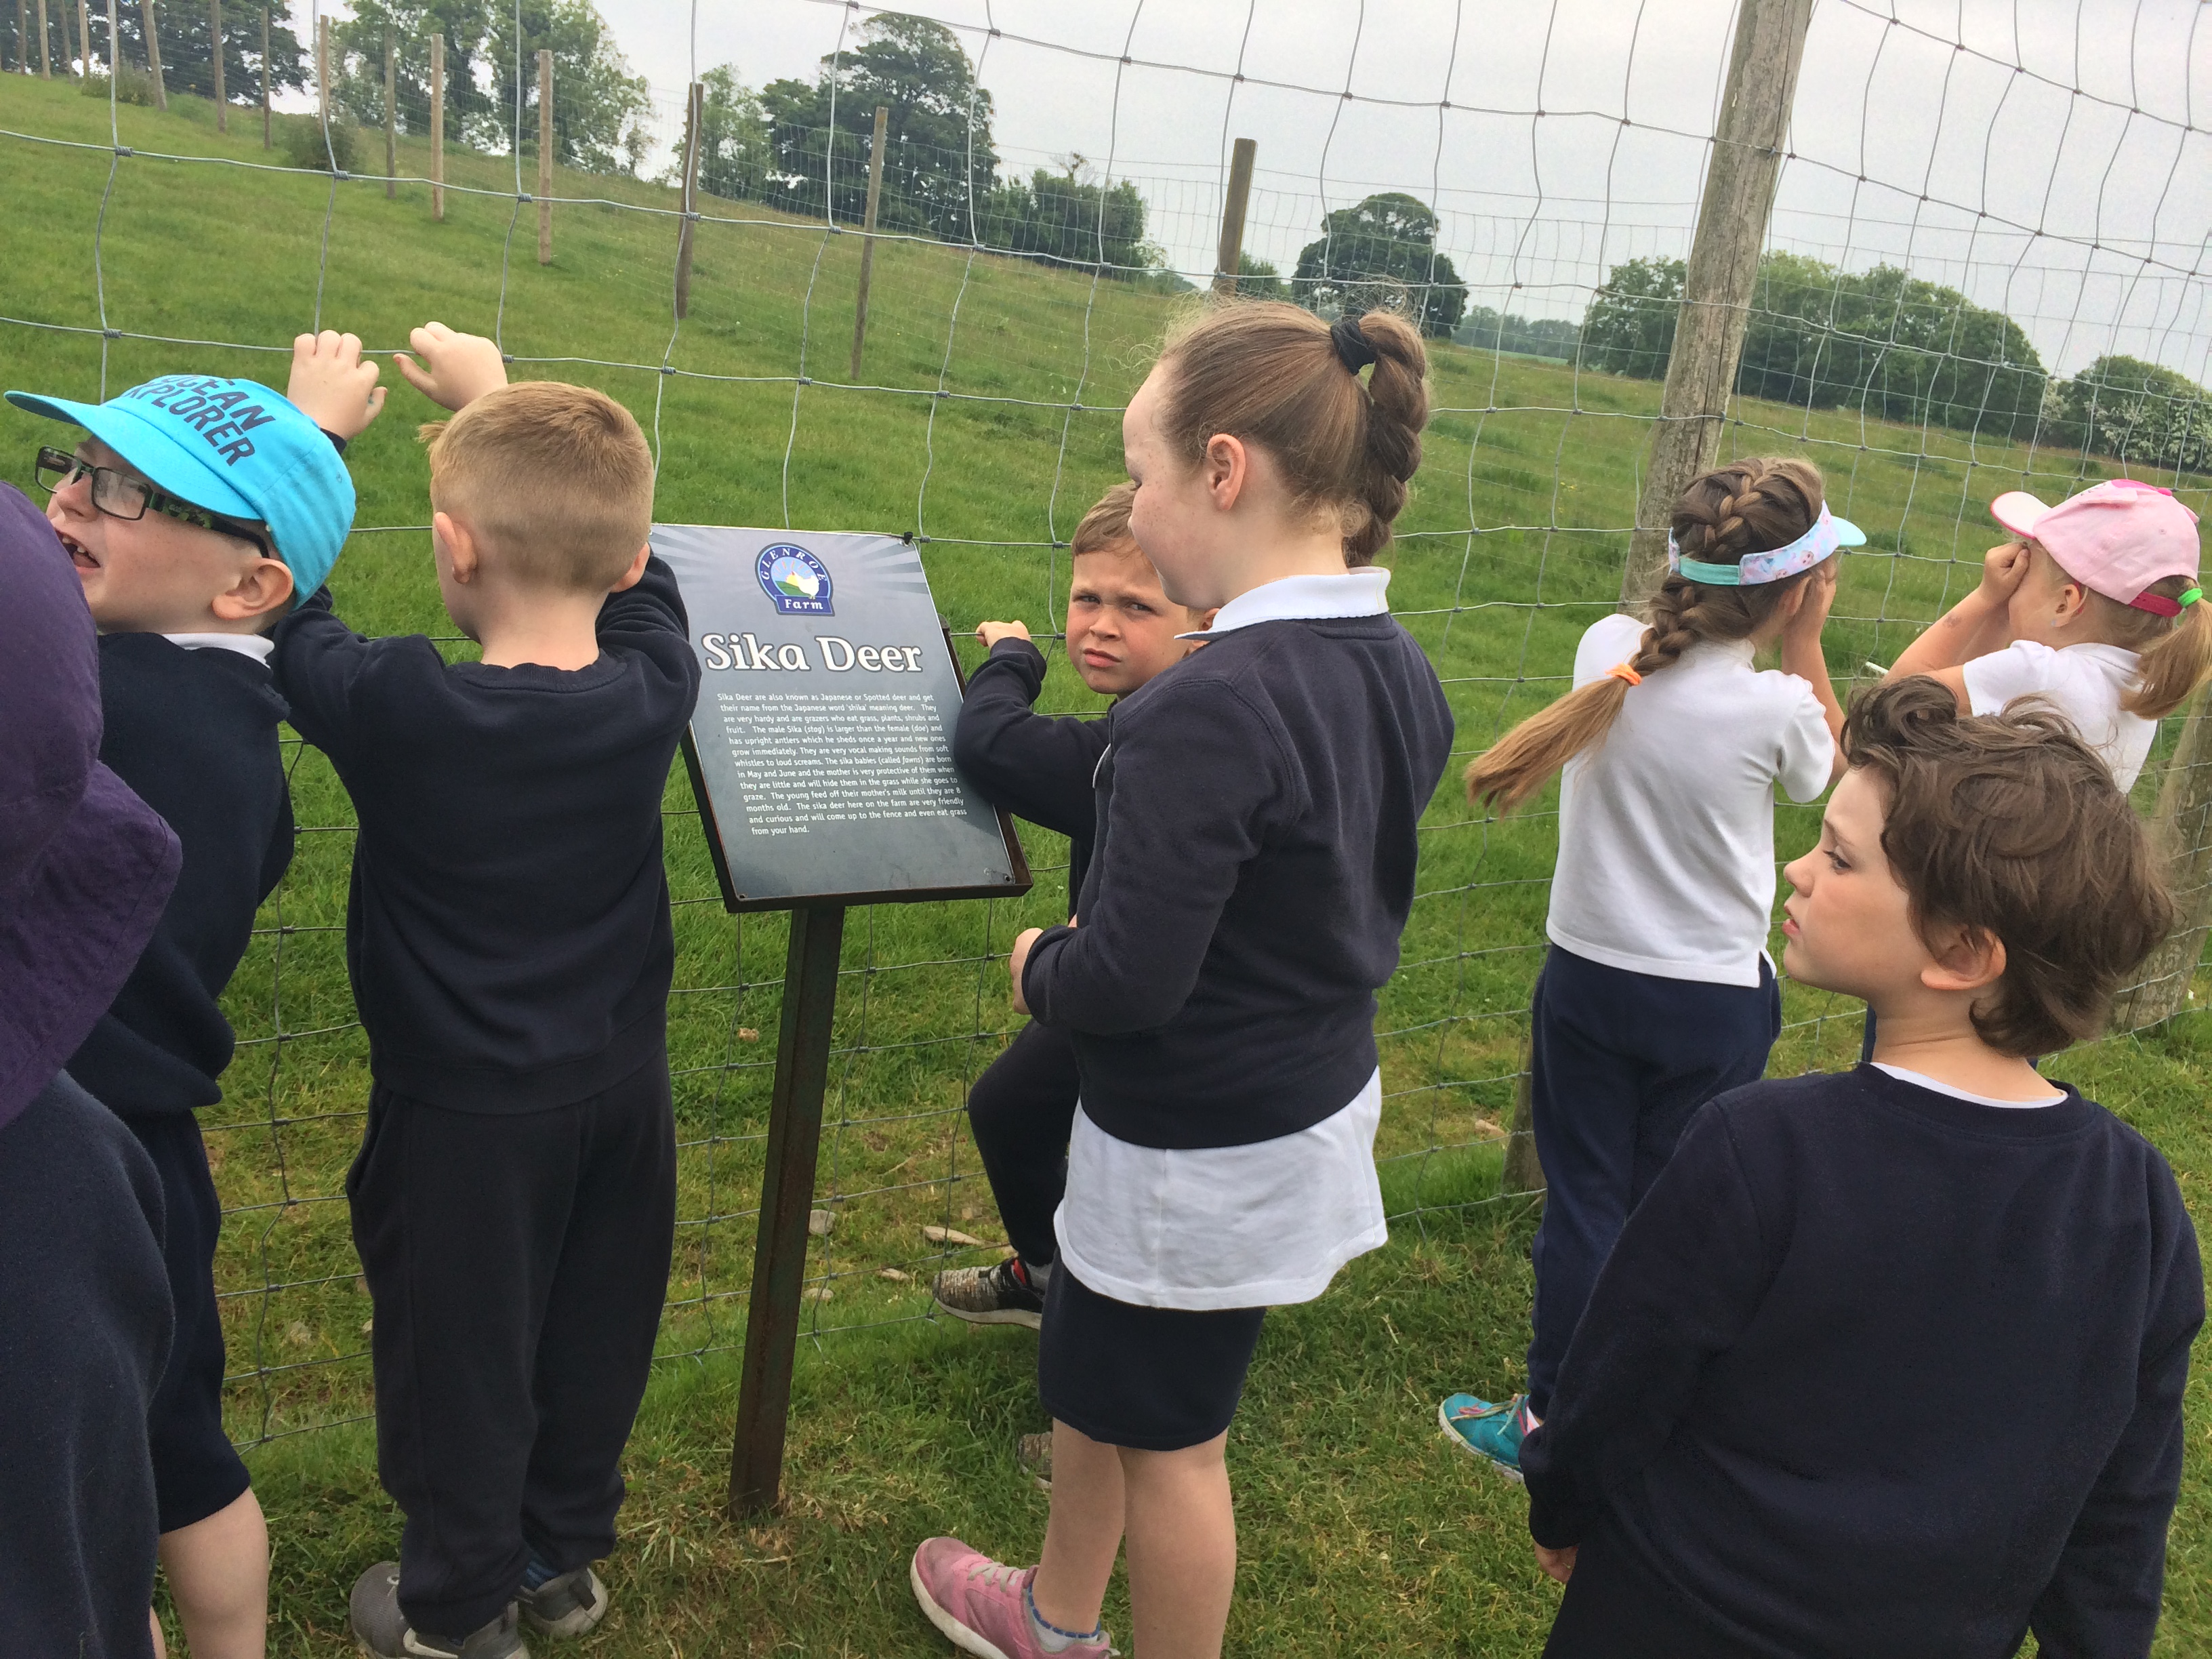
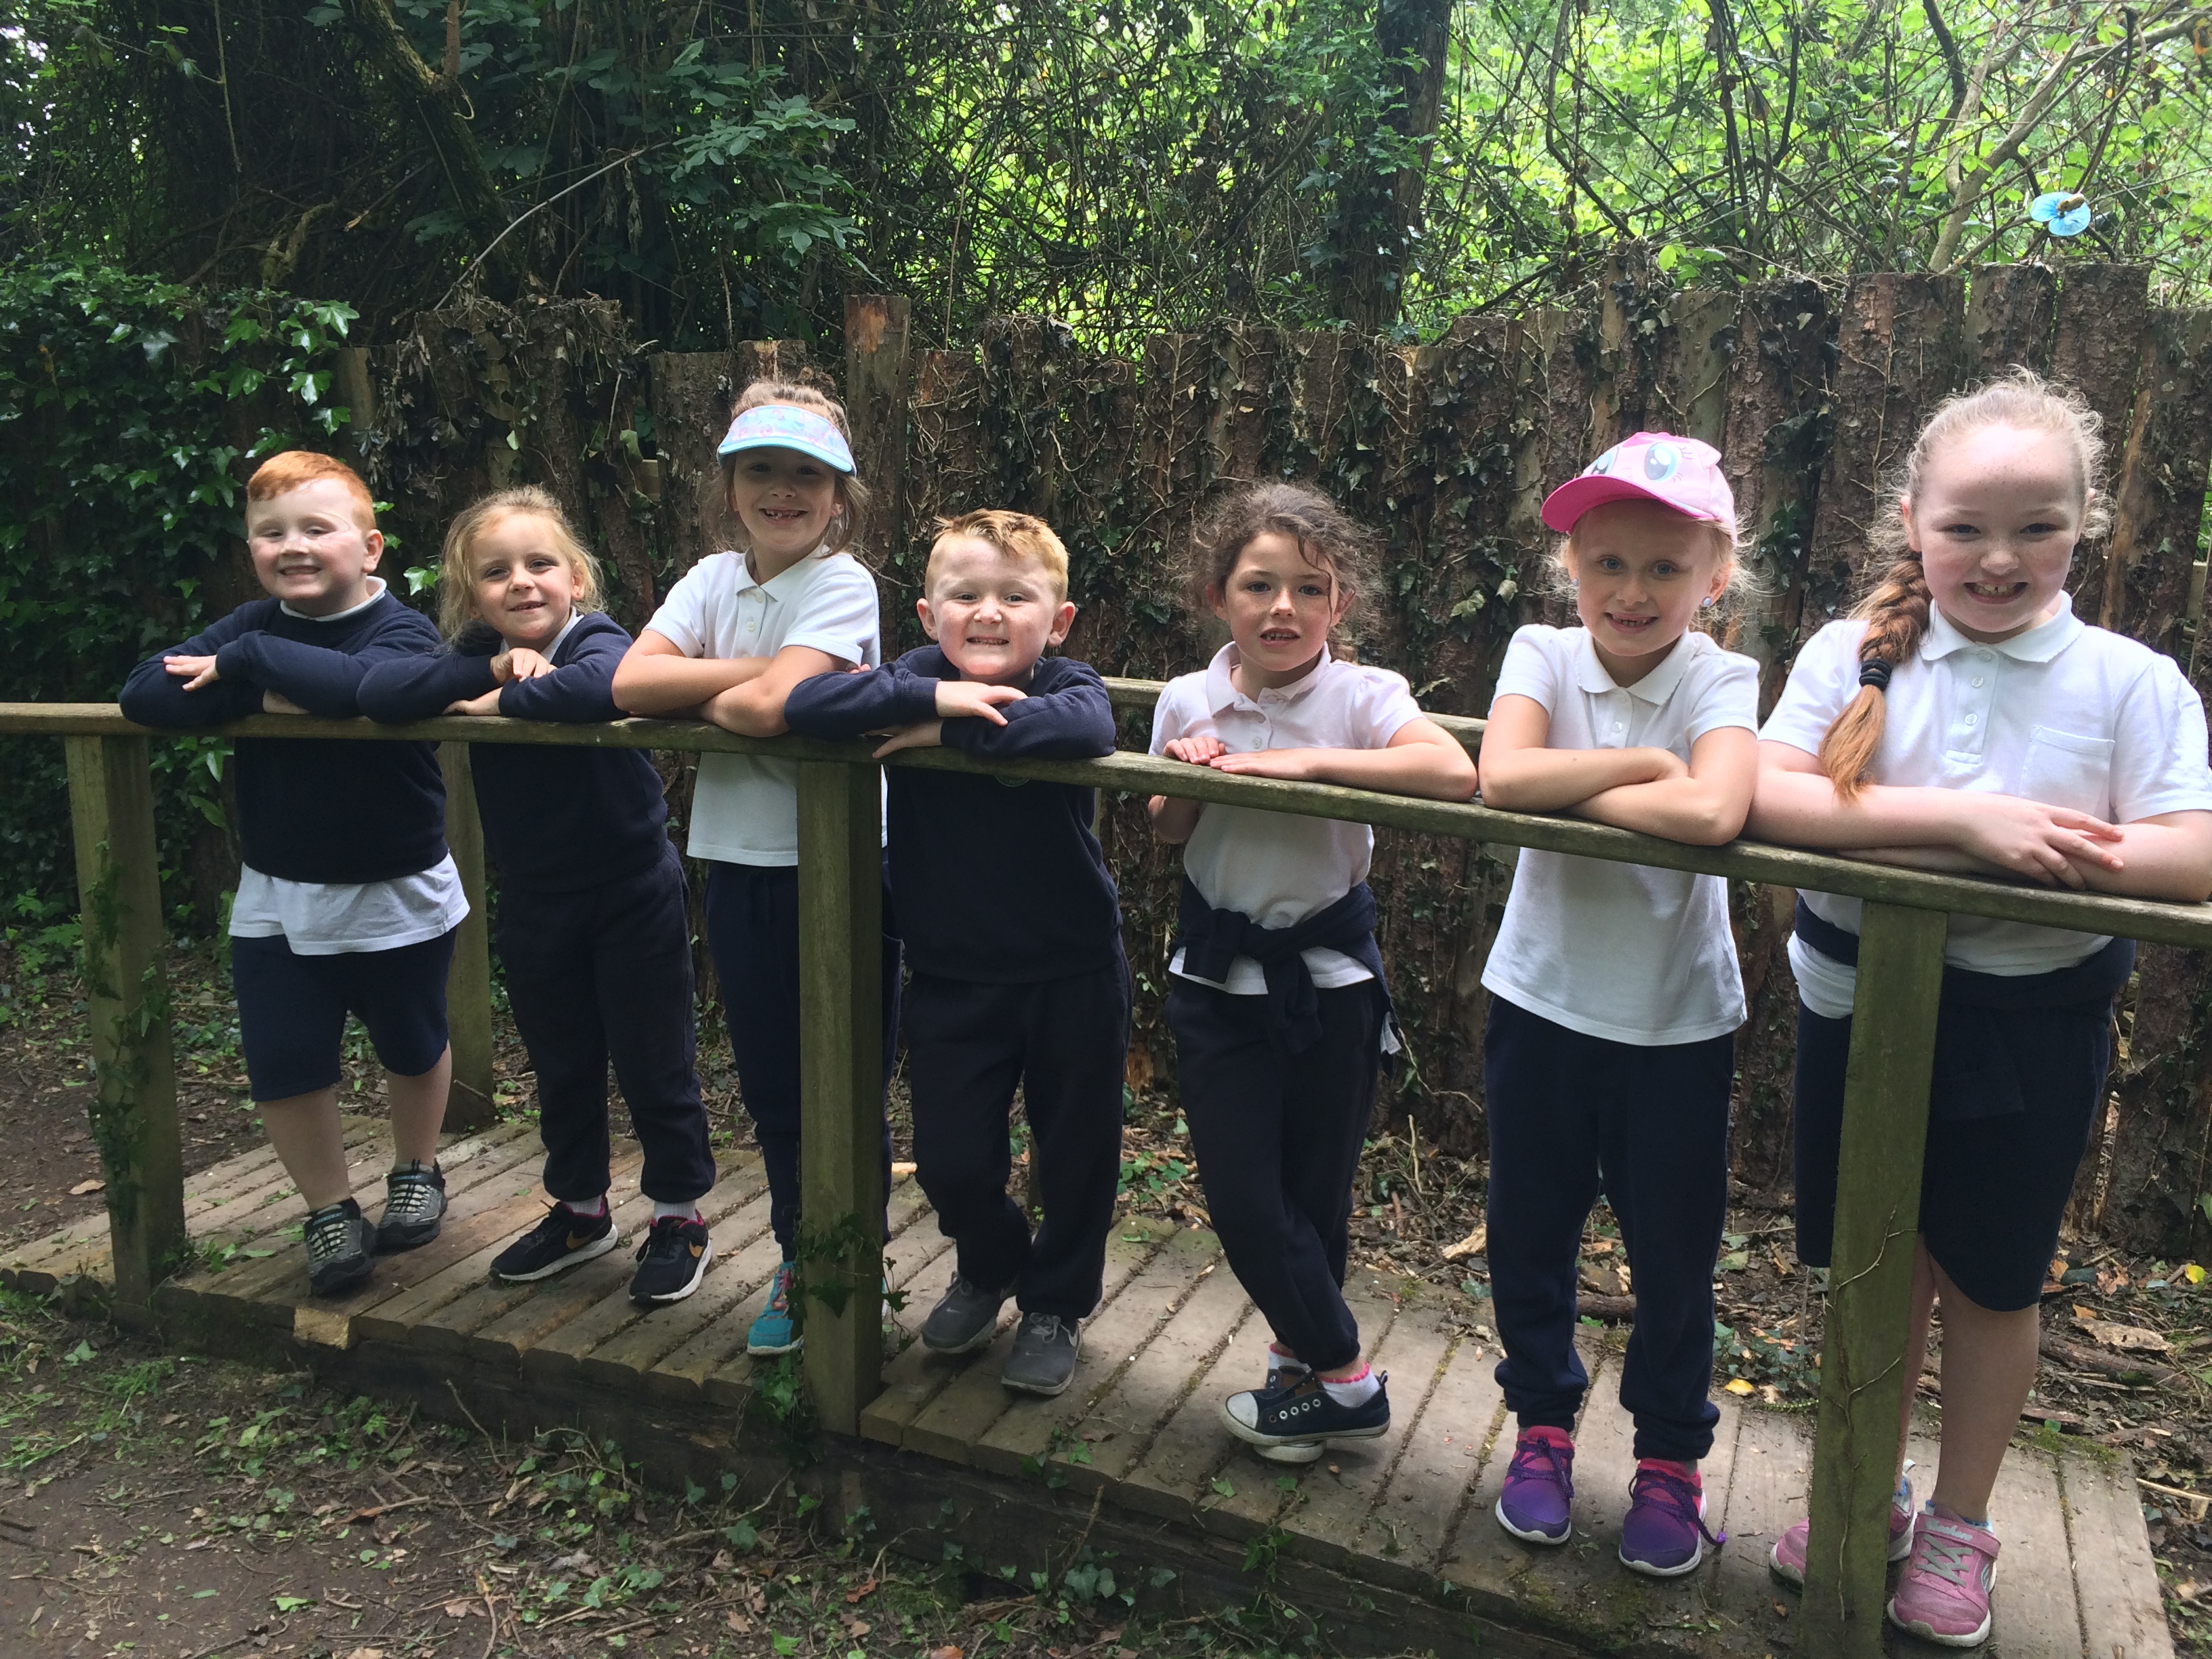
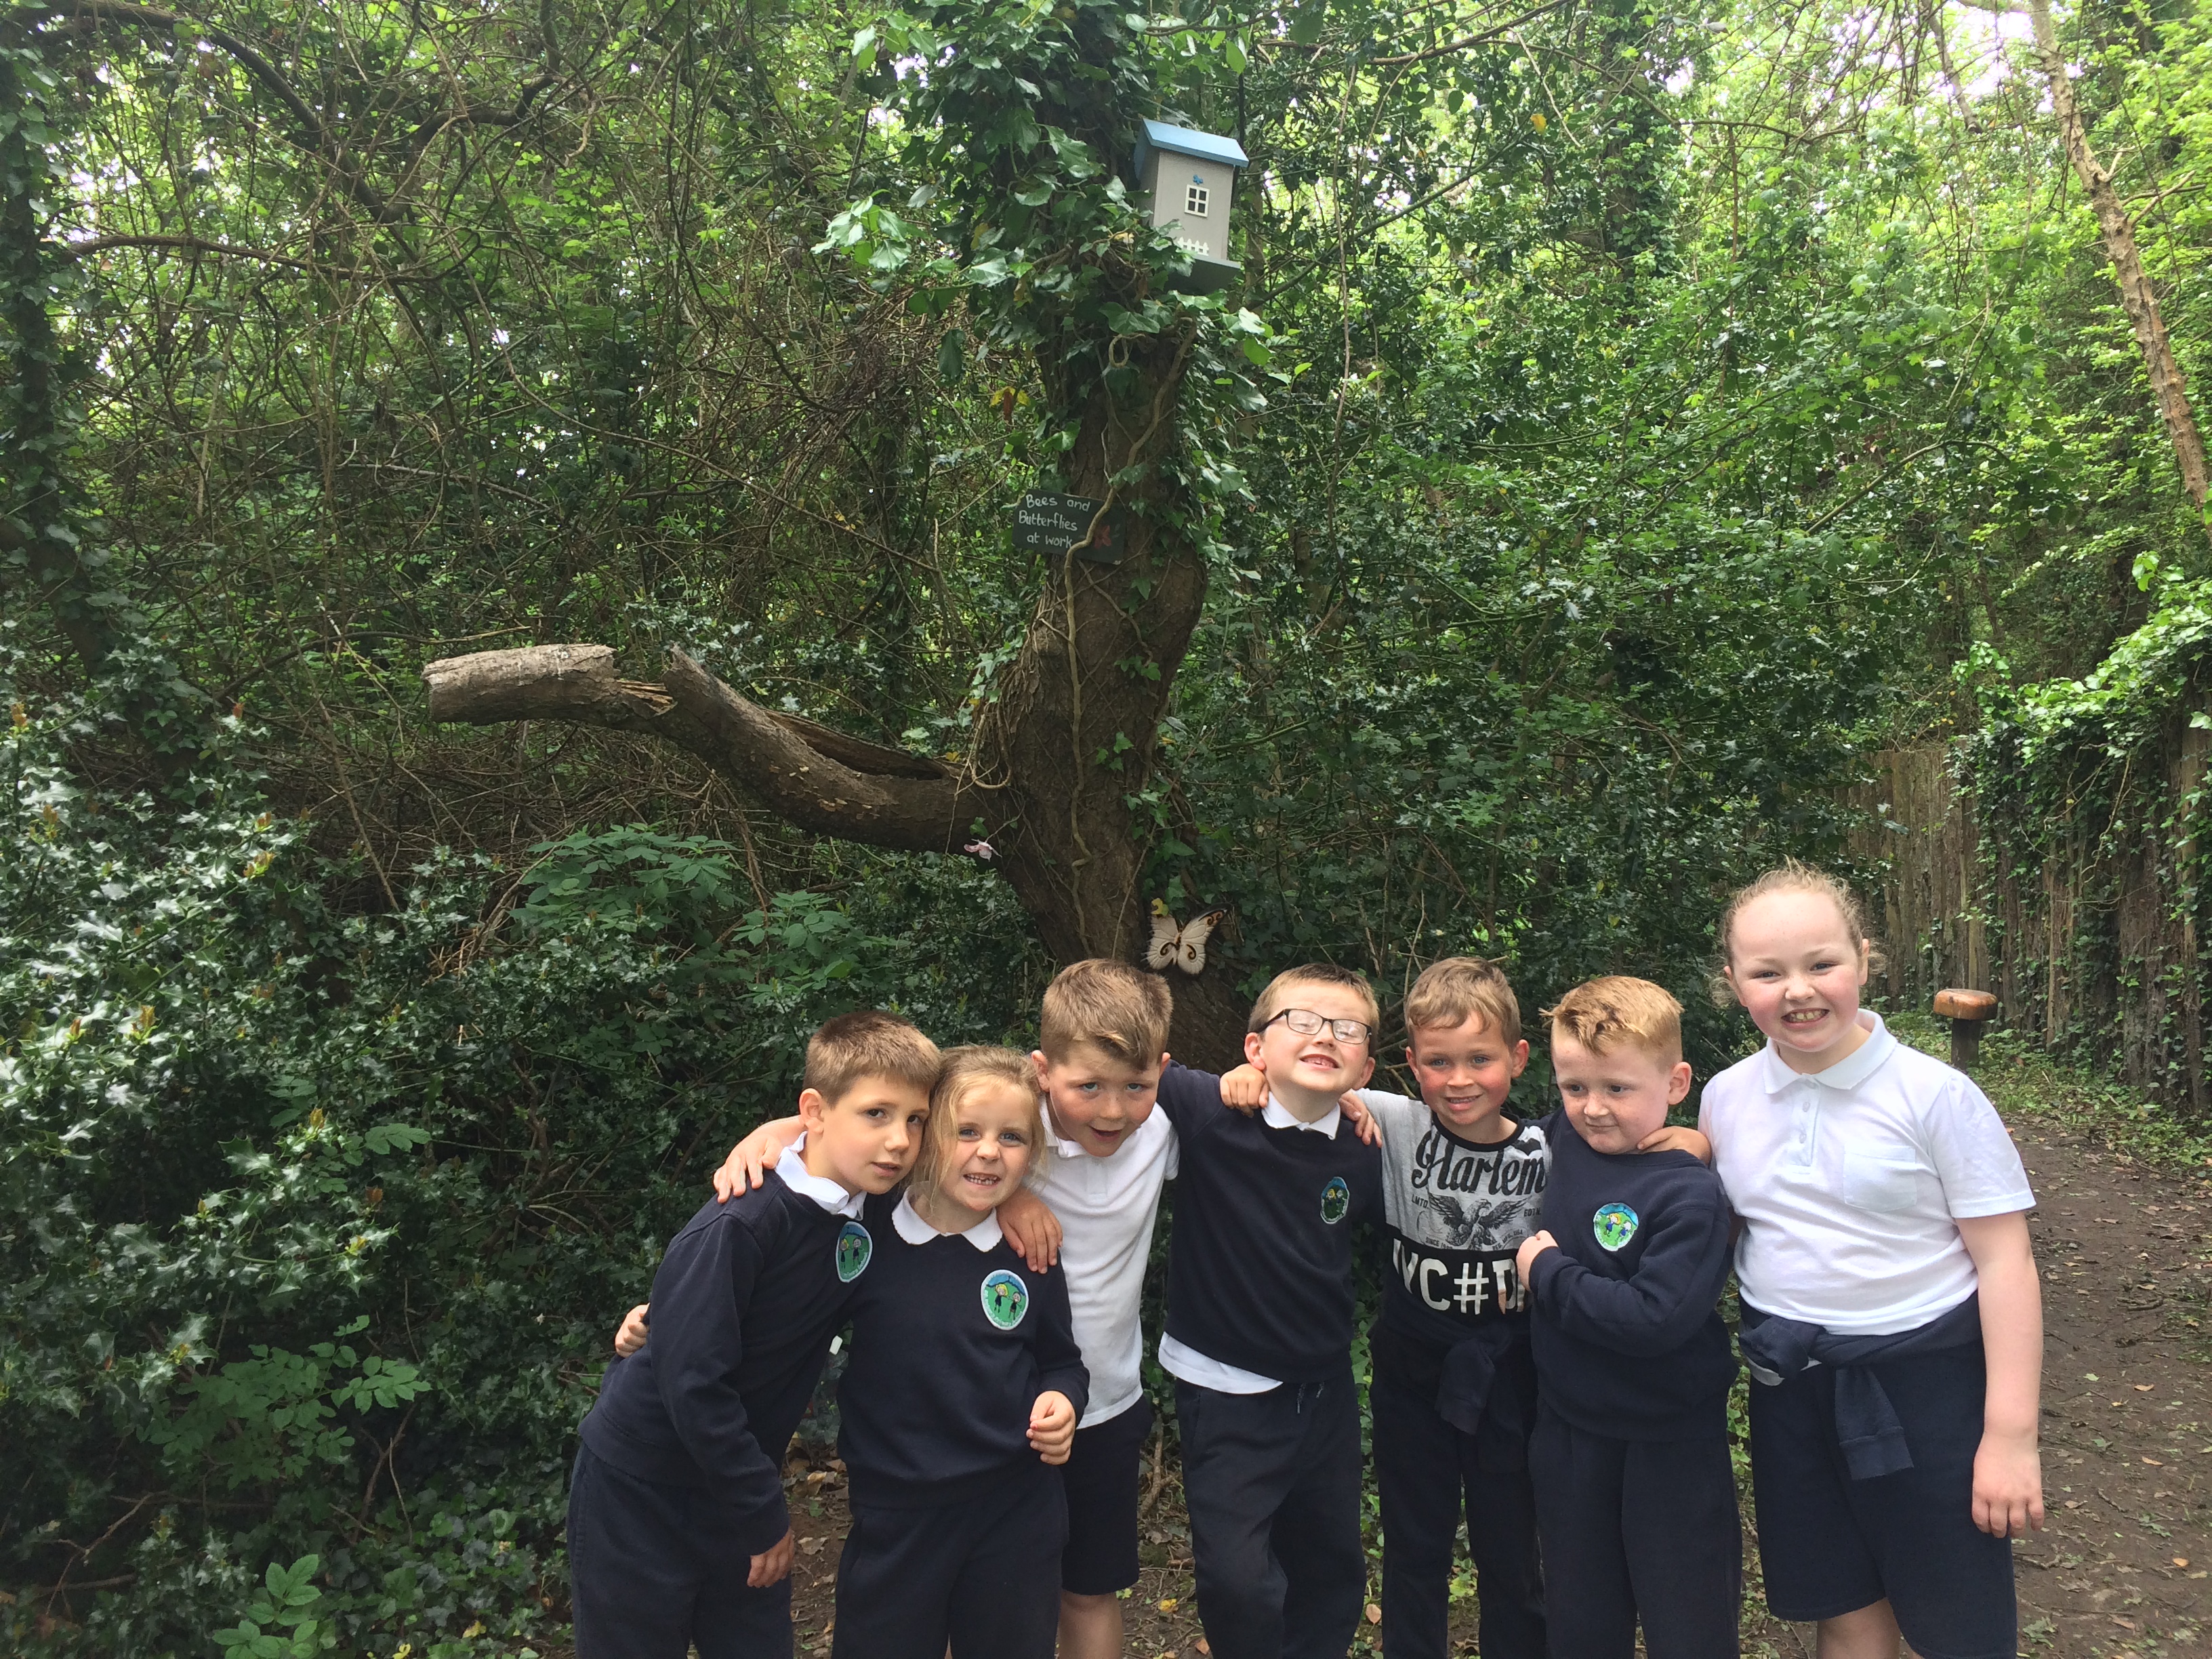
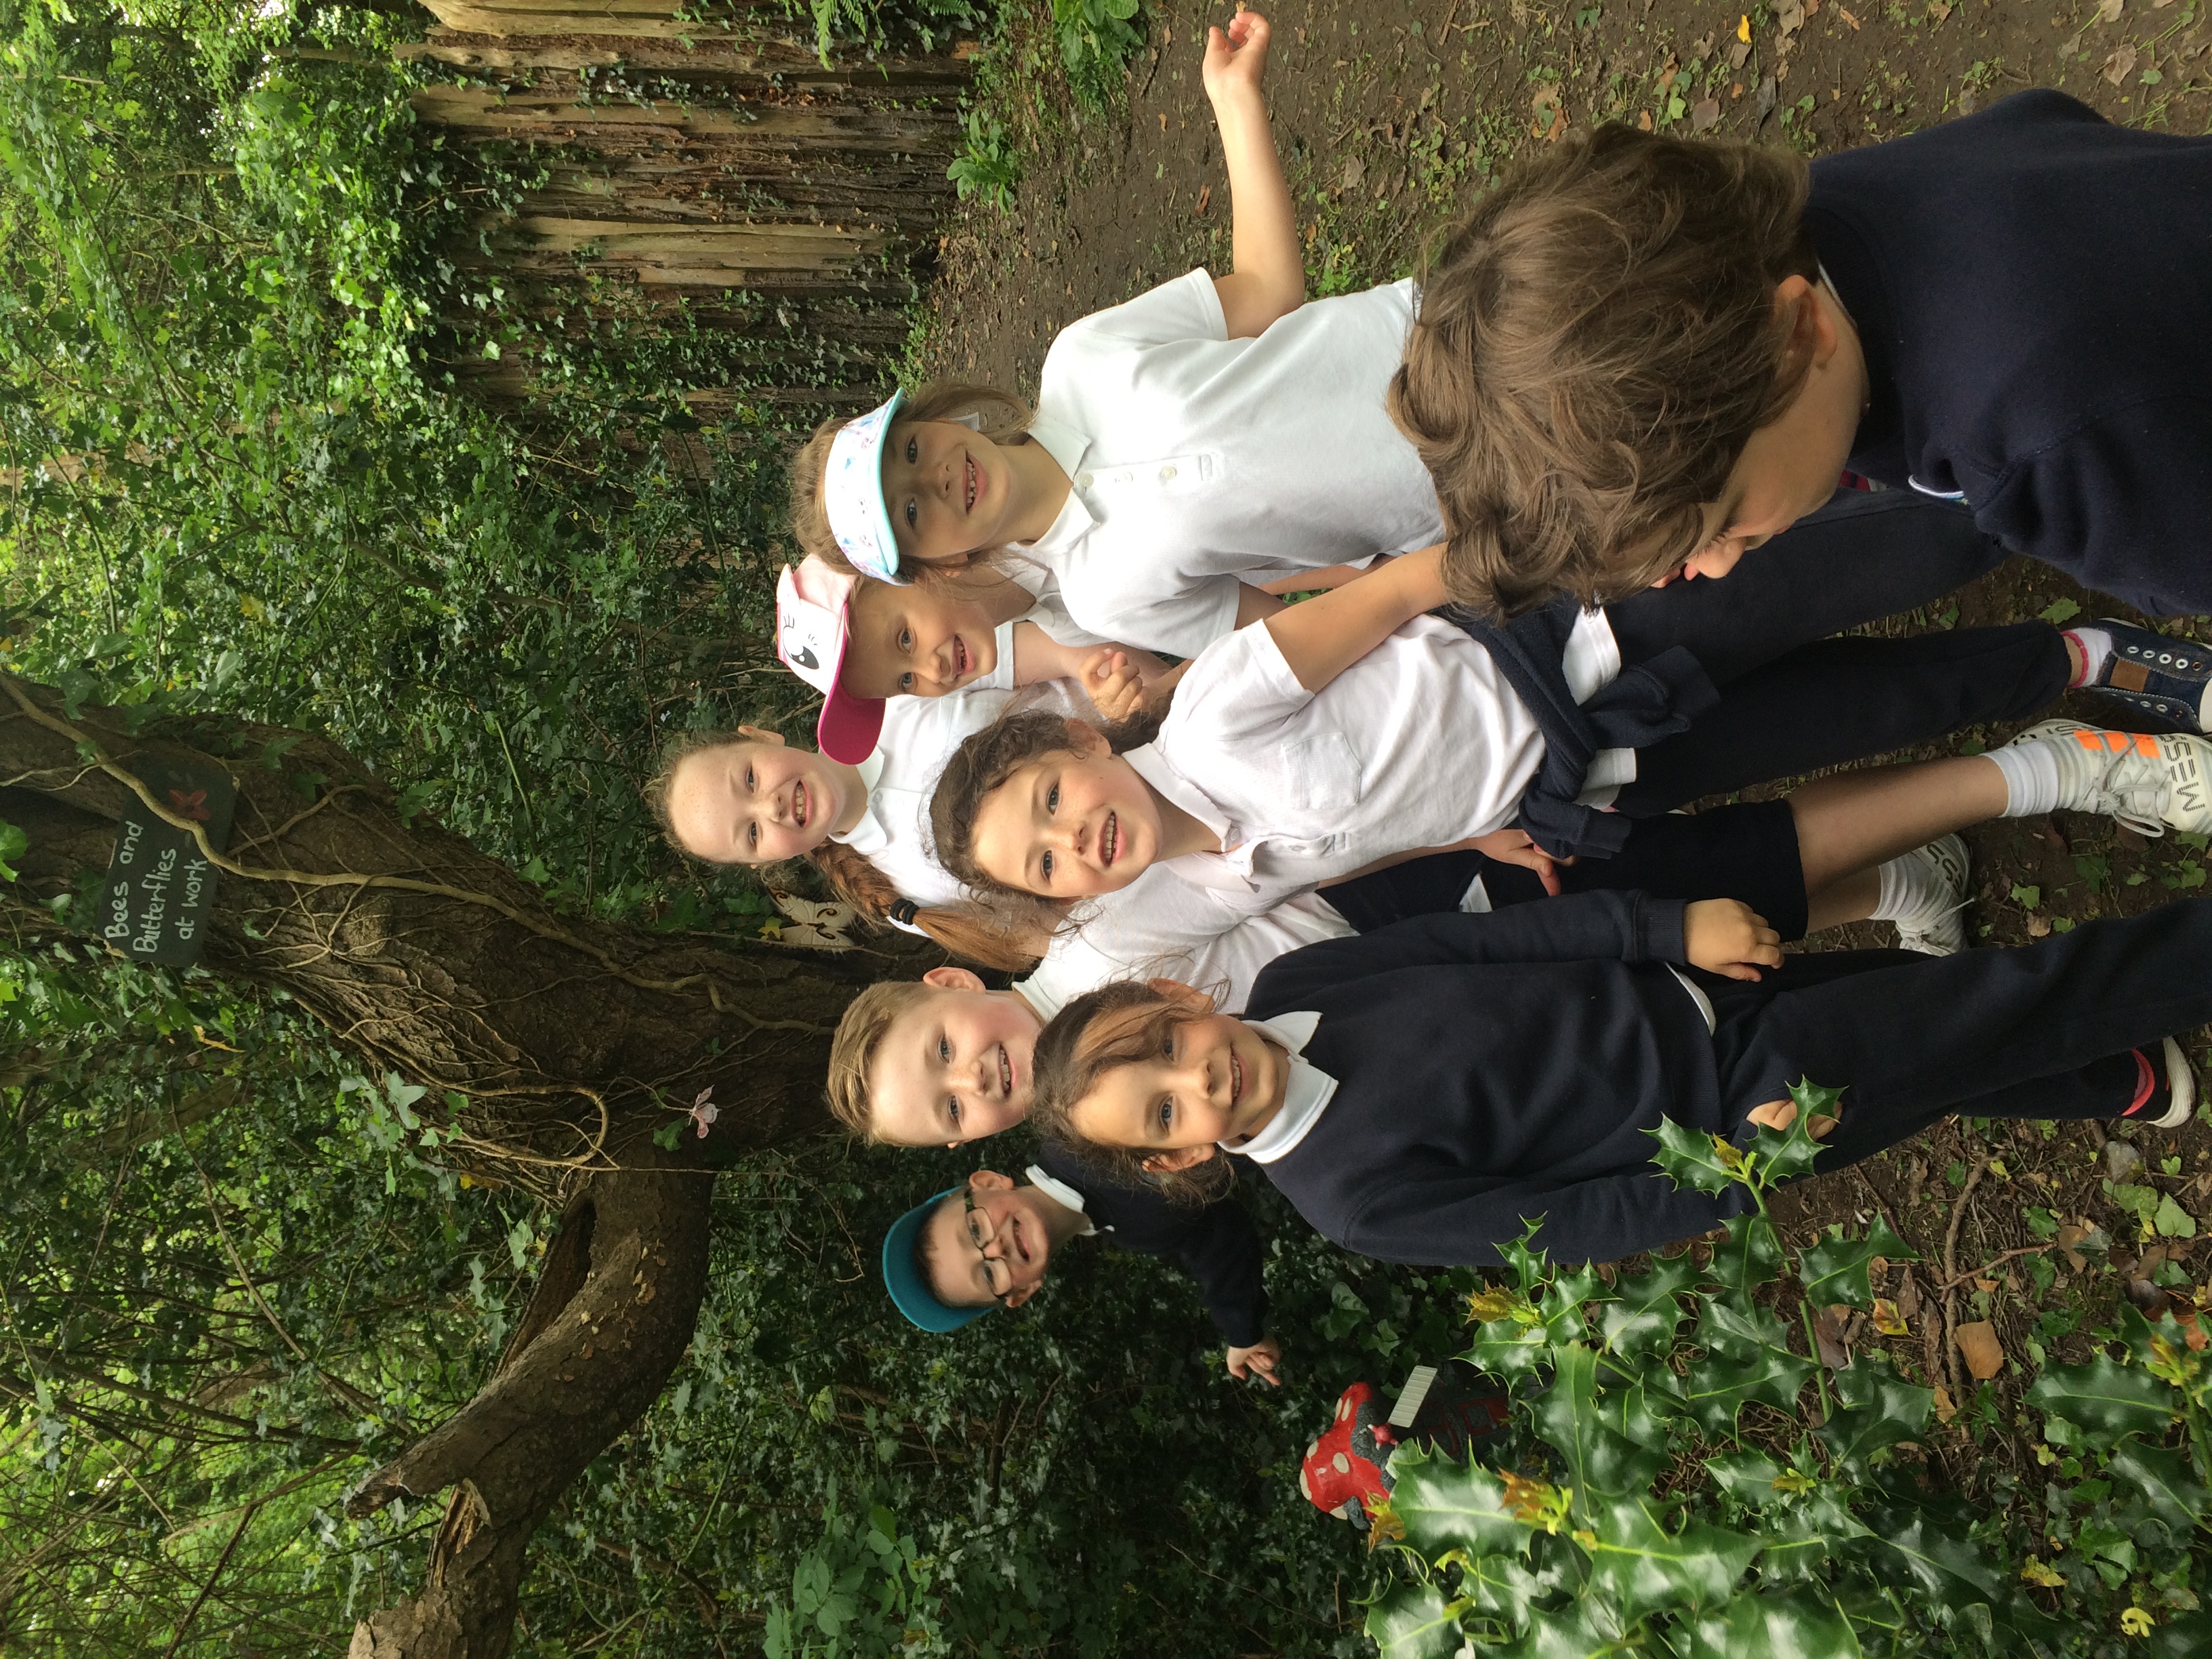
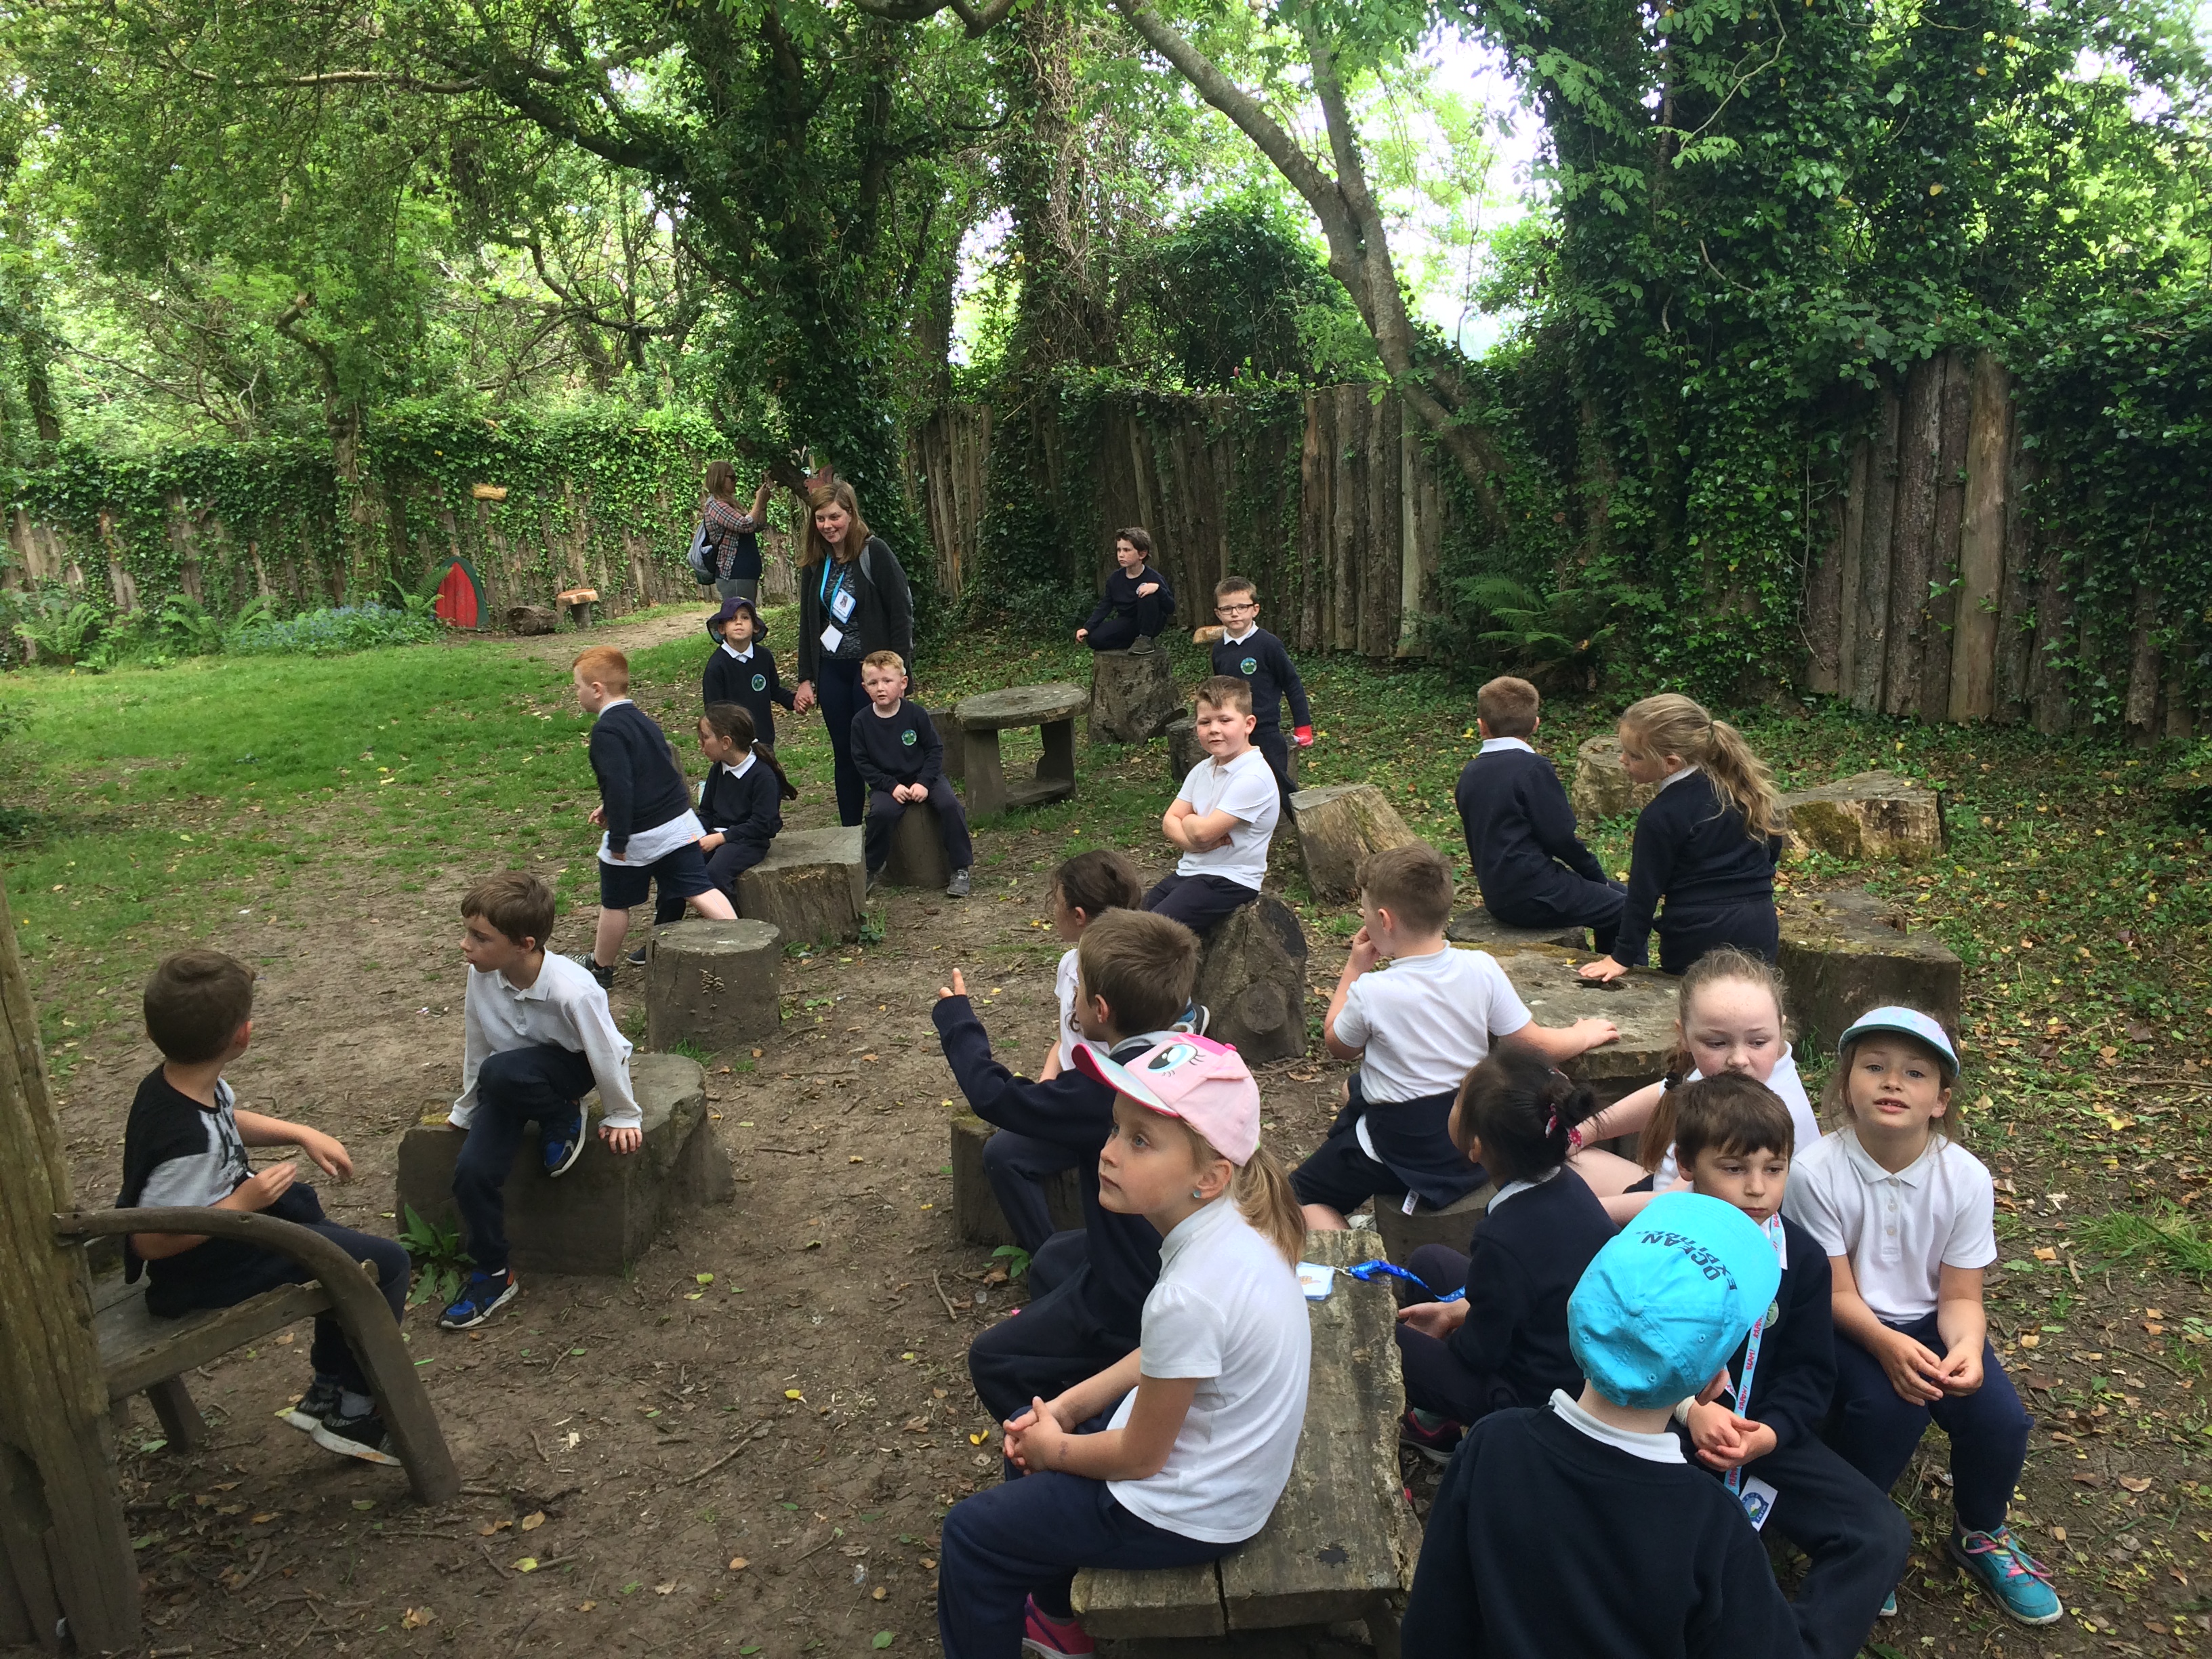
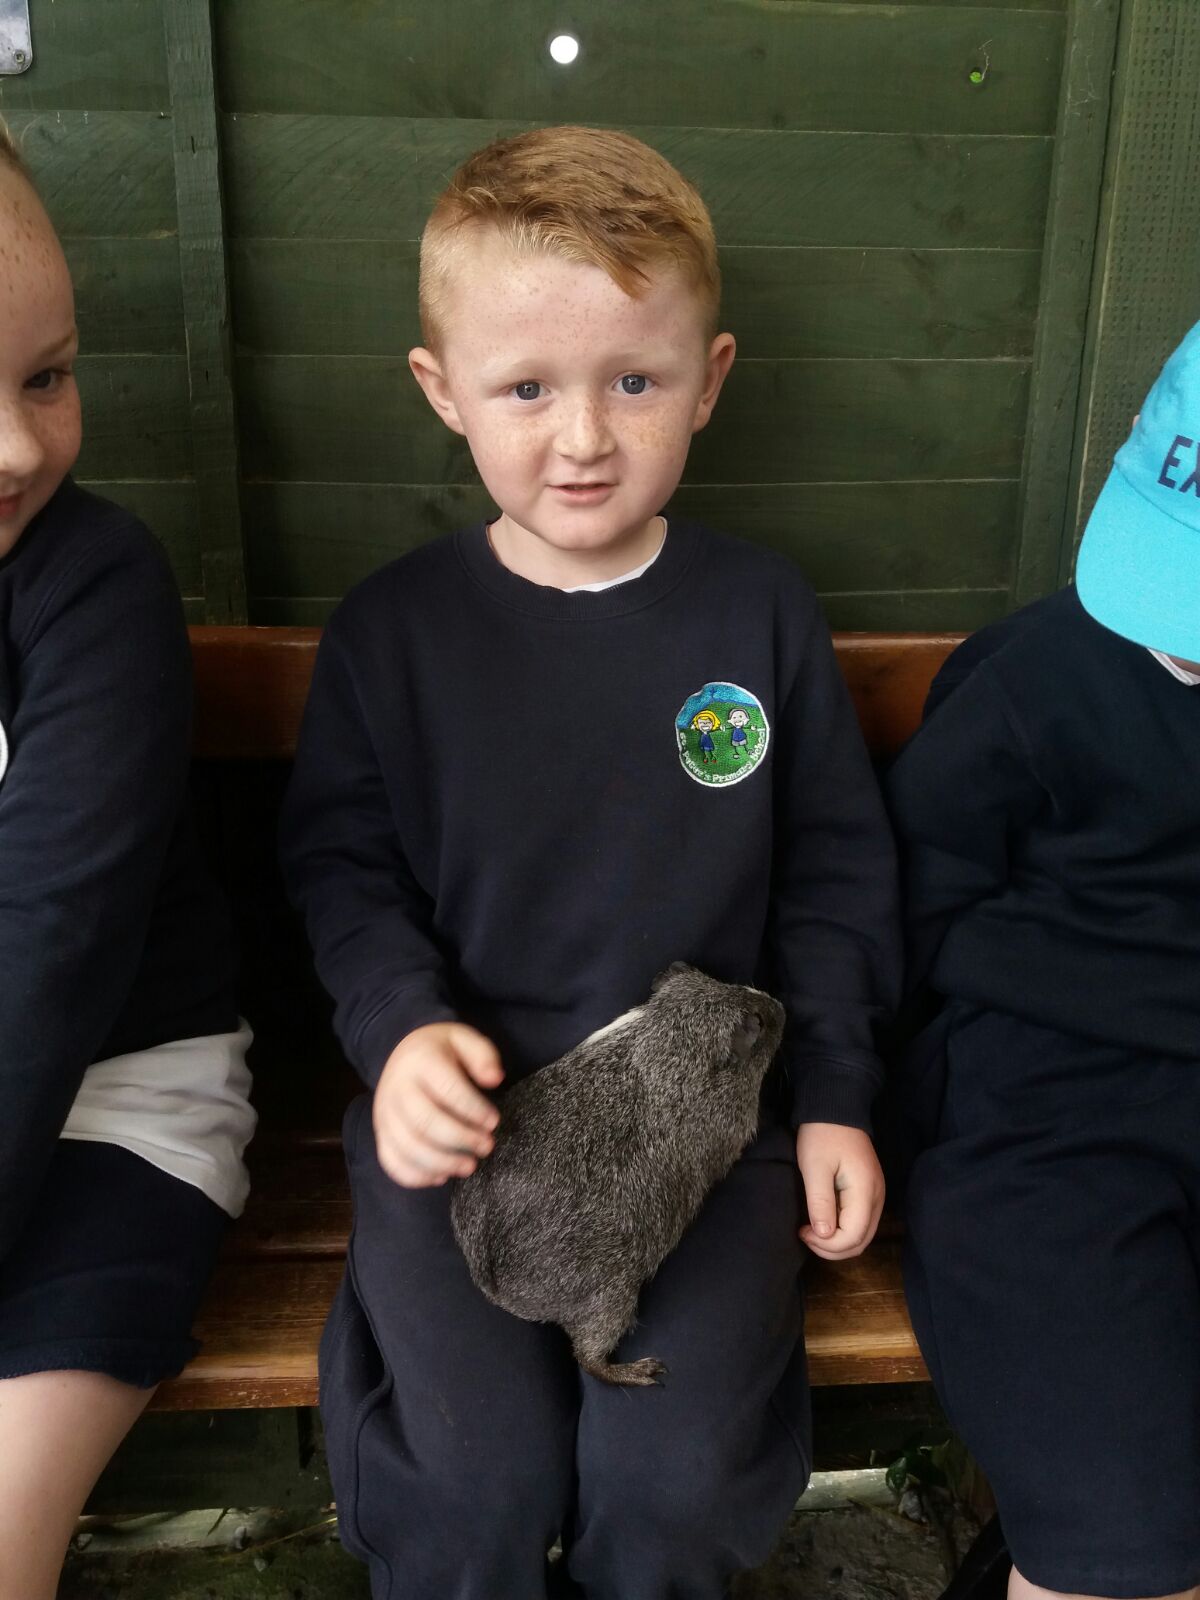
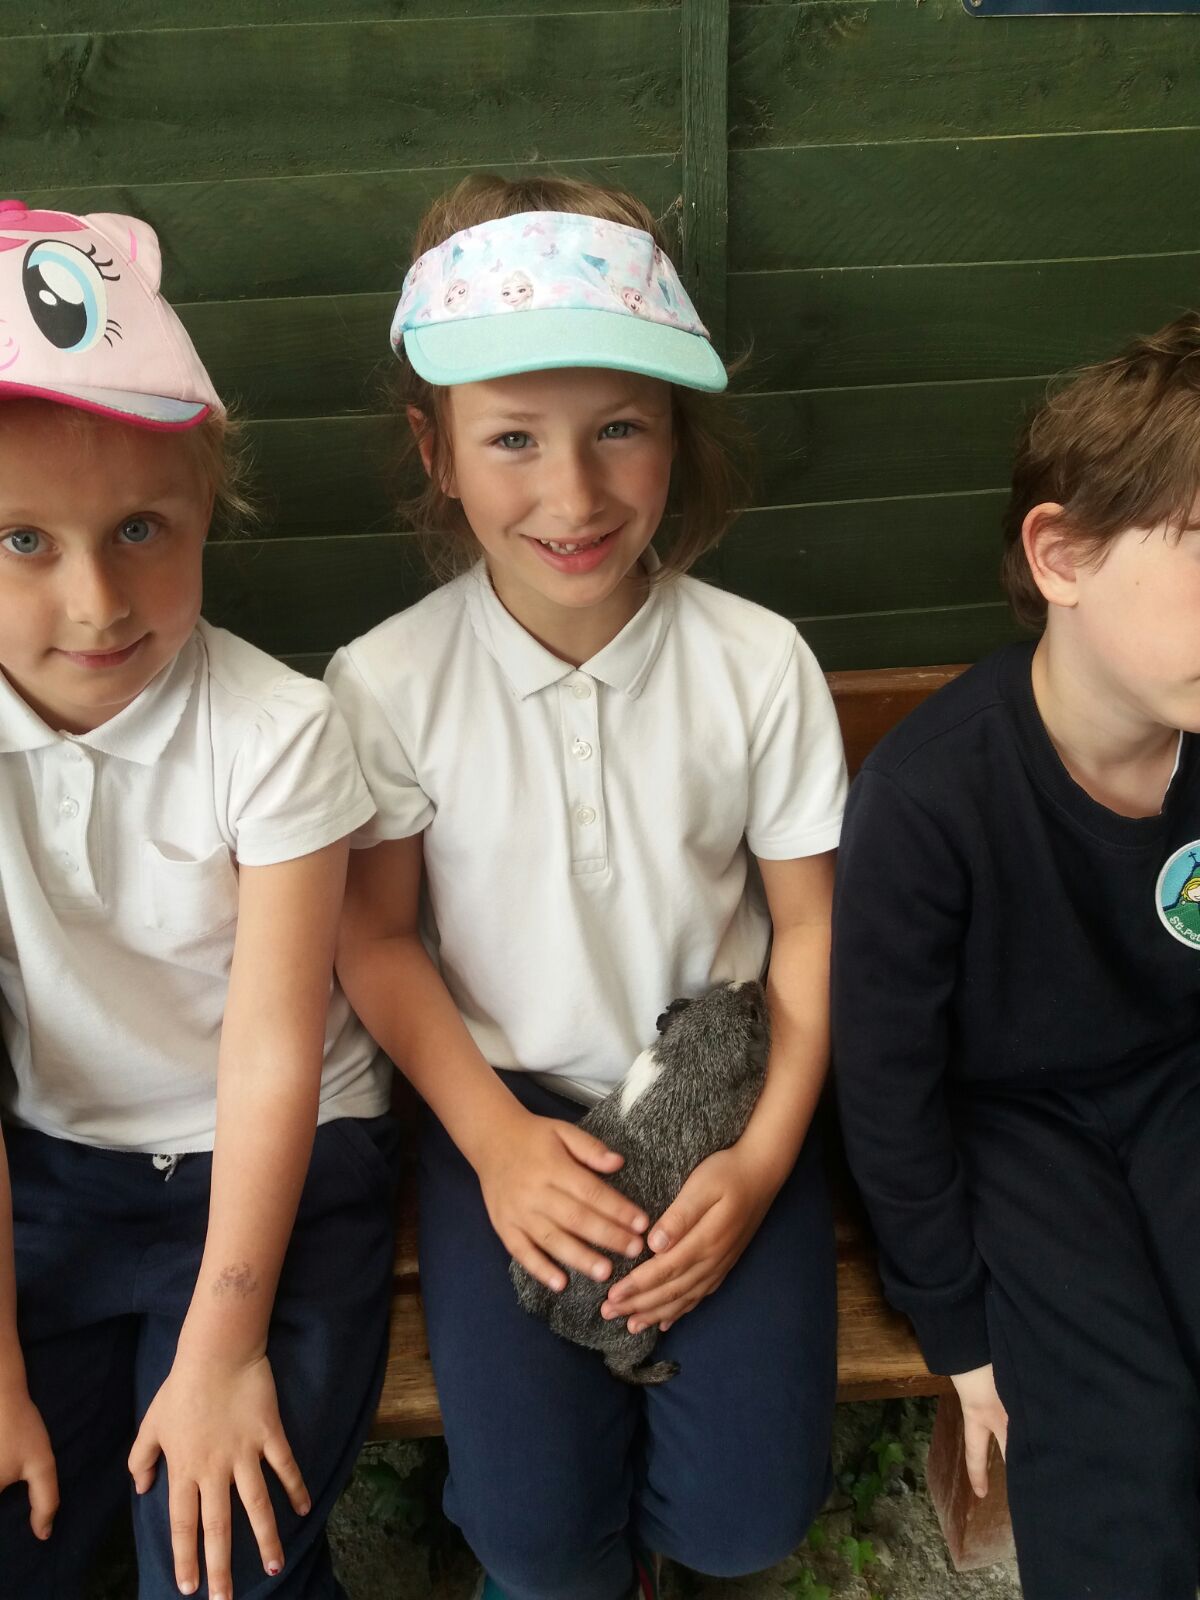
On the 31st of May Senior Infants went on their very first school tour to Glenroe Farm. We had such an amazing day at the petting area, fairy walk and the play ground. Just look at all the smiling faces in our lovely photos
. 


Welcome to our submission for the Discover Primary Science and Maths award for 2018. This is our 13th year taking part in the Awards! Once again this year we are applying for the Plaque of STEM Excellence. This award is given to schools that carry out extensive work in science, technology, engineering and maths, all of which are very important in St. Peter’s.
This is the 4th year that we have had Junior and Senior Infants taking part in the award! It is great to see the young scientists have so much fun learning about Science and Maths. This year, we did a whole school experiment involving our garden. You can read all about it below. It has been great to see the improvements we can make towards helping our school think about sustainability.
Yet again, a huge amount of work has gone into this. Every class in the whole school has taken part in this application, well done to all the pupils and teachers! For the sixth year in a row, we are using our blog to submit our award and to link back to our activities that have taken part during the year. Our SFI Award number this year is WW013.
Step 1: Science
For this step, we carried out six hands-on Science investigations under the four different strands in classes throughout the school. We also tried to include Maths in these investigations where possible, linking in with Step 4.
Boys and girls from 3rd, 4th, 5th, and 6th class took part in the First Lego League again this year thanks to Mr. Kinsella and Mr. Foley, in partnership with Salesforce. You can read all about the huge effort that went in to planning for their trip to Galway here.
You can also read all about our Space Week activites here and here!
6th Class also took part in the BT Young Scientist and Technology Exhibition, which you can read all about here.
Step 2: Technology
In the second step, we had to ensure that technology was used by our pupils. As a previous winner of the Junior Spider Awards, technology has become a part of every-day life in St. Peter’s. We were also awarded the Digital School of Distinction award, which showcased the effort and time we put in incorporating technology into our daily school lives.
Mr. Kinsella and Mr. Foley ran an after school club which culminated in our school taking part in the FIRST Lego League in Galway. It was a superb experience yet again for the boys and girls which you can read about here.
Throughout all the other classes in the school, pupils of every age have also used cameras, laptops, animoto, and this blog, as well as apps such as vine and twitter, to showcase the work that they have been doing during the course of the year. As you can see from our submission this year, we have continued to implement technology in our day-to-day teaching and learning, with Maths and Science at the forefront of this. You can check out all of our tweets from the year @stpetersbray!
Step 3: Engineering
For the third step of our application for the DPSM Plaque of STEM Excellence, we have had a big focus on the Design and Make element of Science. Our staff have worked previously in conjunction with St. Patrick’s College regarding professional development in STEM. A big part of this focused on the Design and Make process, and helped us make sure STEM was an integral part of our engineering activities. An example of how we look to incorporate STEM into our lessons can be seen here, where 2nd Class made their own bridges!
We include two examples of our Design and Make lessons as part of our application. As you can see from our blog post by 6th Class here, we have numerous examples of engineering taking place in our school across many classes during Engineers Week.
Step 4: Maths
Throughout our Science investigations, we incorporated Maths where possible, For example, 4th learned about measue and used charts to record their results here, and 6th Class used mathematical skills to record their rollercoaster experiment, which you can read about here.
Step 5: STEM Showcase
6th Class took part yet again in the BT Young Scientist Exhibition in the RDS in January this year. This year they investigated rollercoasters. As always, they put a lot of effort into their submission, and presented it brilliantly on the day. You can read about their work here.
We hoped you enjoyed reading our submission!
In Senior Infants we were learning all about what happens to the flowers and plants in Spring time.
We decided to grow our very own little seed pots in our classroom.
First we had a class discussion on:
YOU WILL NEED:
Seeds
Plant pots
A bag of compost
Water
Our Instructions
To helped our plants to grow, we moved them around the classroom to help keep them in the sun light.
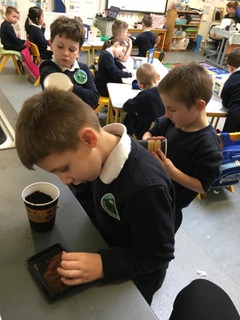
Here are our photos of us planting and growing our seeds. We also measured our stems every day to see if they have grown.

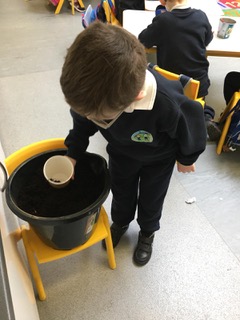
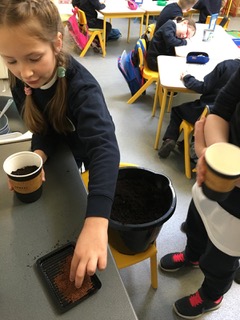
Here we are putting our soil and seeds into our pots.
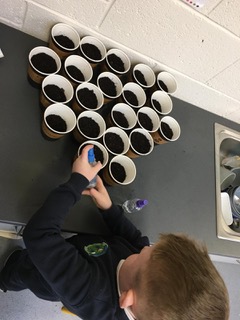
We watered our flower pots at the start and at the end of every day.
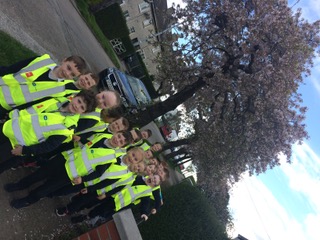
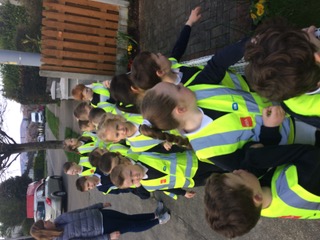
We went on a Spring Nature walk to see the new plants and buds on the leaves, this walk really helped us to see different kinds of plants as they start to grow.

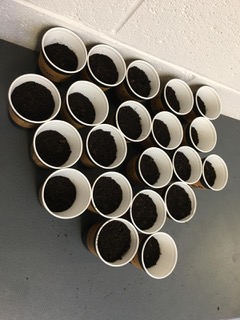
FINALLY, after a few weeks our seeds had grown and filled out pots. Just in time to be taken home for St. Patrick’s Day.
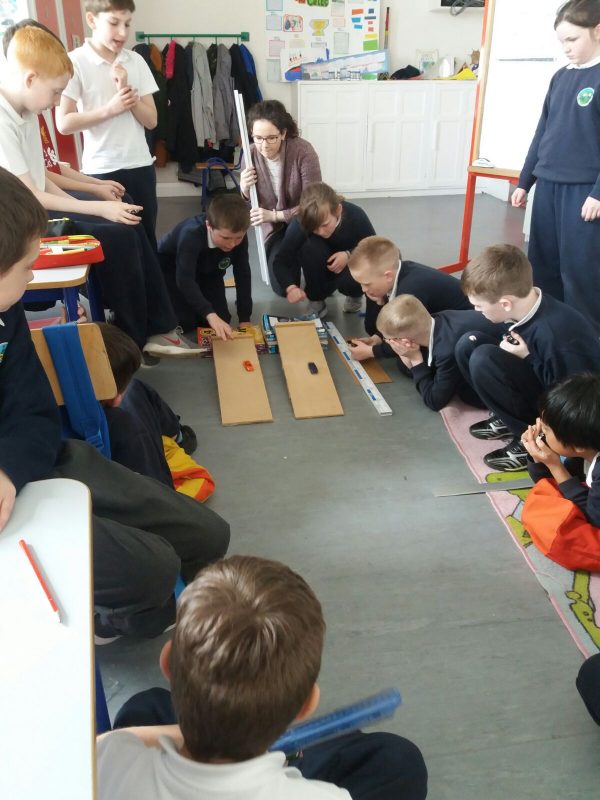
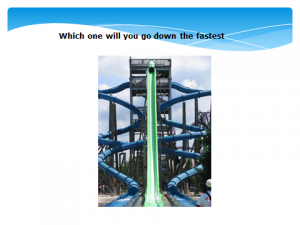
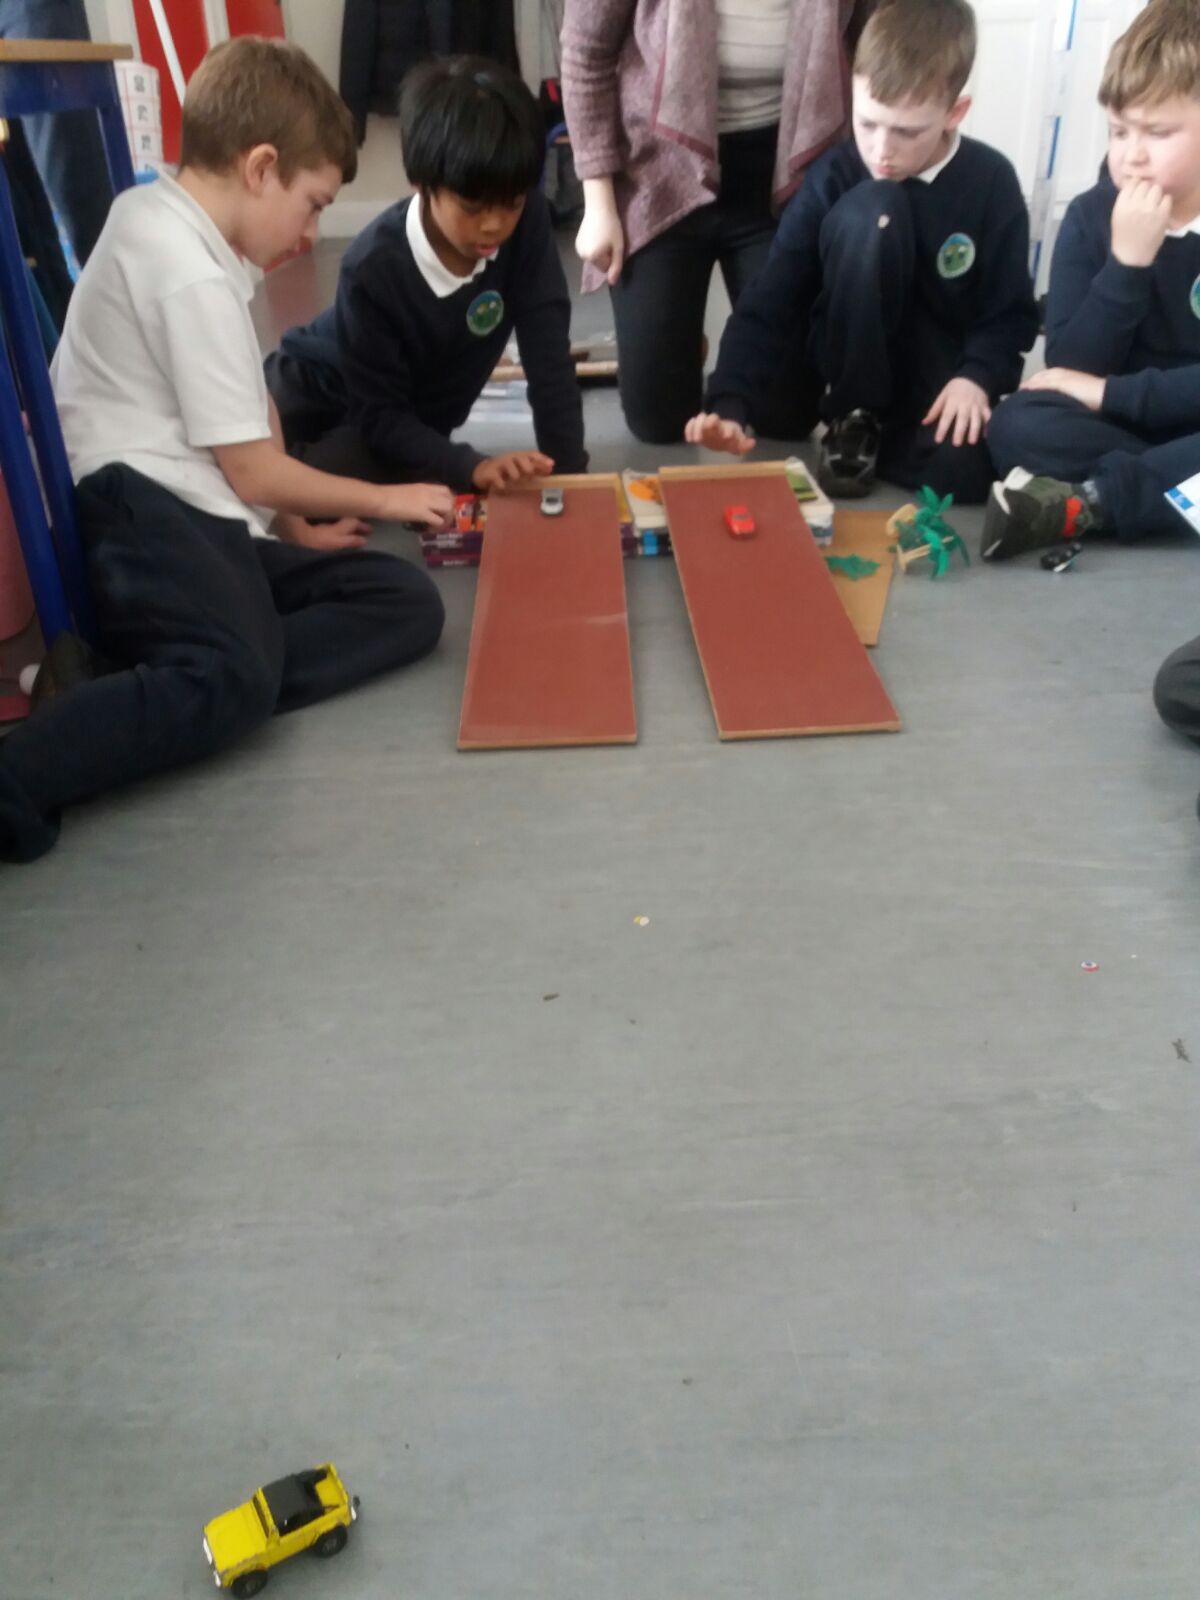
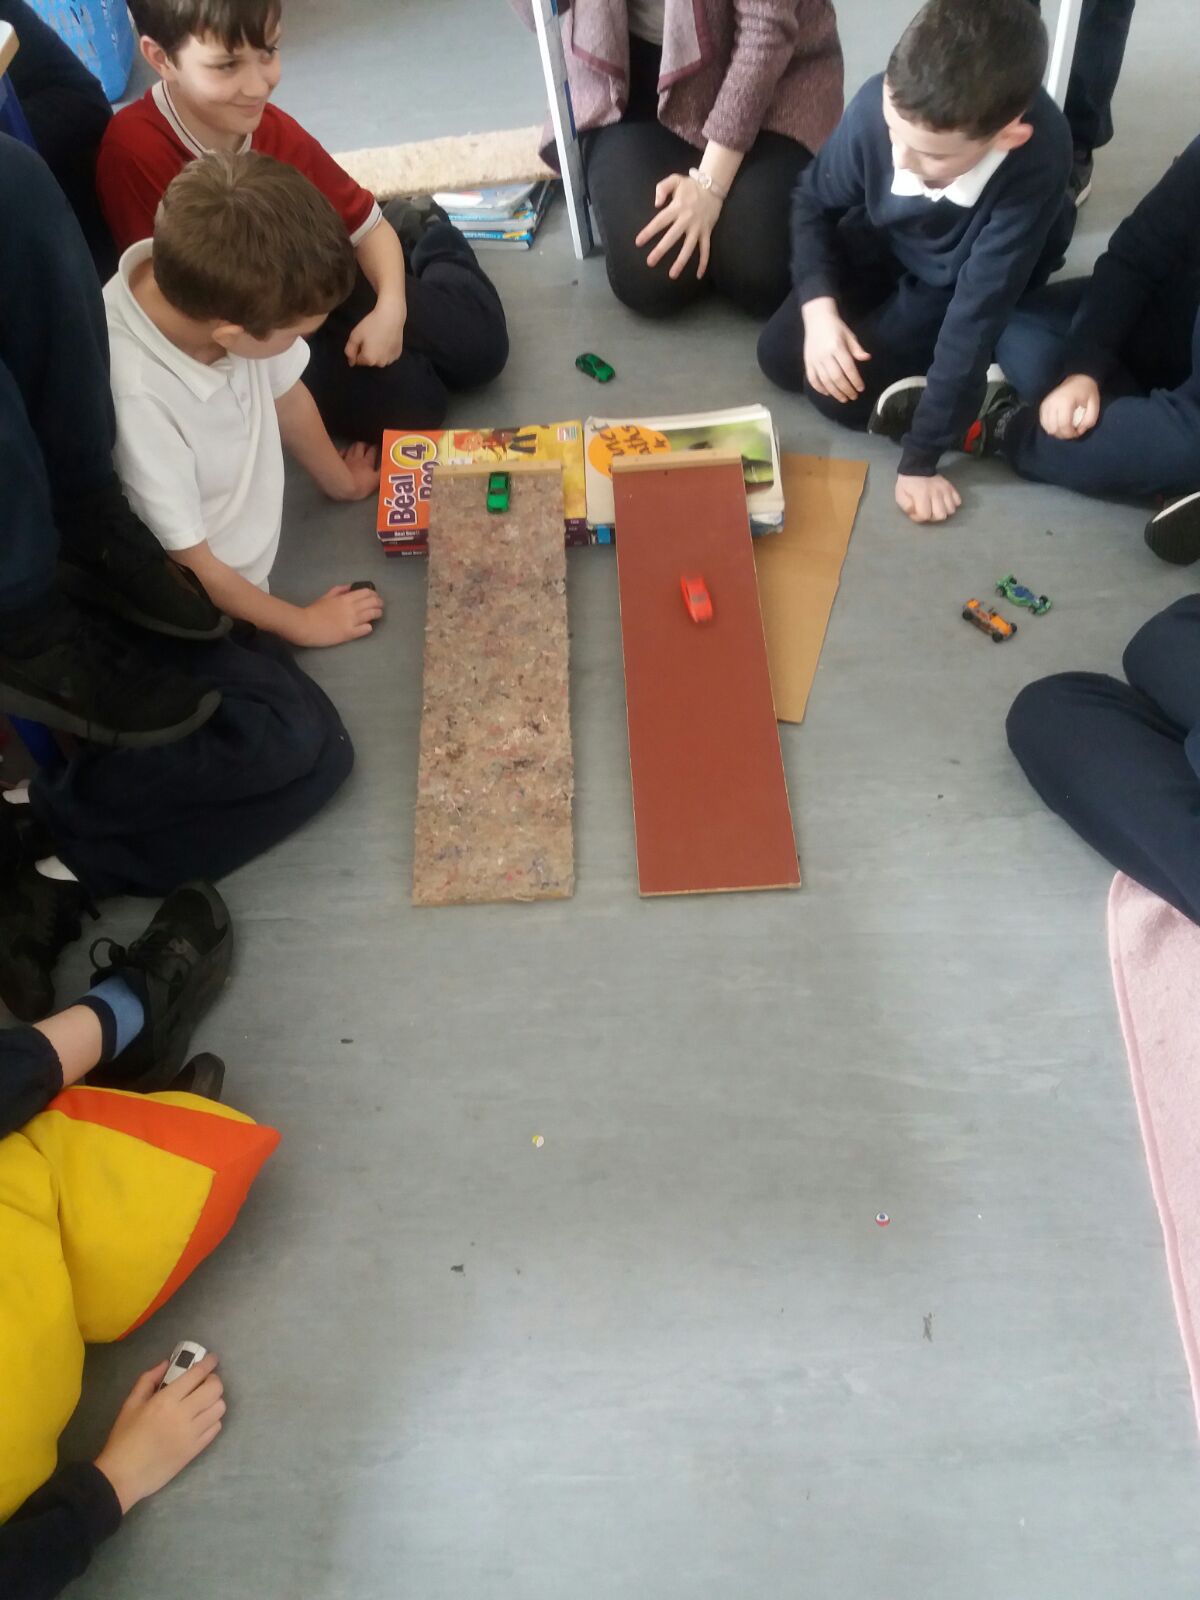
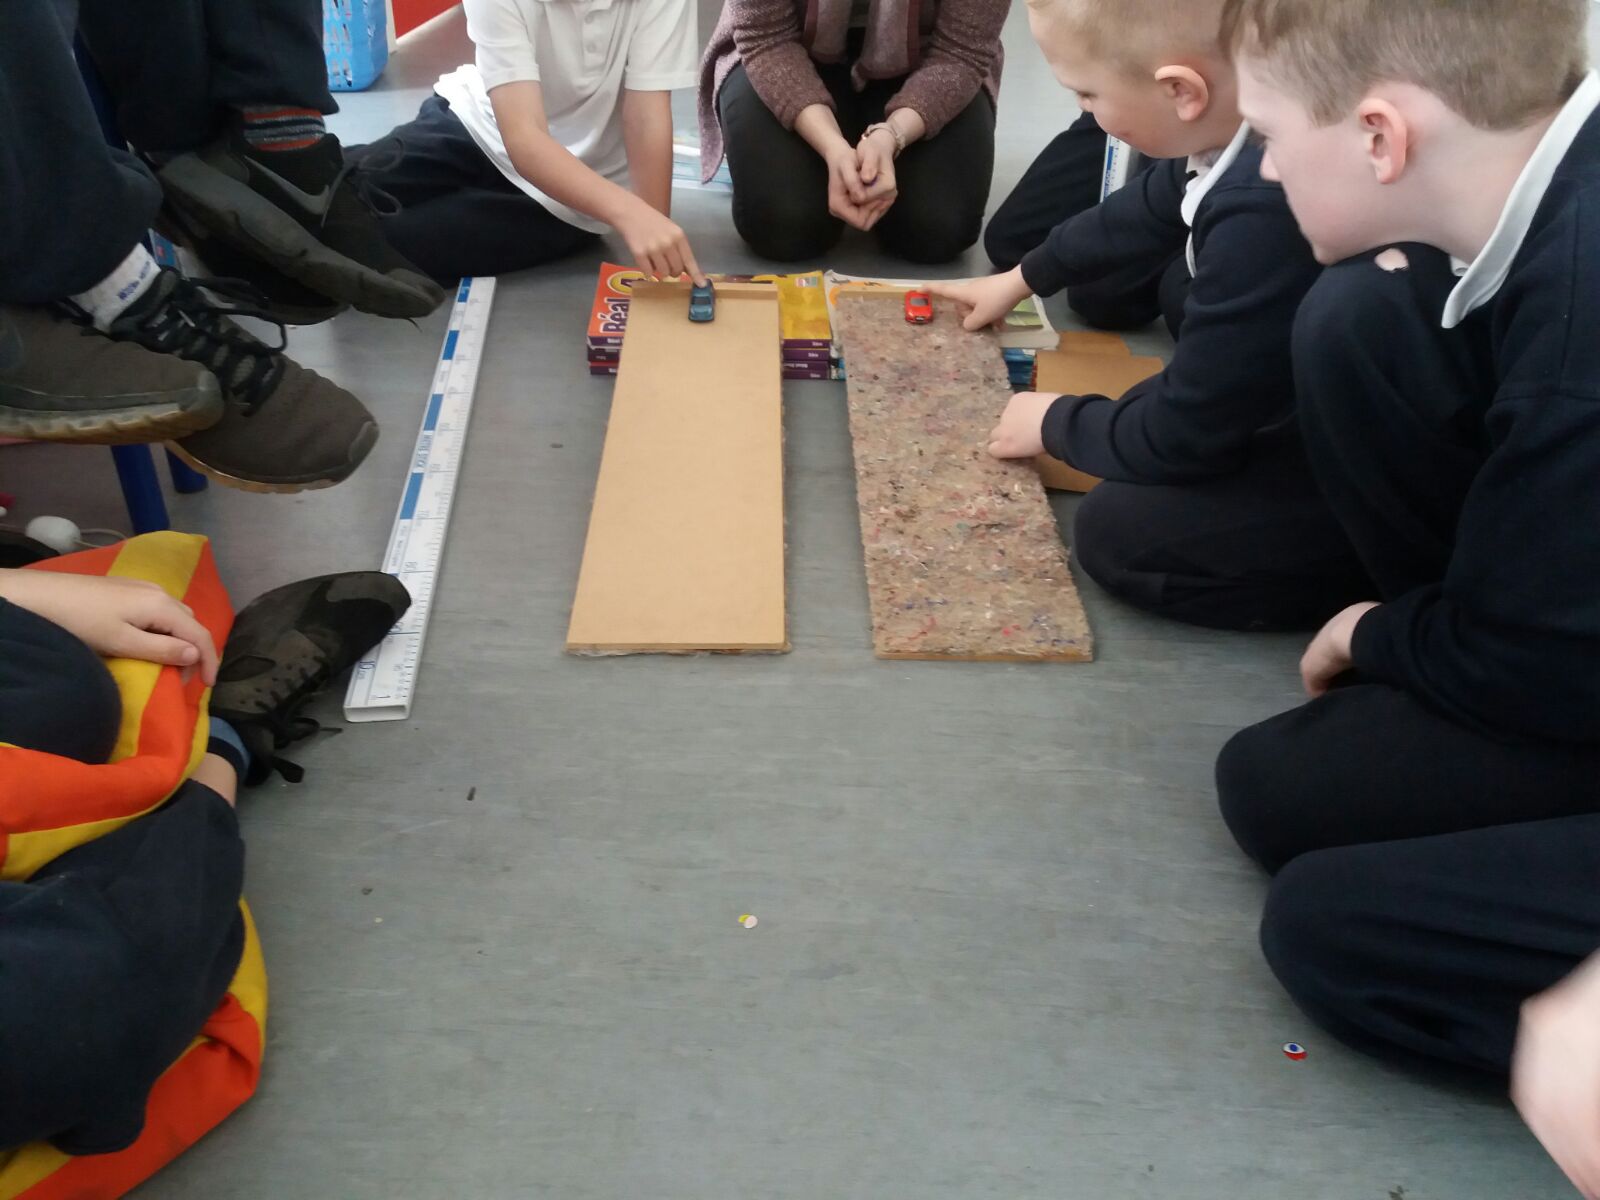
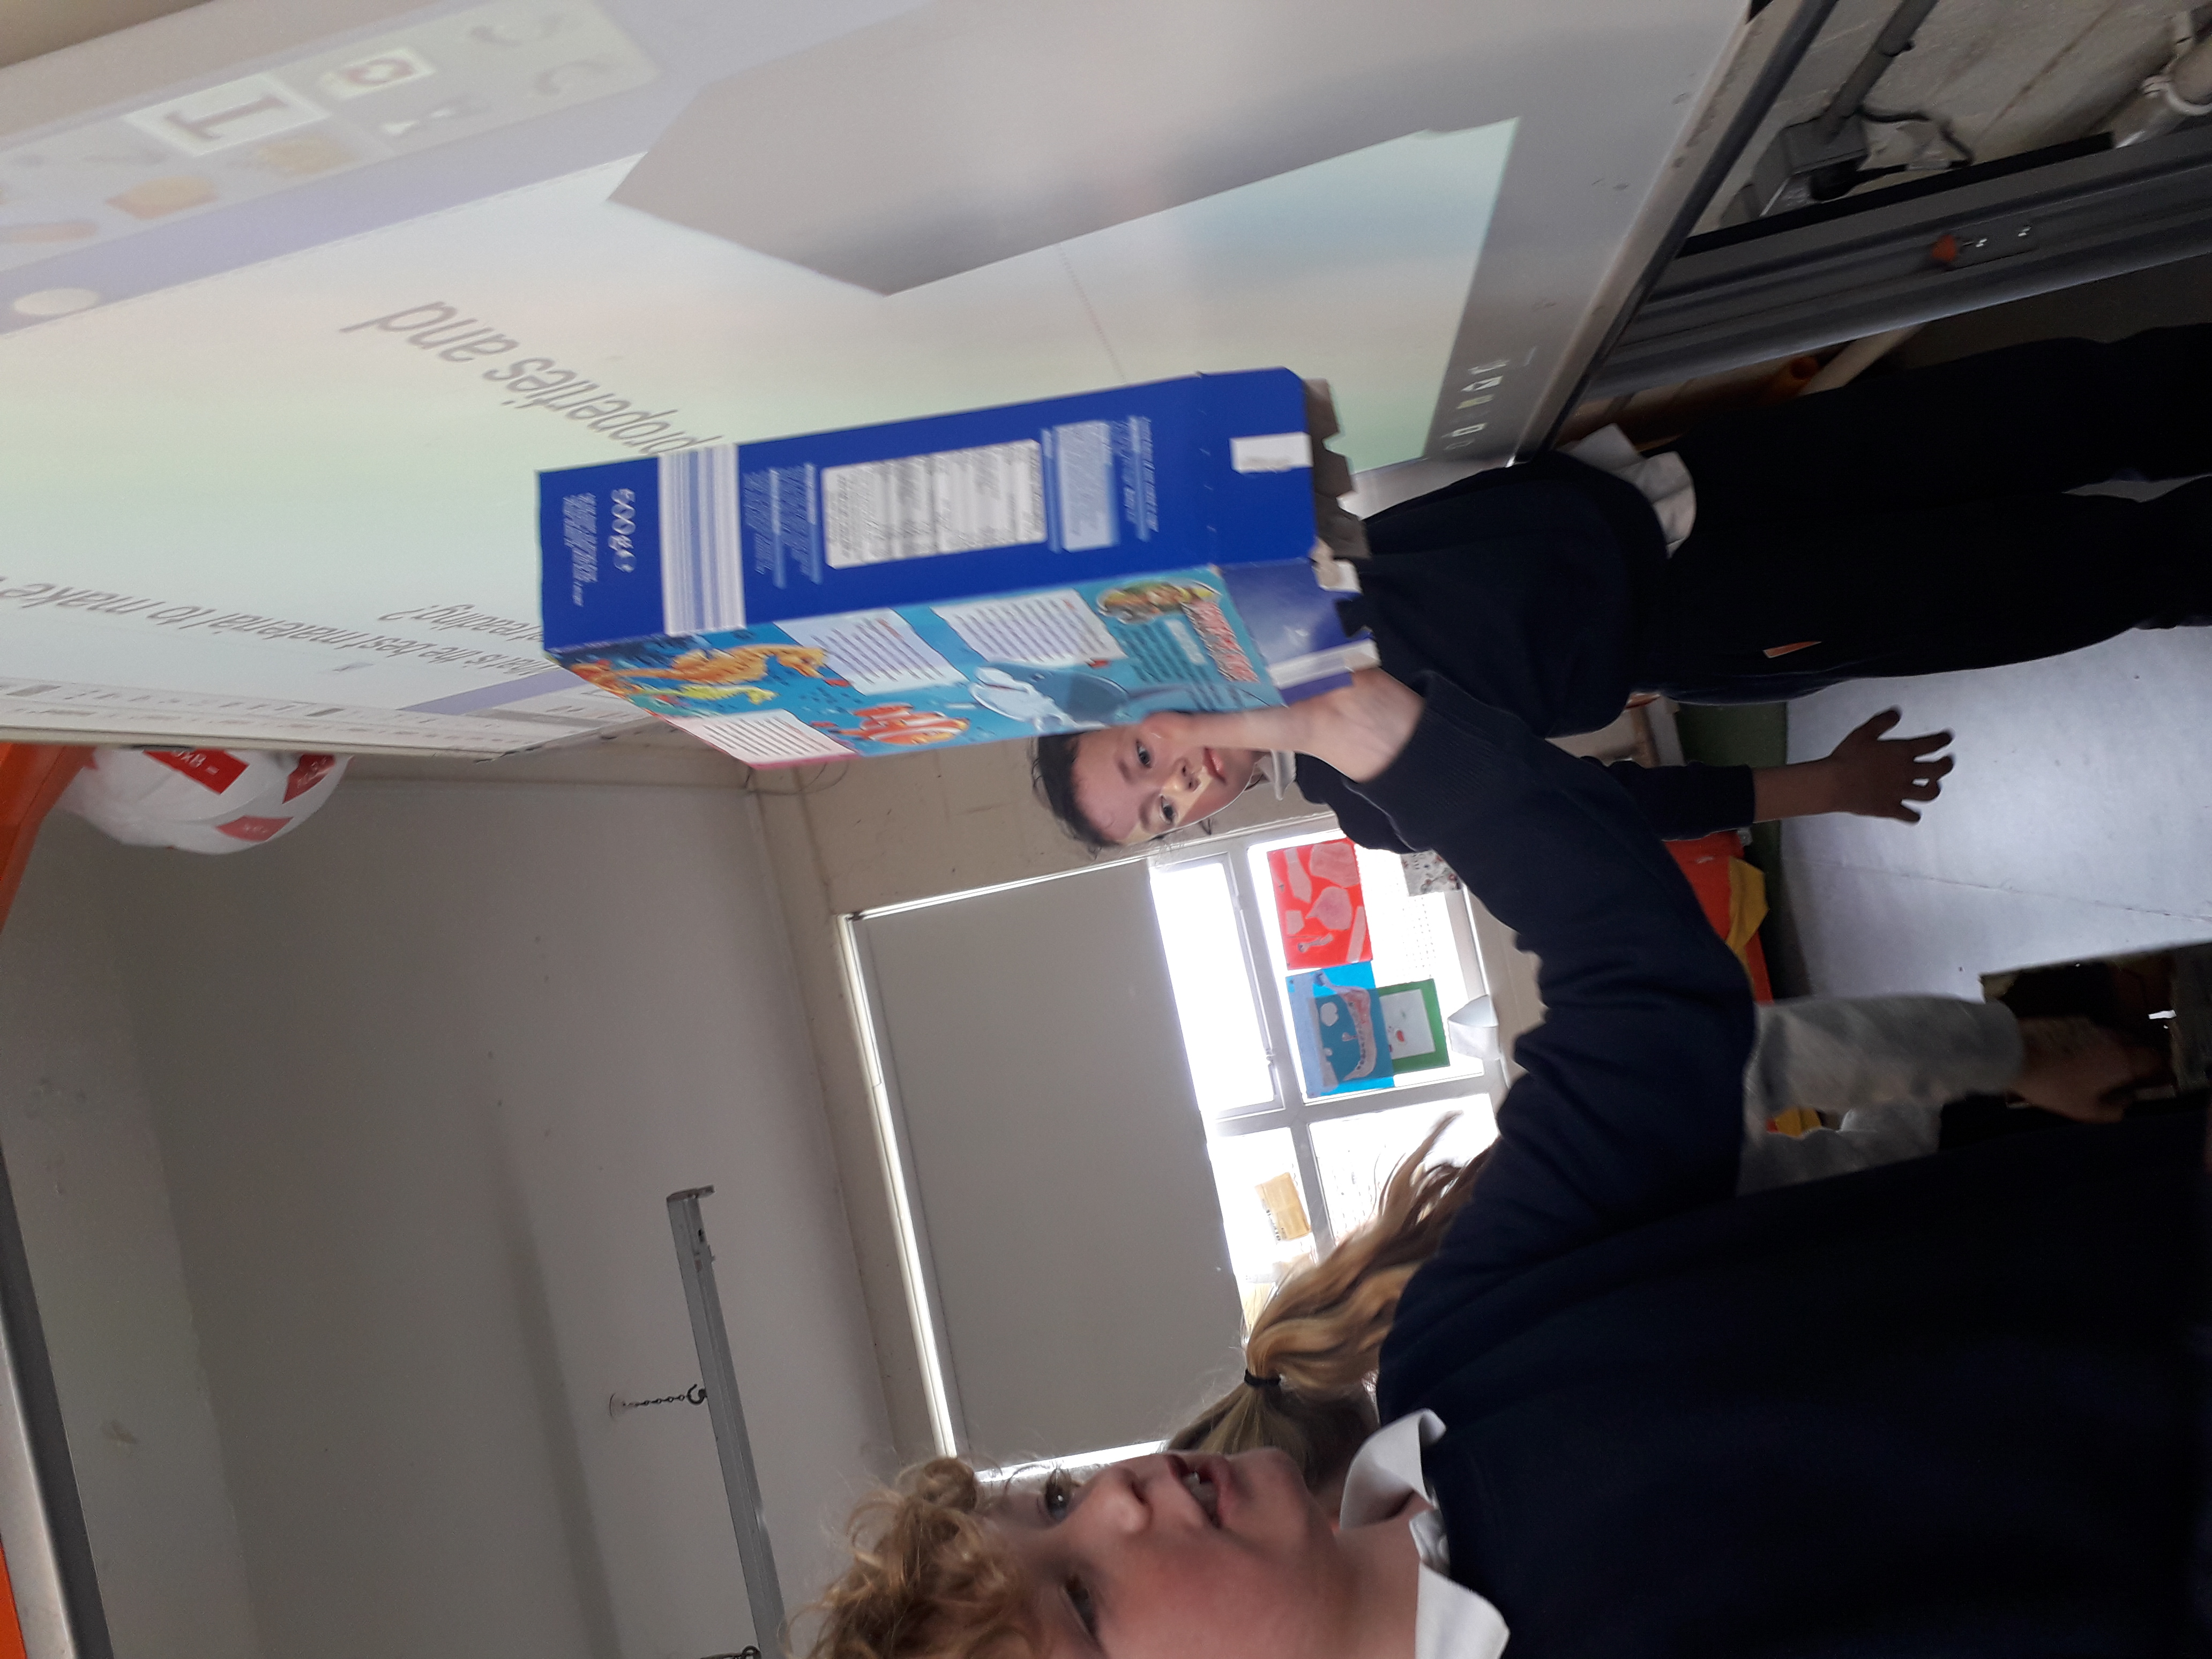
4th class conducted an experiment on the effects of different heights and materials on the speed of toy cars. We watched a range of videos as a stimulus and get us thinking on different heights.

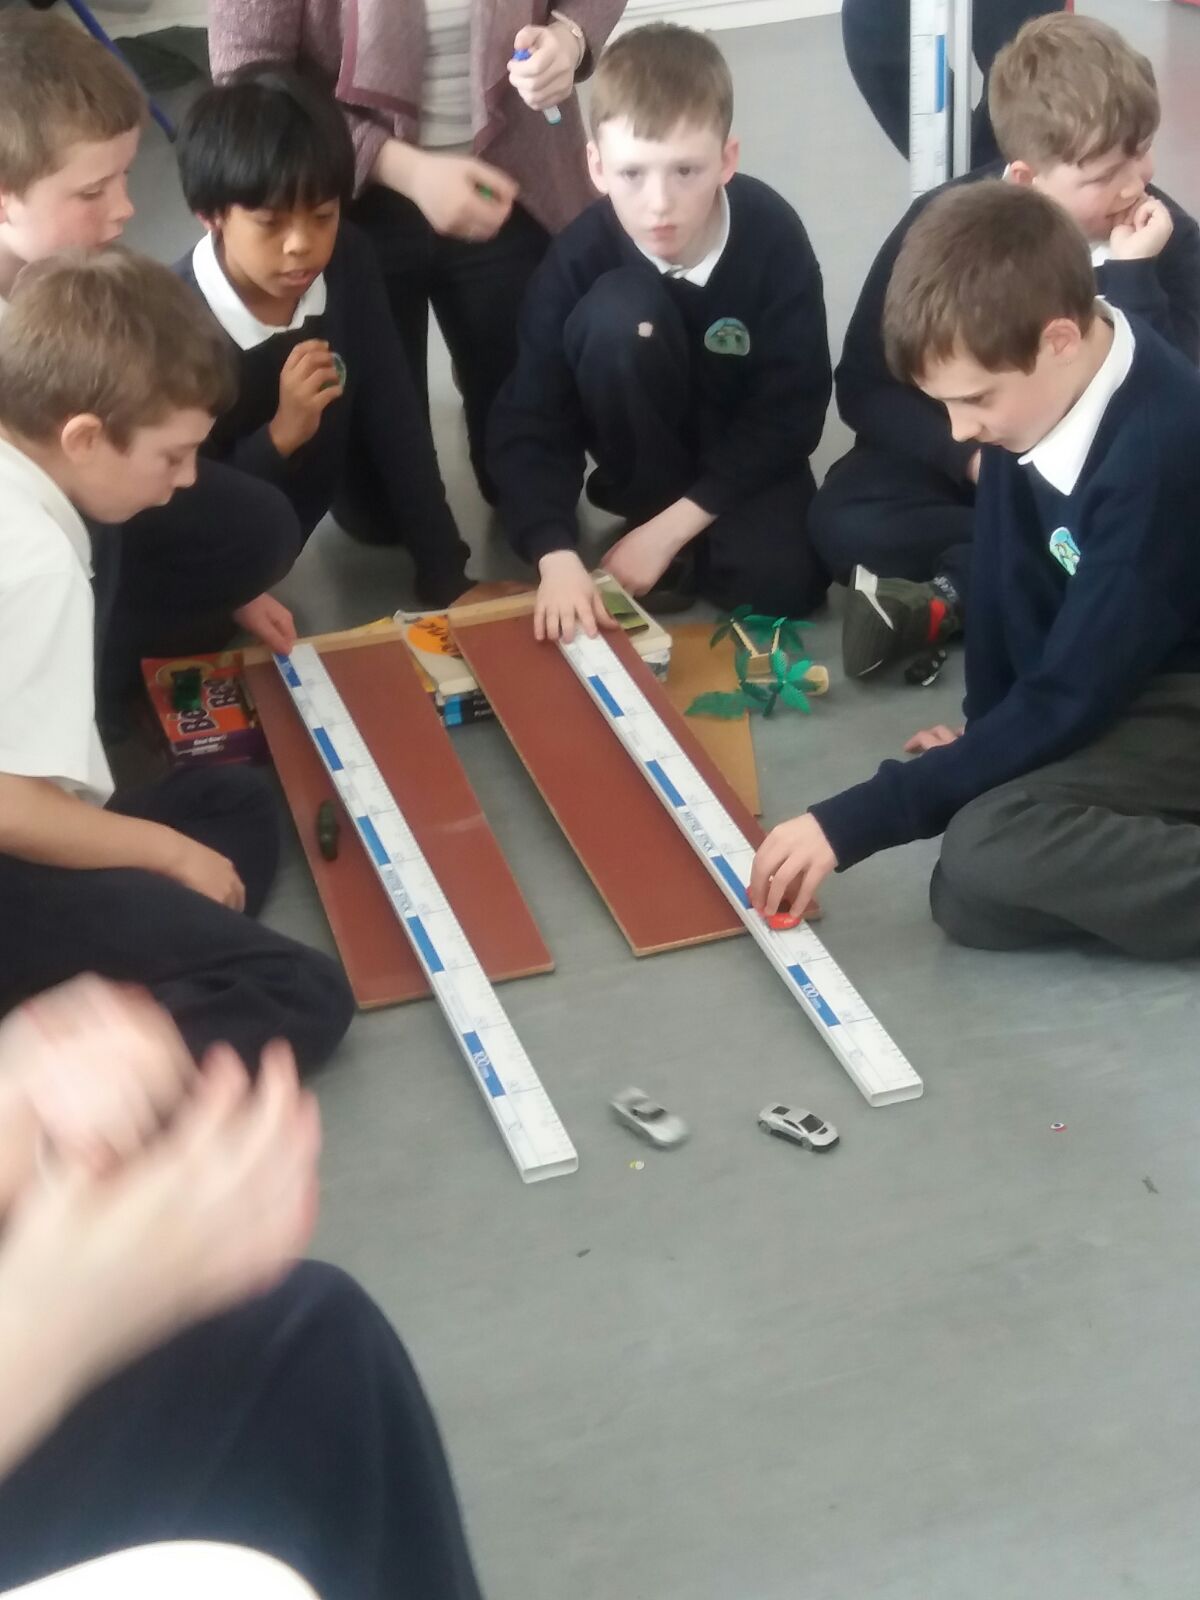
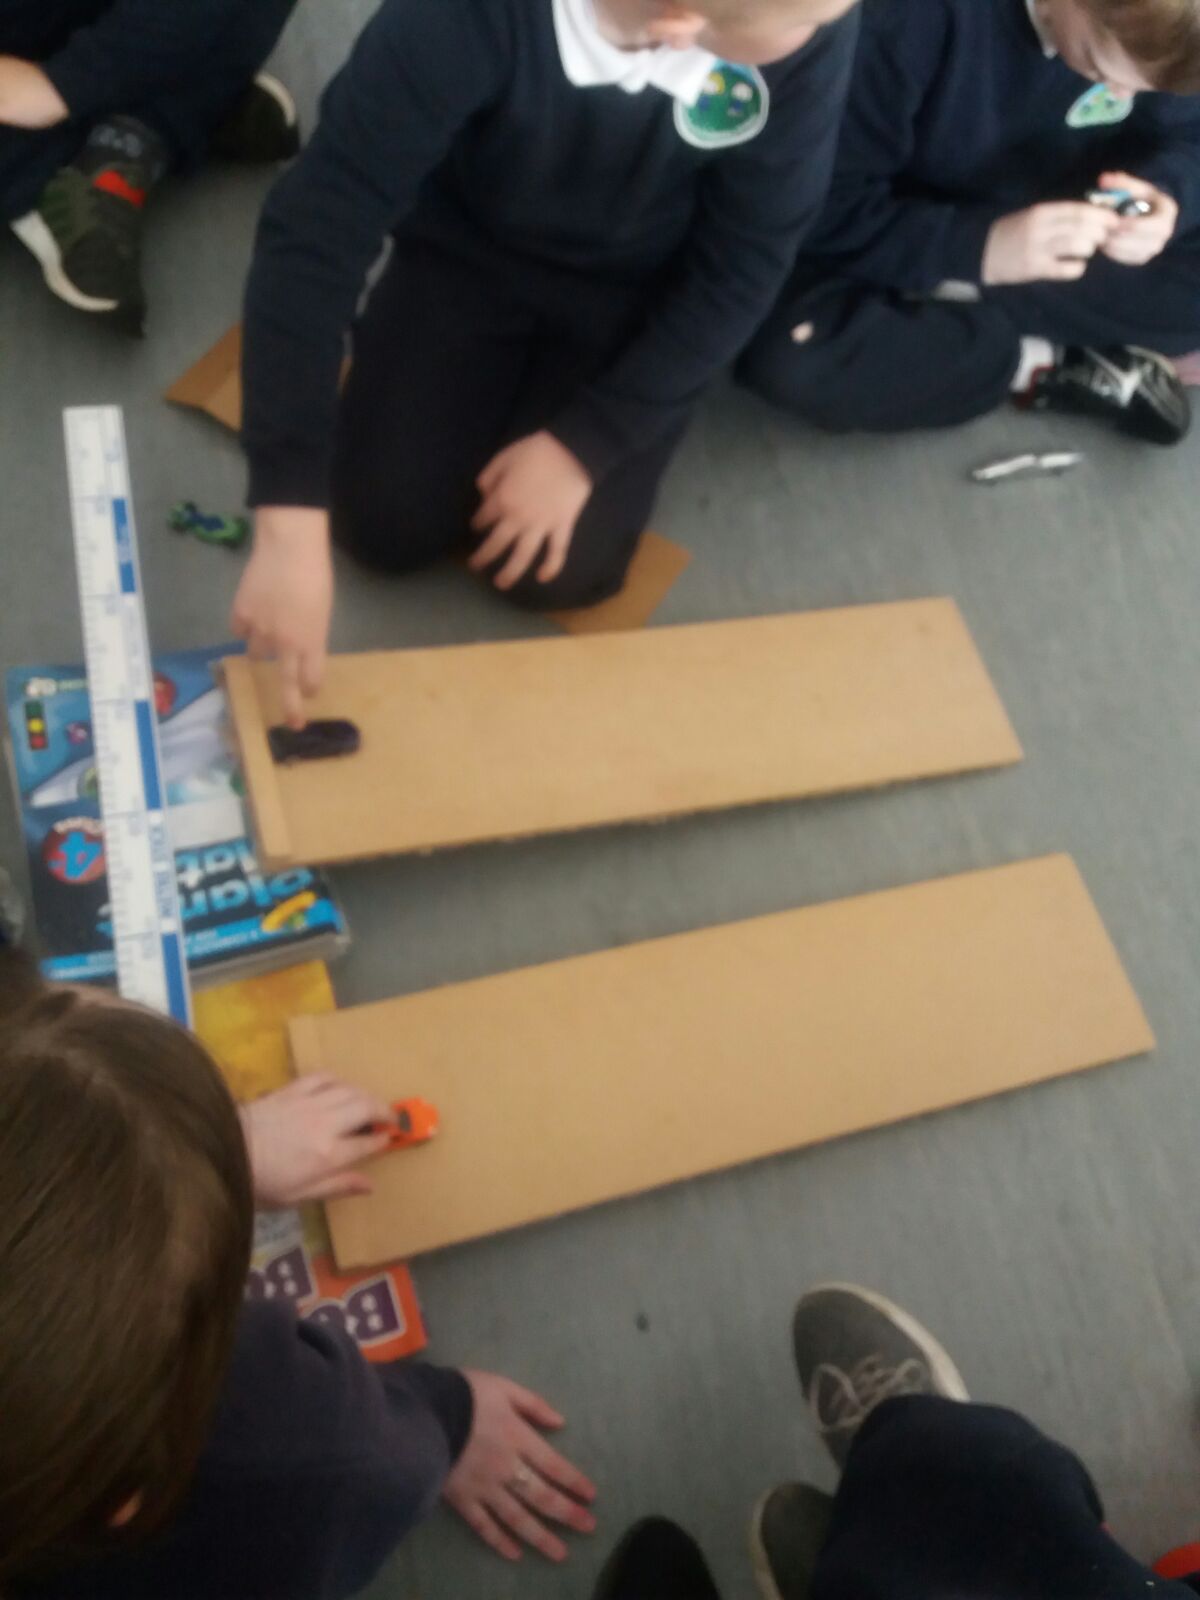
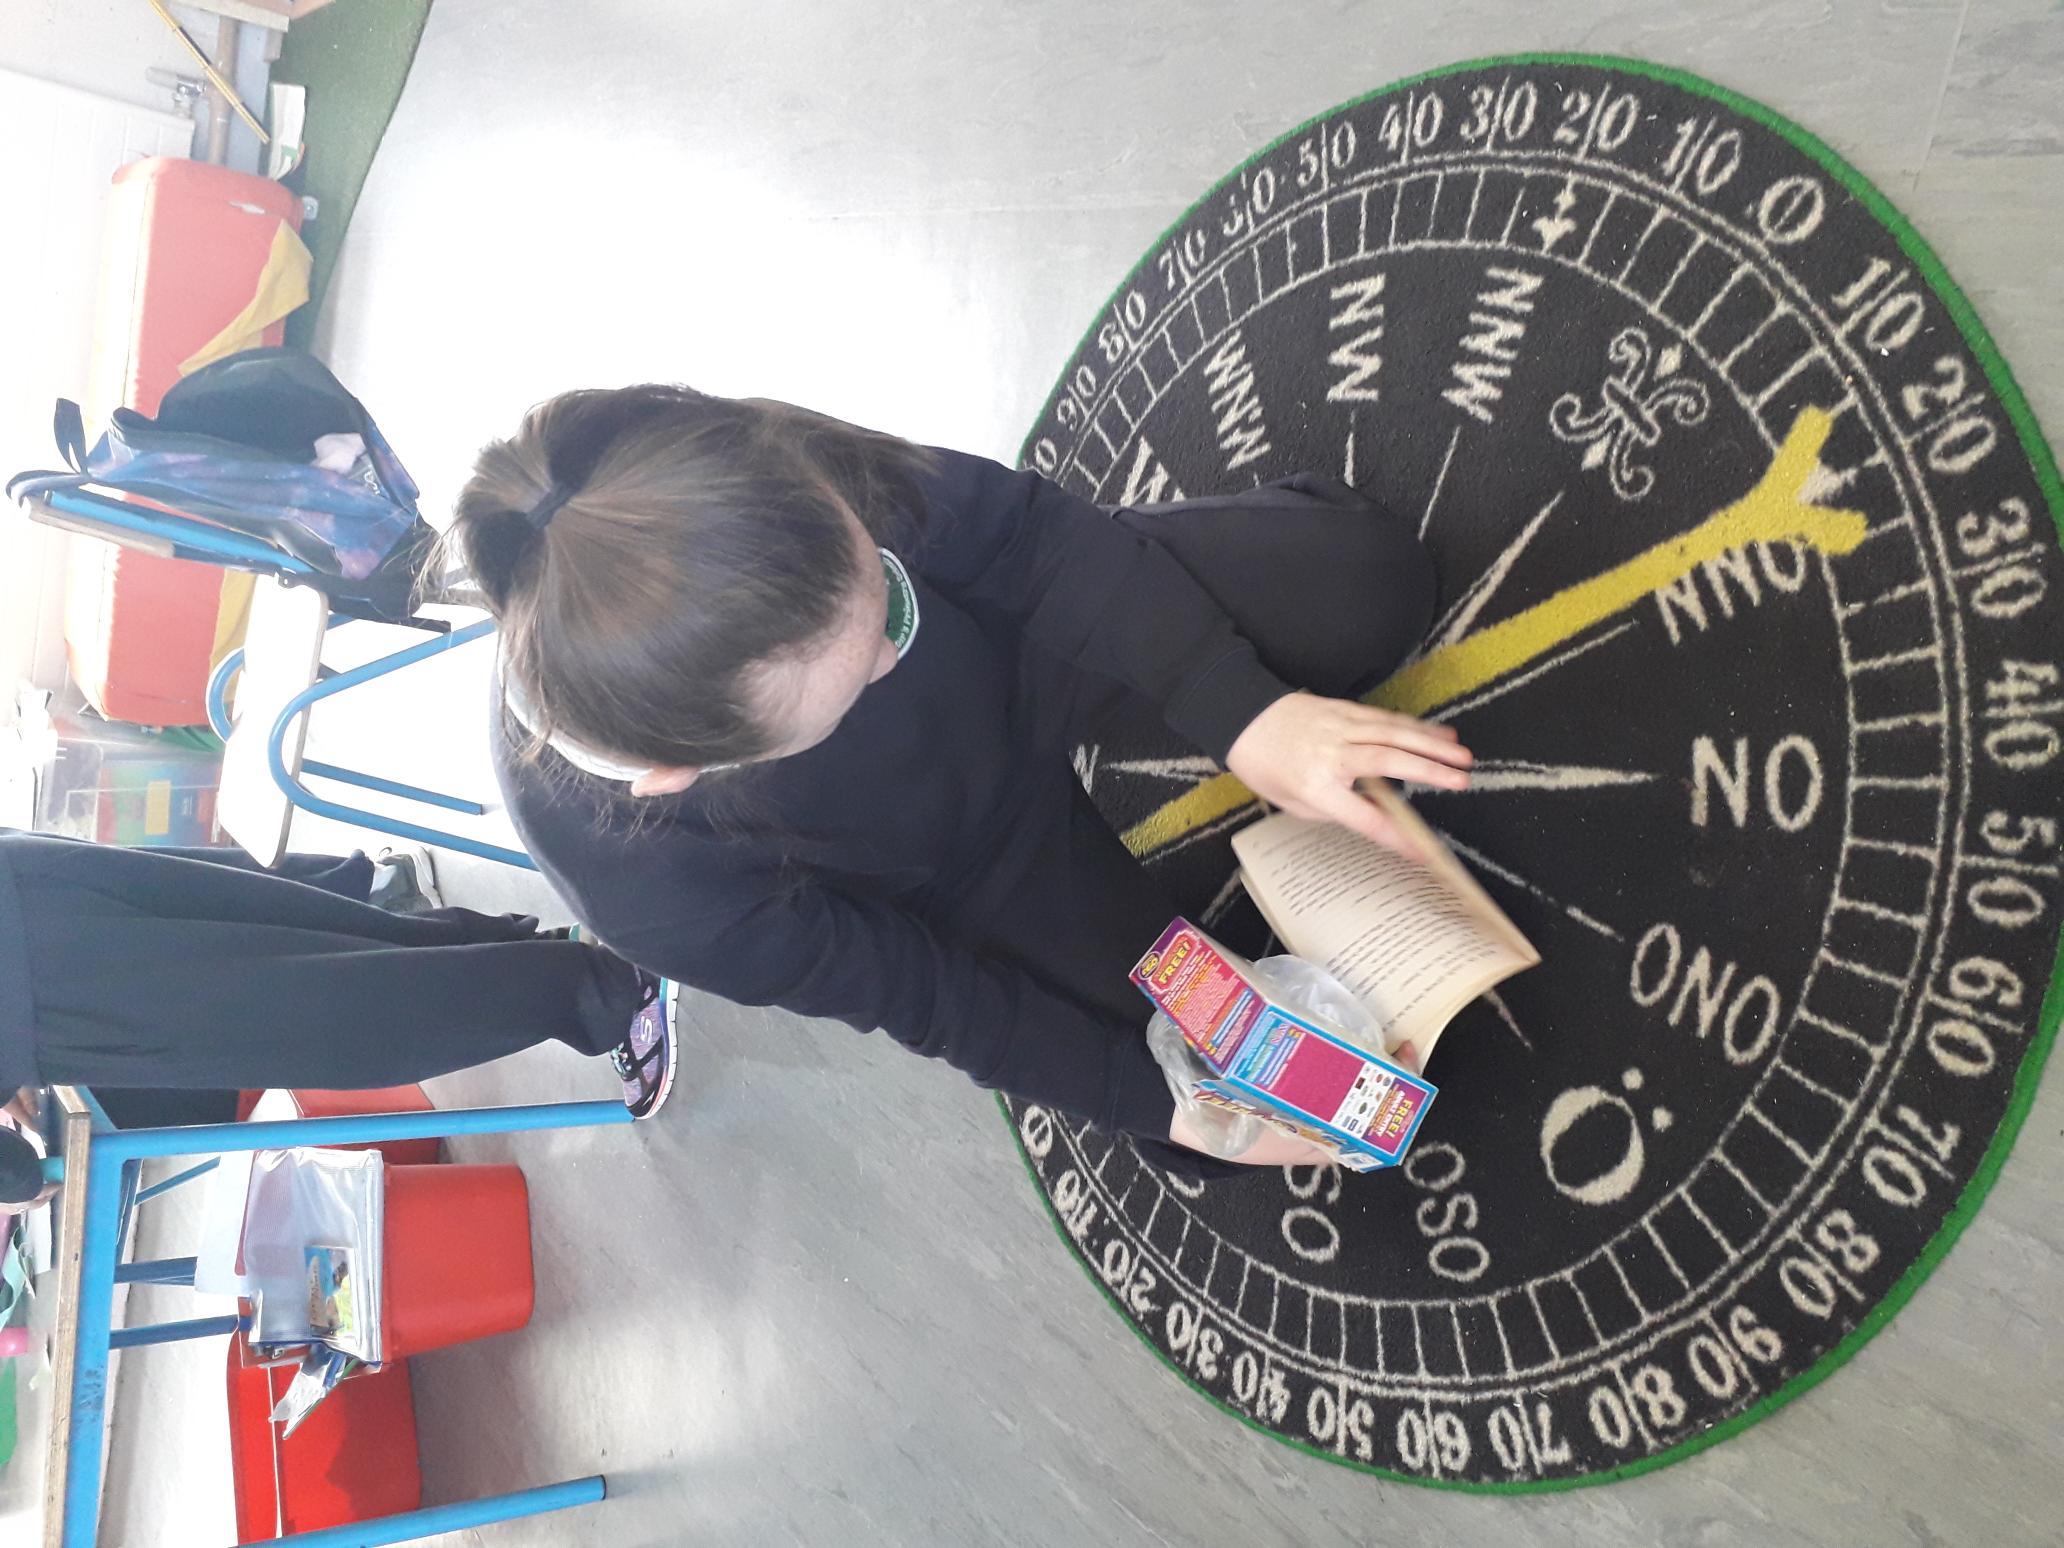
We then wanted to see if this was actually true. We wrote up our opinions as a class on what we thought would be the outcome. We used a variety of materials including toy cars (different types-large and small), ramps, school books and a metre stick.
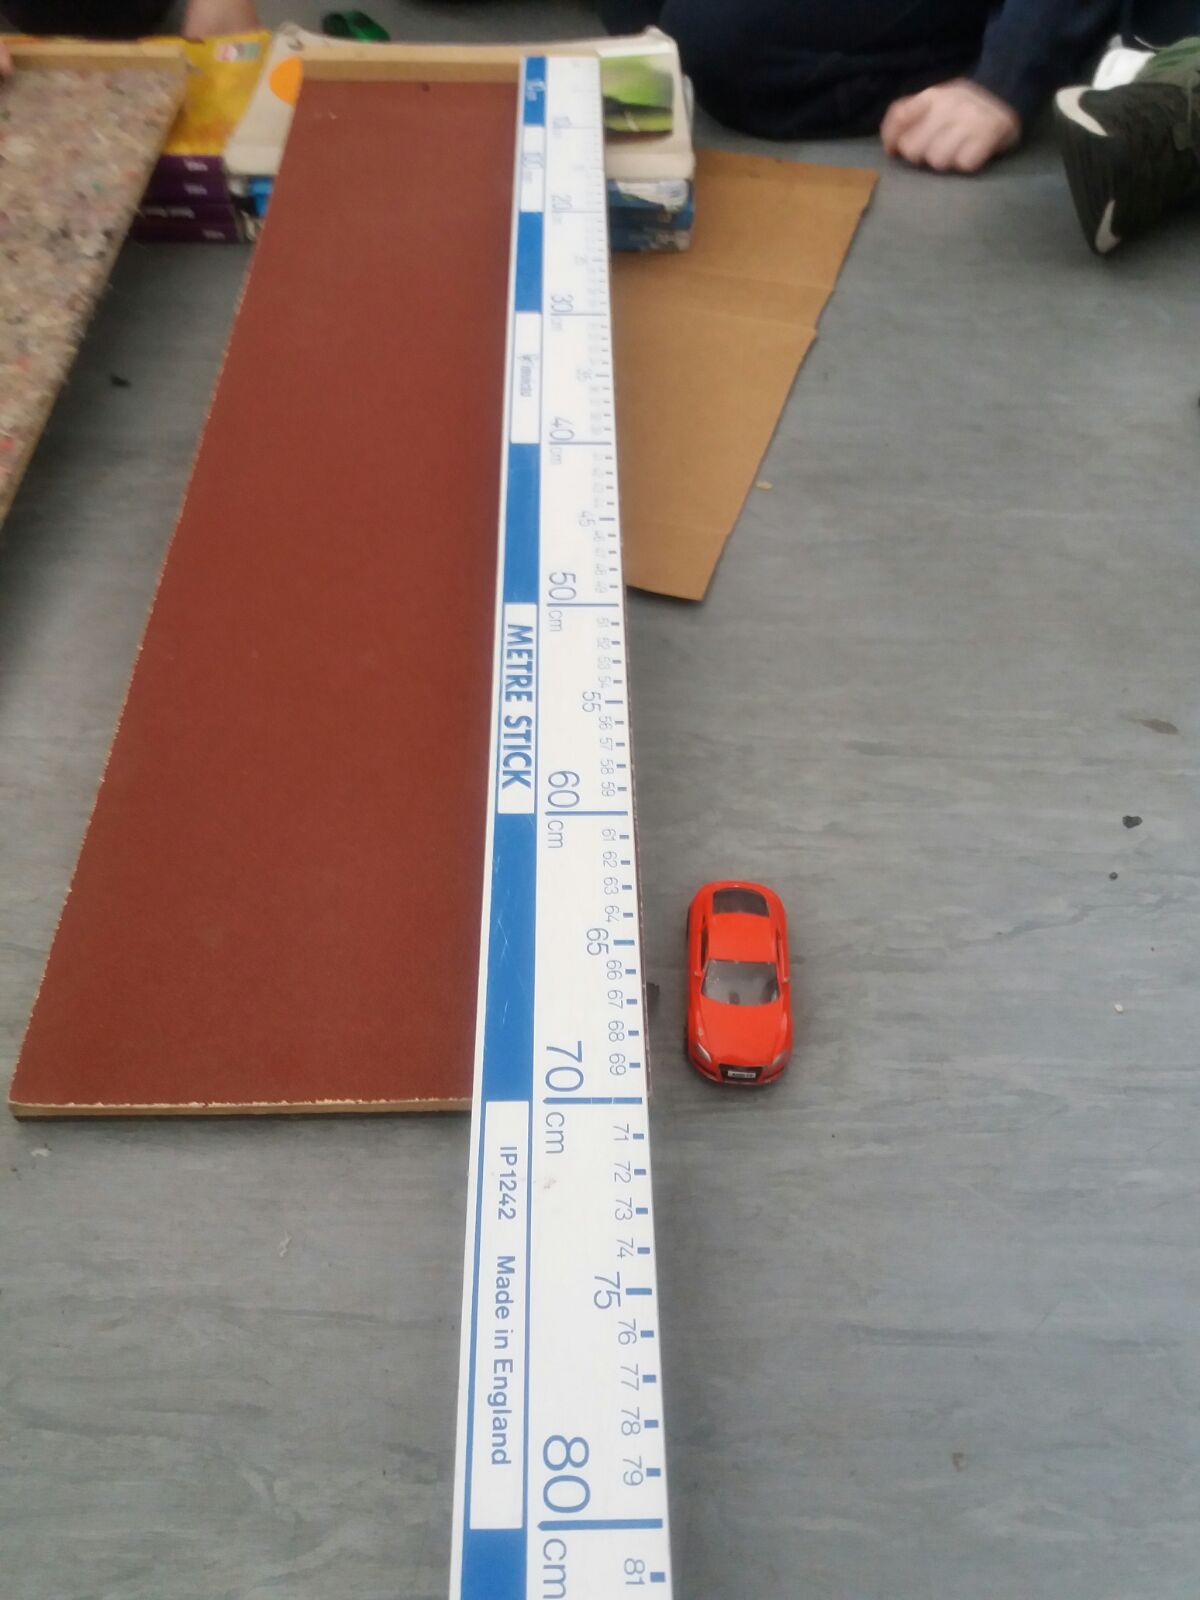
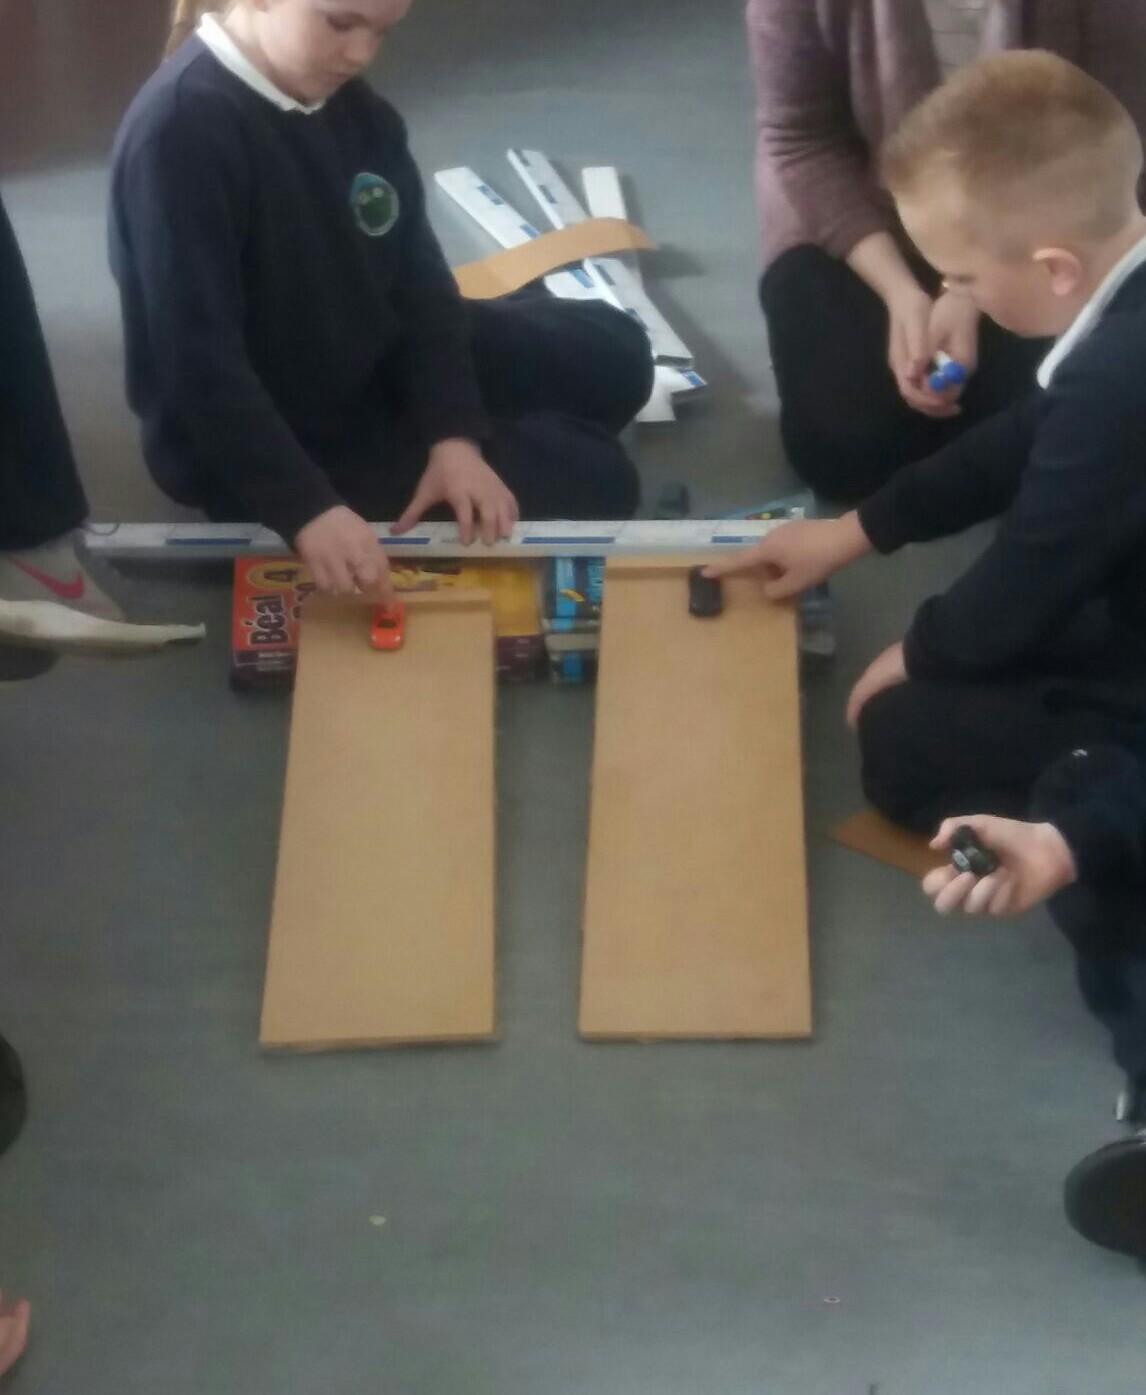
At the end of the lesson we came to the conclusion in our results that the higher the ramp the further the car would go on the ramp and onto a flat surface. We had a wide range of lengths which we could calculate with our metre stick.
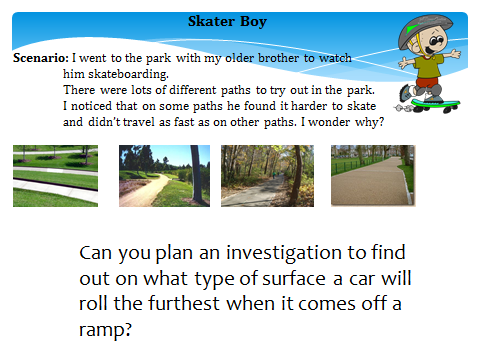
Secondly we then tested the effects of different surfaces on the car. We used carpet, sandpaper and felt like materials. We as a class felt the texture of the materials first and then decided our opinions on which surface would be the best one.
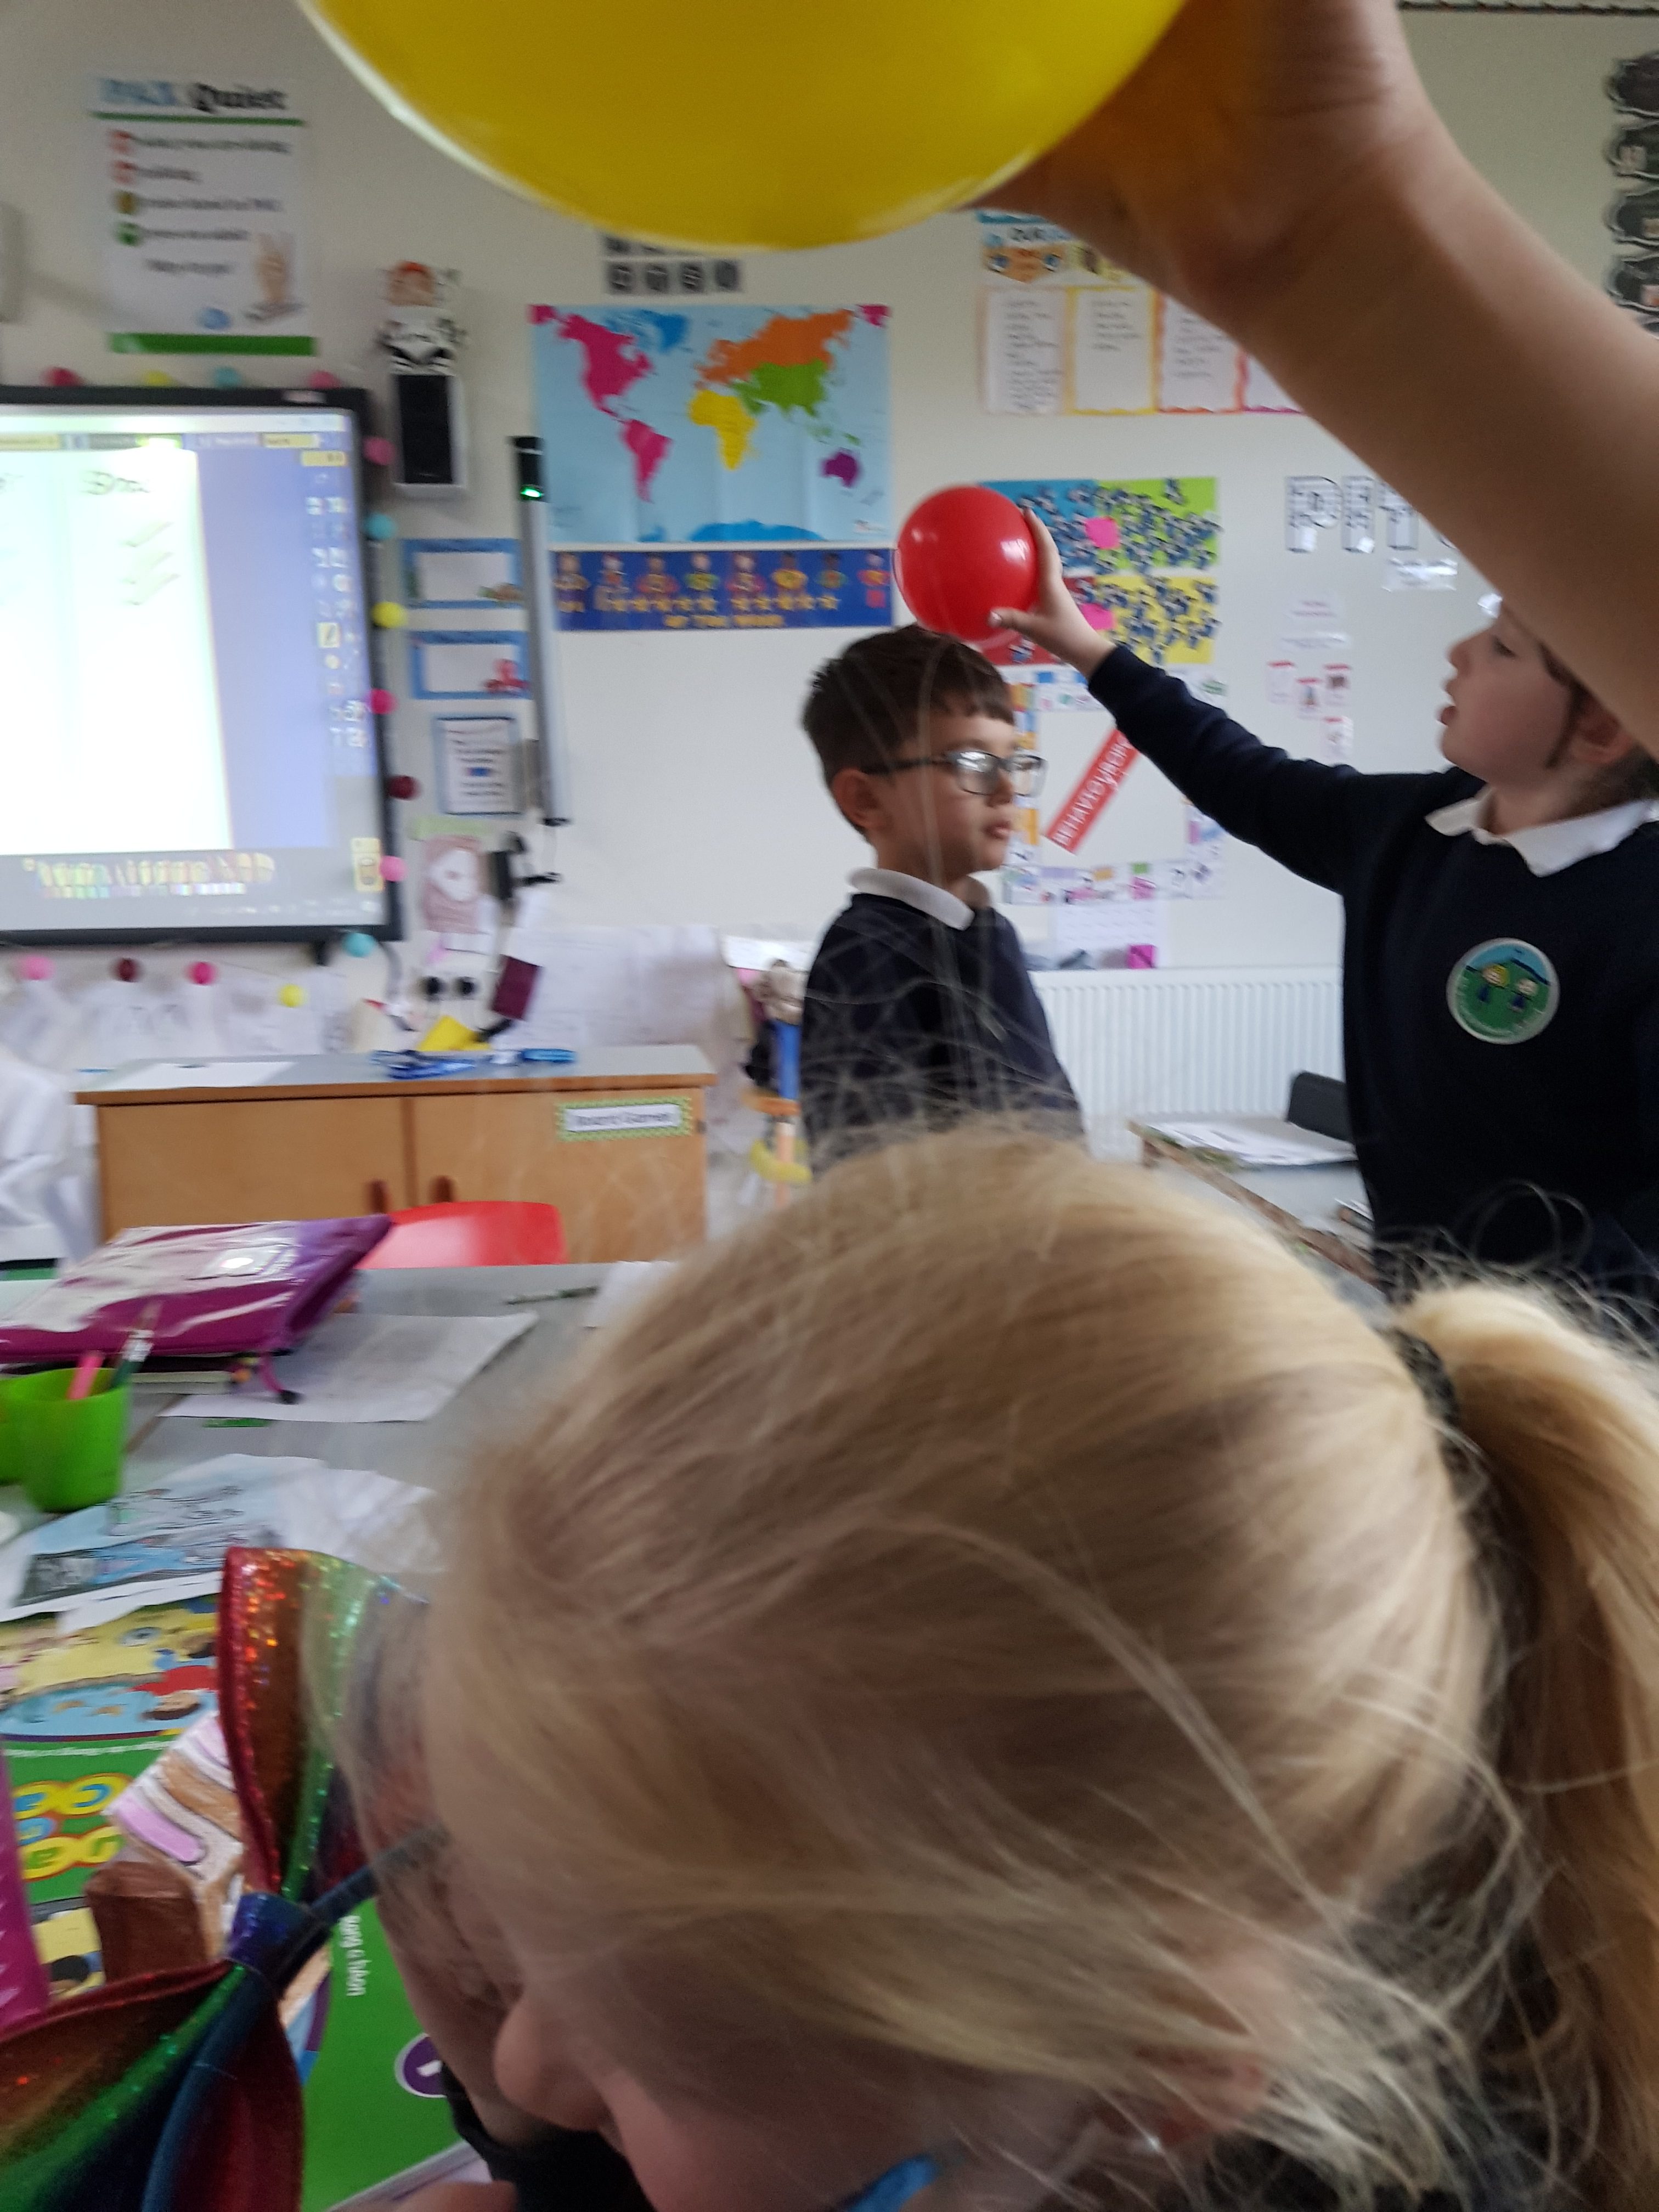
First Class have been learning all about static electricity this week in Science. Firstly we talked about the difference between static electricity and current electricity.
The children shared times when they experienced static electricity like when they touched a hand rail and got a shock or heard crackling noises when they took off woolly jumpers. We talked about why this happens.
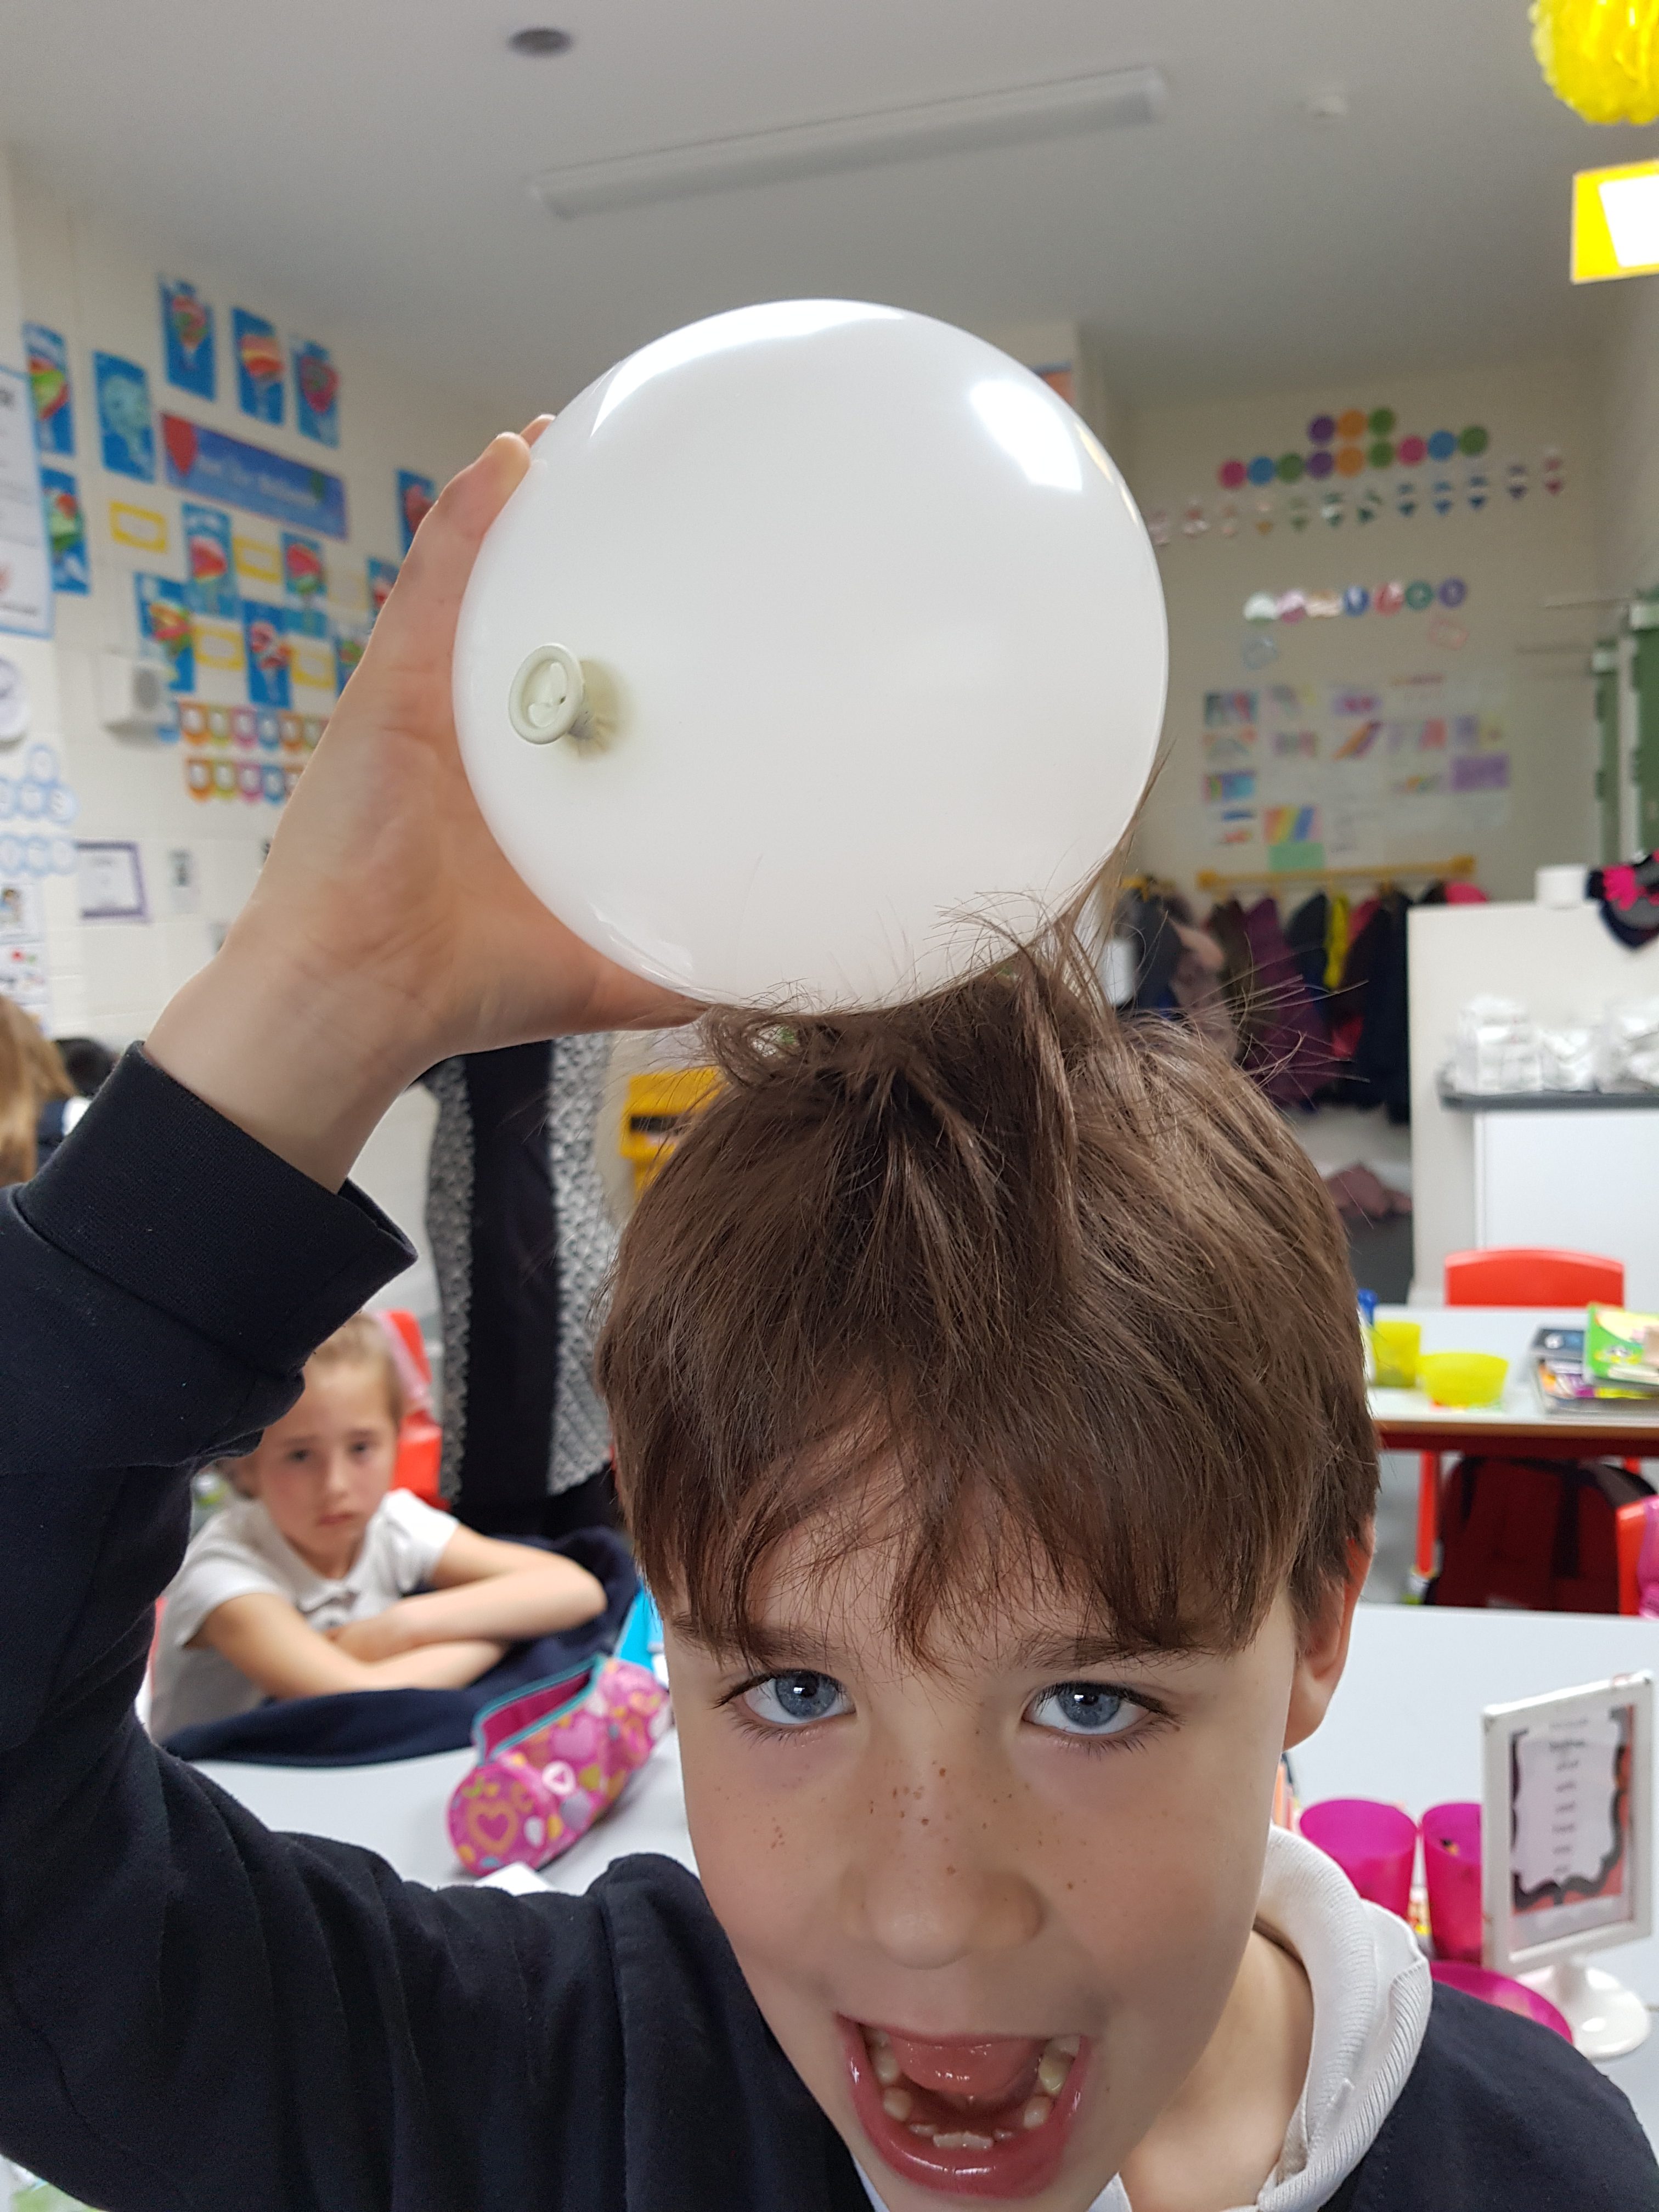
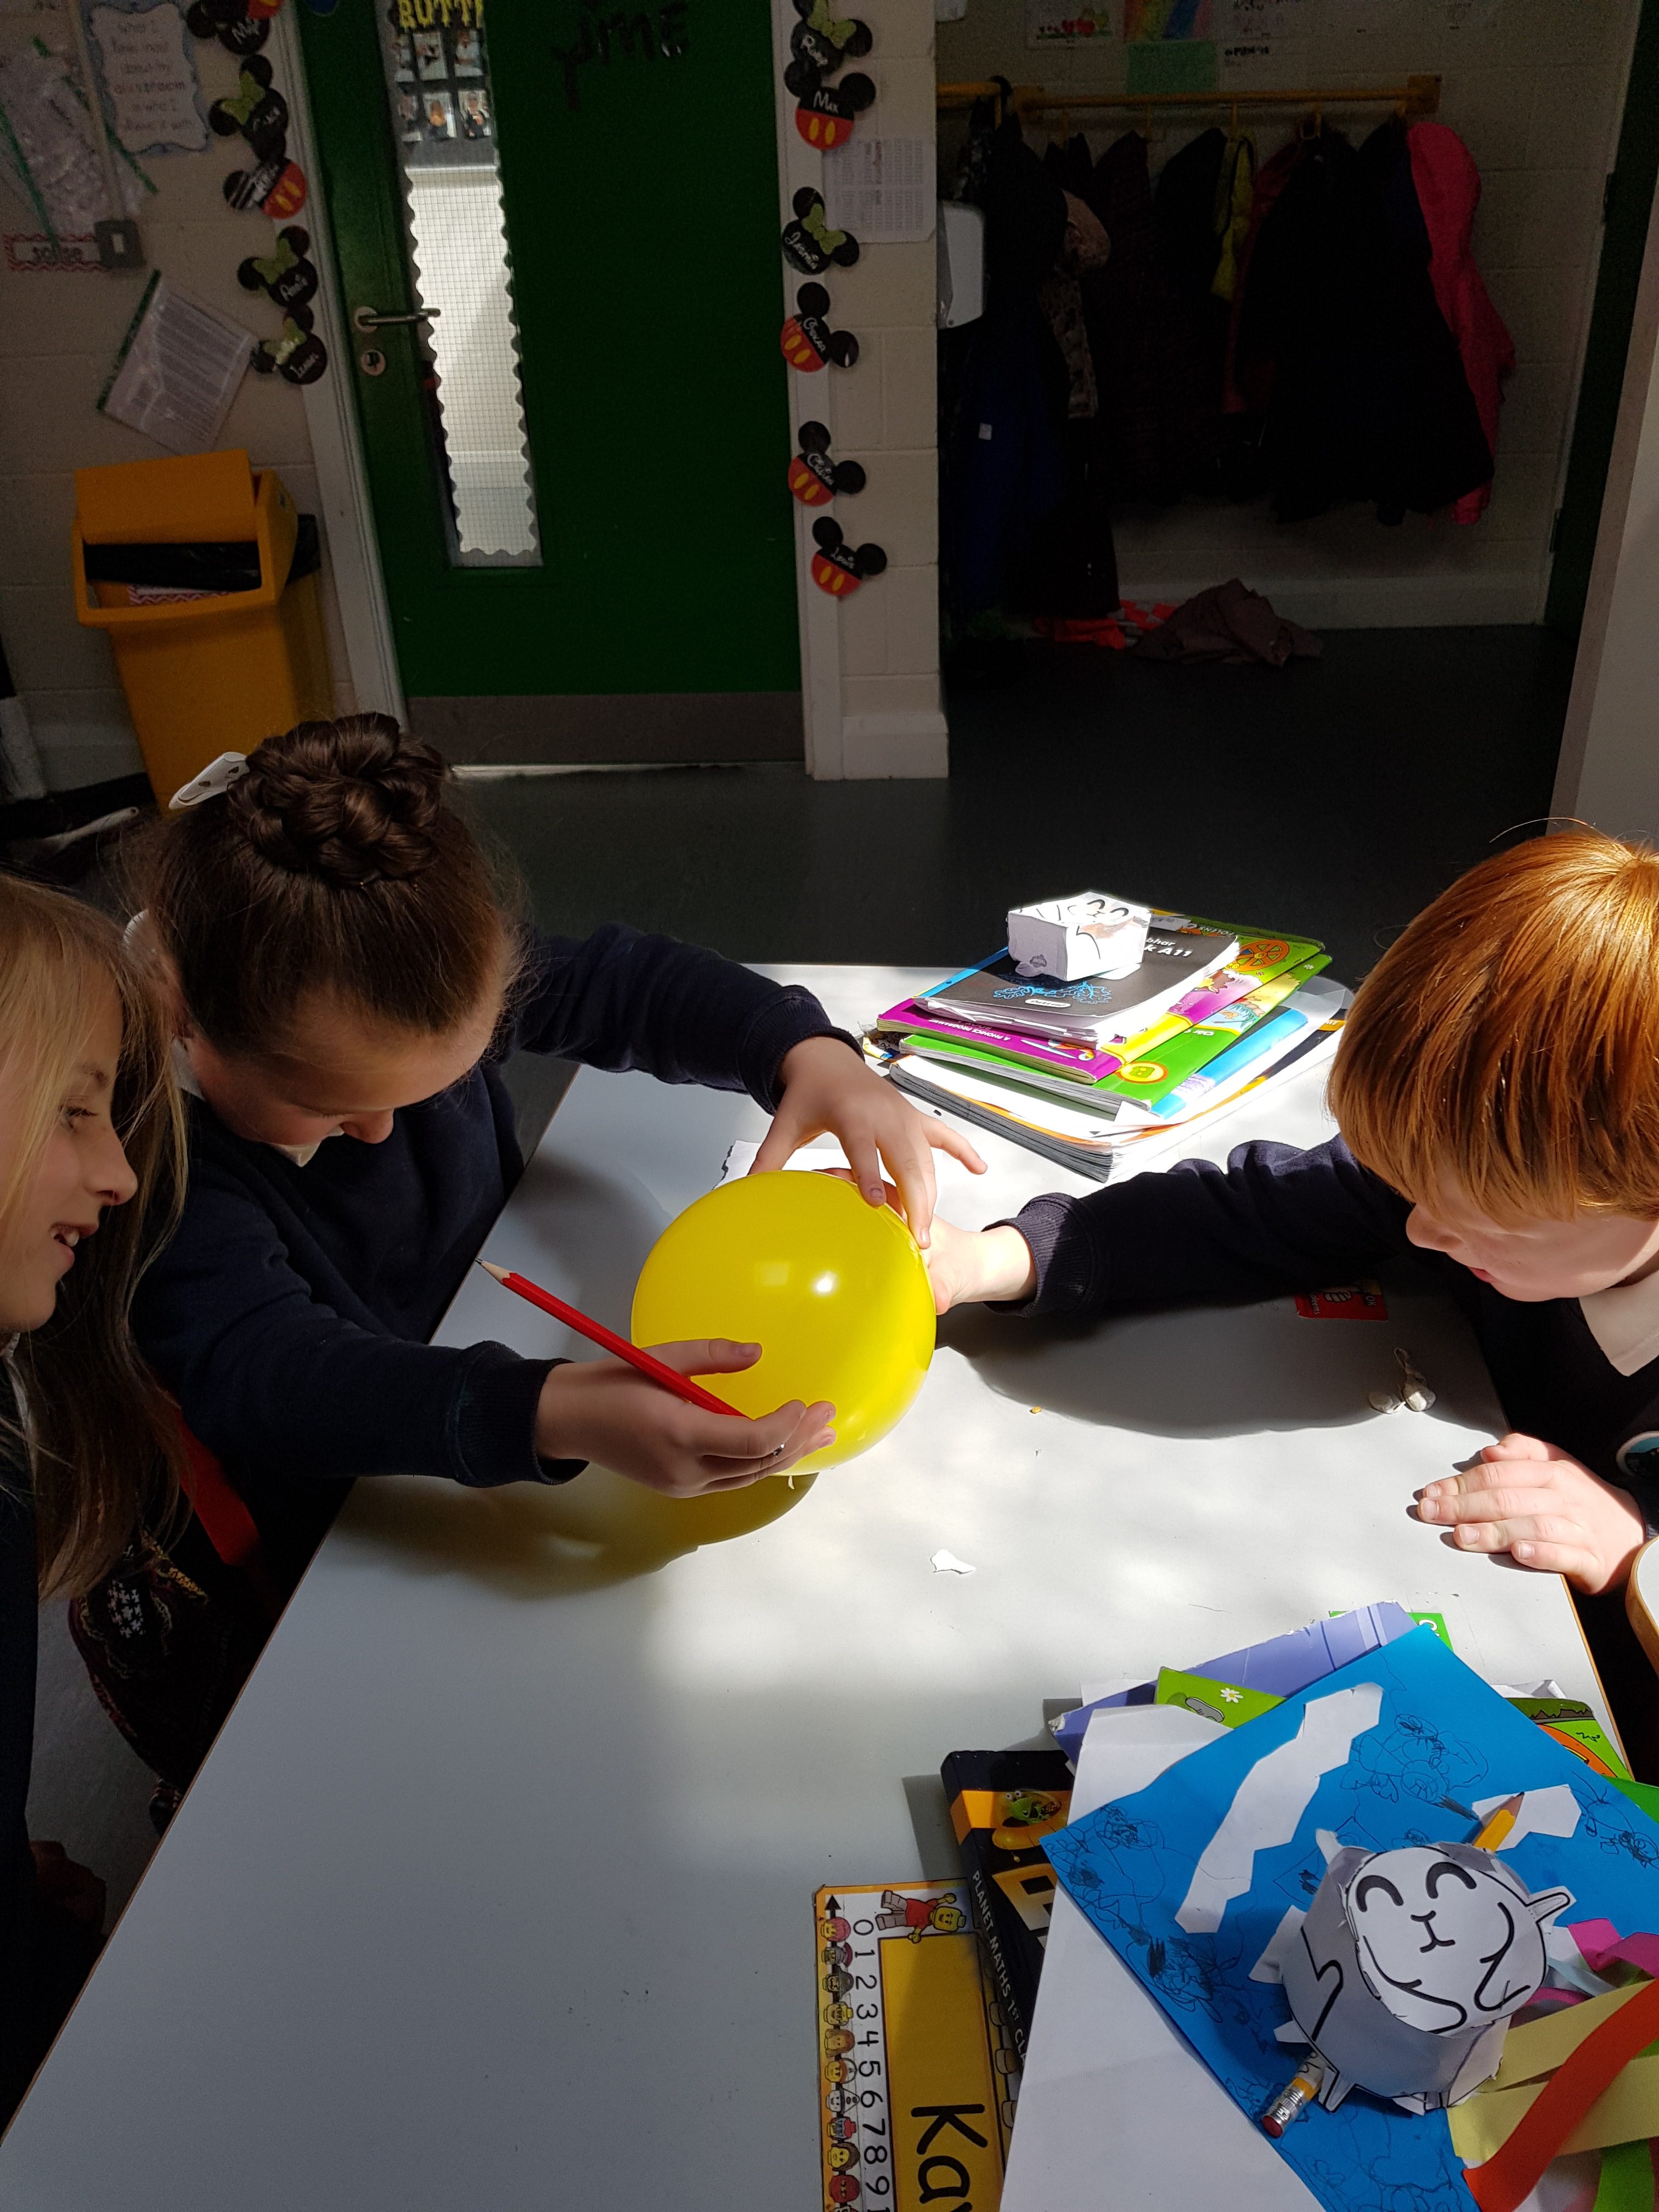
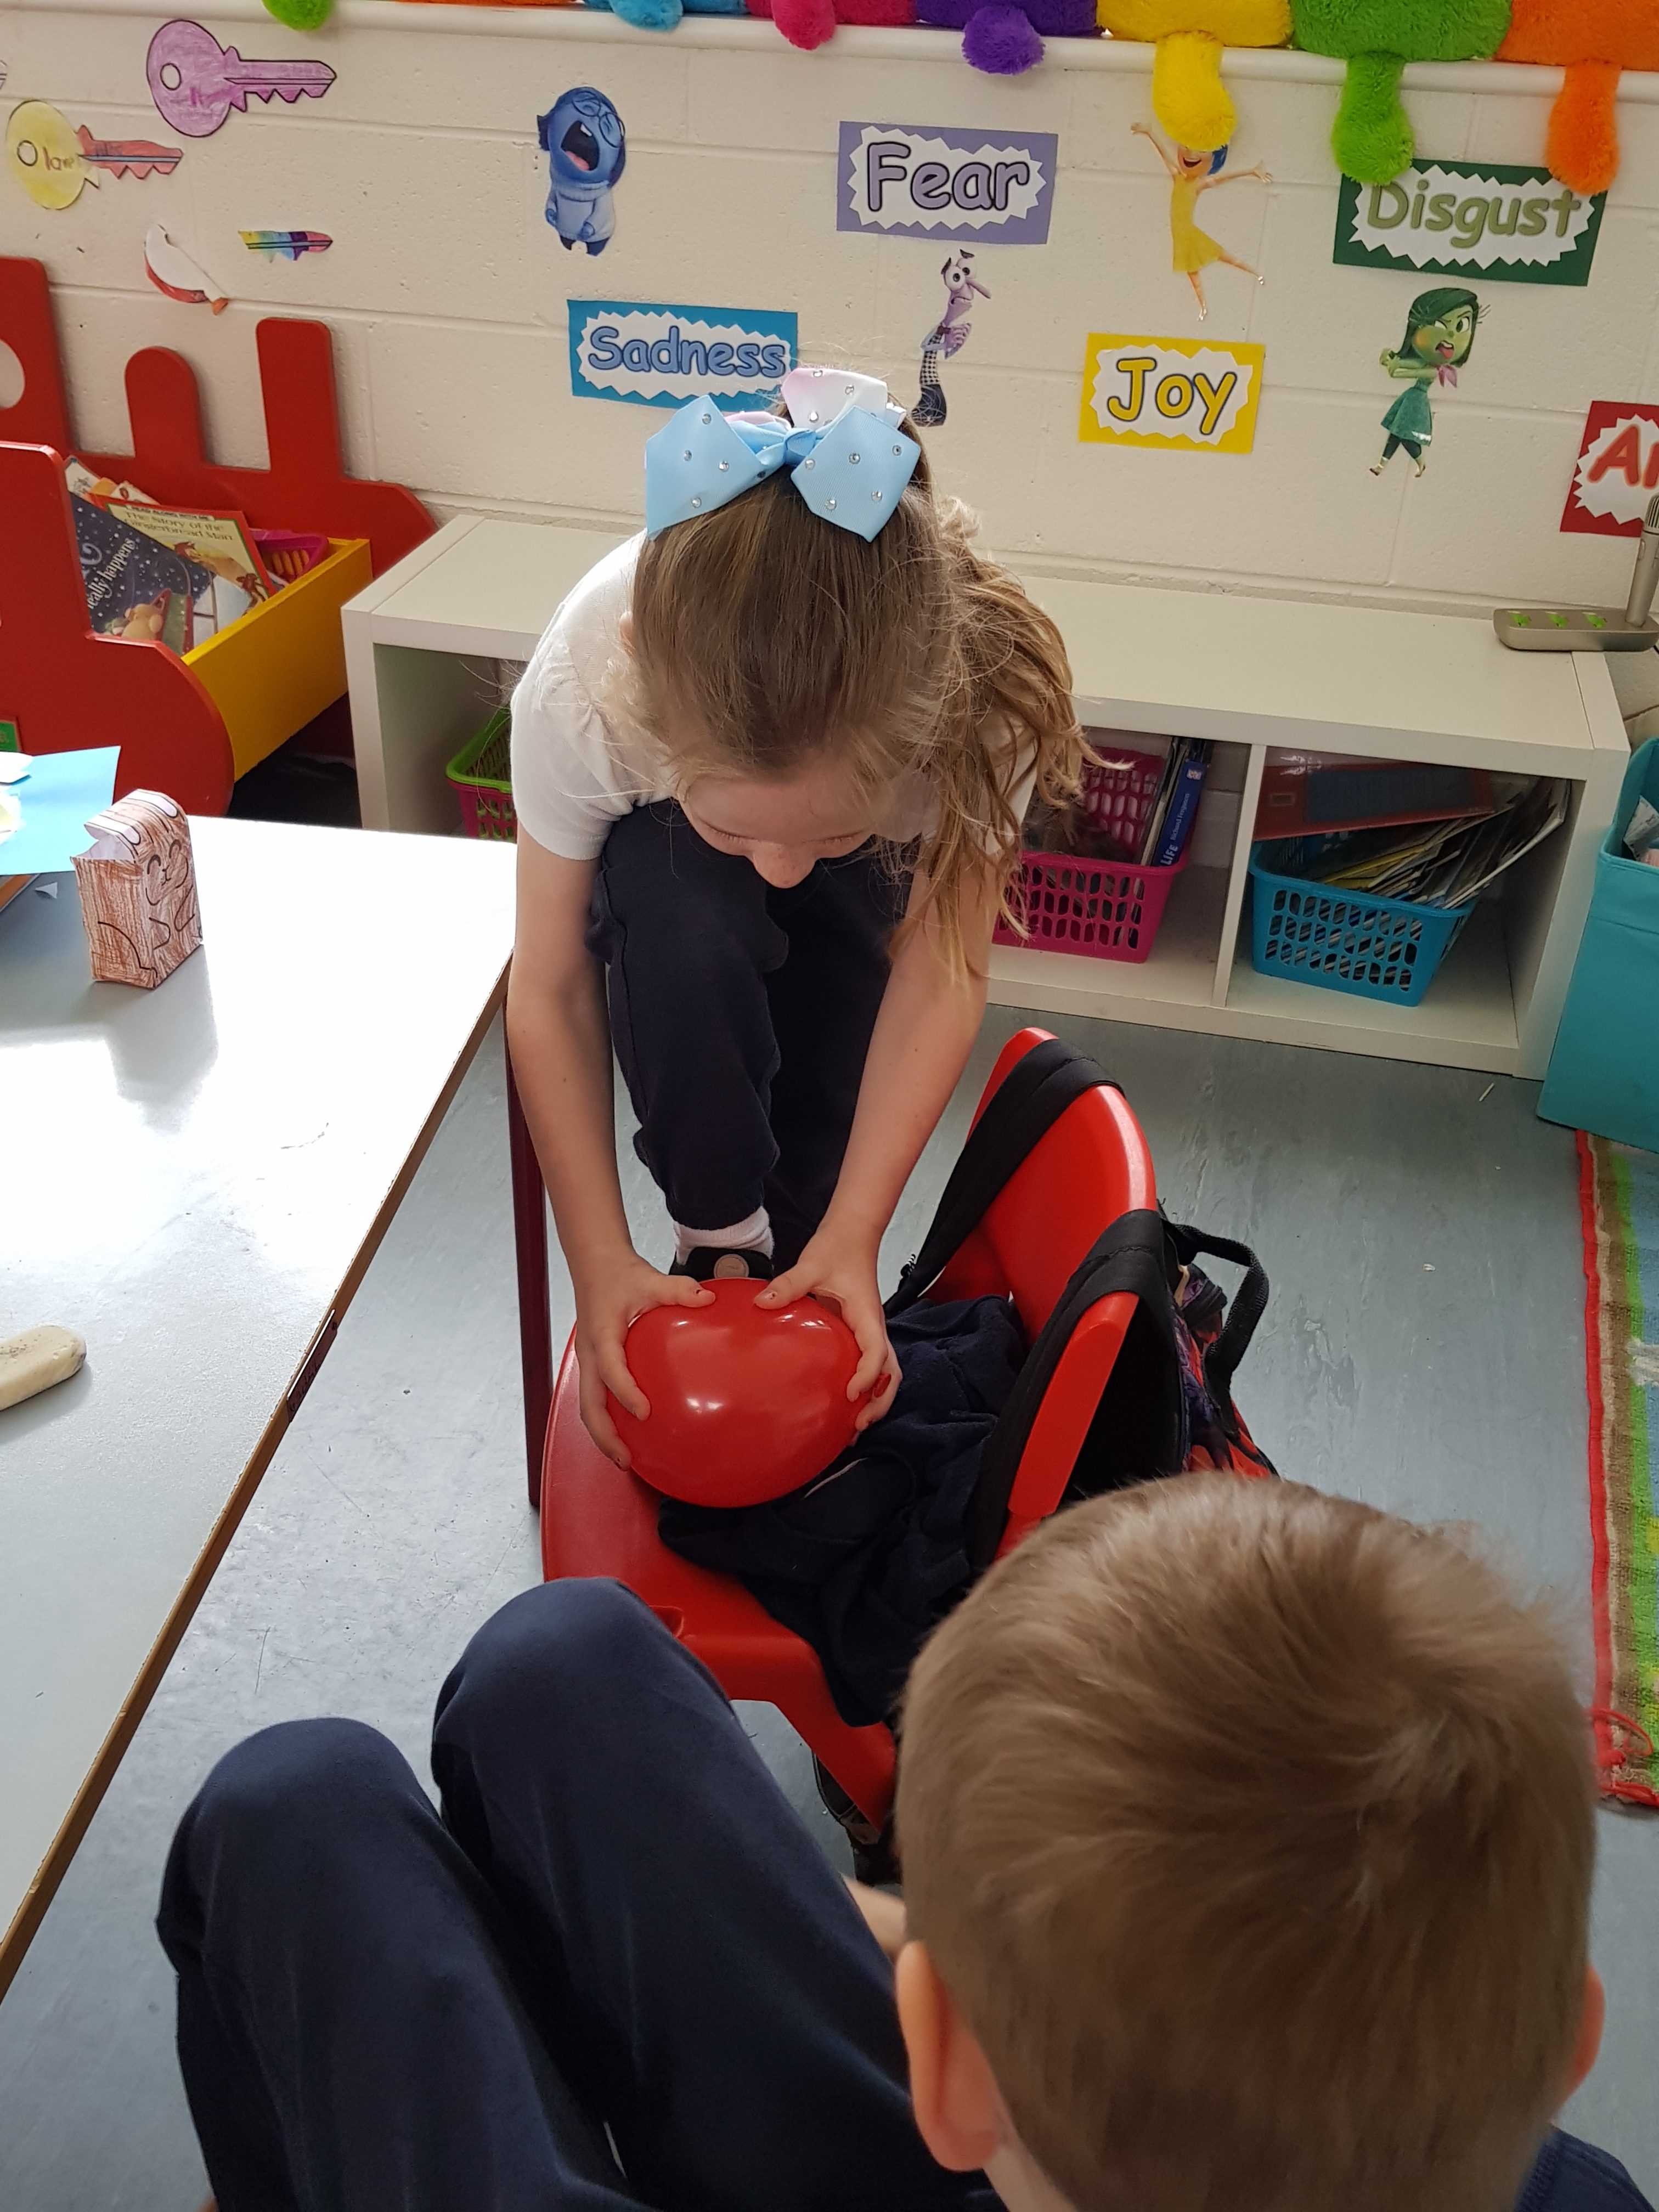
The children experimented with static electricity by rubbing balloons on their hair to make it stand up!
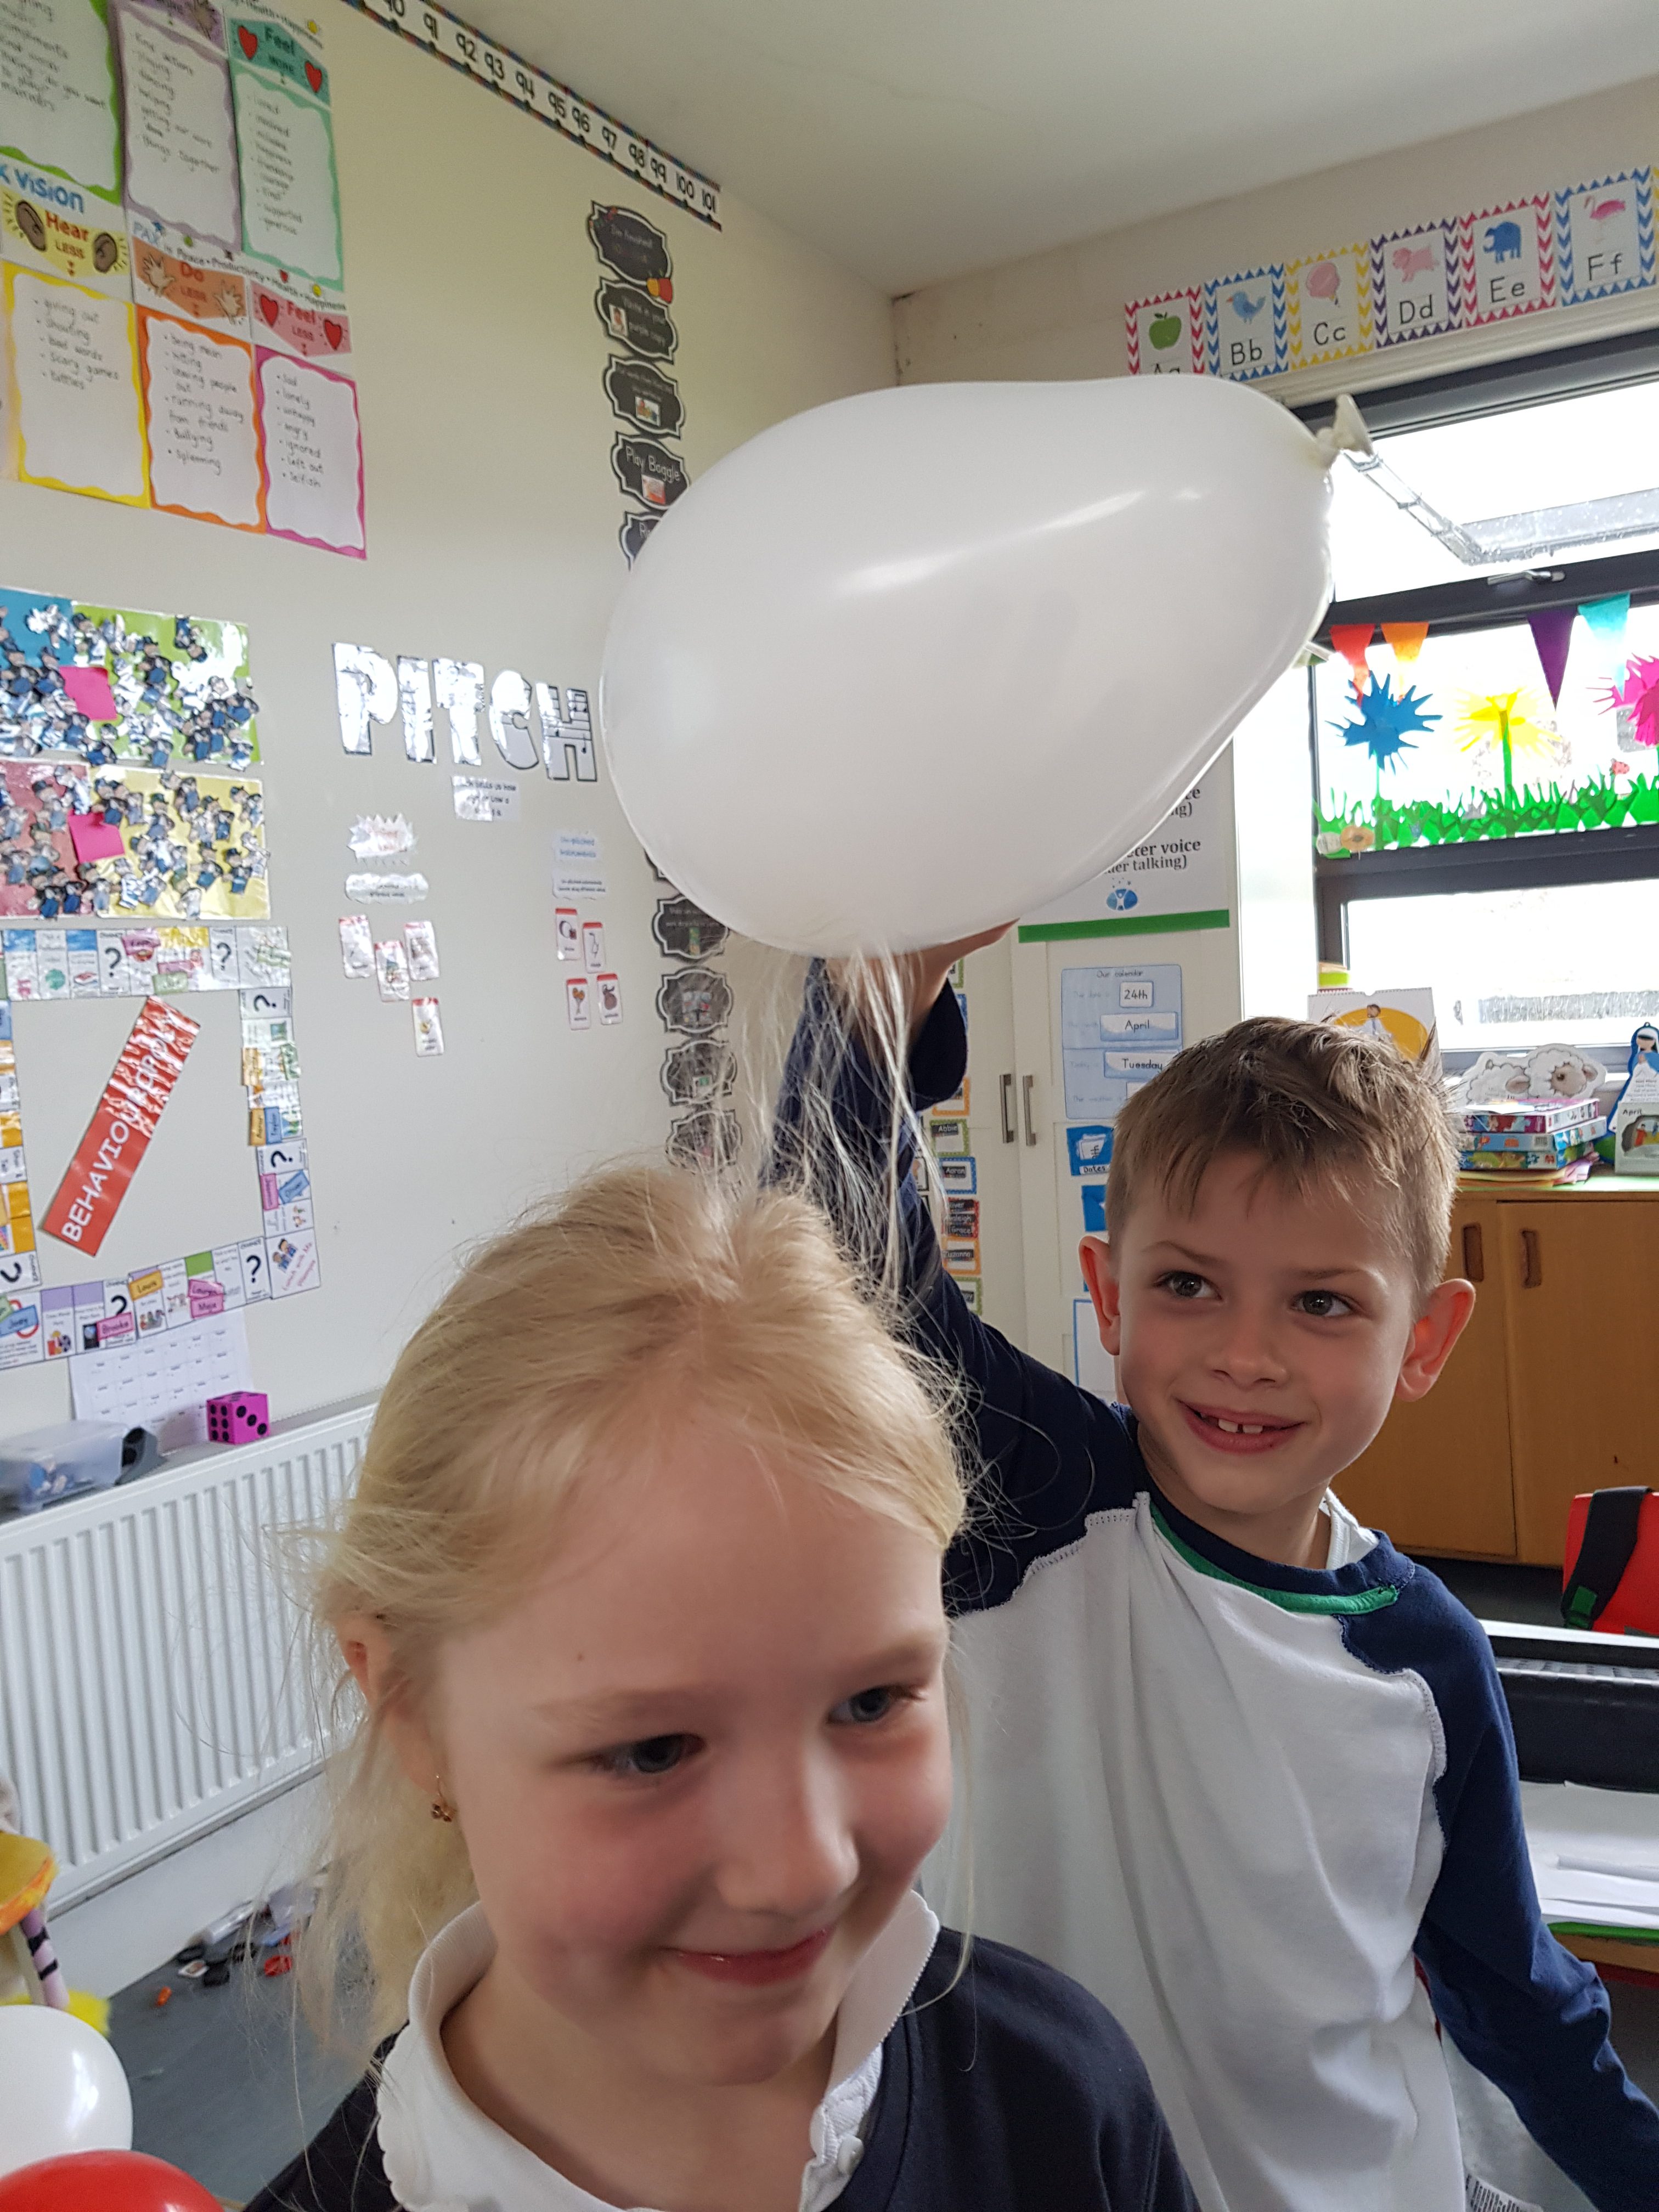
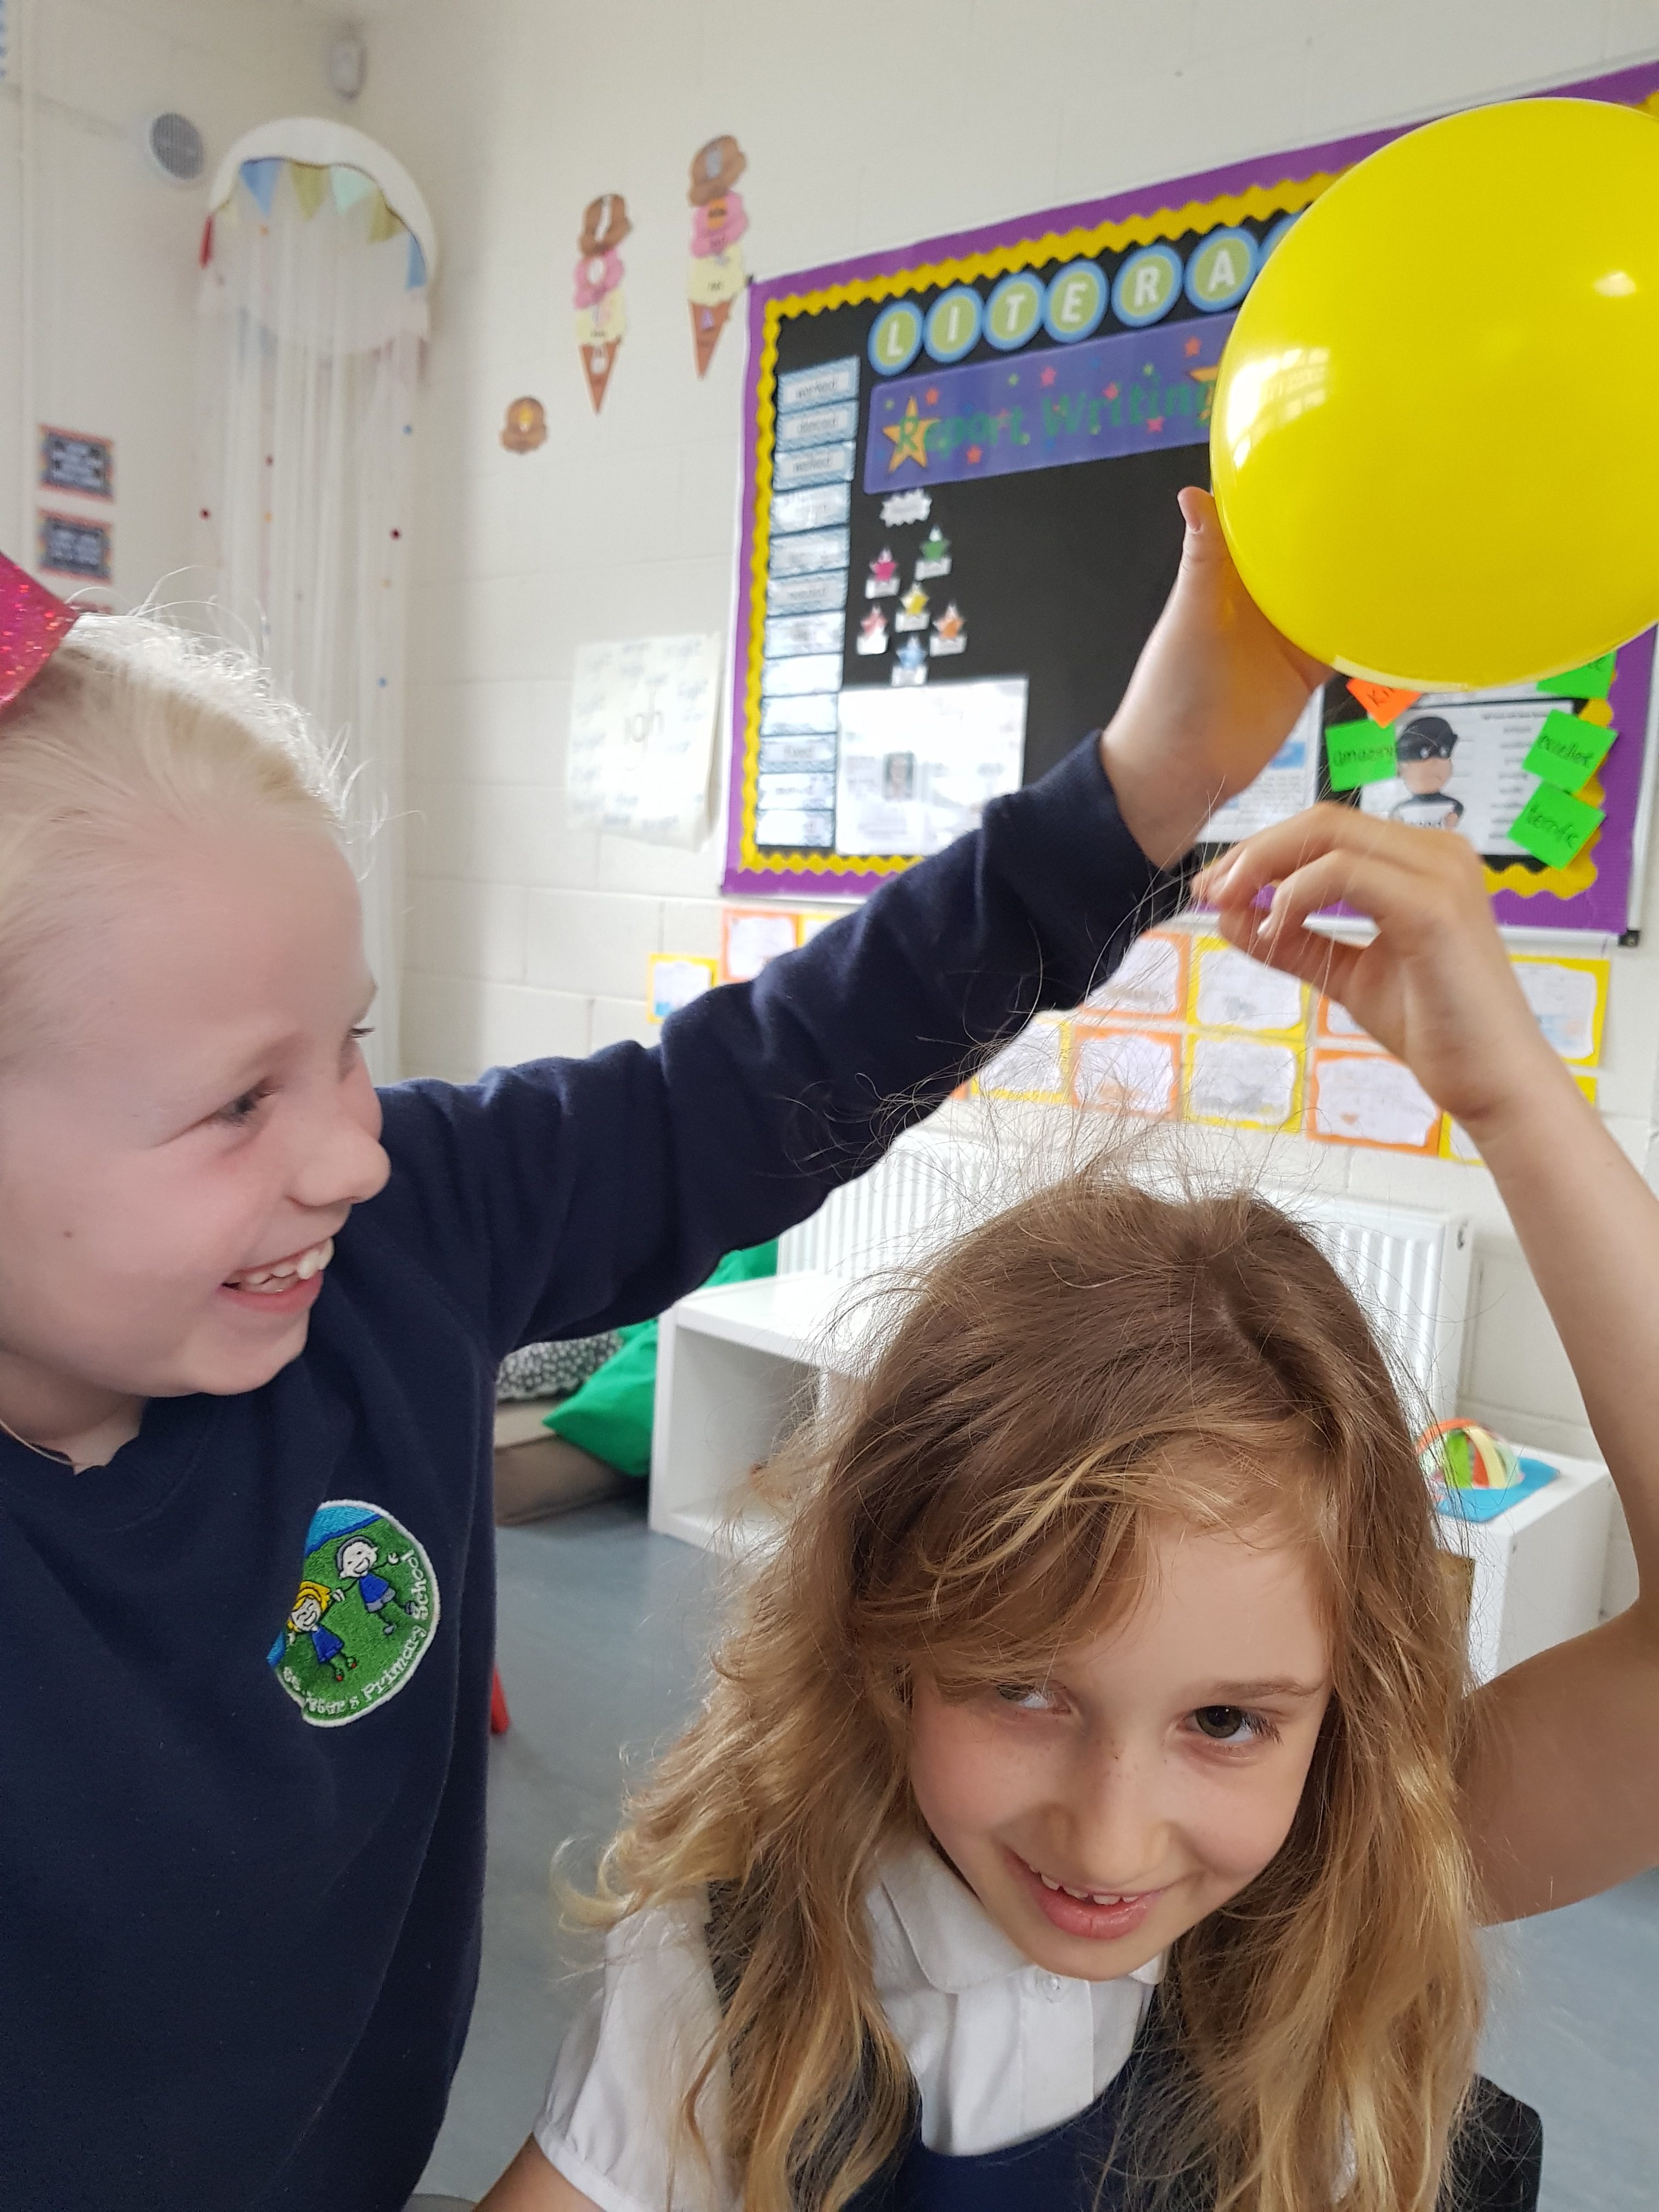
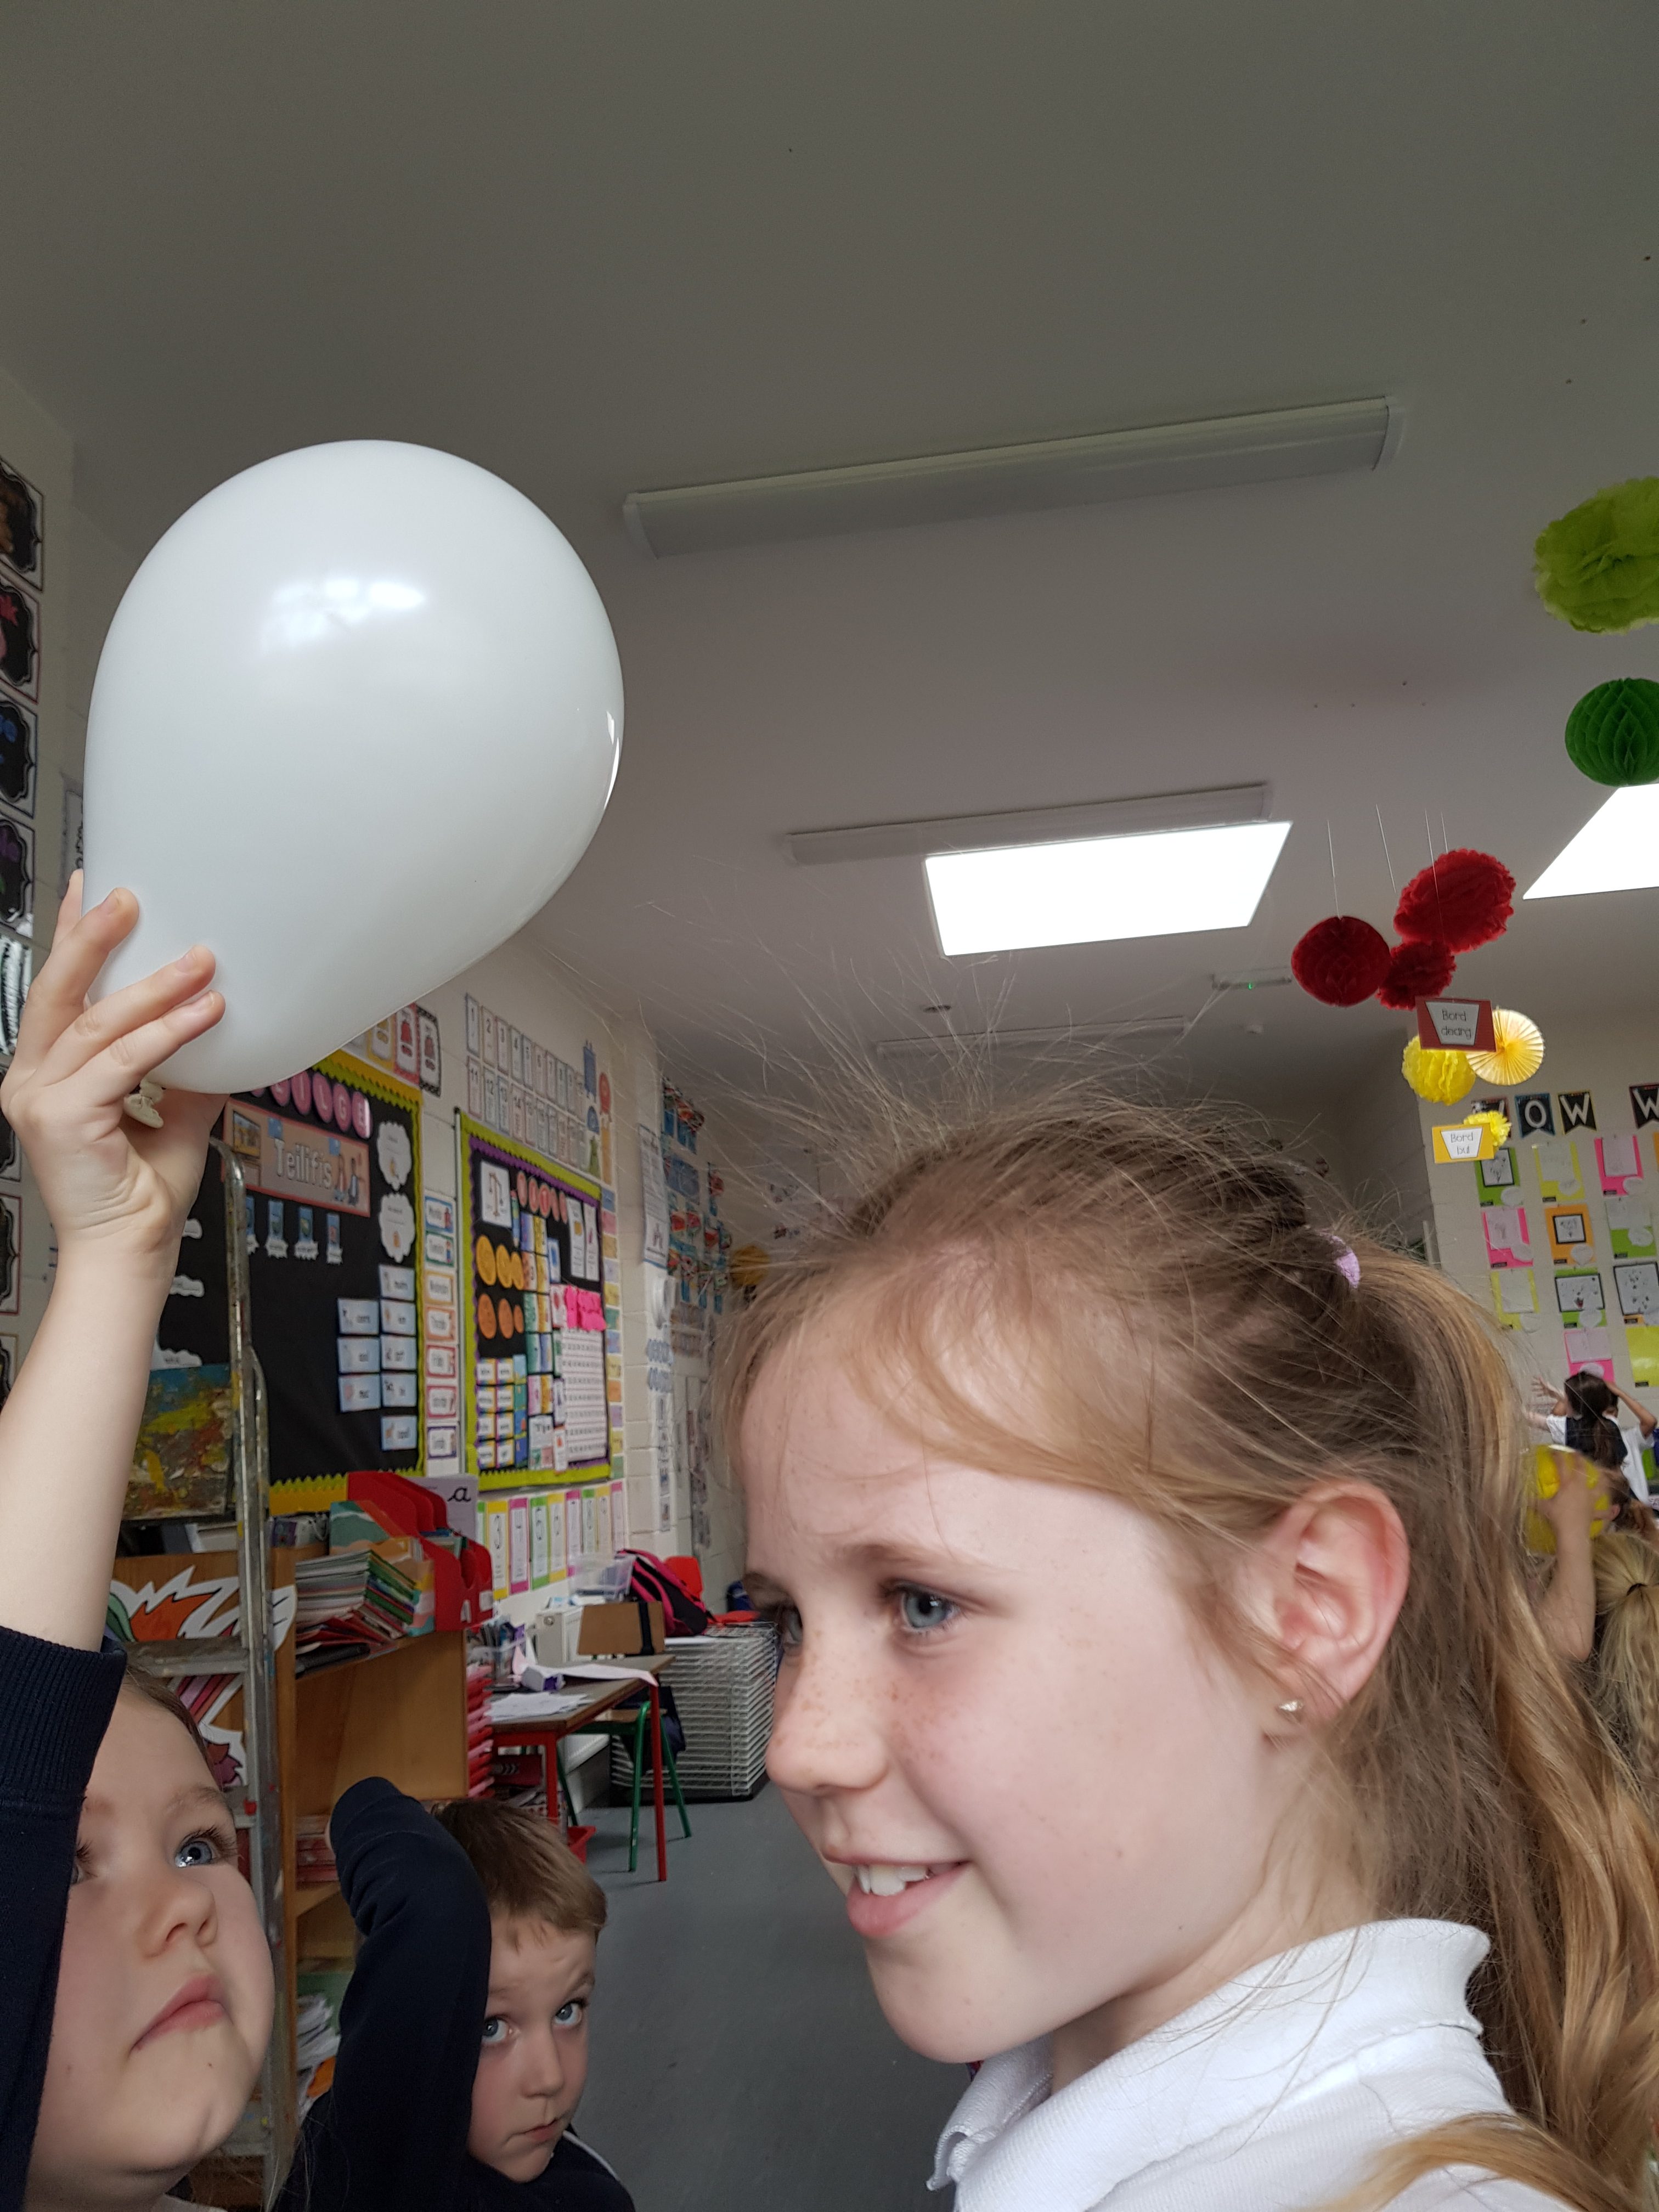
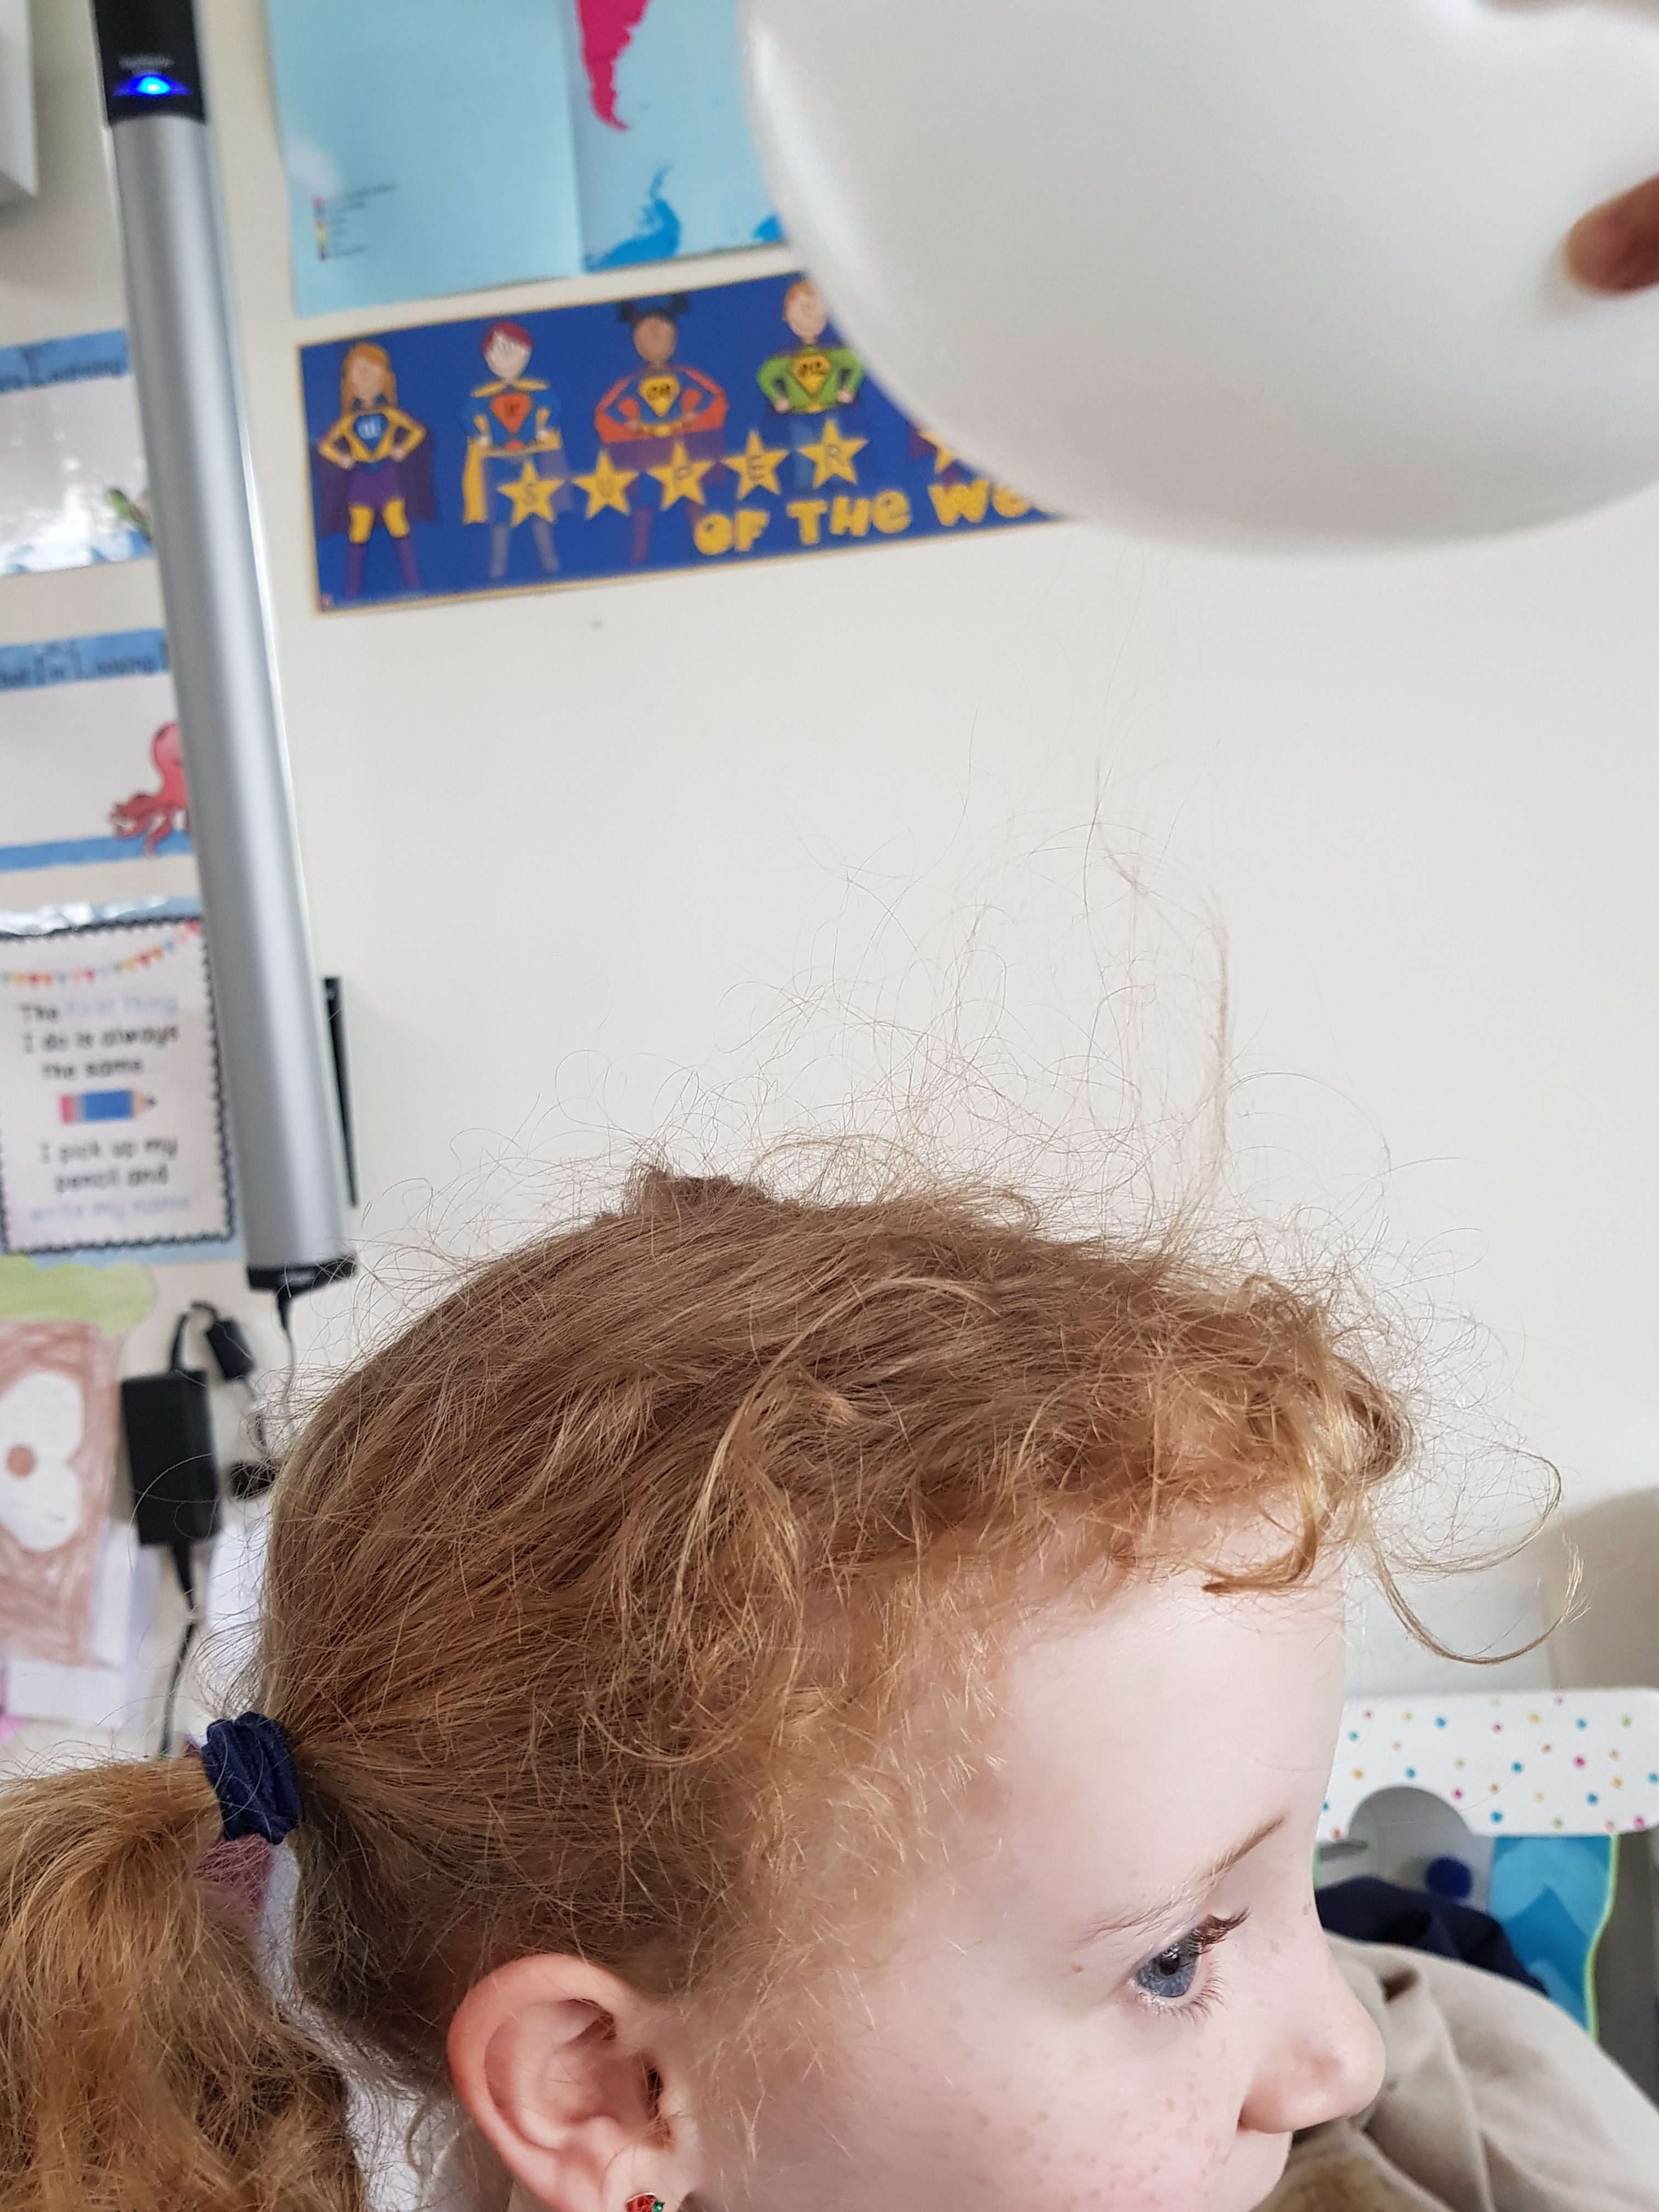
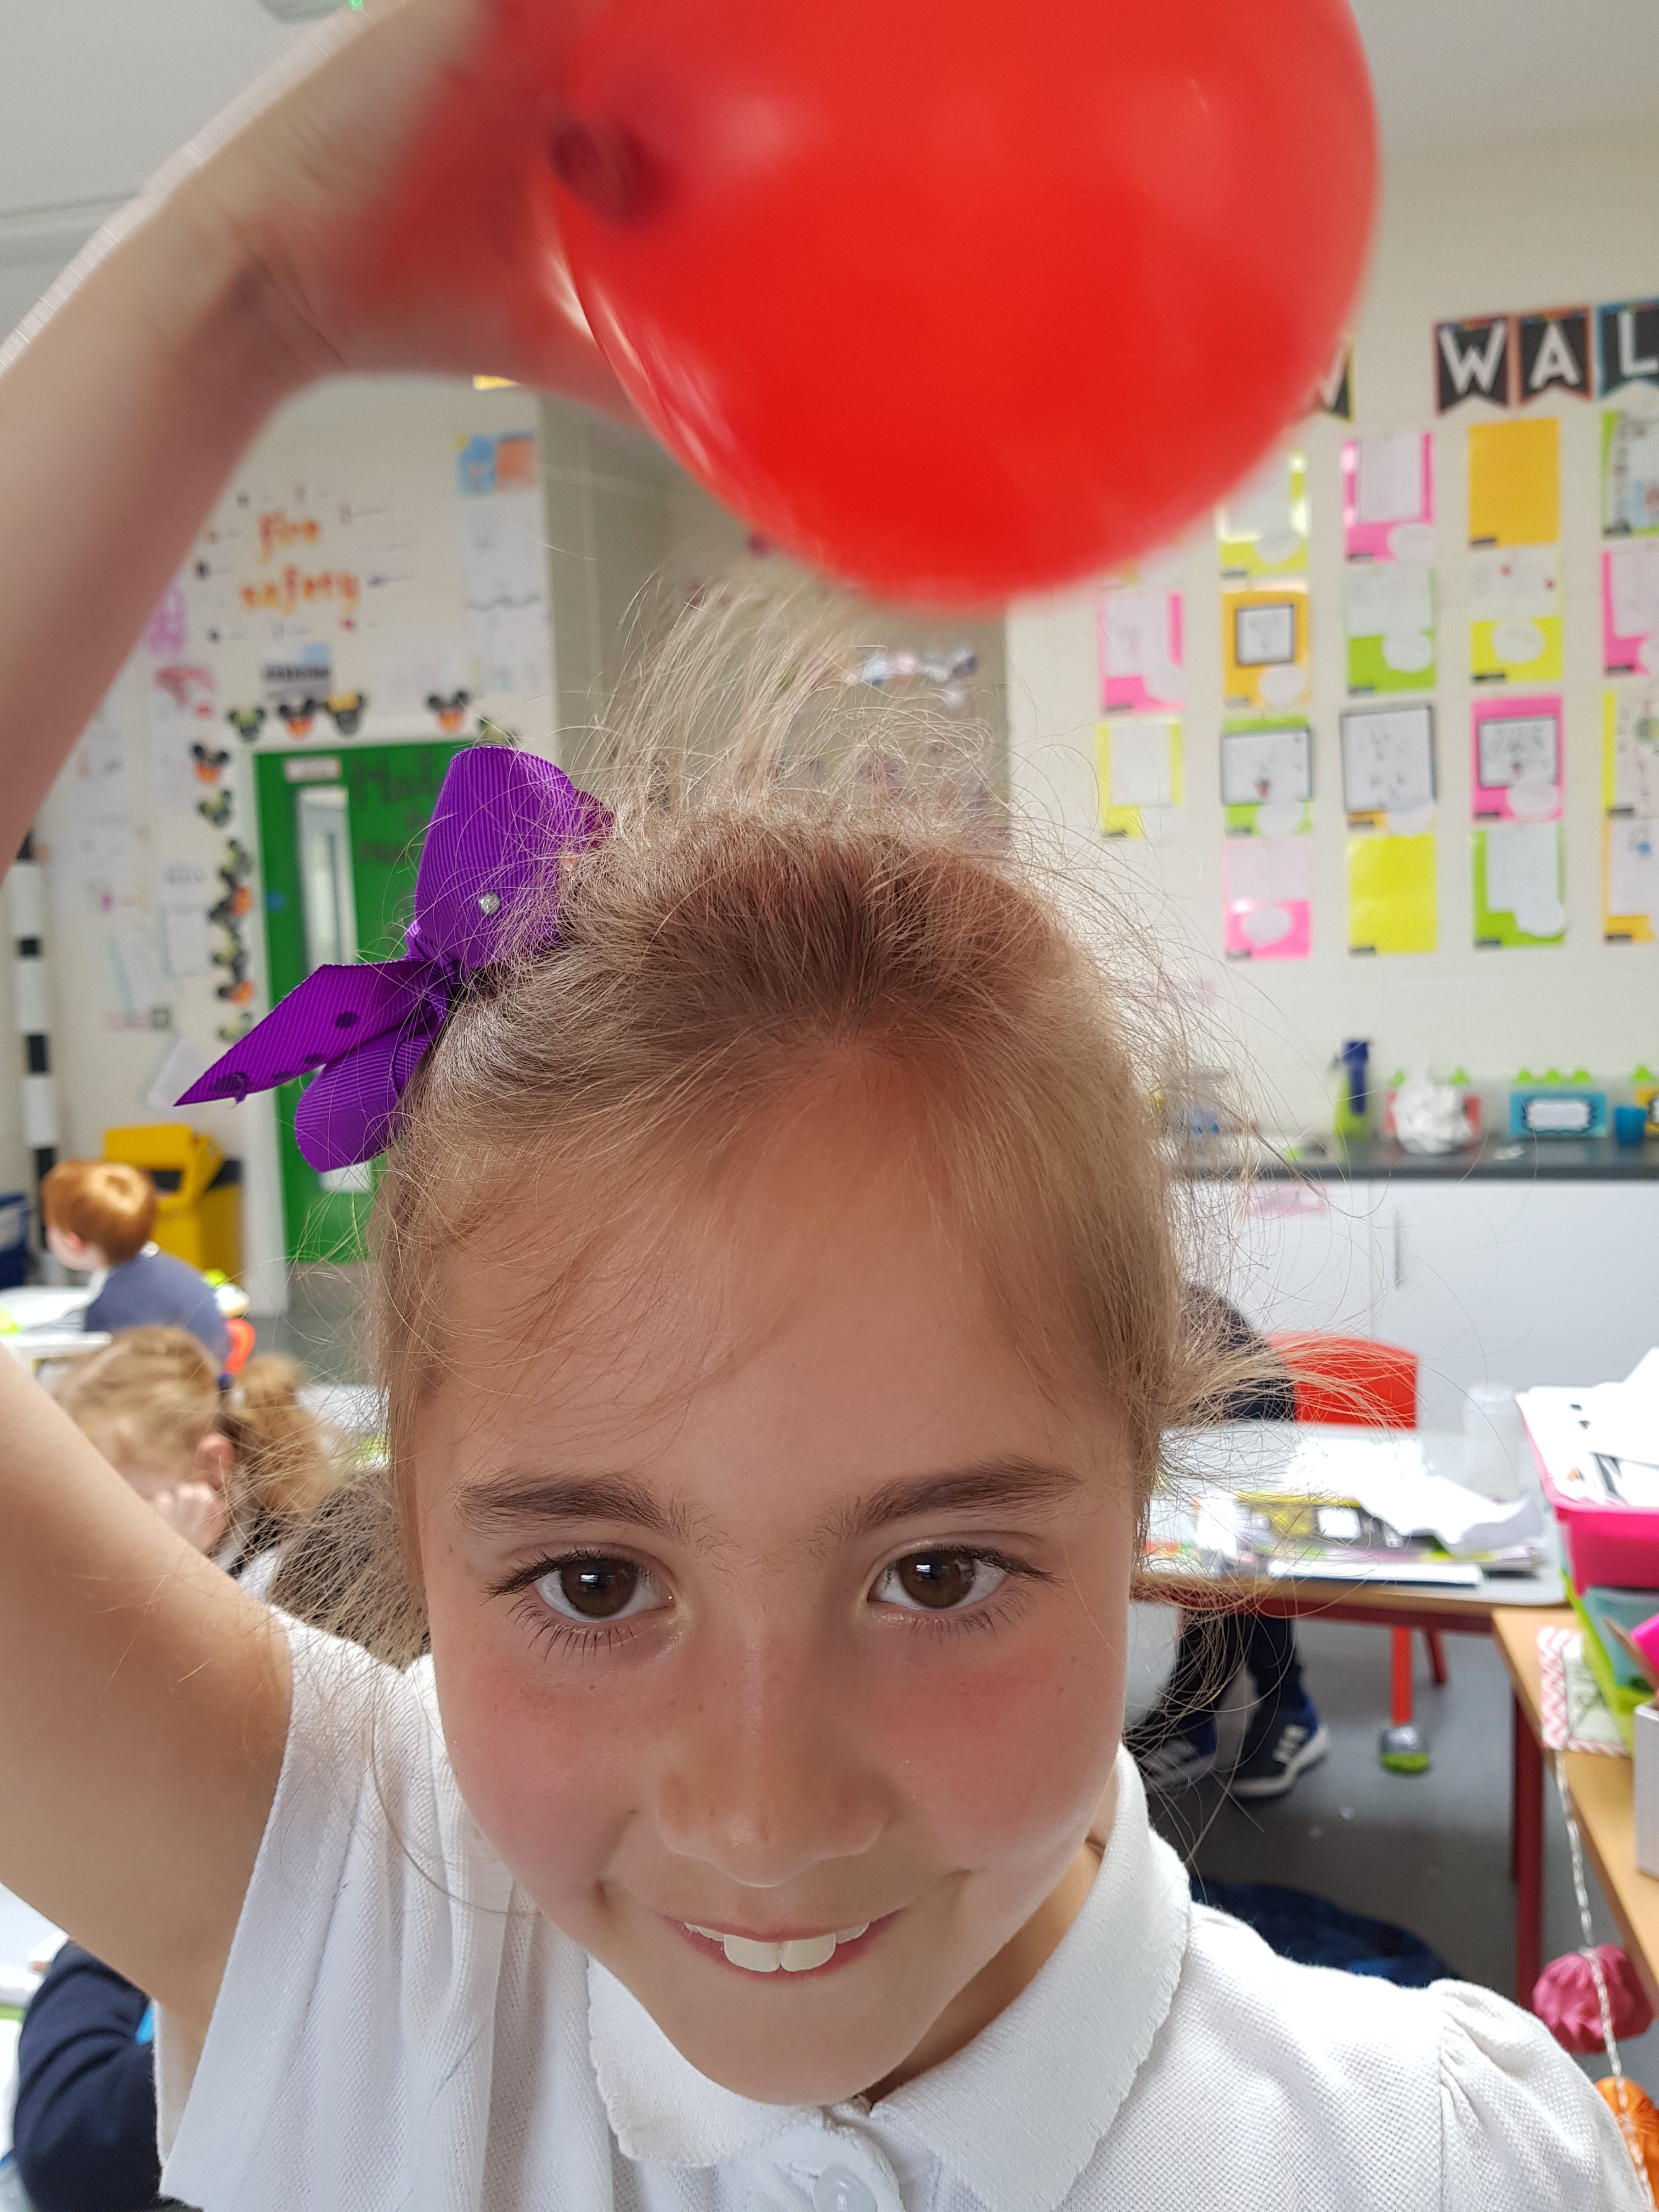


We wanted to investigate which piece of the school uniform produces the best ‘static’. The children split into groups and each picked an item of clothing that they were wearing like jumpers, t-shirts, trousers, dresses. Each group was given a balloon, 5 small pieces of torn paper and a sheet to record their results. To make it a fair test we all agreed each group would rub the balloon on their chosen piece of clothing the same amount of times. The groups counted together while their partners produced the static electricity.
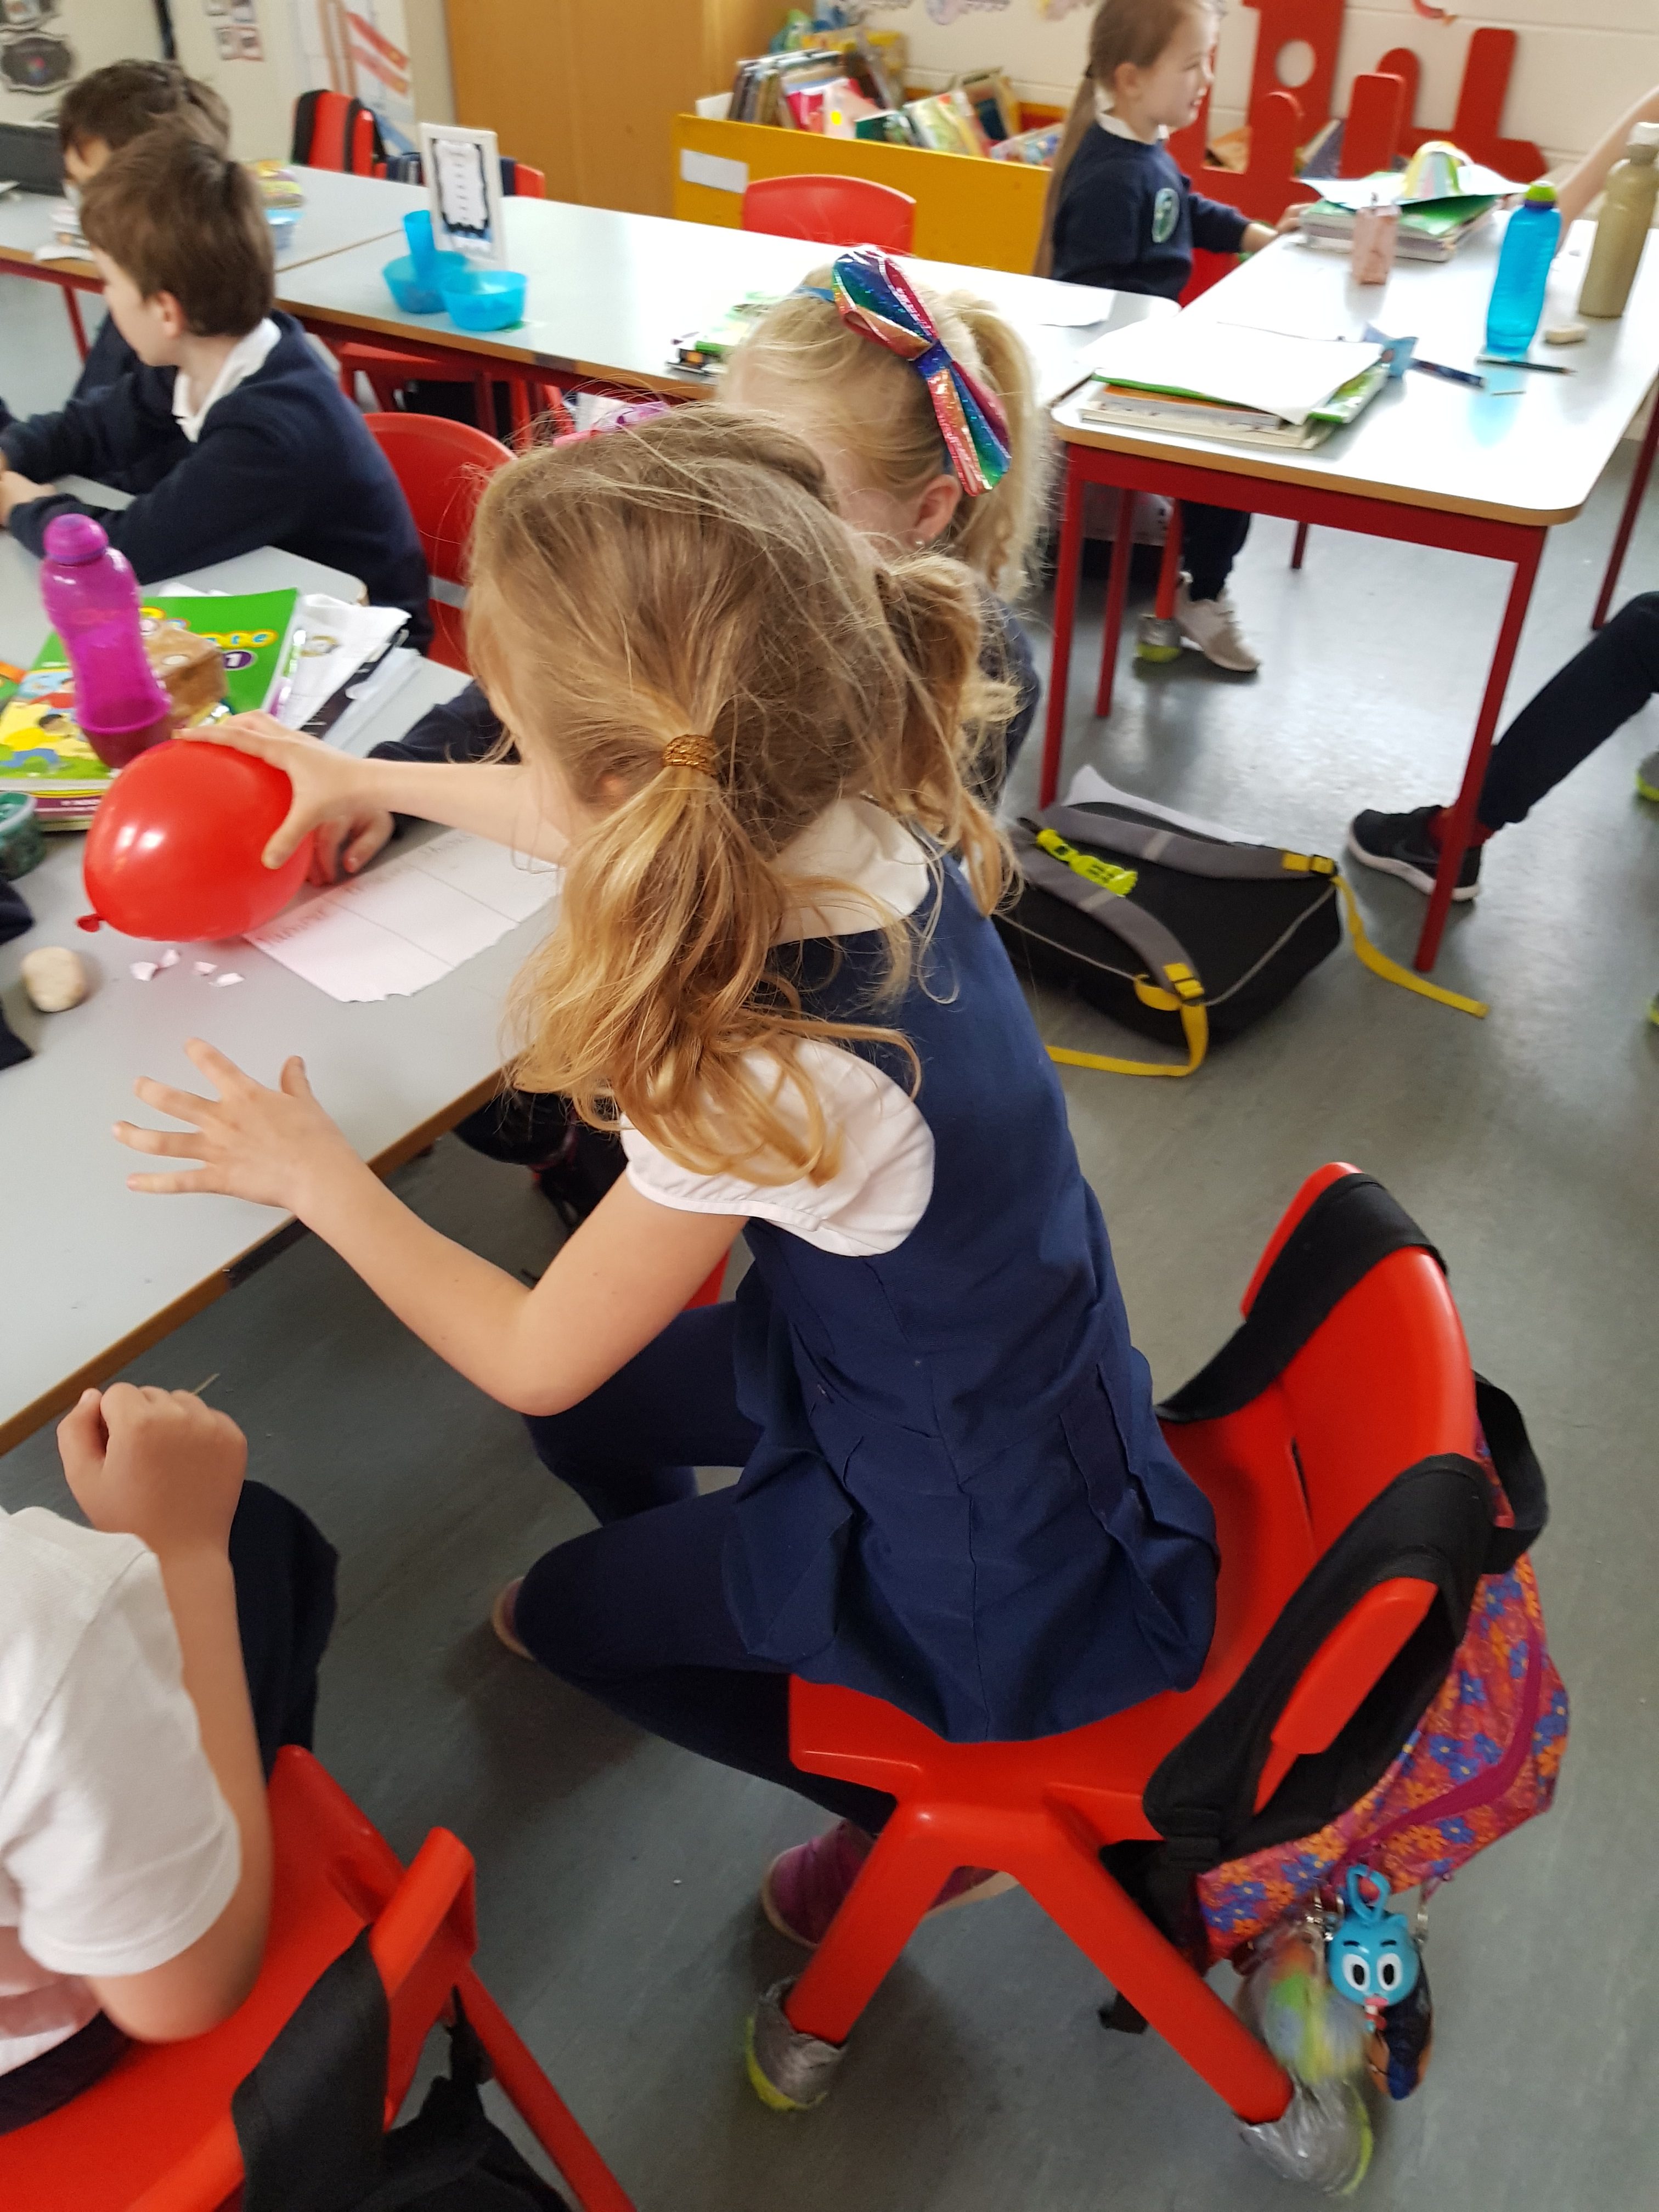
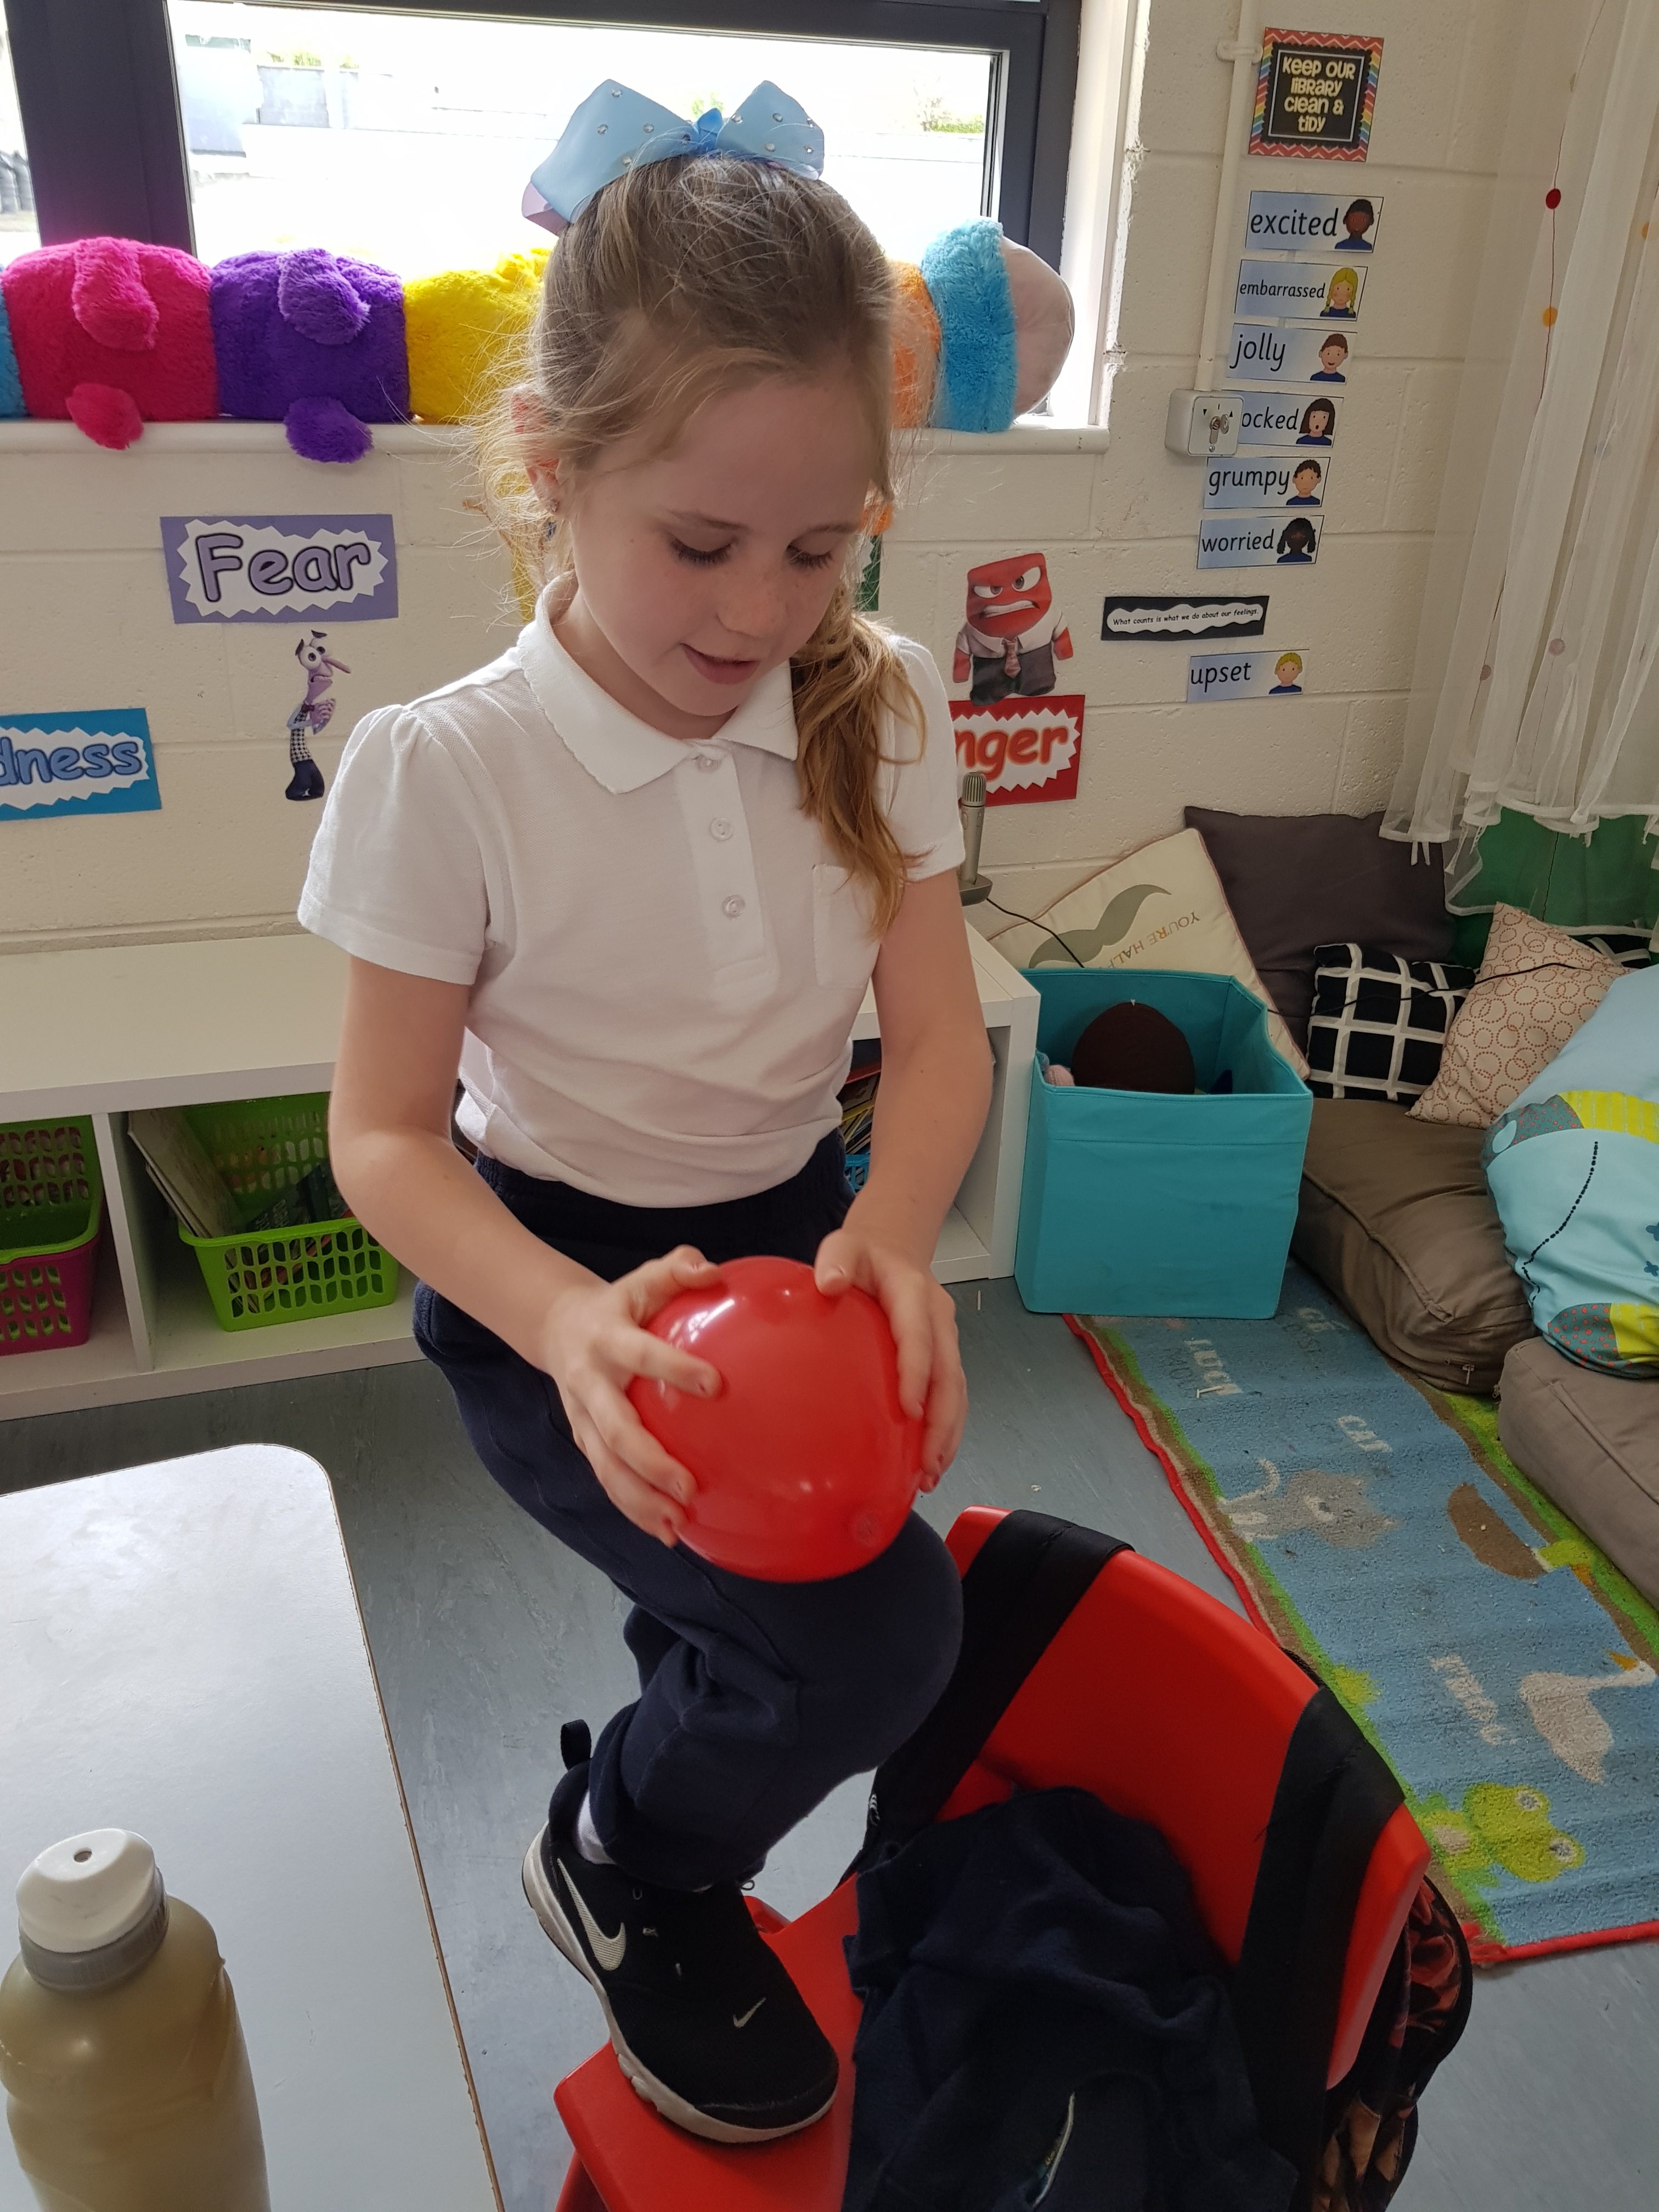
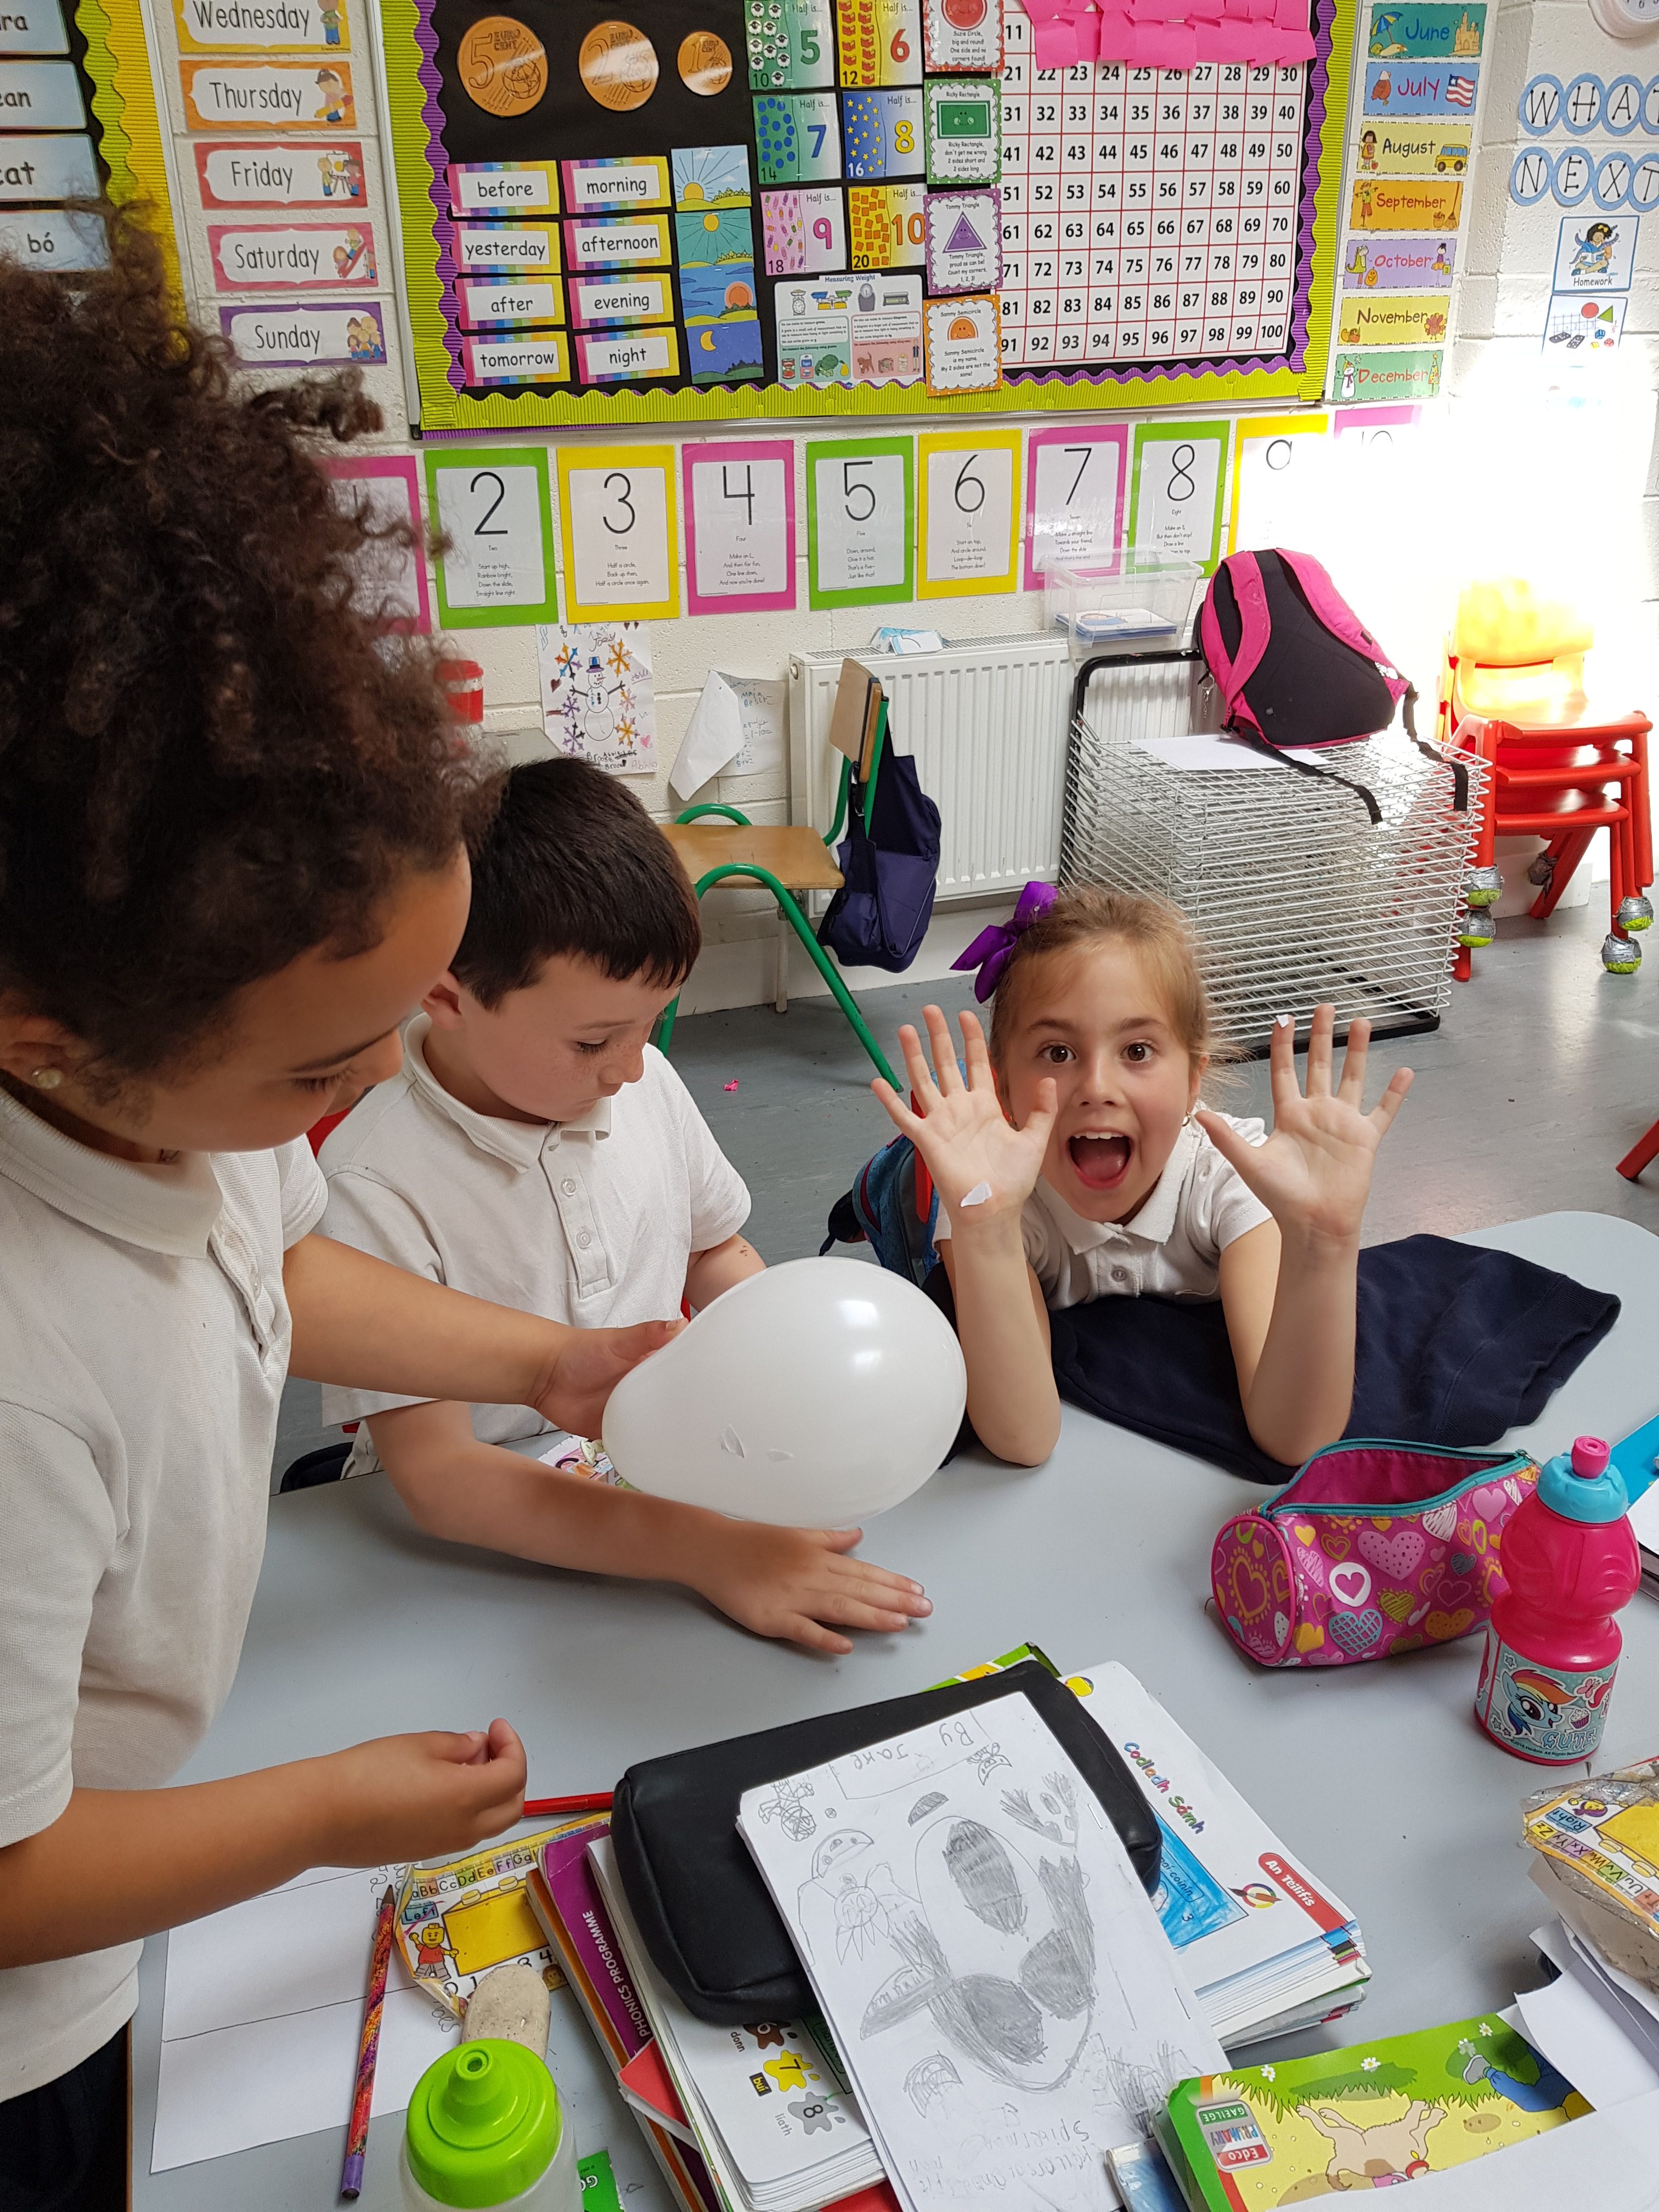
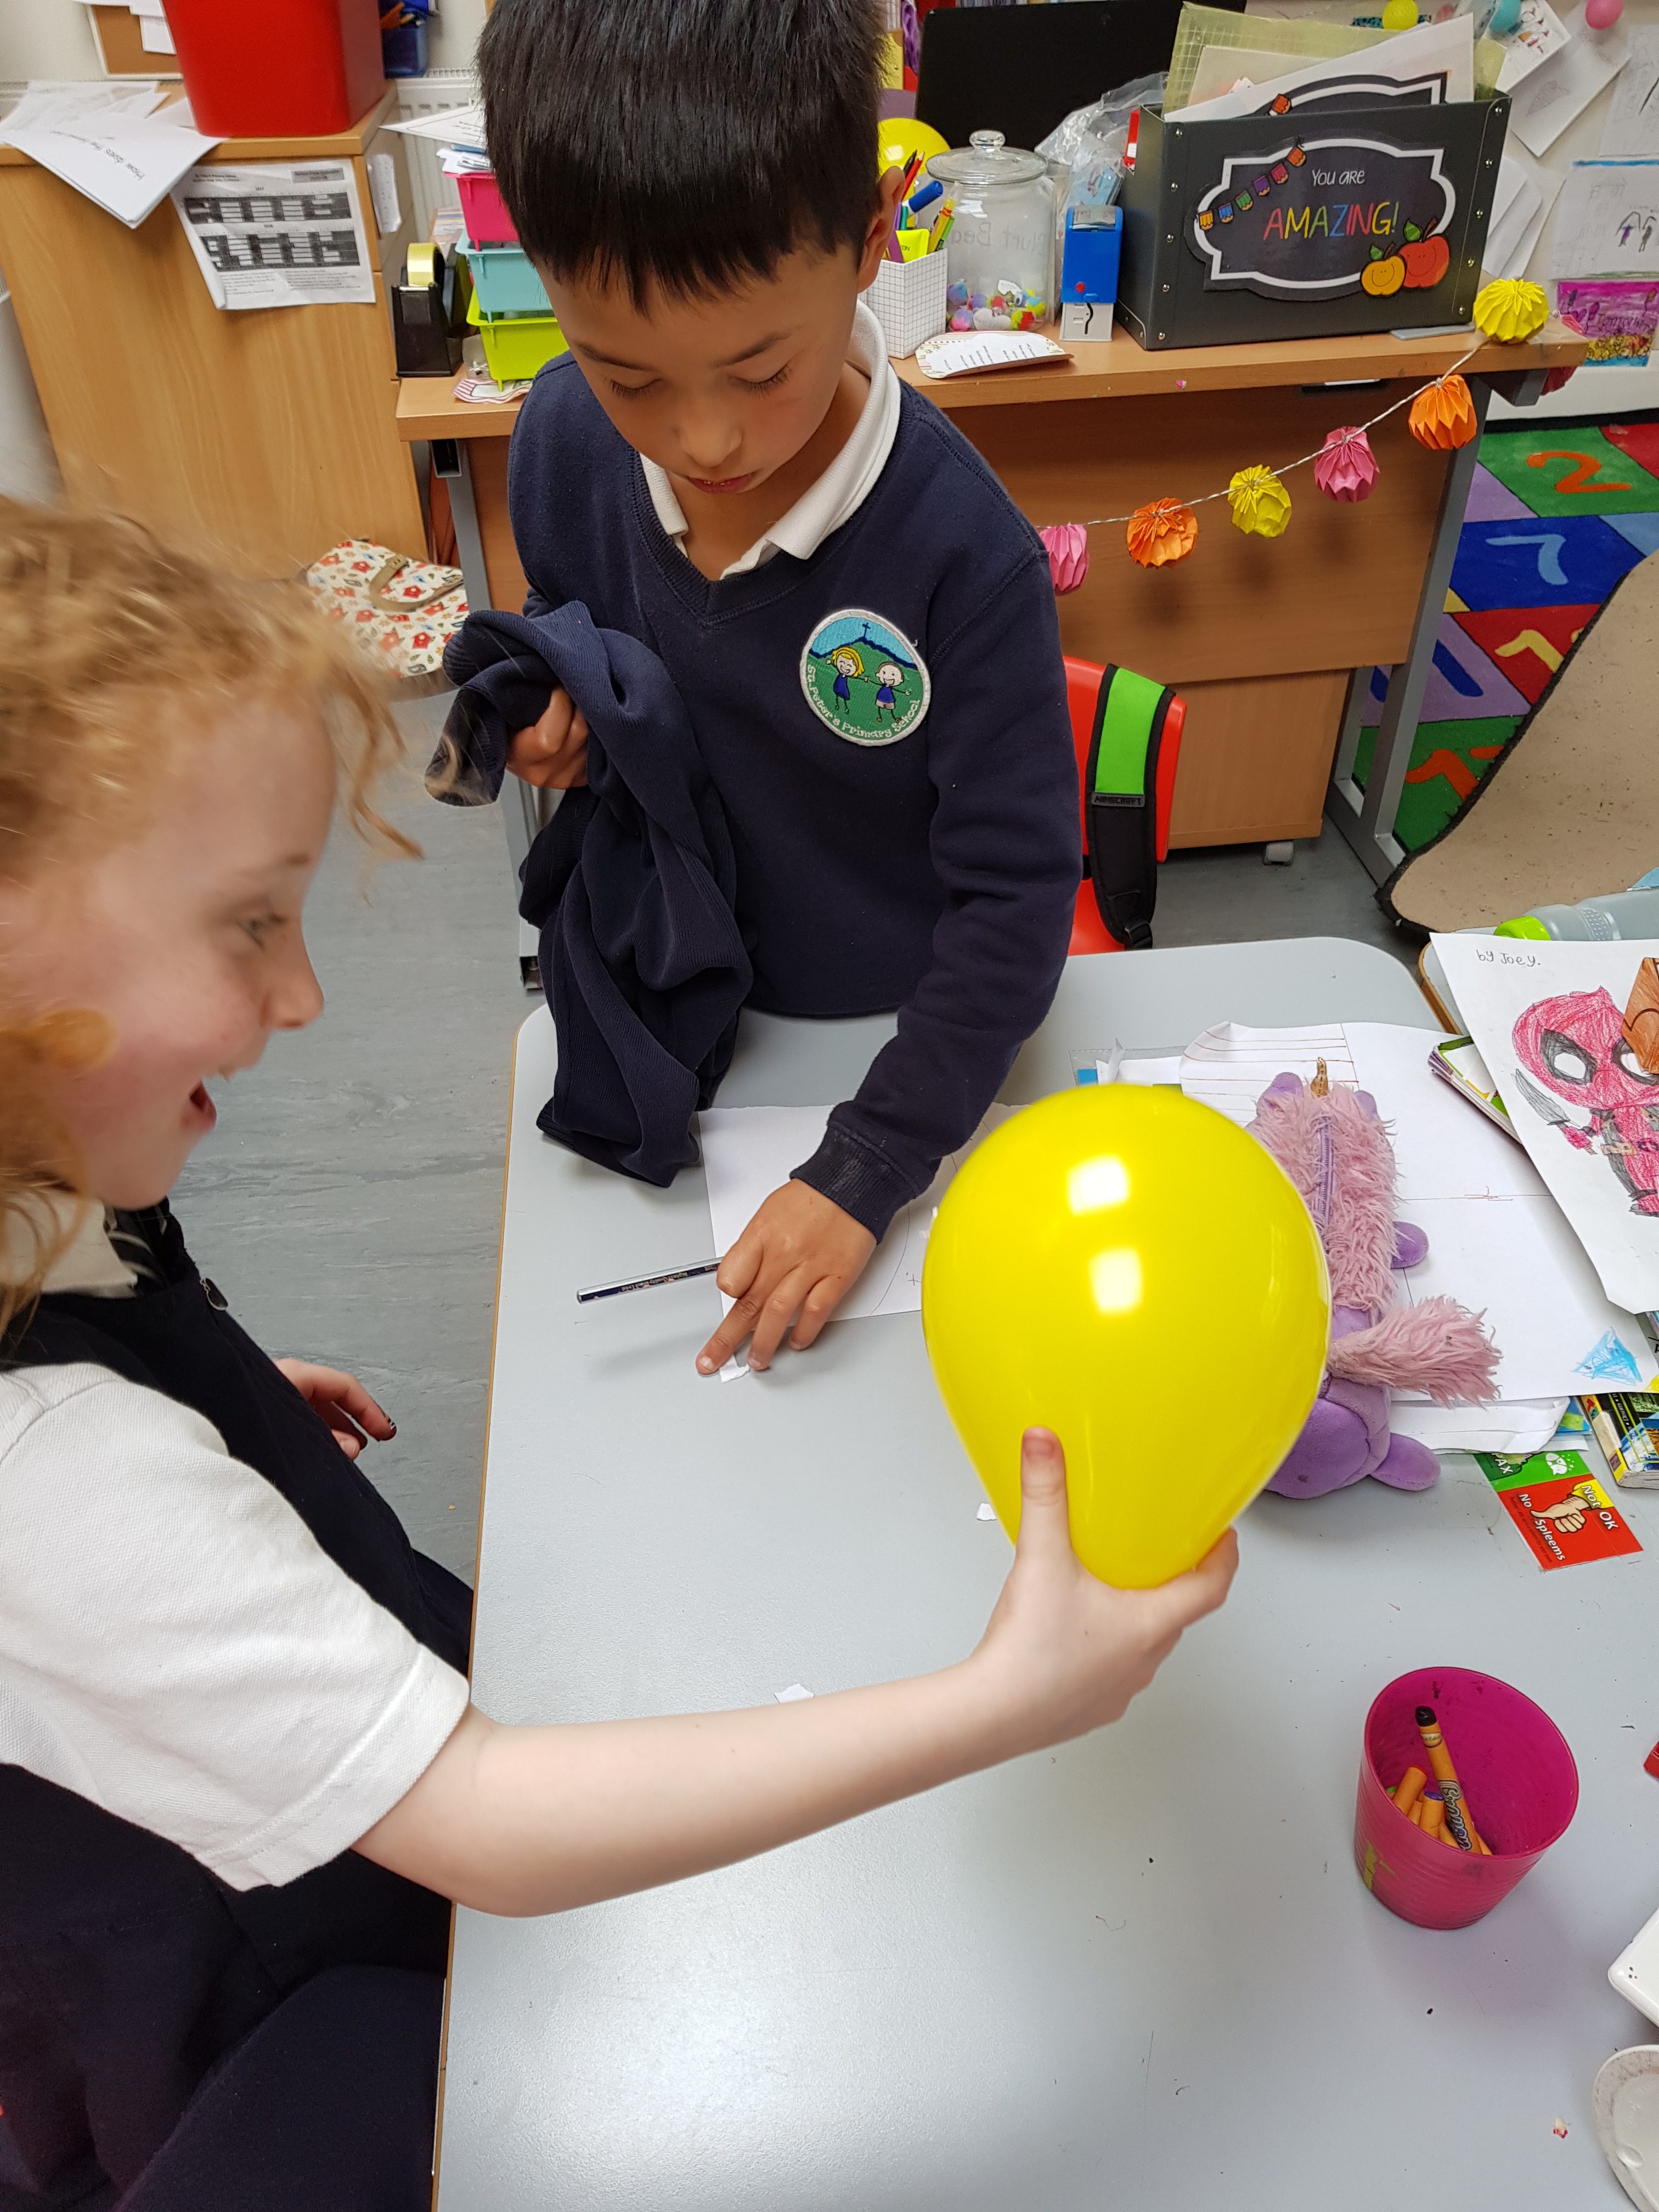
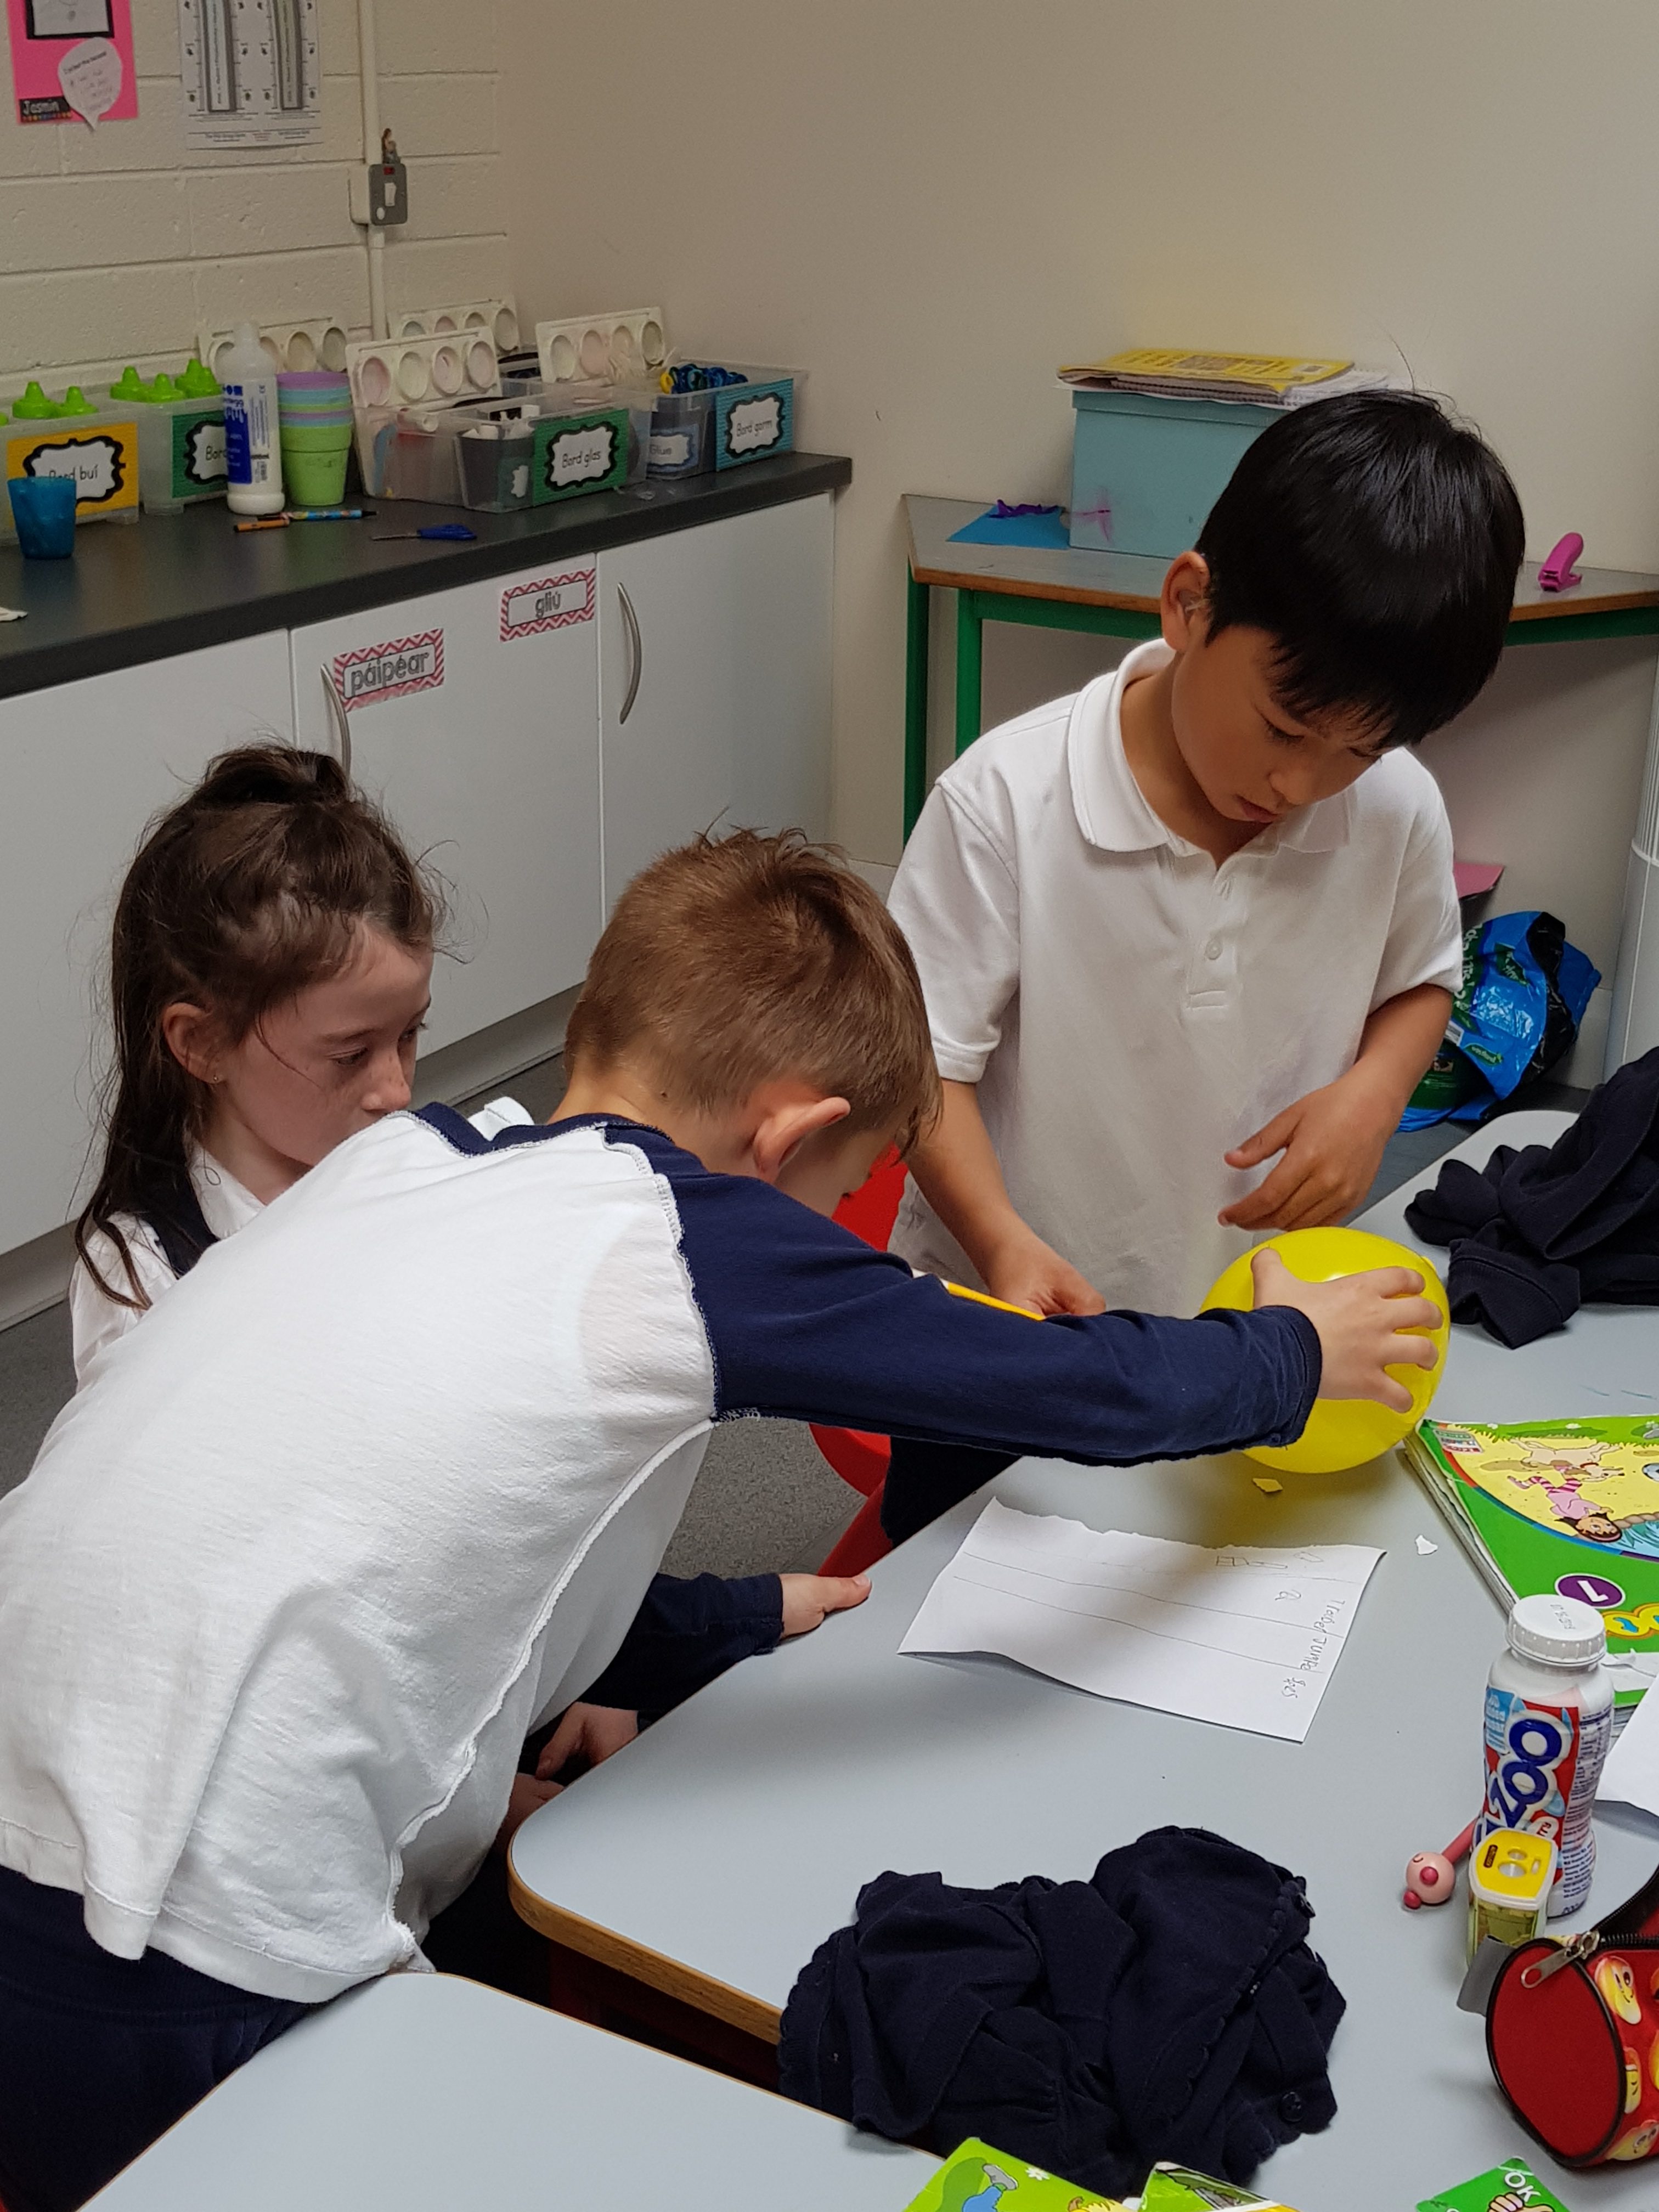
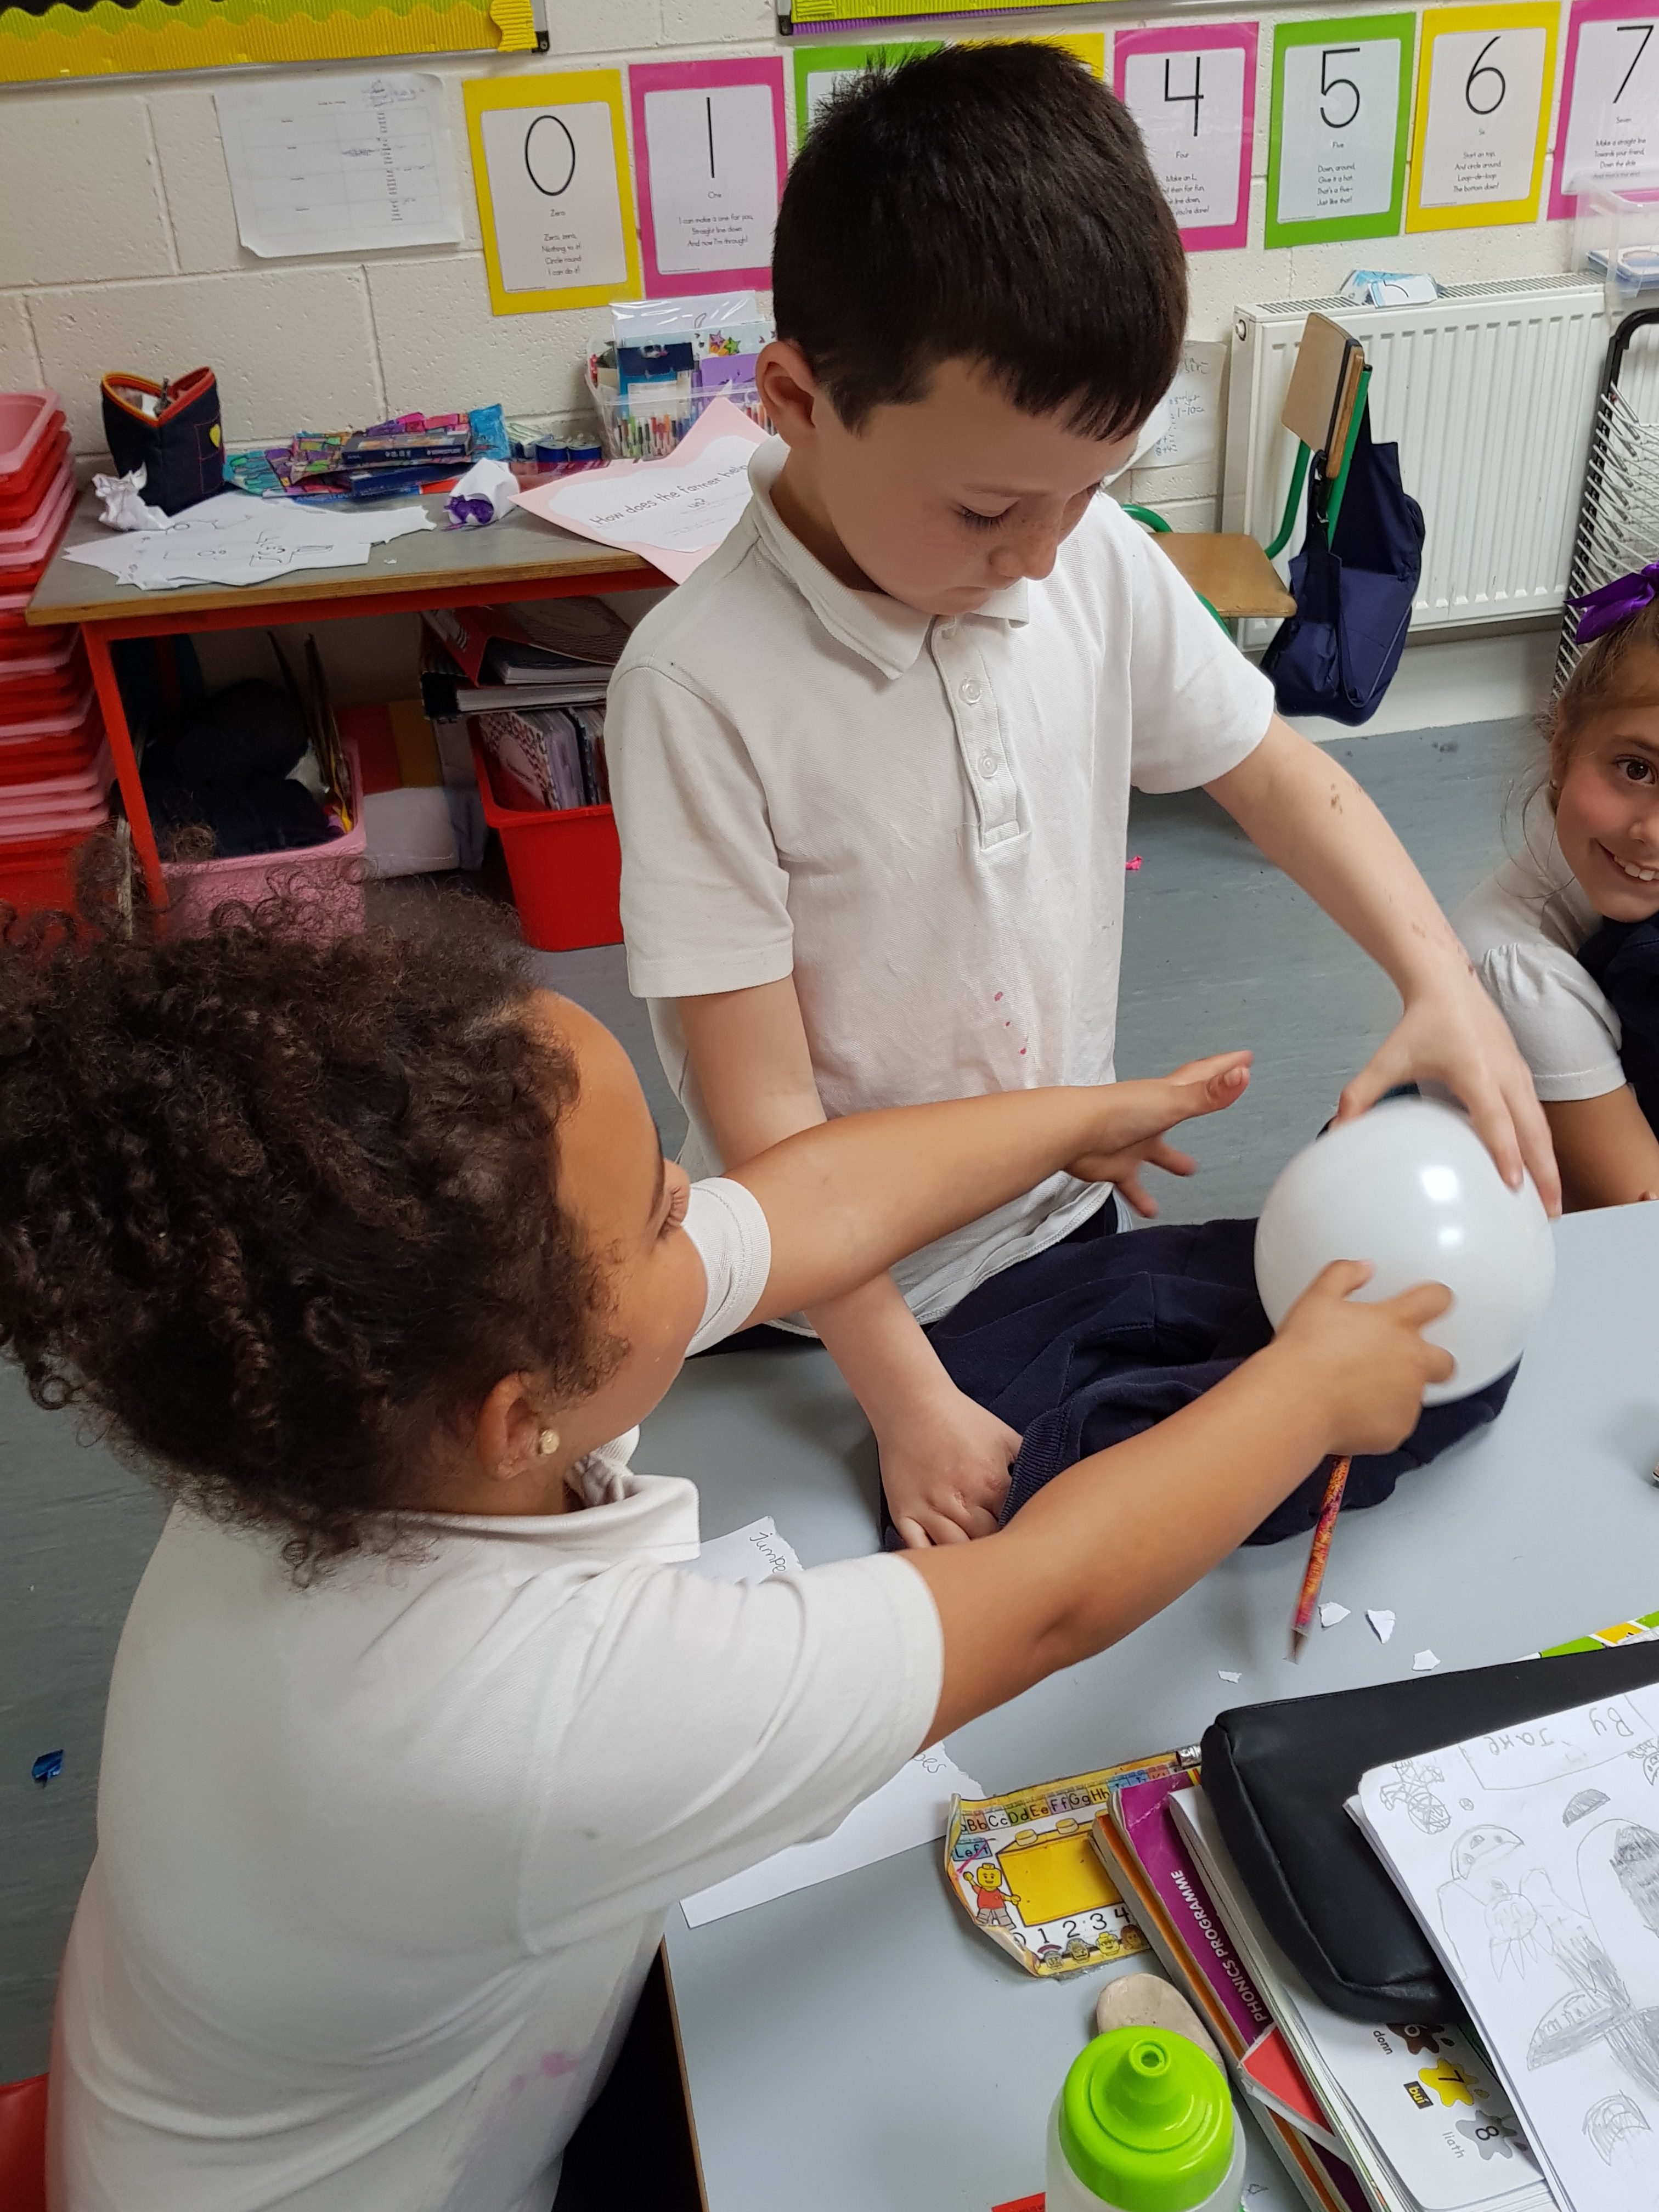
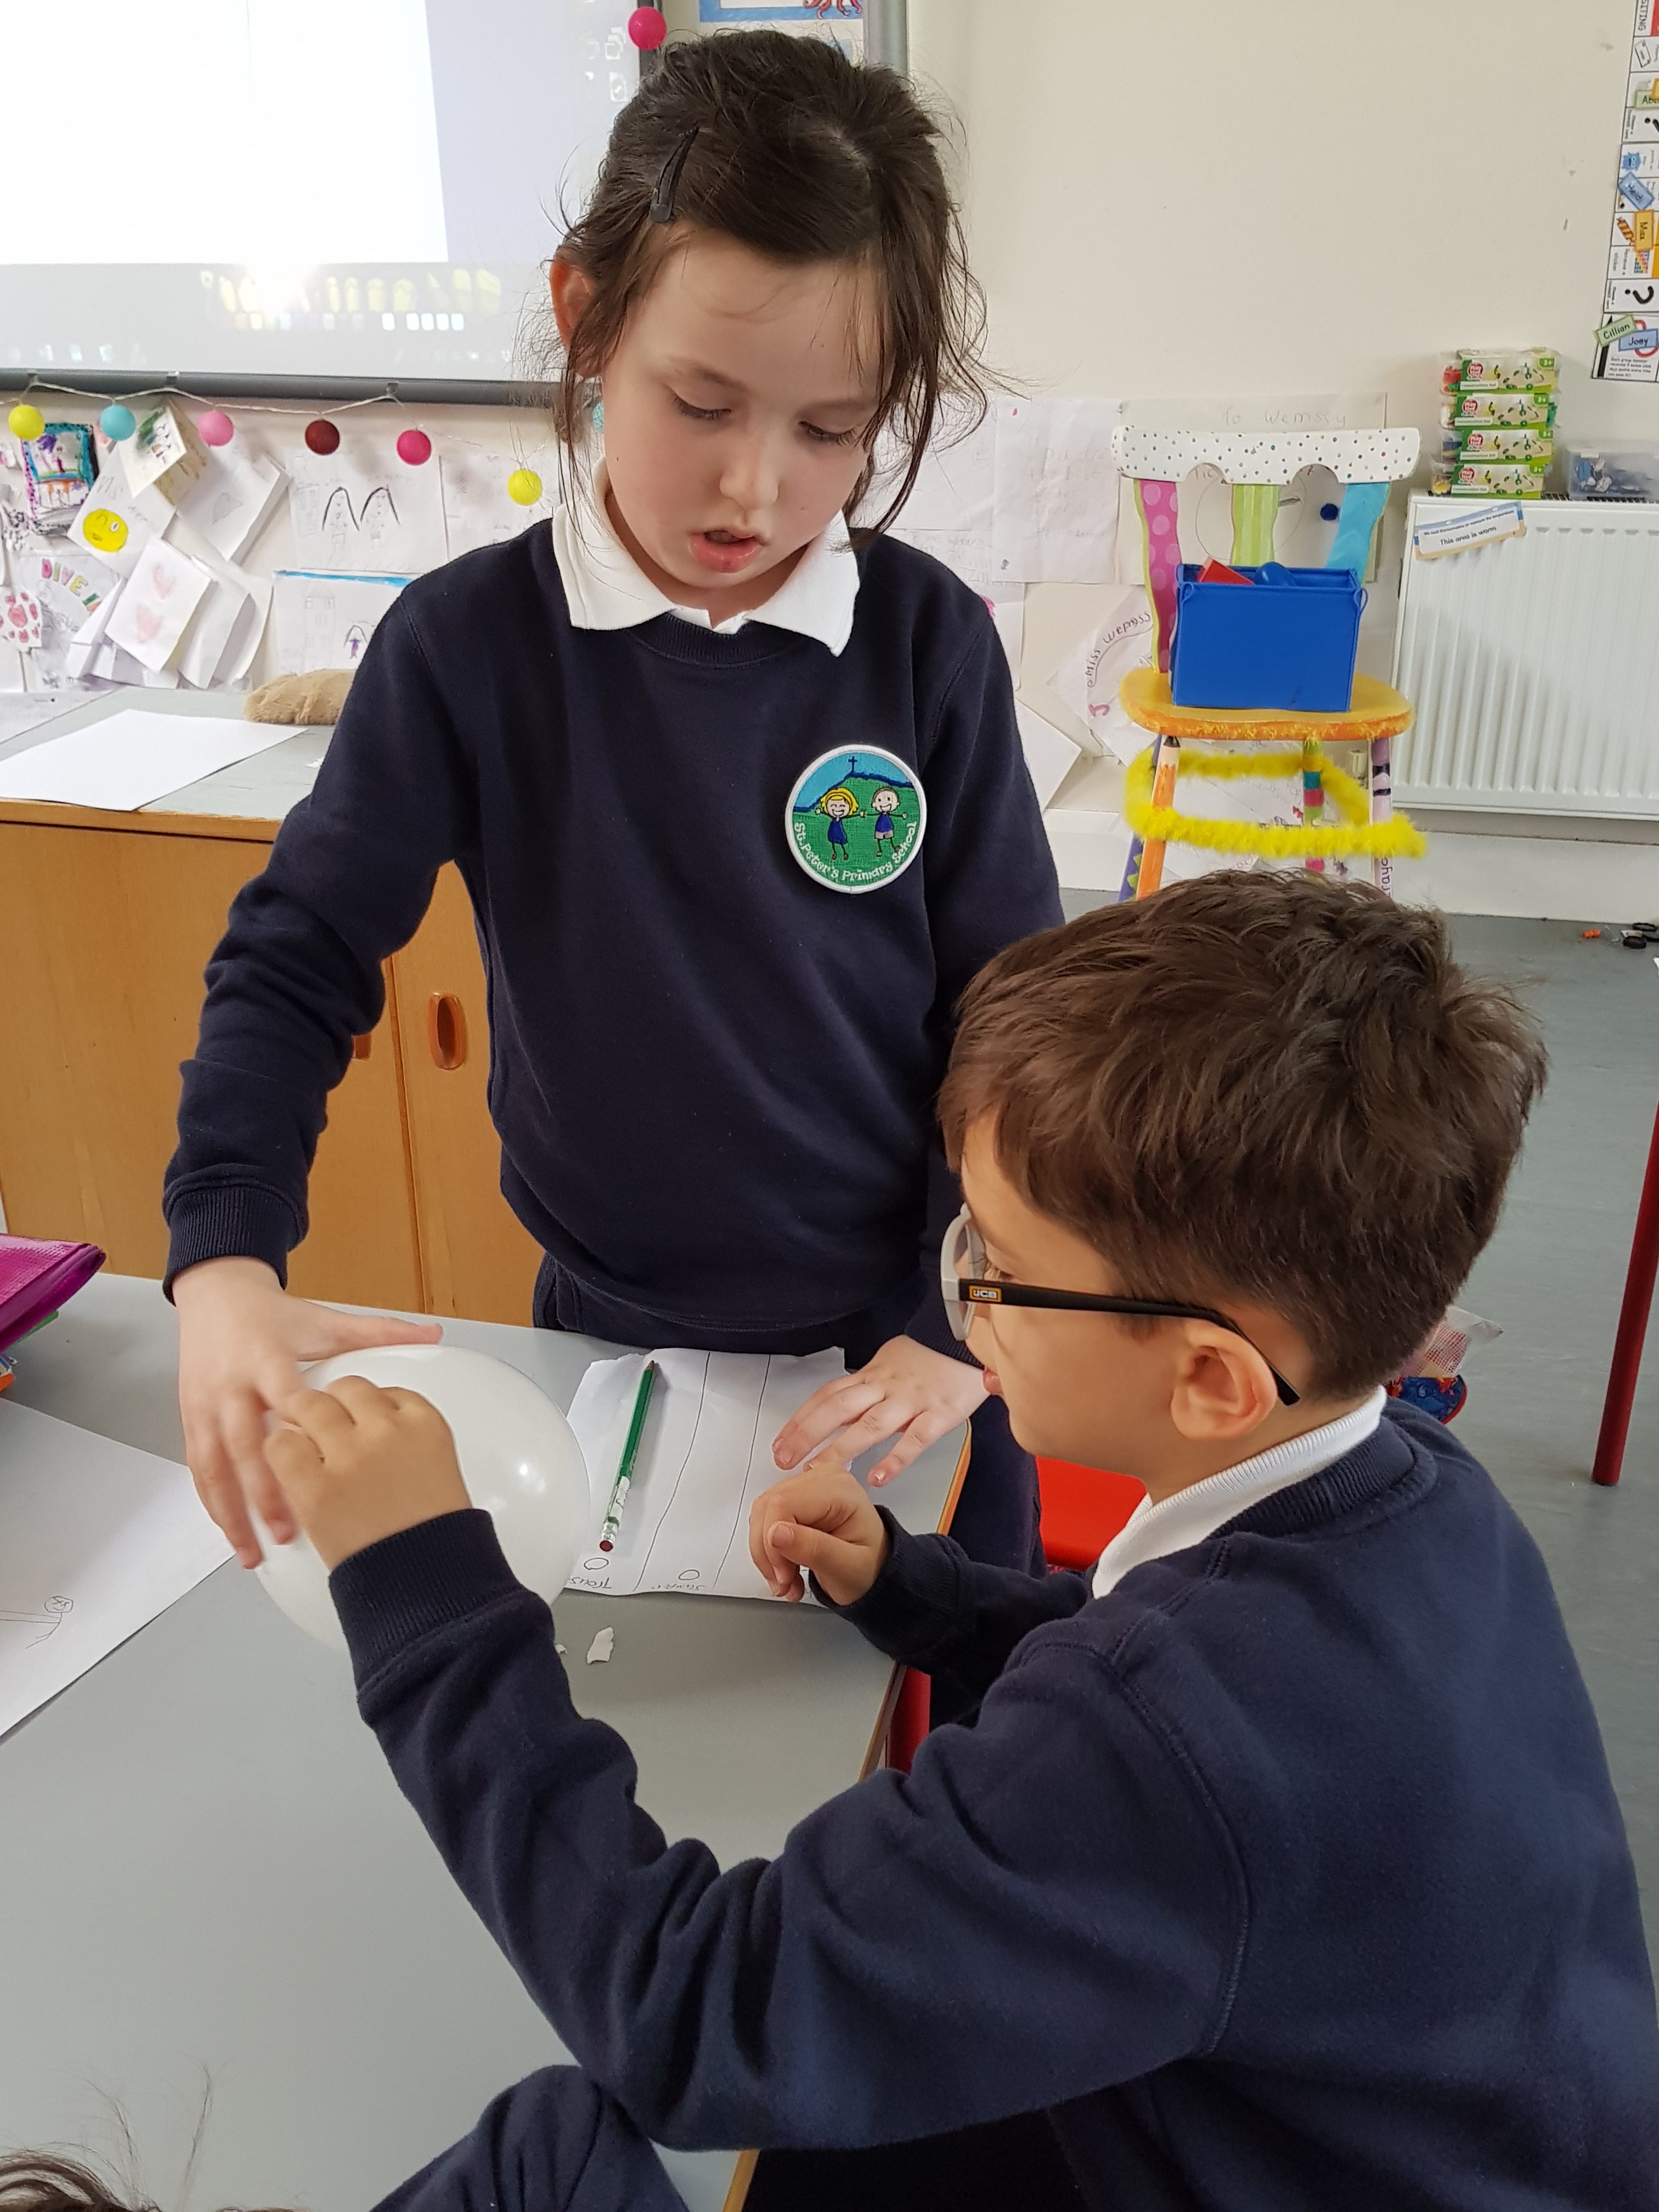
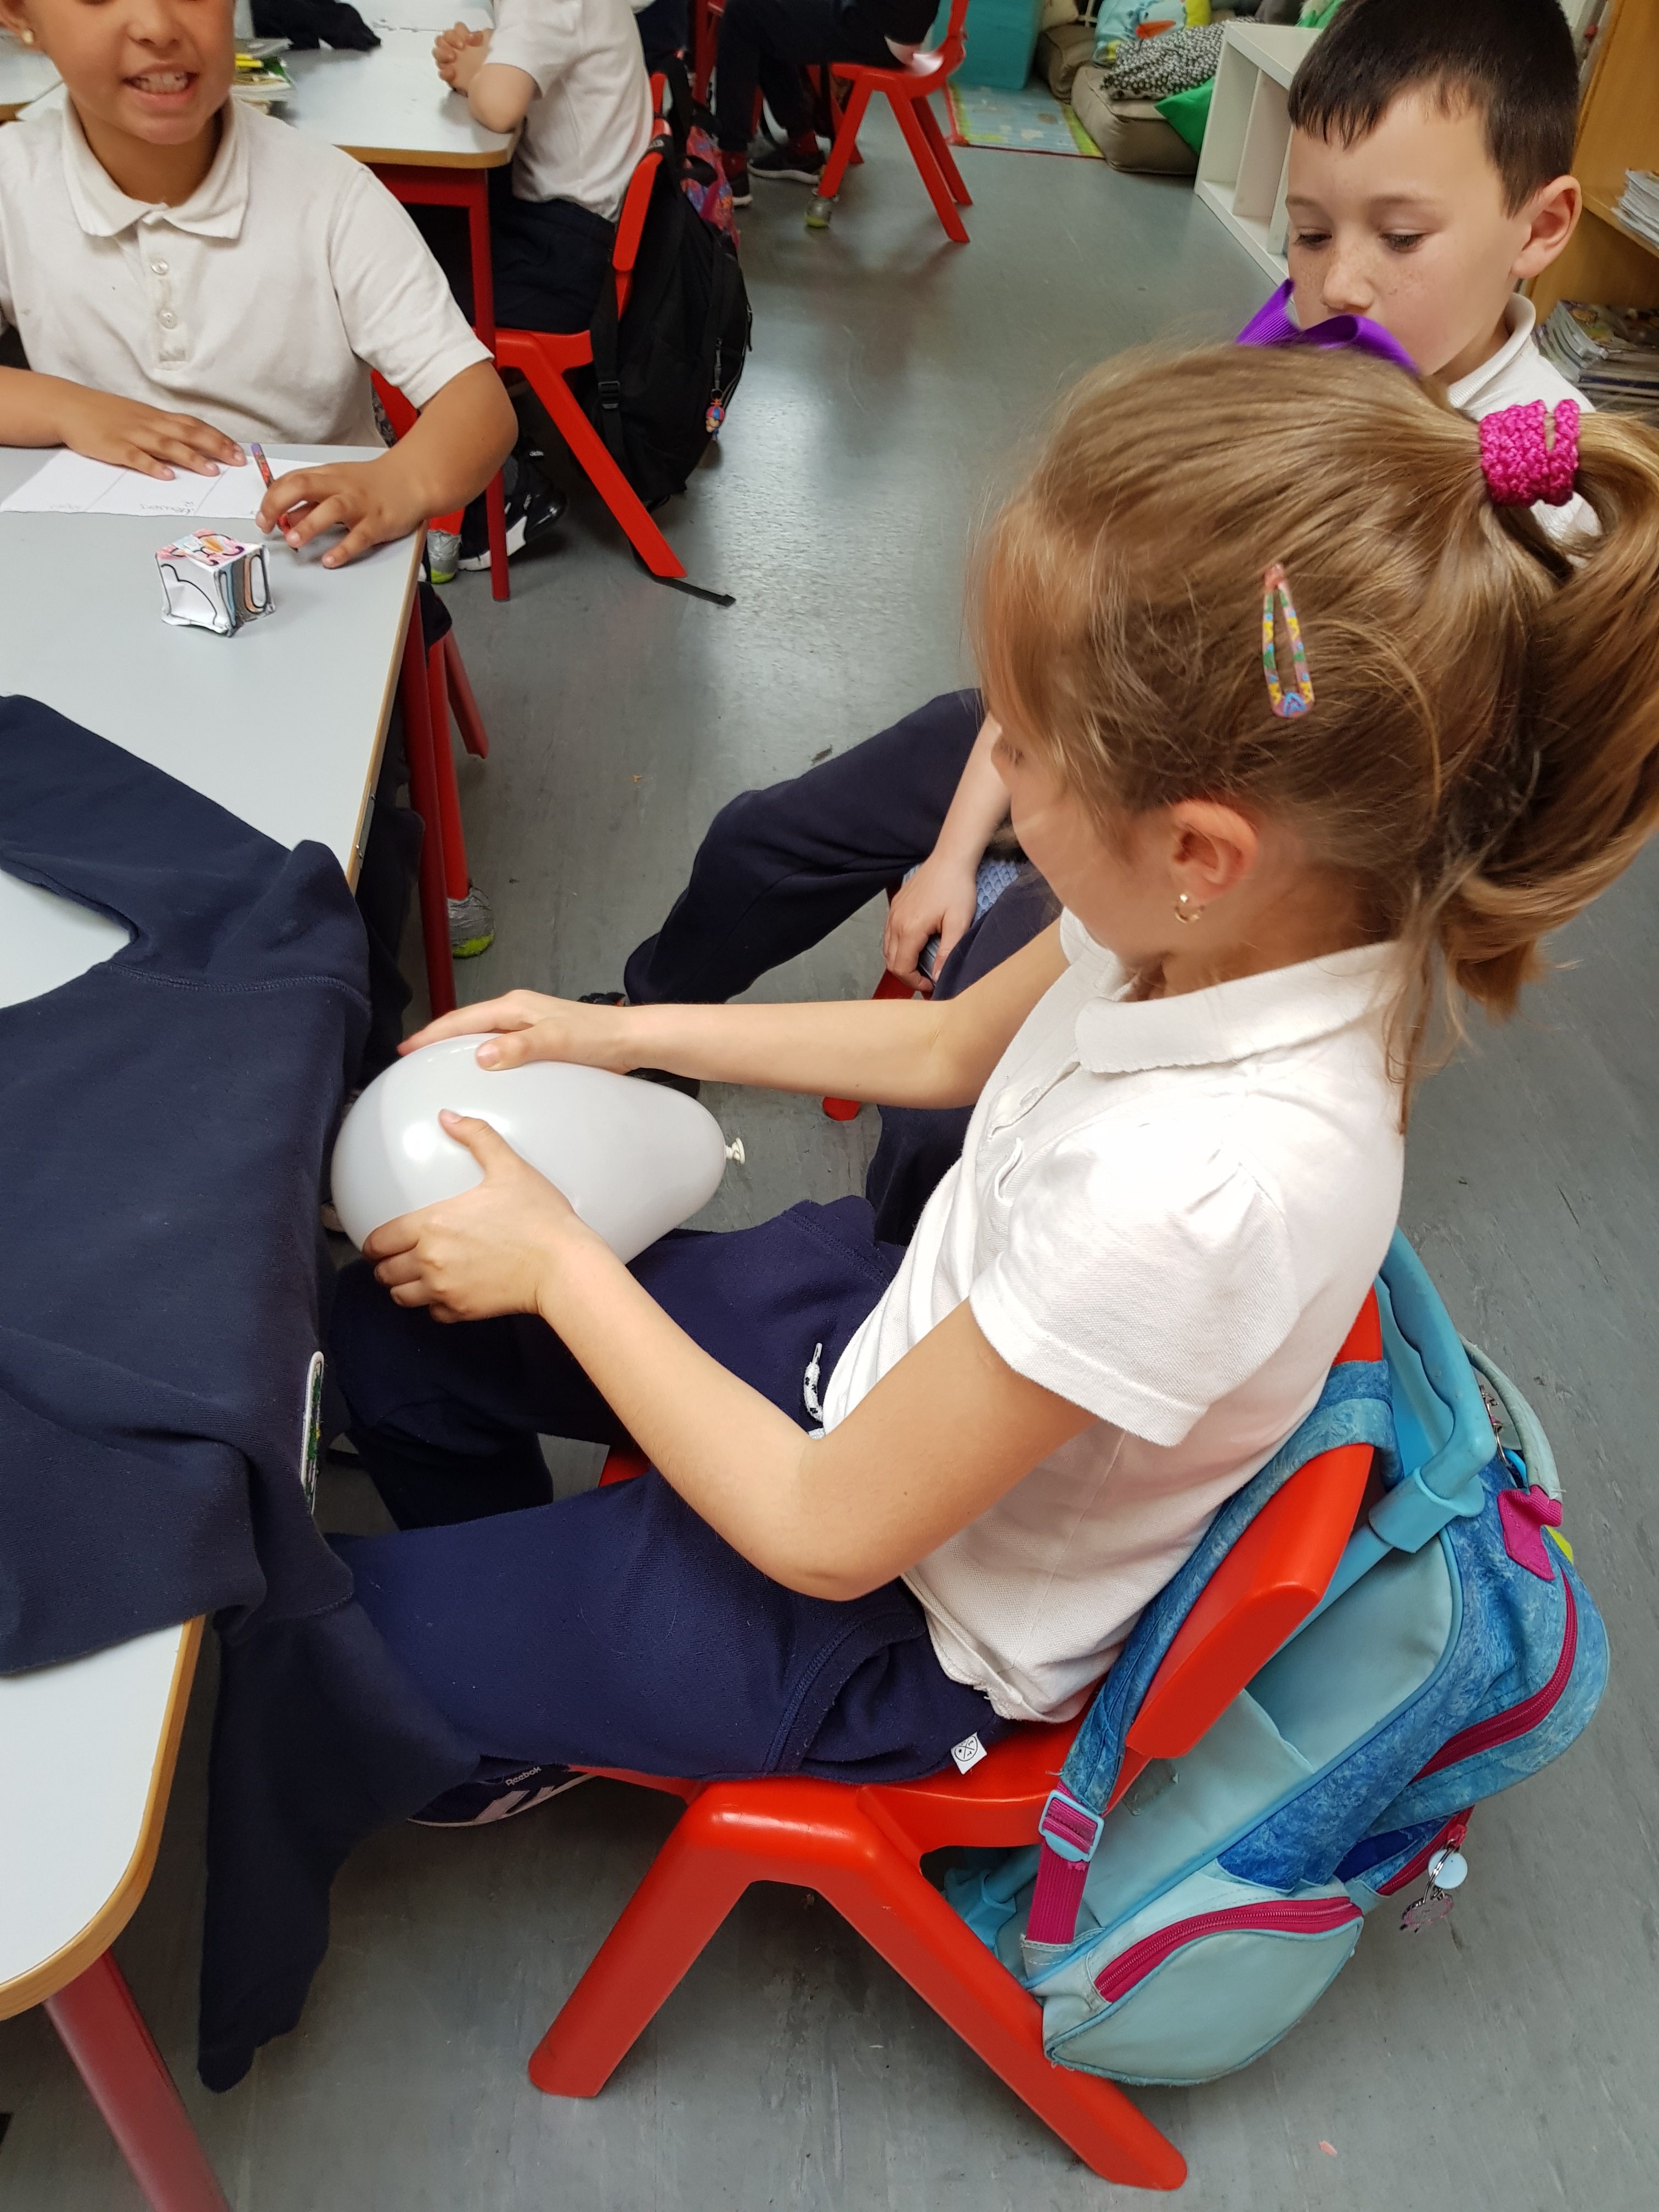
We found out that the best material to produce static electricity from our uniforms was our trousers. We displayed our results on a graph on the board.
Light and Materials
3rd class have been learning all about light this month! First we chatted about some different light sources. We brainstormed loads of different sources of light in our groups and discussed how important light is in our lives.
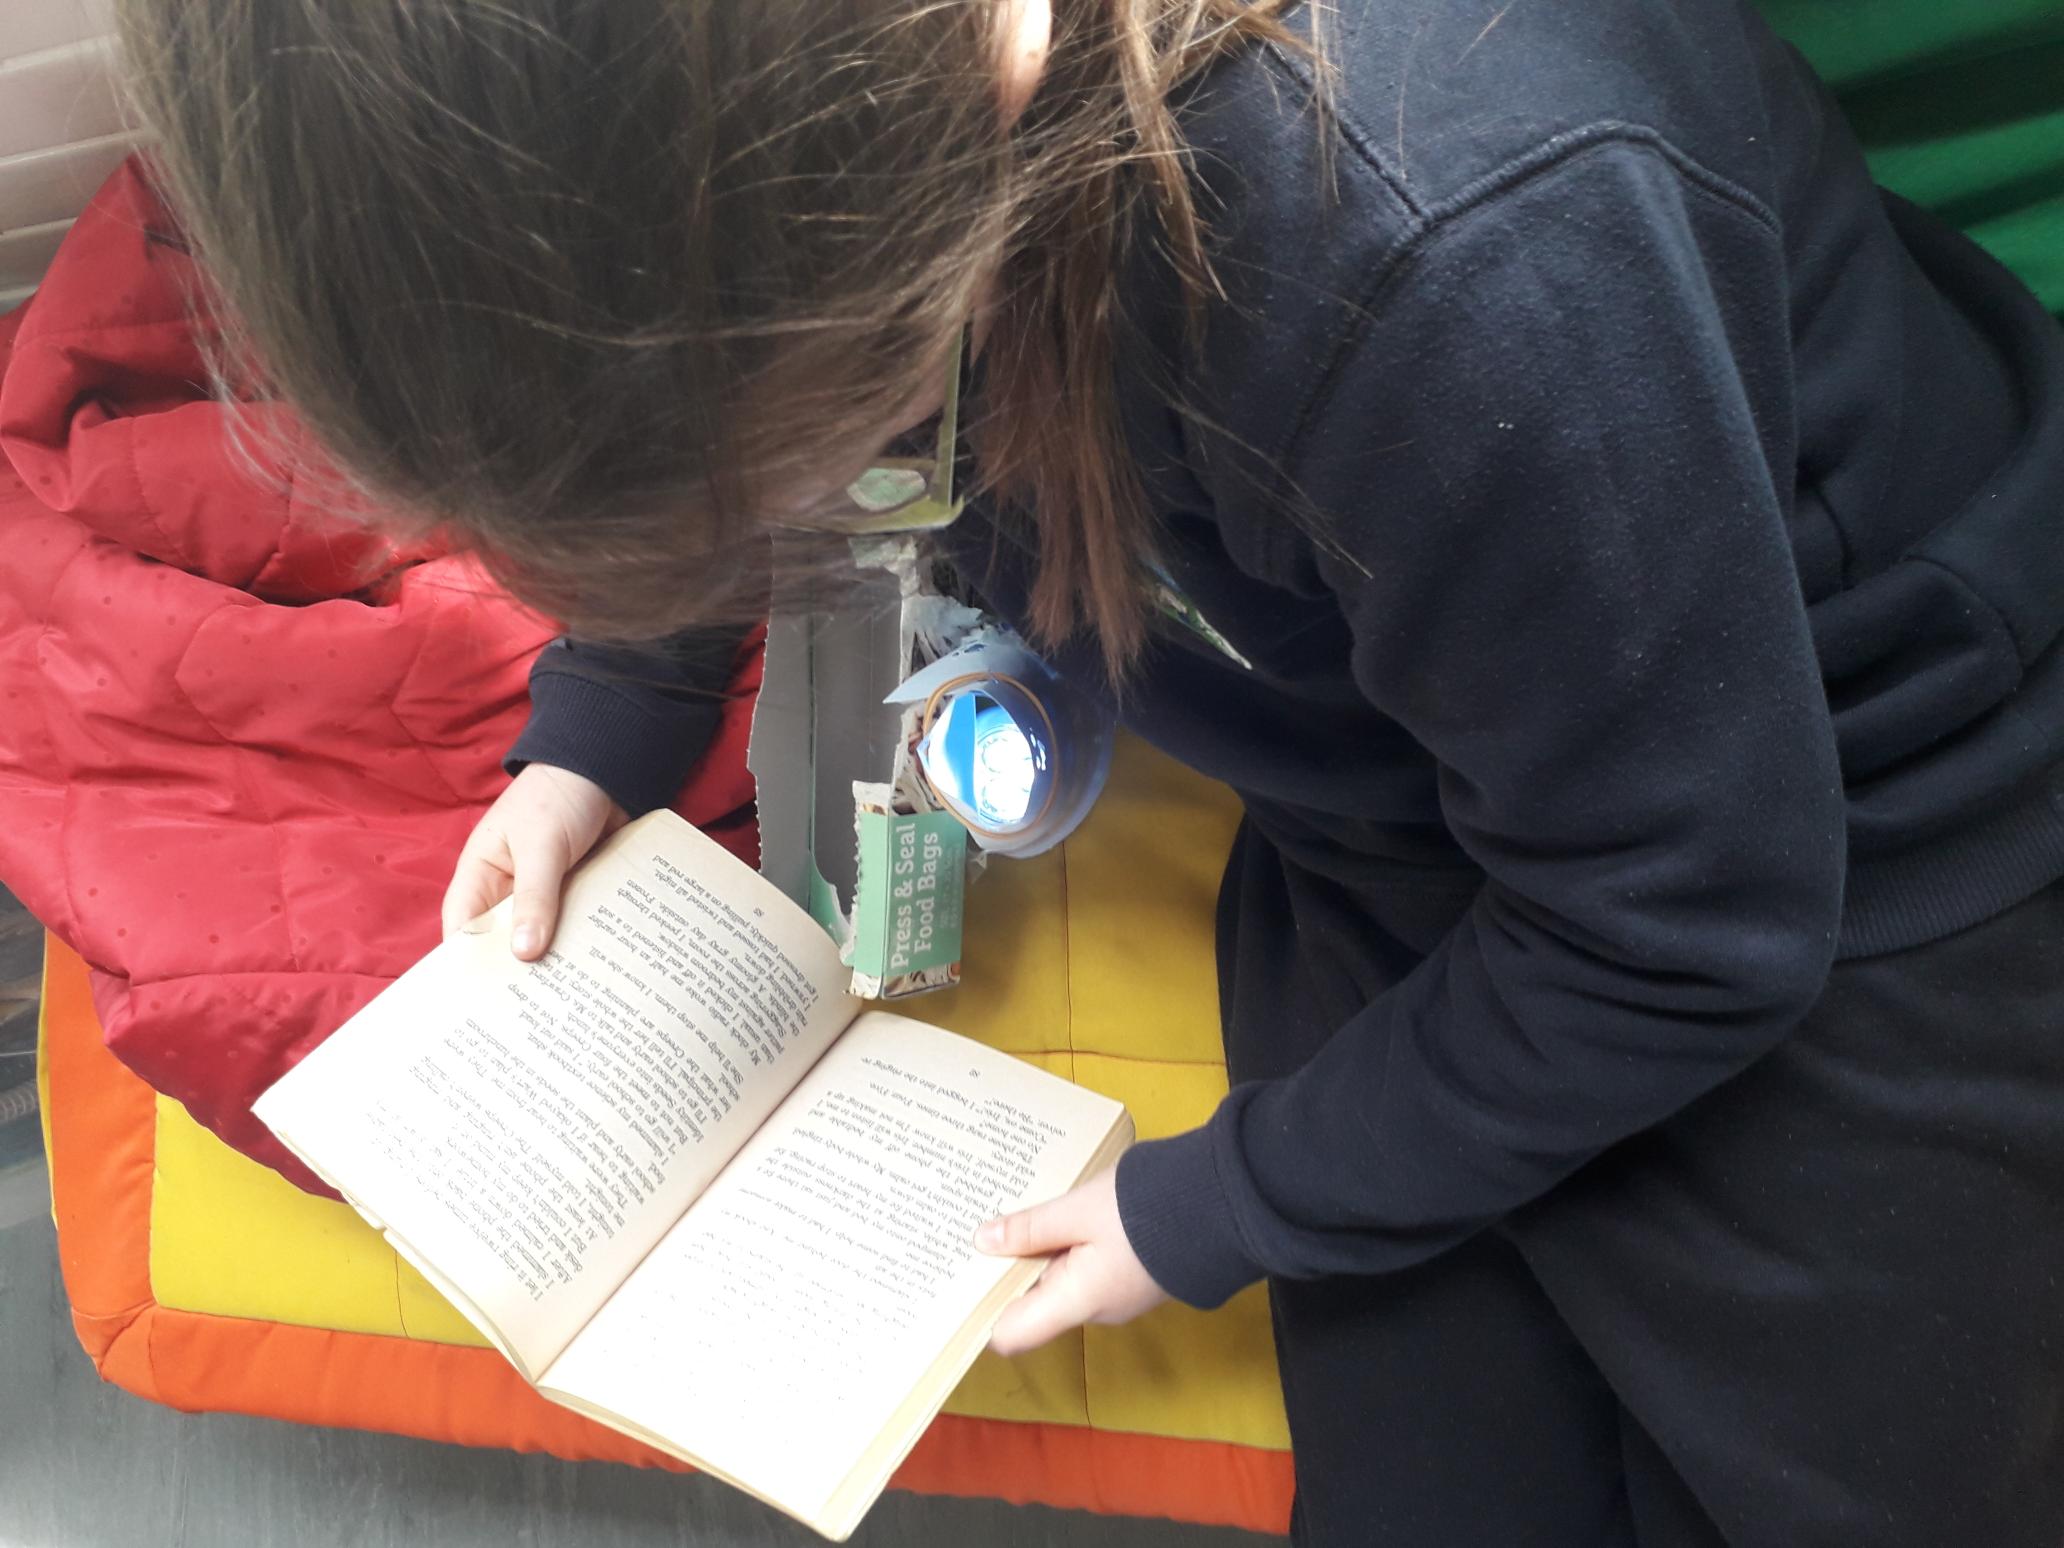
Ms. Seery then told us about a problem she was having… Her two boys like to read when they go to bed, but they keep waking each other up because their torches are too bright! She asked us to help her by designing lamp shades so that everyone in her house could get some sleep and still read!
We discussed the different kinds of materials lamp shades are made of. One clever boy suggested that translucent materials make great lamp shades because they let some light through without having a glare and that maybe that would help! The whole class thought that was a great idea. We decided to test lots of different materials to see which would make the best lamp shade.
We chose a few different materials- felt, paper, card, clear plastic and tissue paper. We wondered how we could test them? Maybe by holding each of them up to the window? K suggest the light from the whiteboard would be better because it always stayed the same, whereas the sunlight might change depending on the weather. This was great scientific thinking and we were so impressed!
We predicted which materials would be translucent, opaque and transparent- then it was time to test.
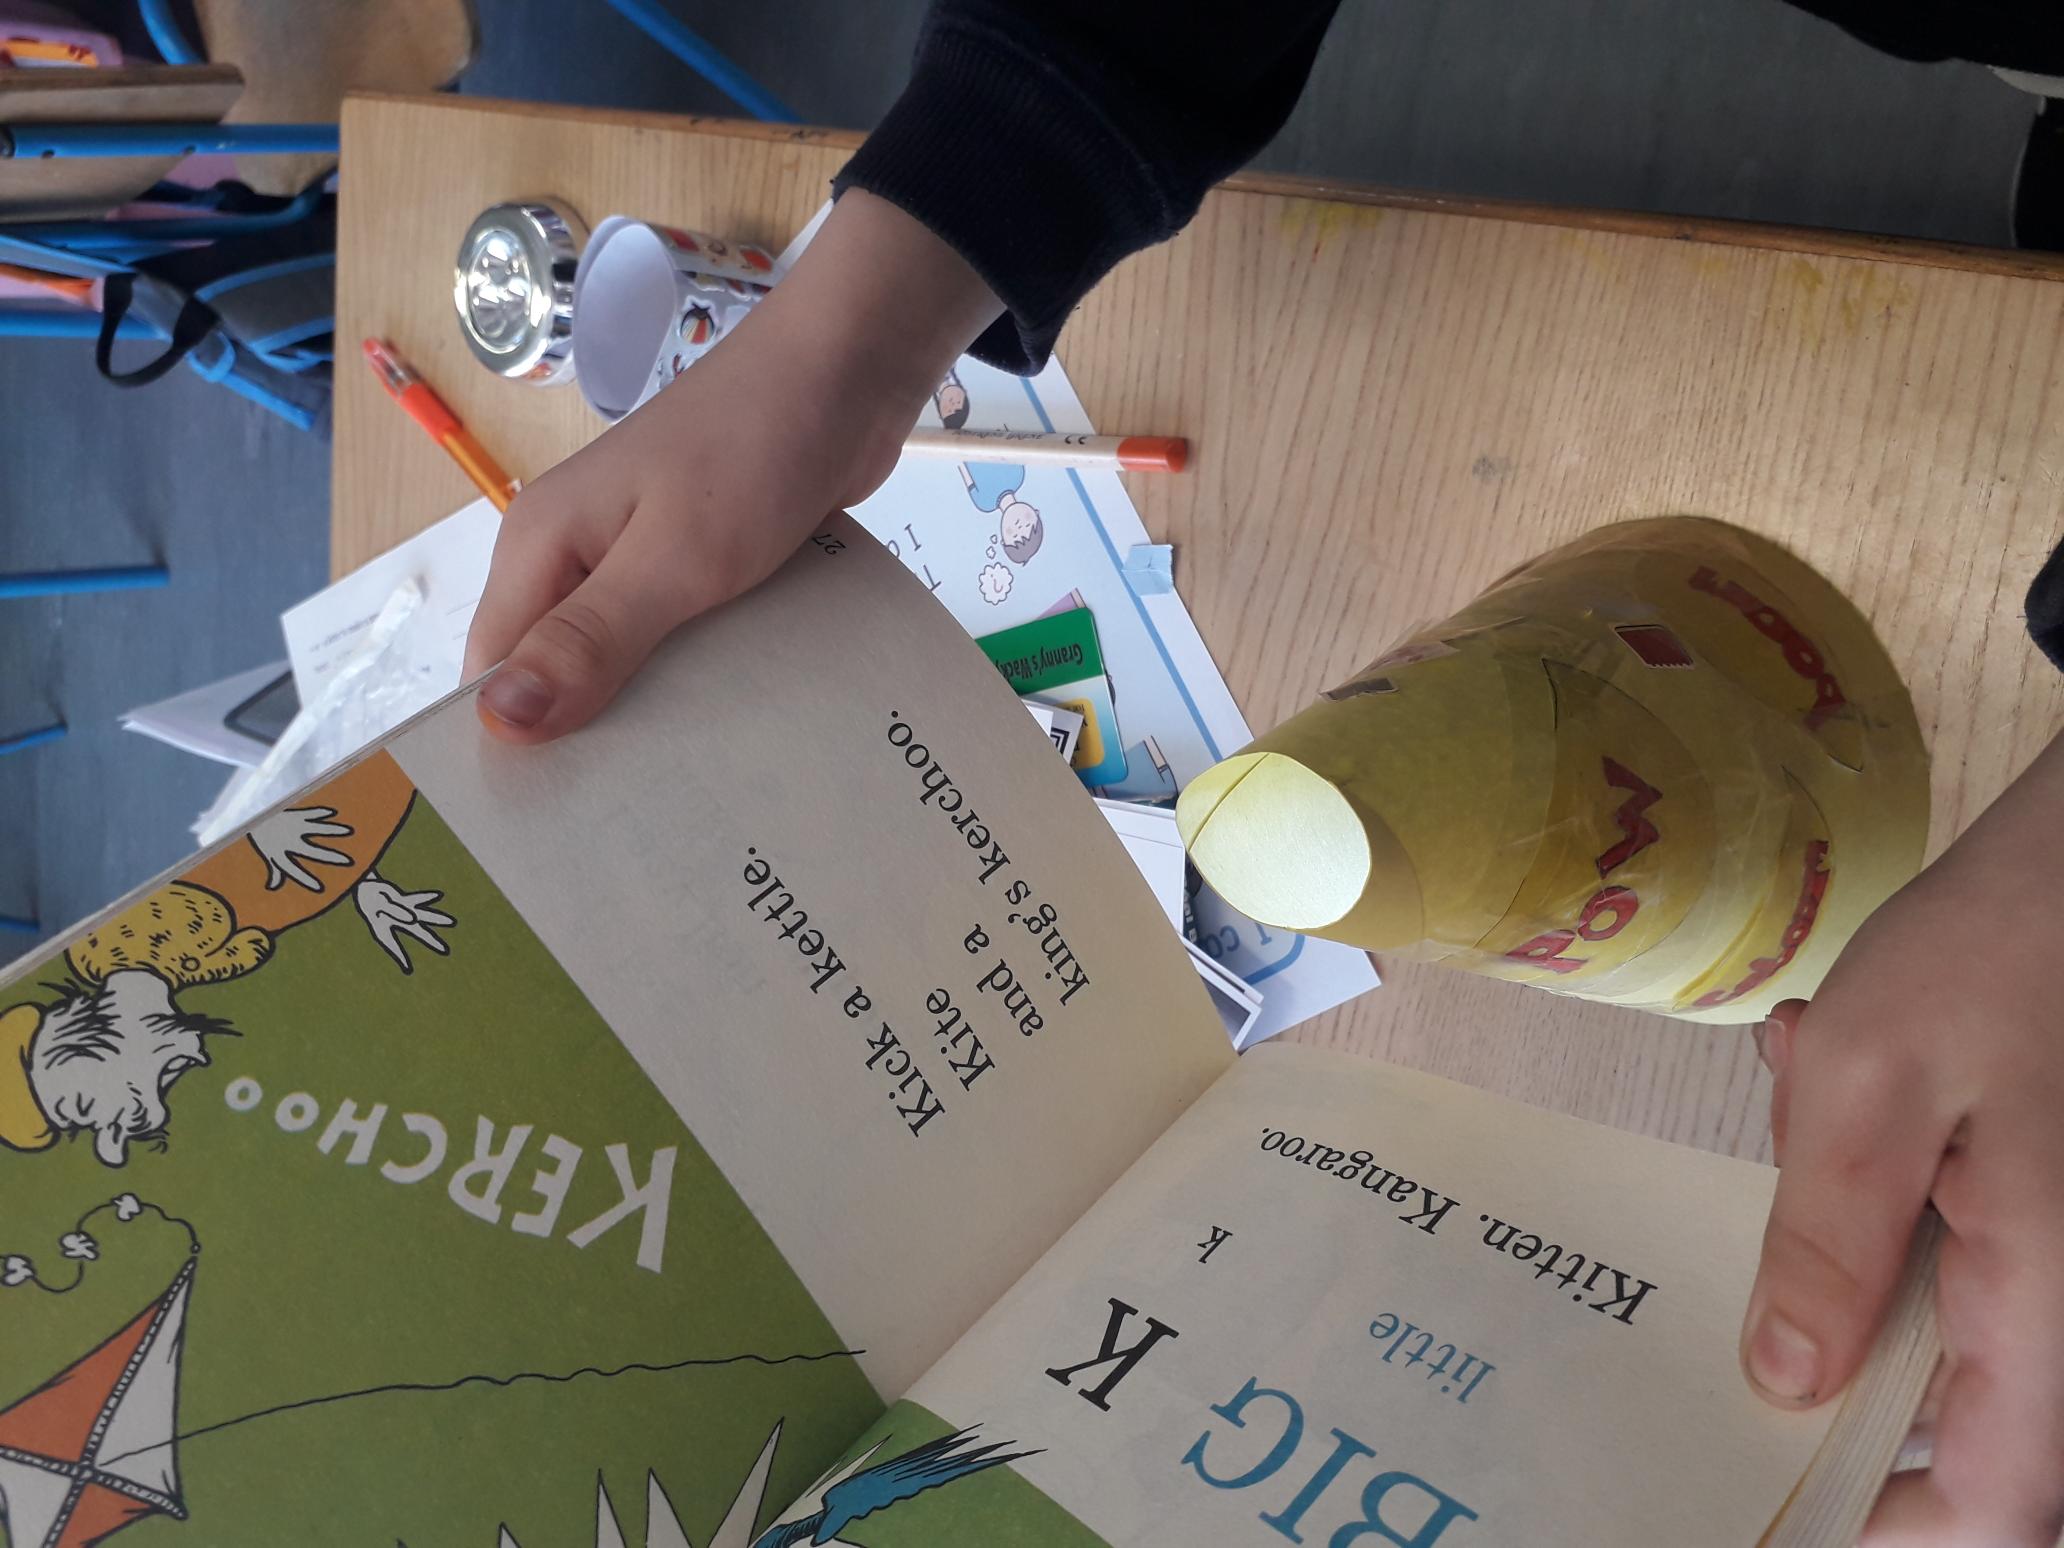
The next day we were excited to start making our shades. We experimented with lots of different 3d shapes. L thought a cone was a good shape for a shade as it would spread the light out evenly over the book. C thought we should use a cuboid and cut some symmetrical holes in it. We are learning about symmetry at the moment in maths so it was great to be able to use this in our science work.
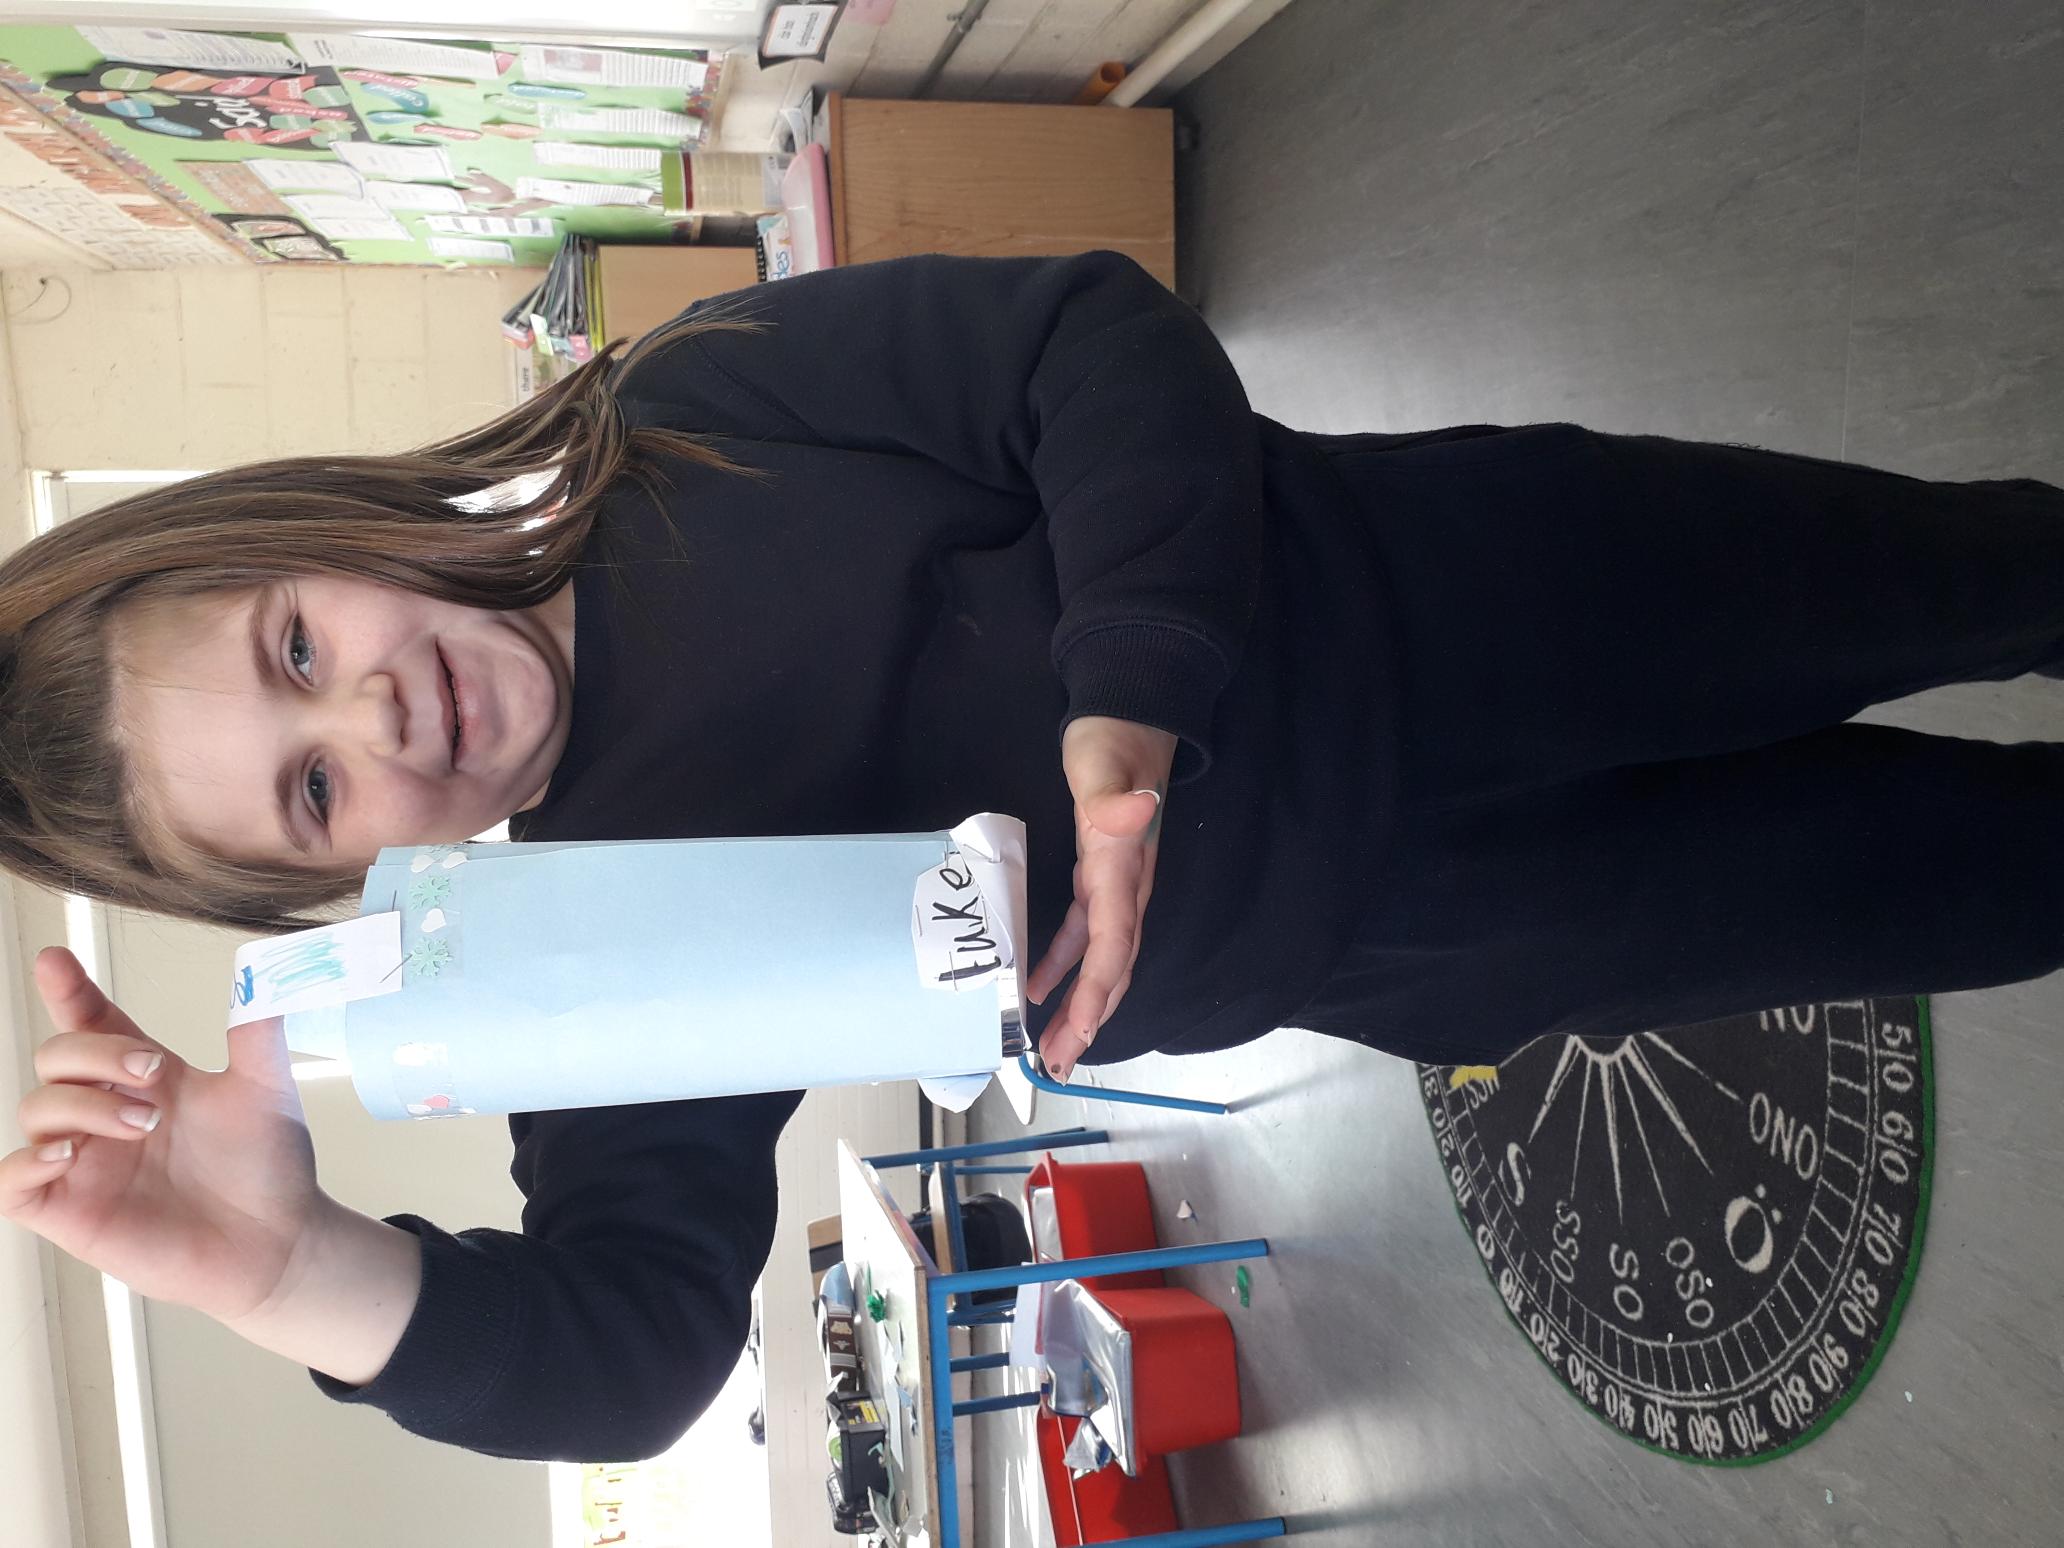
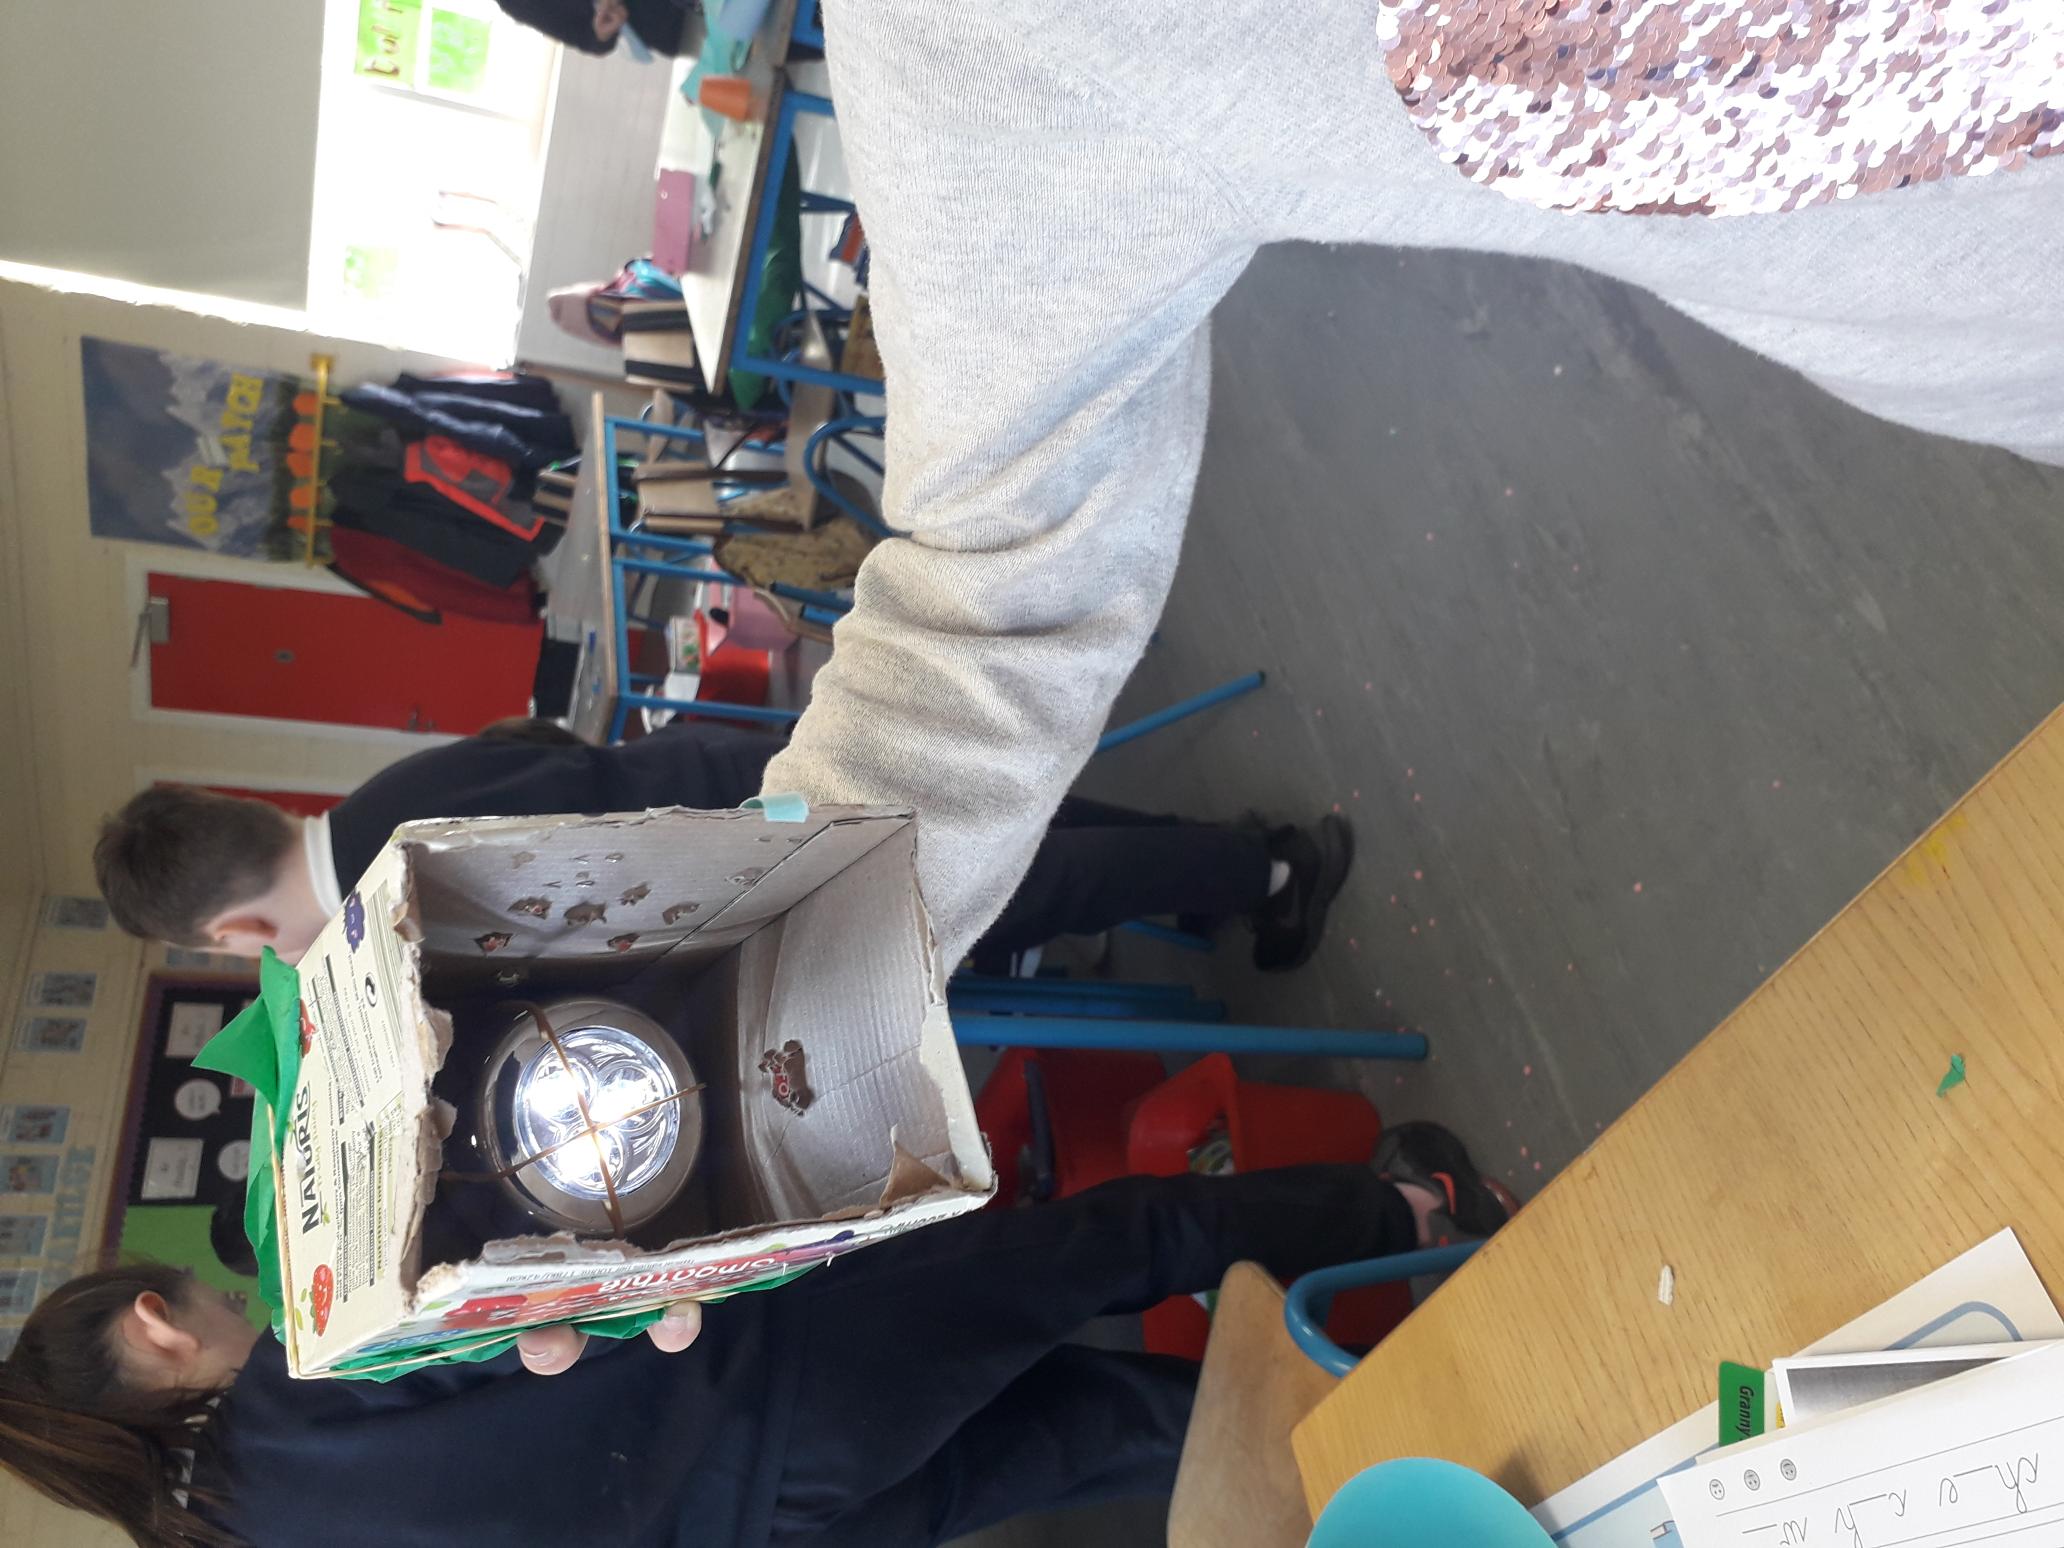
We worked really hard making our lamp shades- we tested and retested to make sure they were fit for purpose. We discovered that lamp shades need to be strong, fire-proof and self-holding. Some of us added stands to our designs.
We were so proud of our work! Some of us want to bring them home so we can read at night too without waking up our siblings. Ms. Seery was delighted that she has some fab new lampshades for her house!


We having been learning all about plants in Junior Infants. We learned plants need water, air and sunlight to grow.
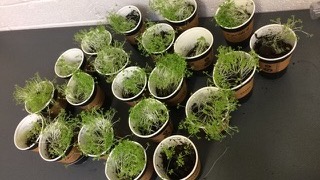
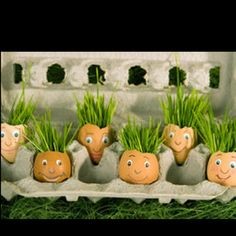
We have been growing egg heads – here is our procedural writing for how to make them! Check out our bossy verbs and our list of things that you need to make the egg heads.
What you need:
How to:
We enjoyed looking at the different stages of growth. We water our cress heads every day. We learned plants need water, air and sunlight to grow.
When the cress gets green leaves on top of the stalks, you can eat it! Cut the tops off the stalks and try them in a sandwich or a salad.
Here are some of the pictures:
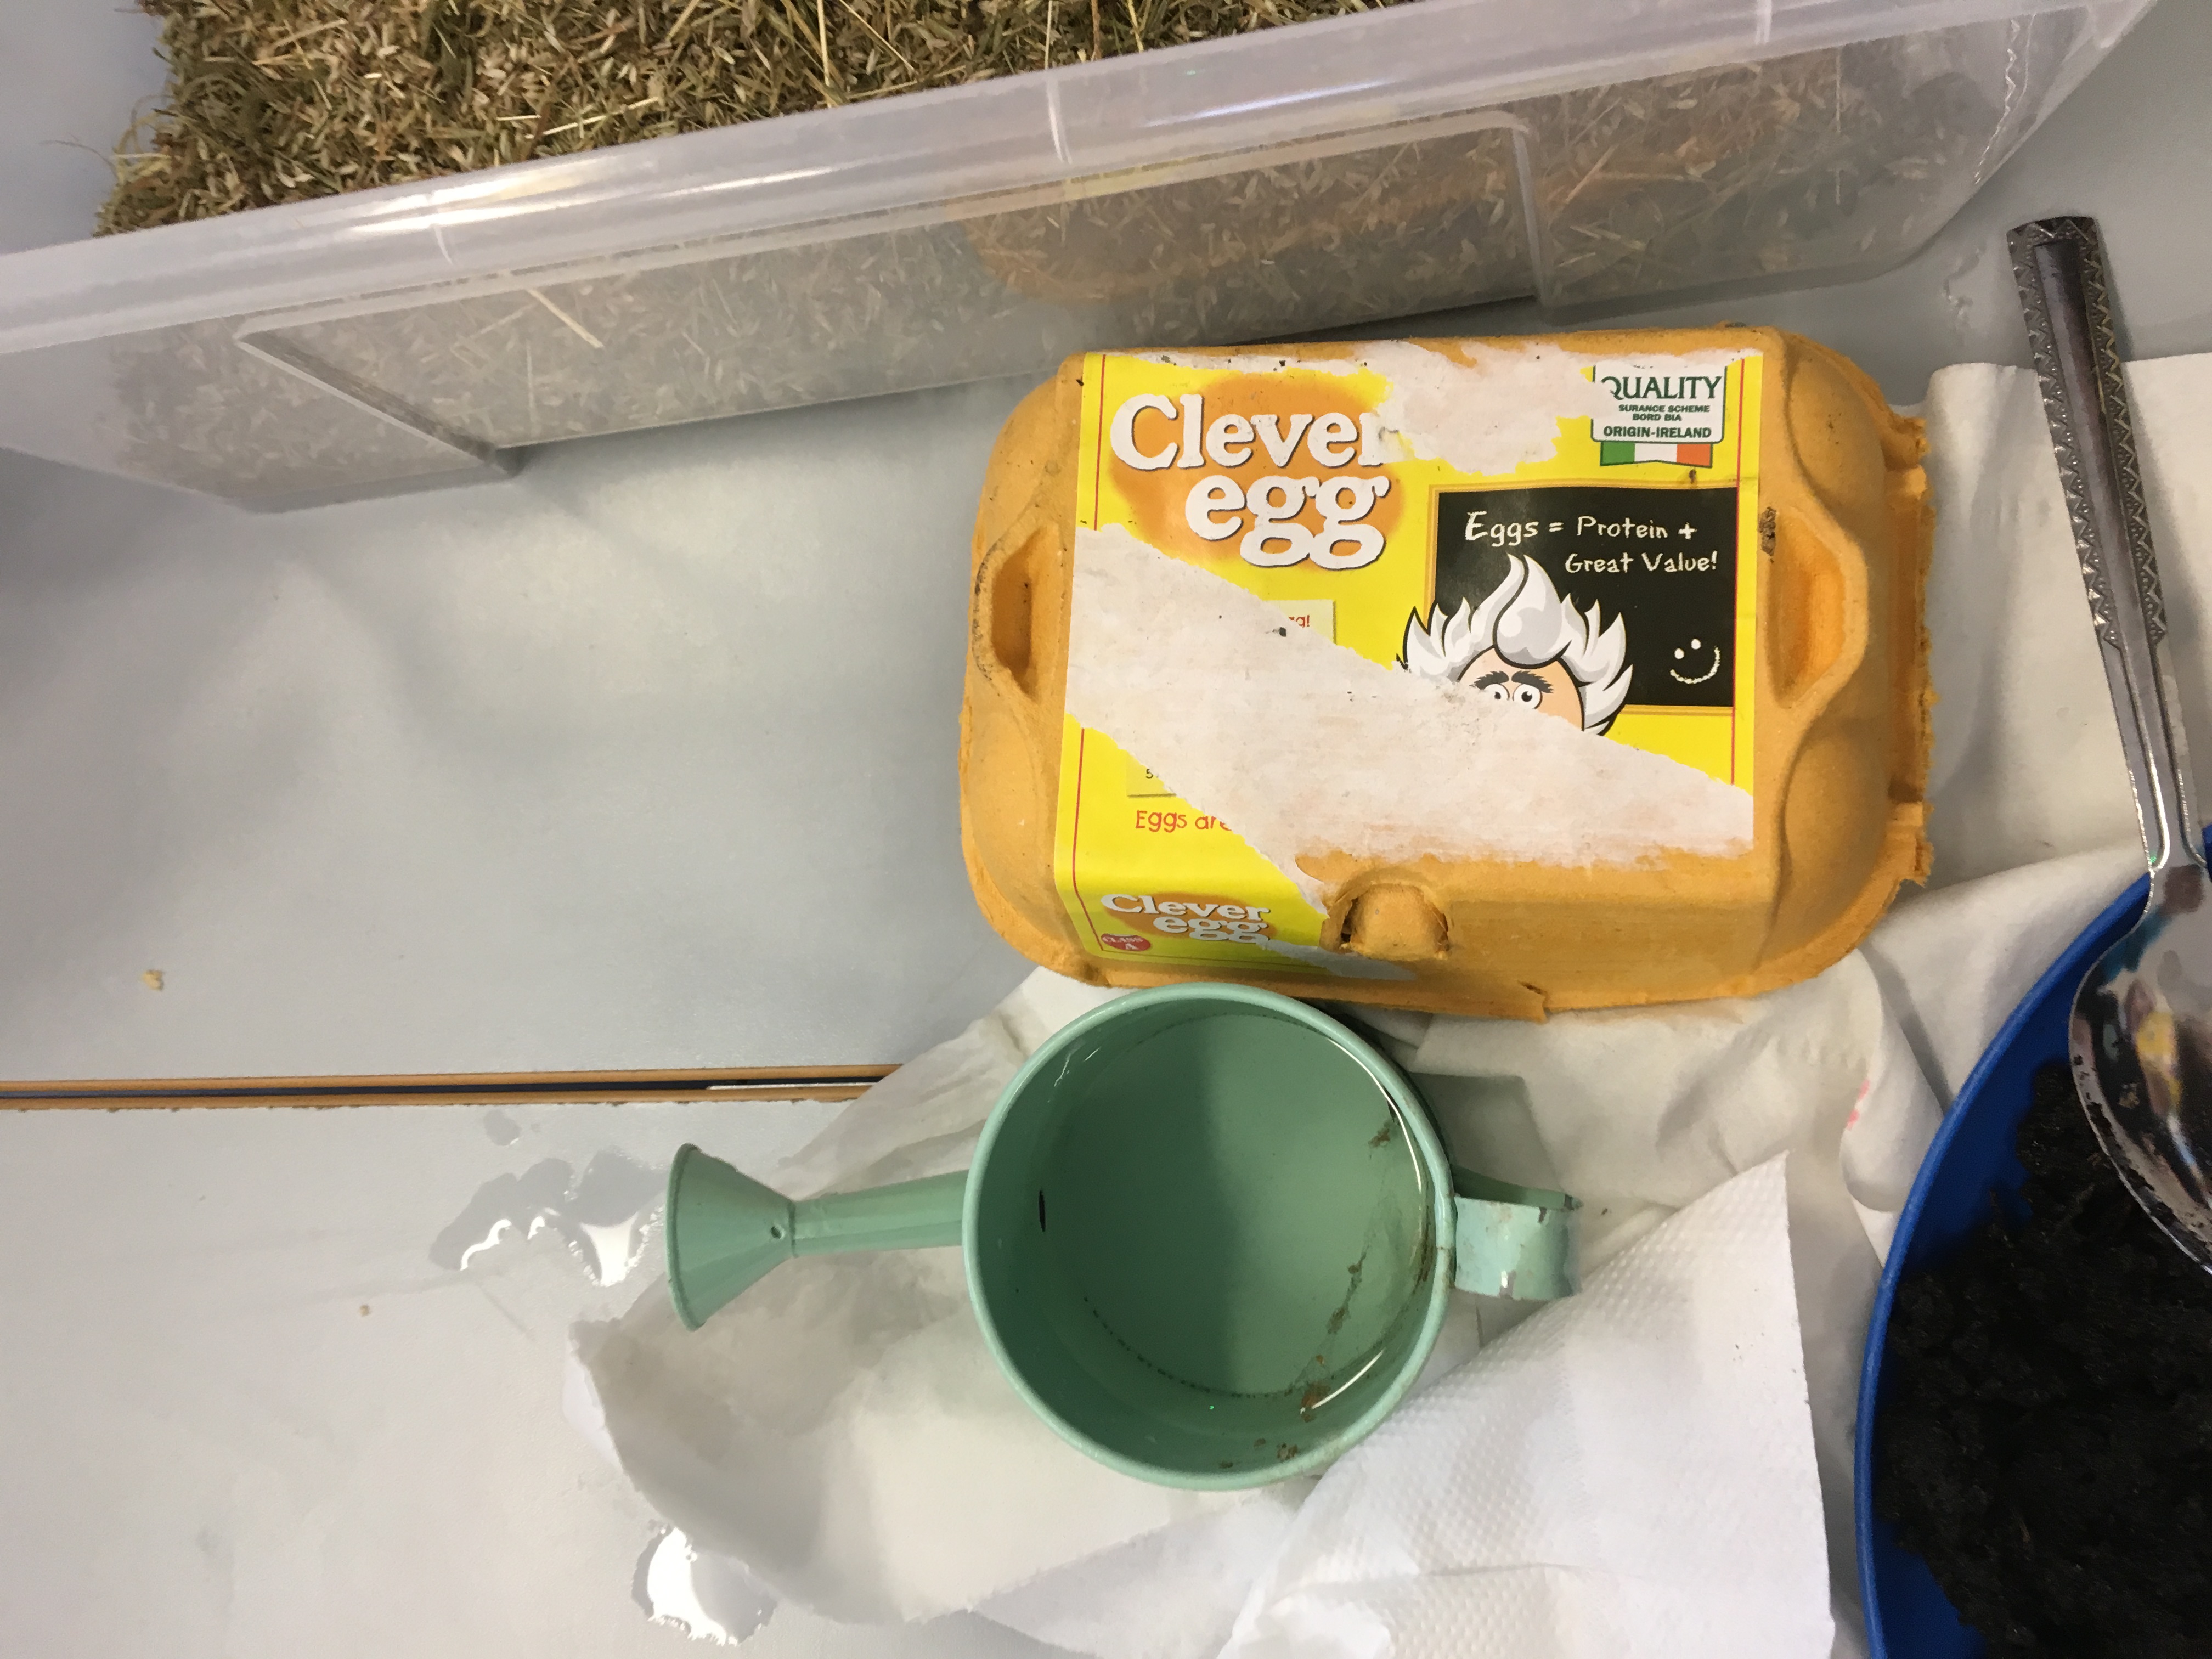
This is the equipment that we needed!
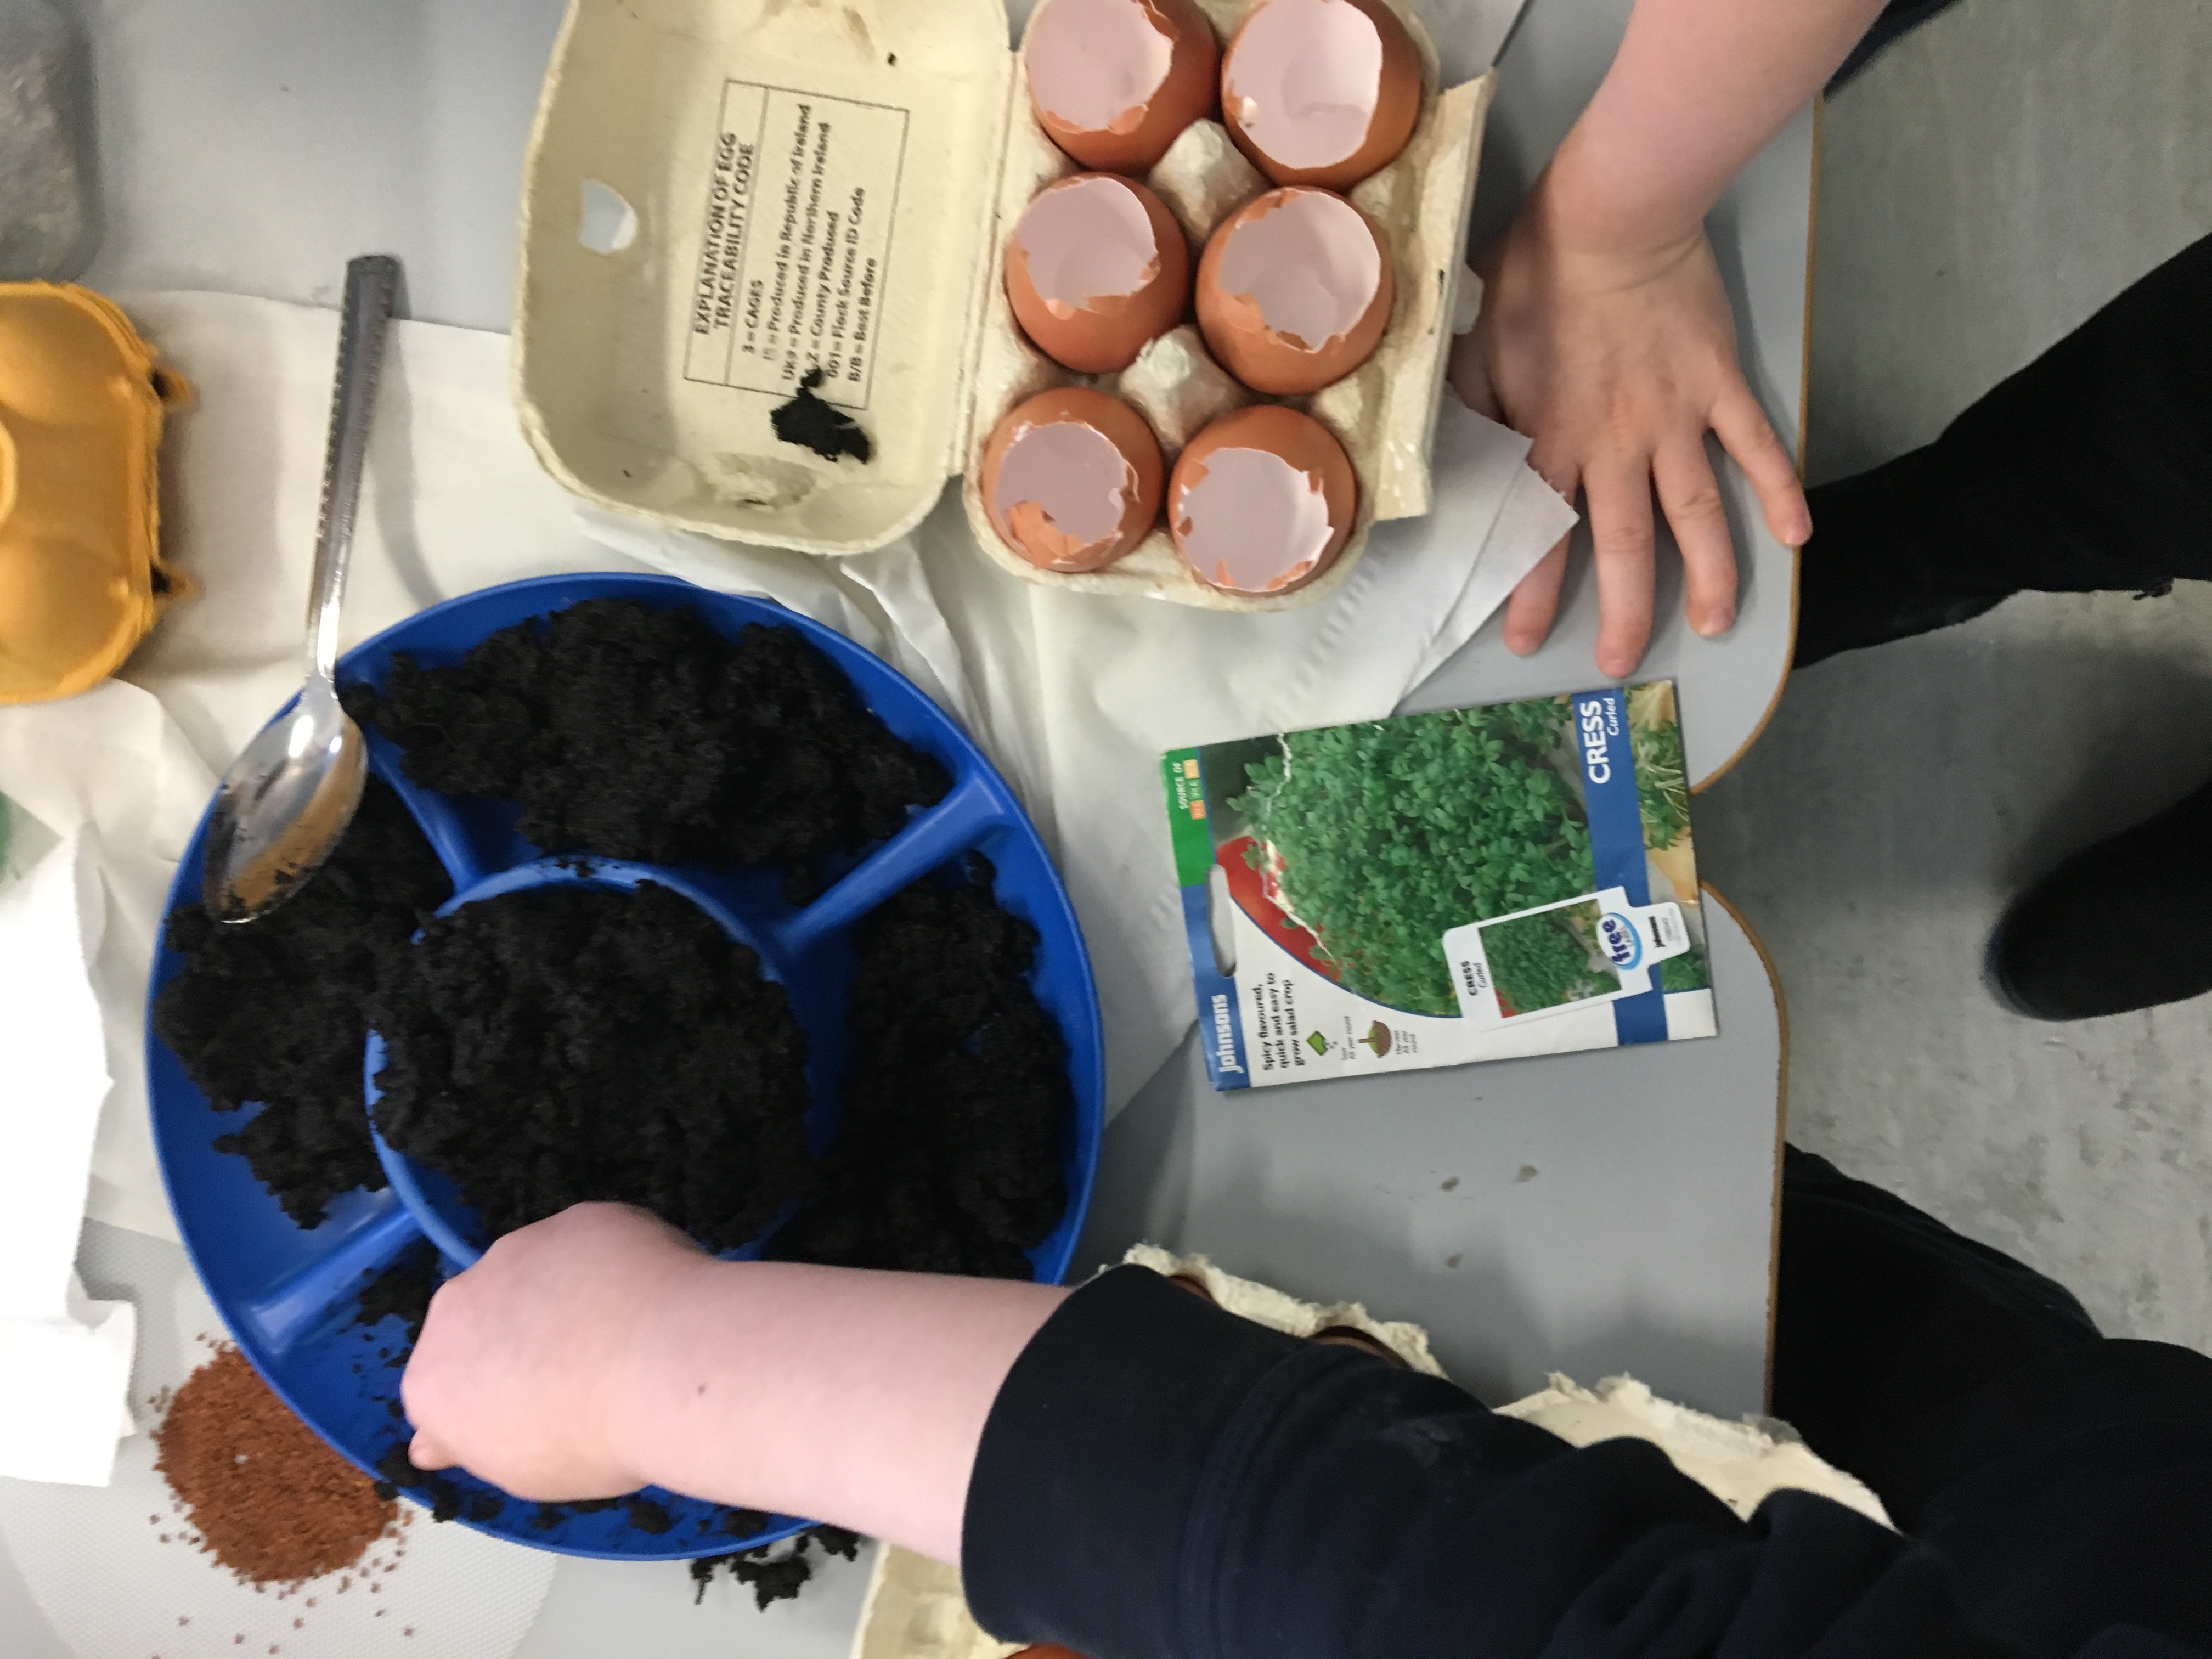
We made the soil damp to help the seeds grow
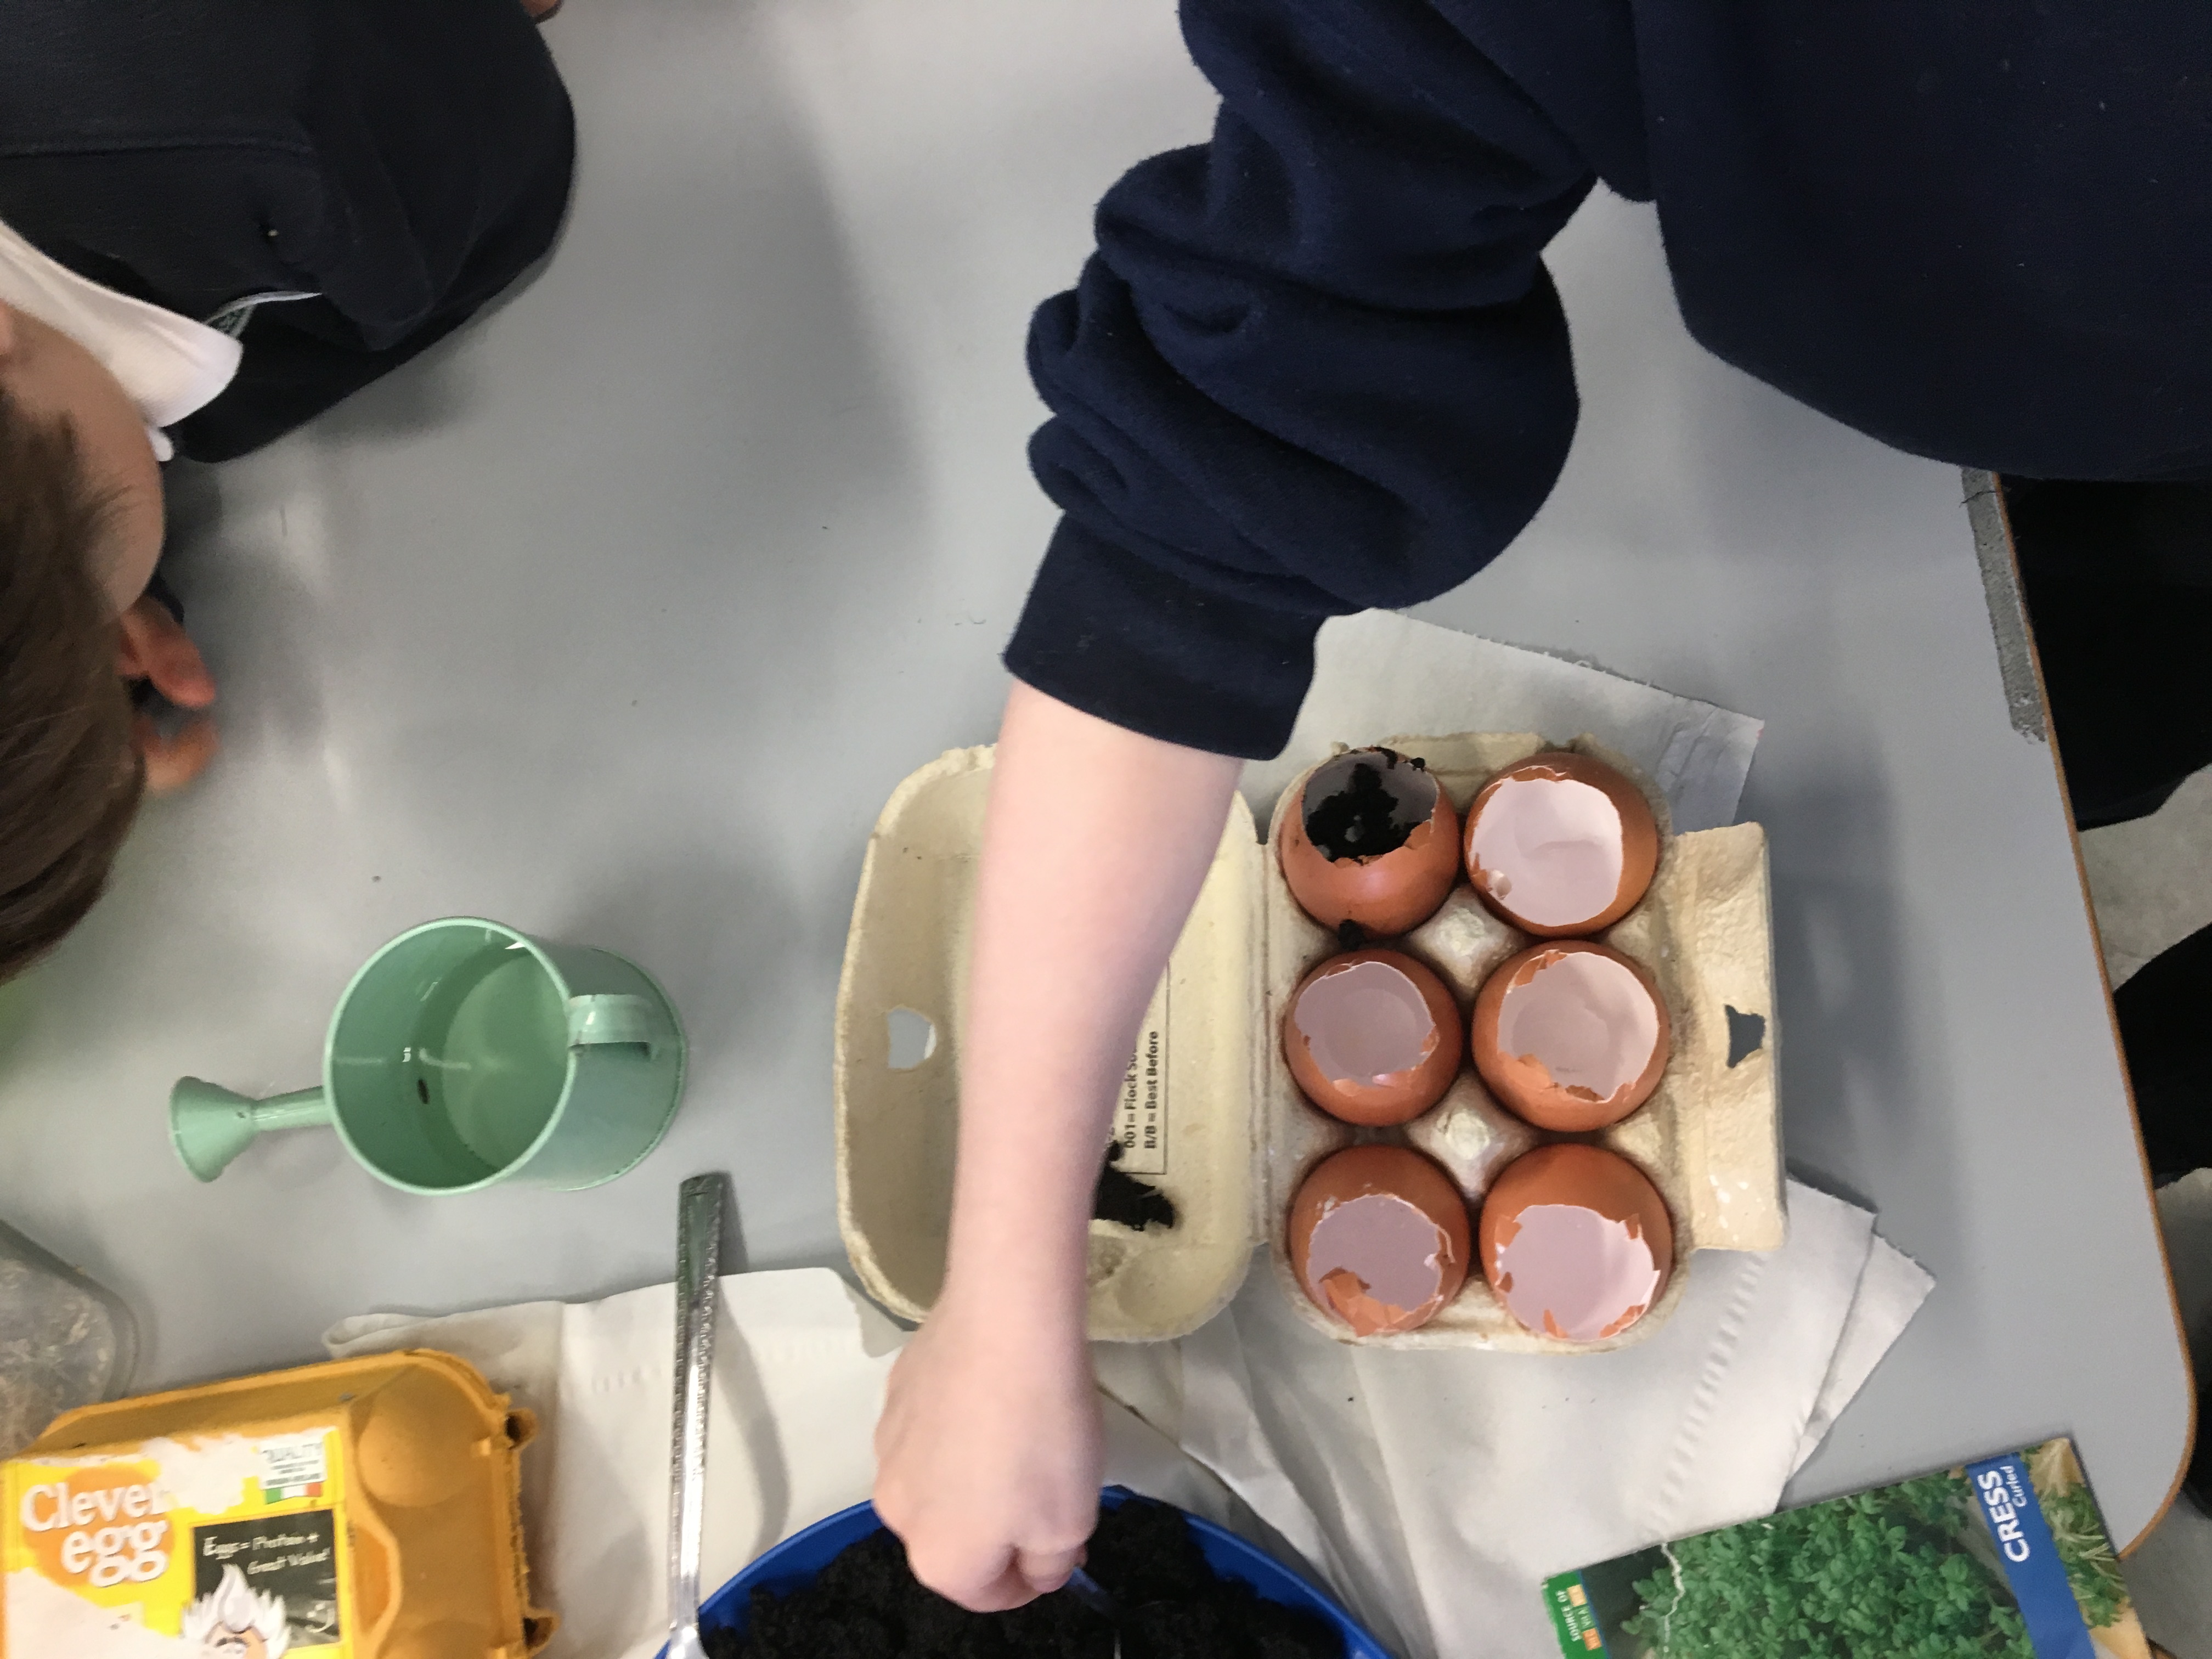
We filled the eggshells with soil!
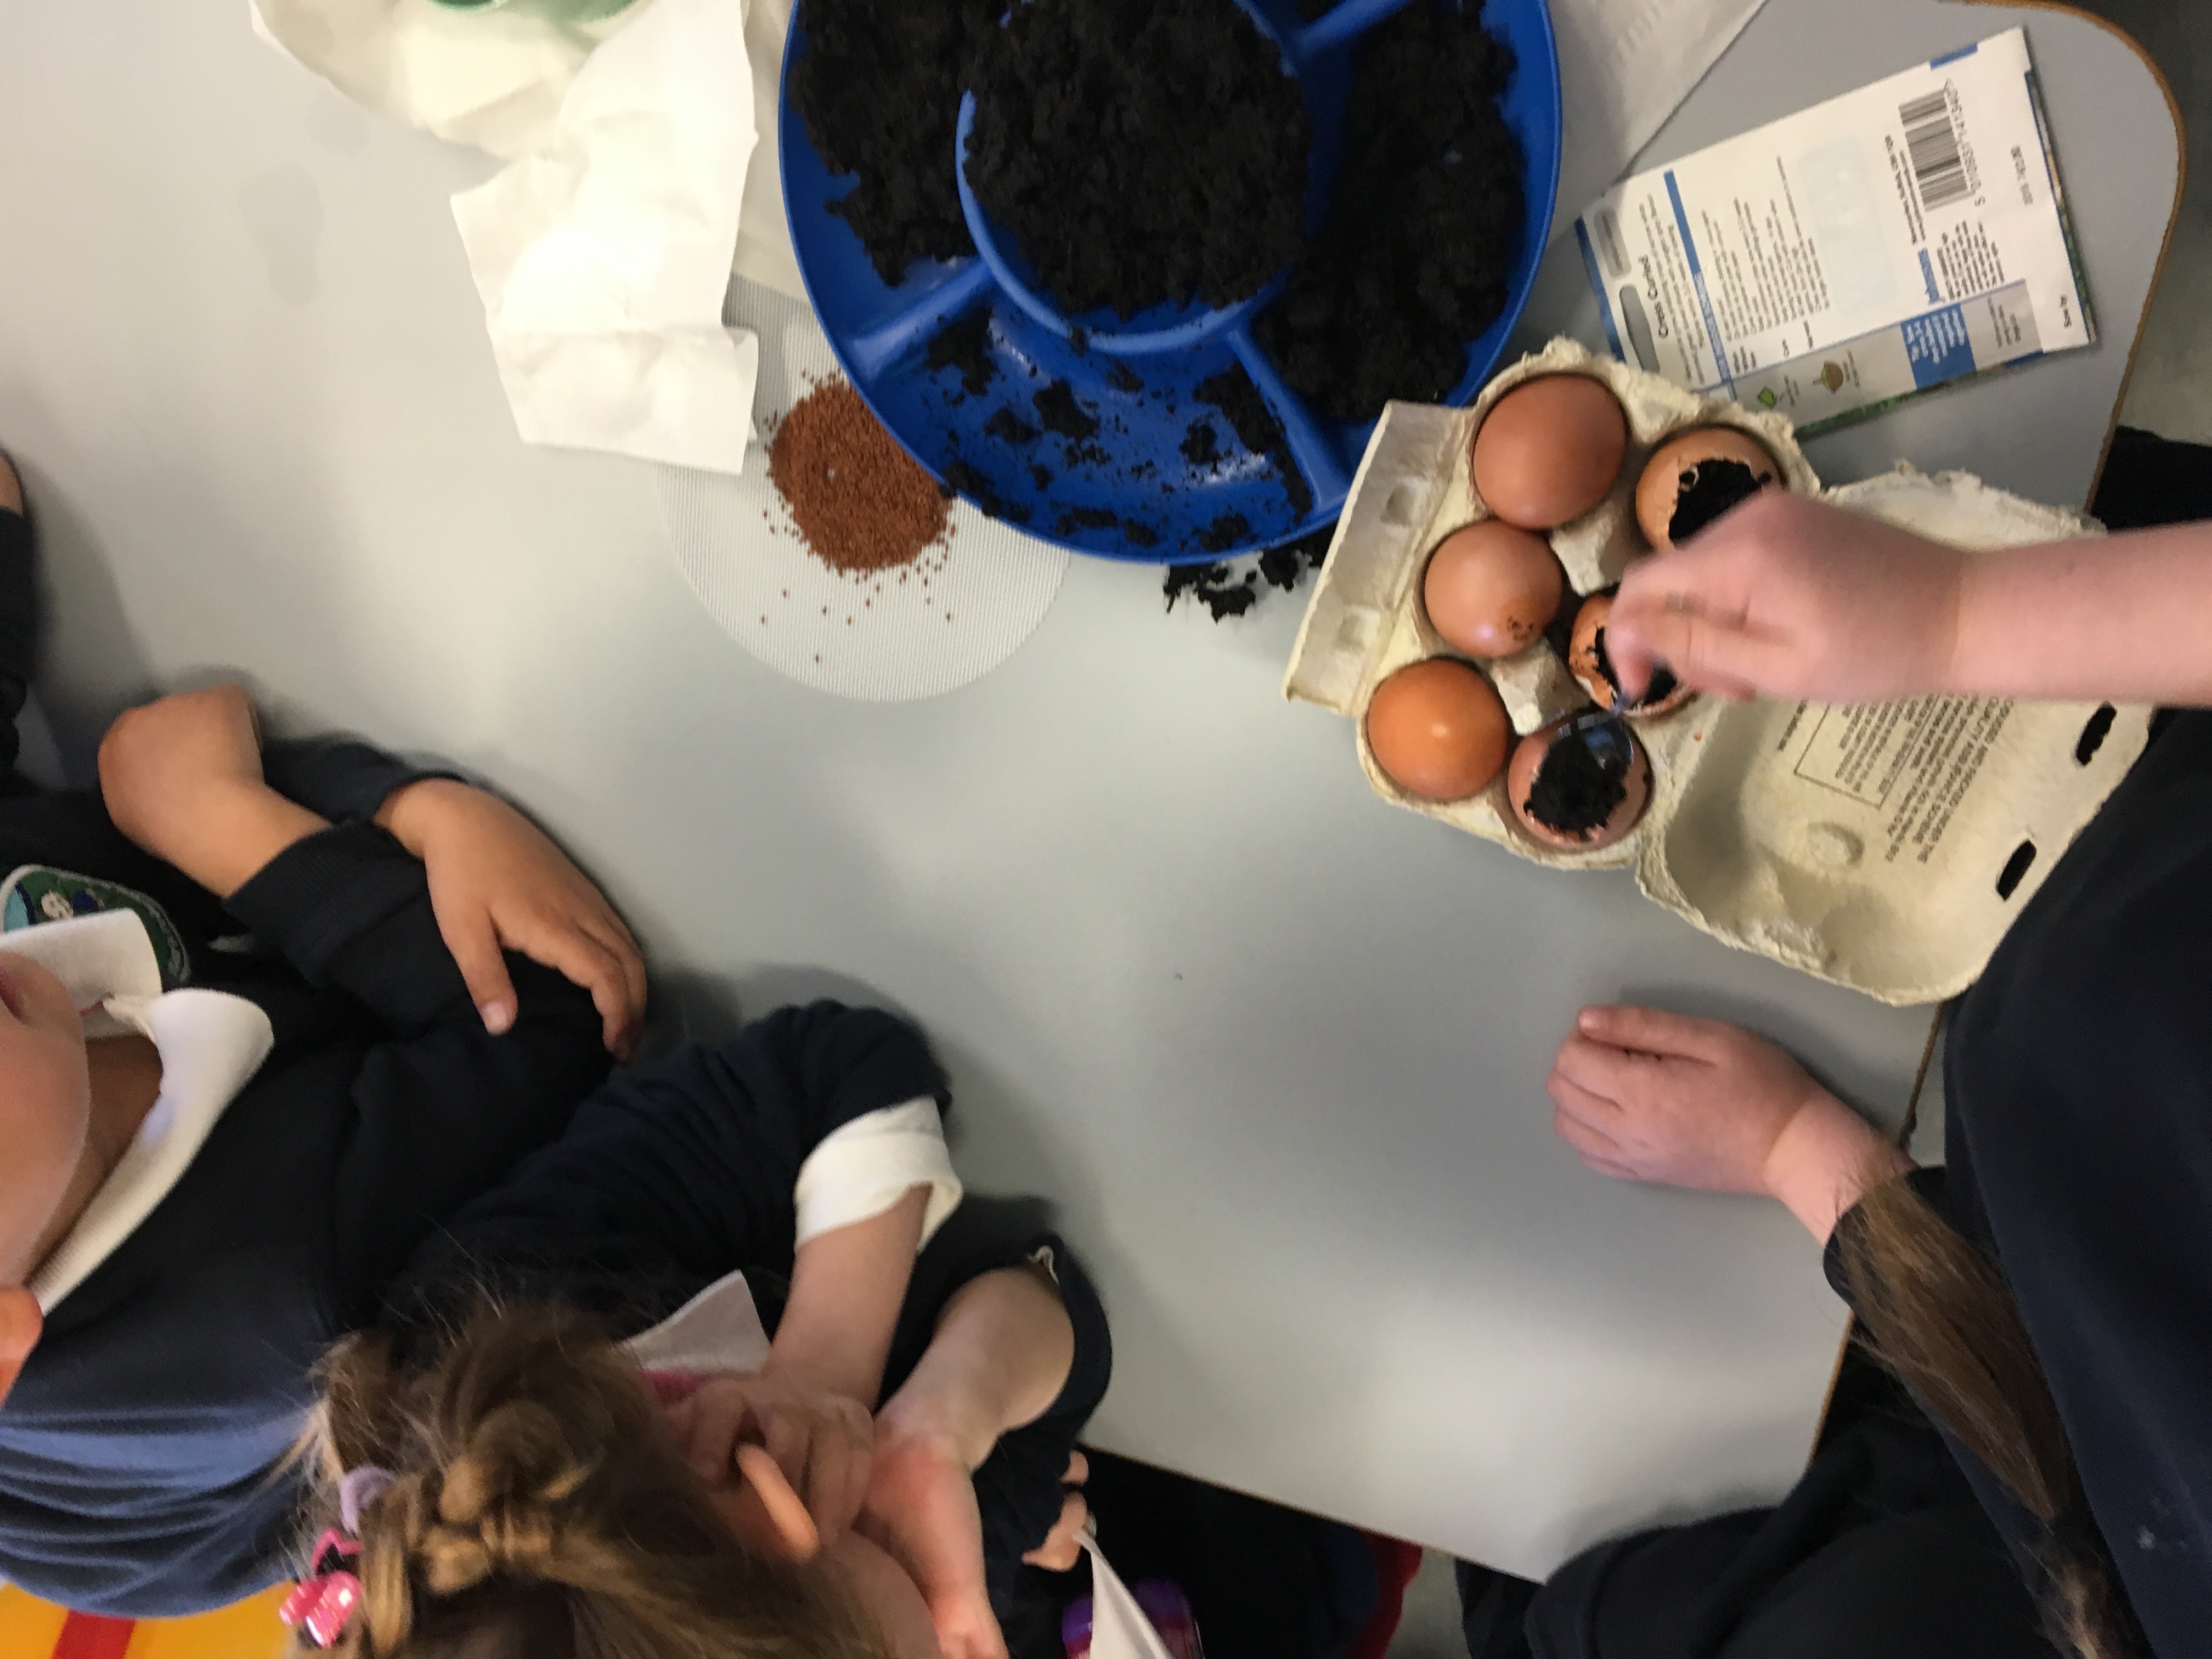
Here we are planting the seeds!
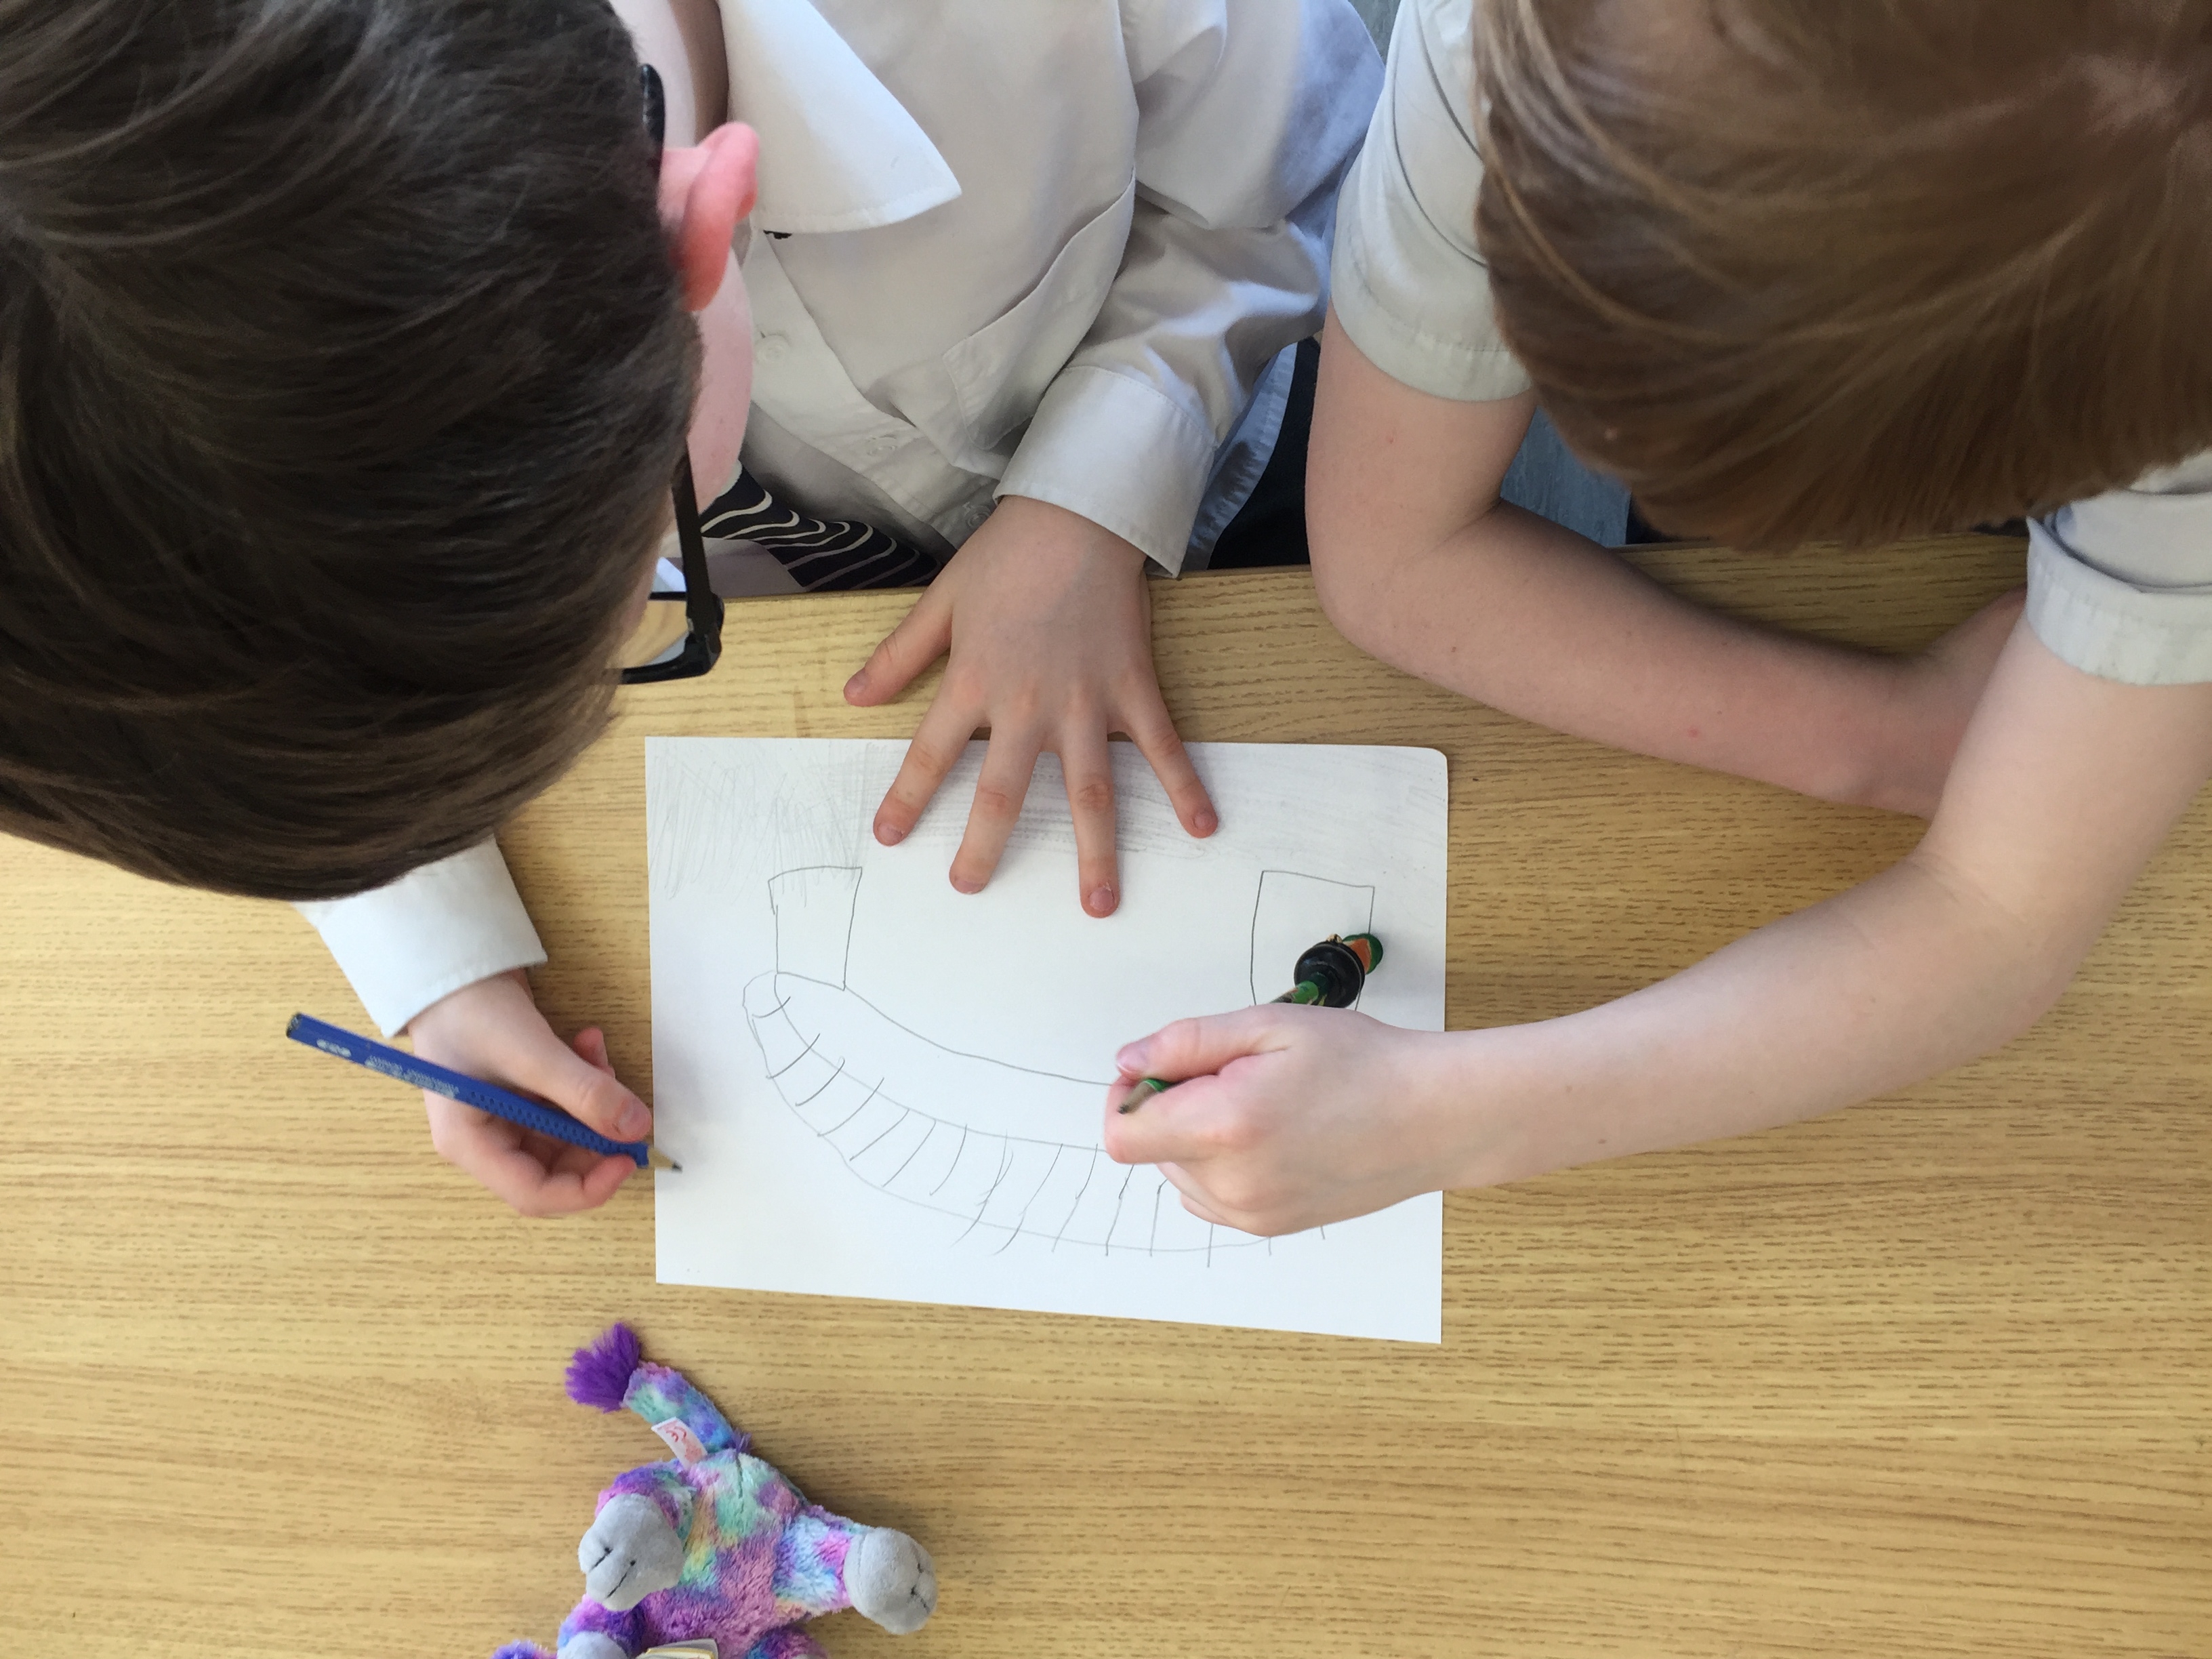
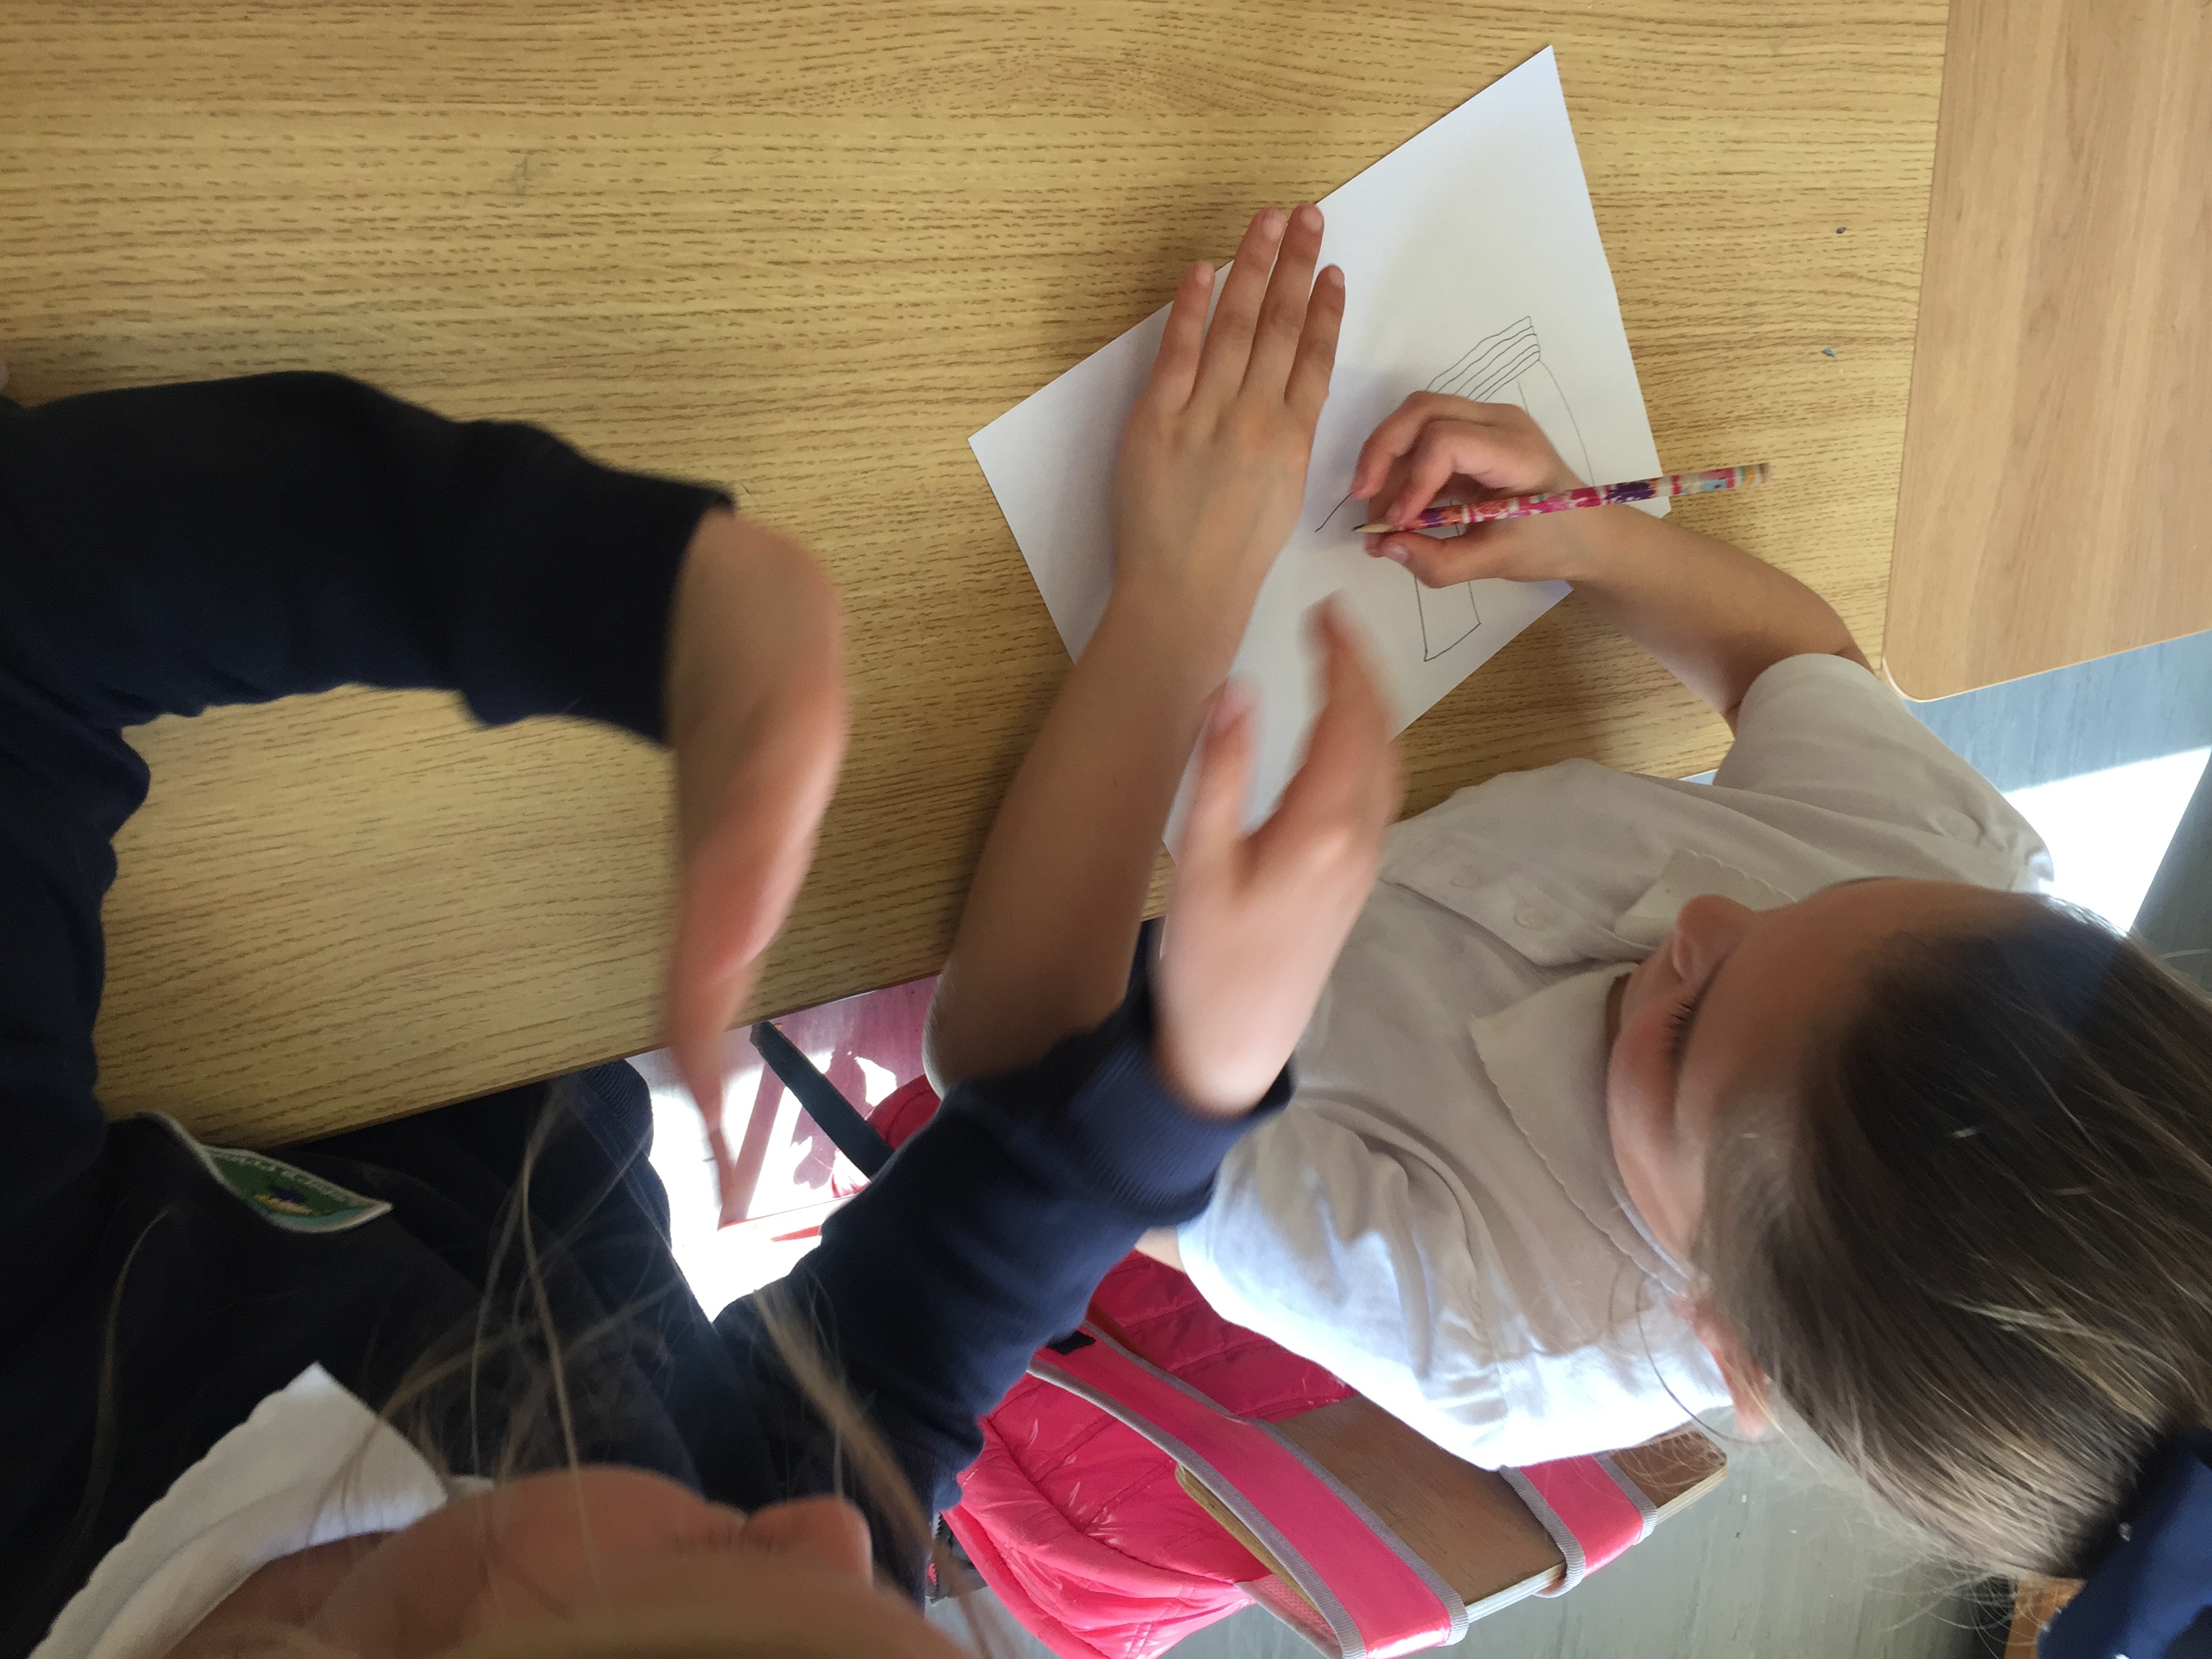
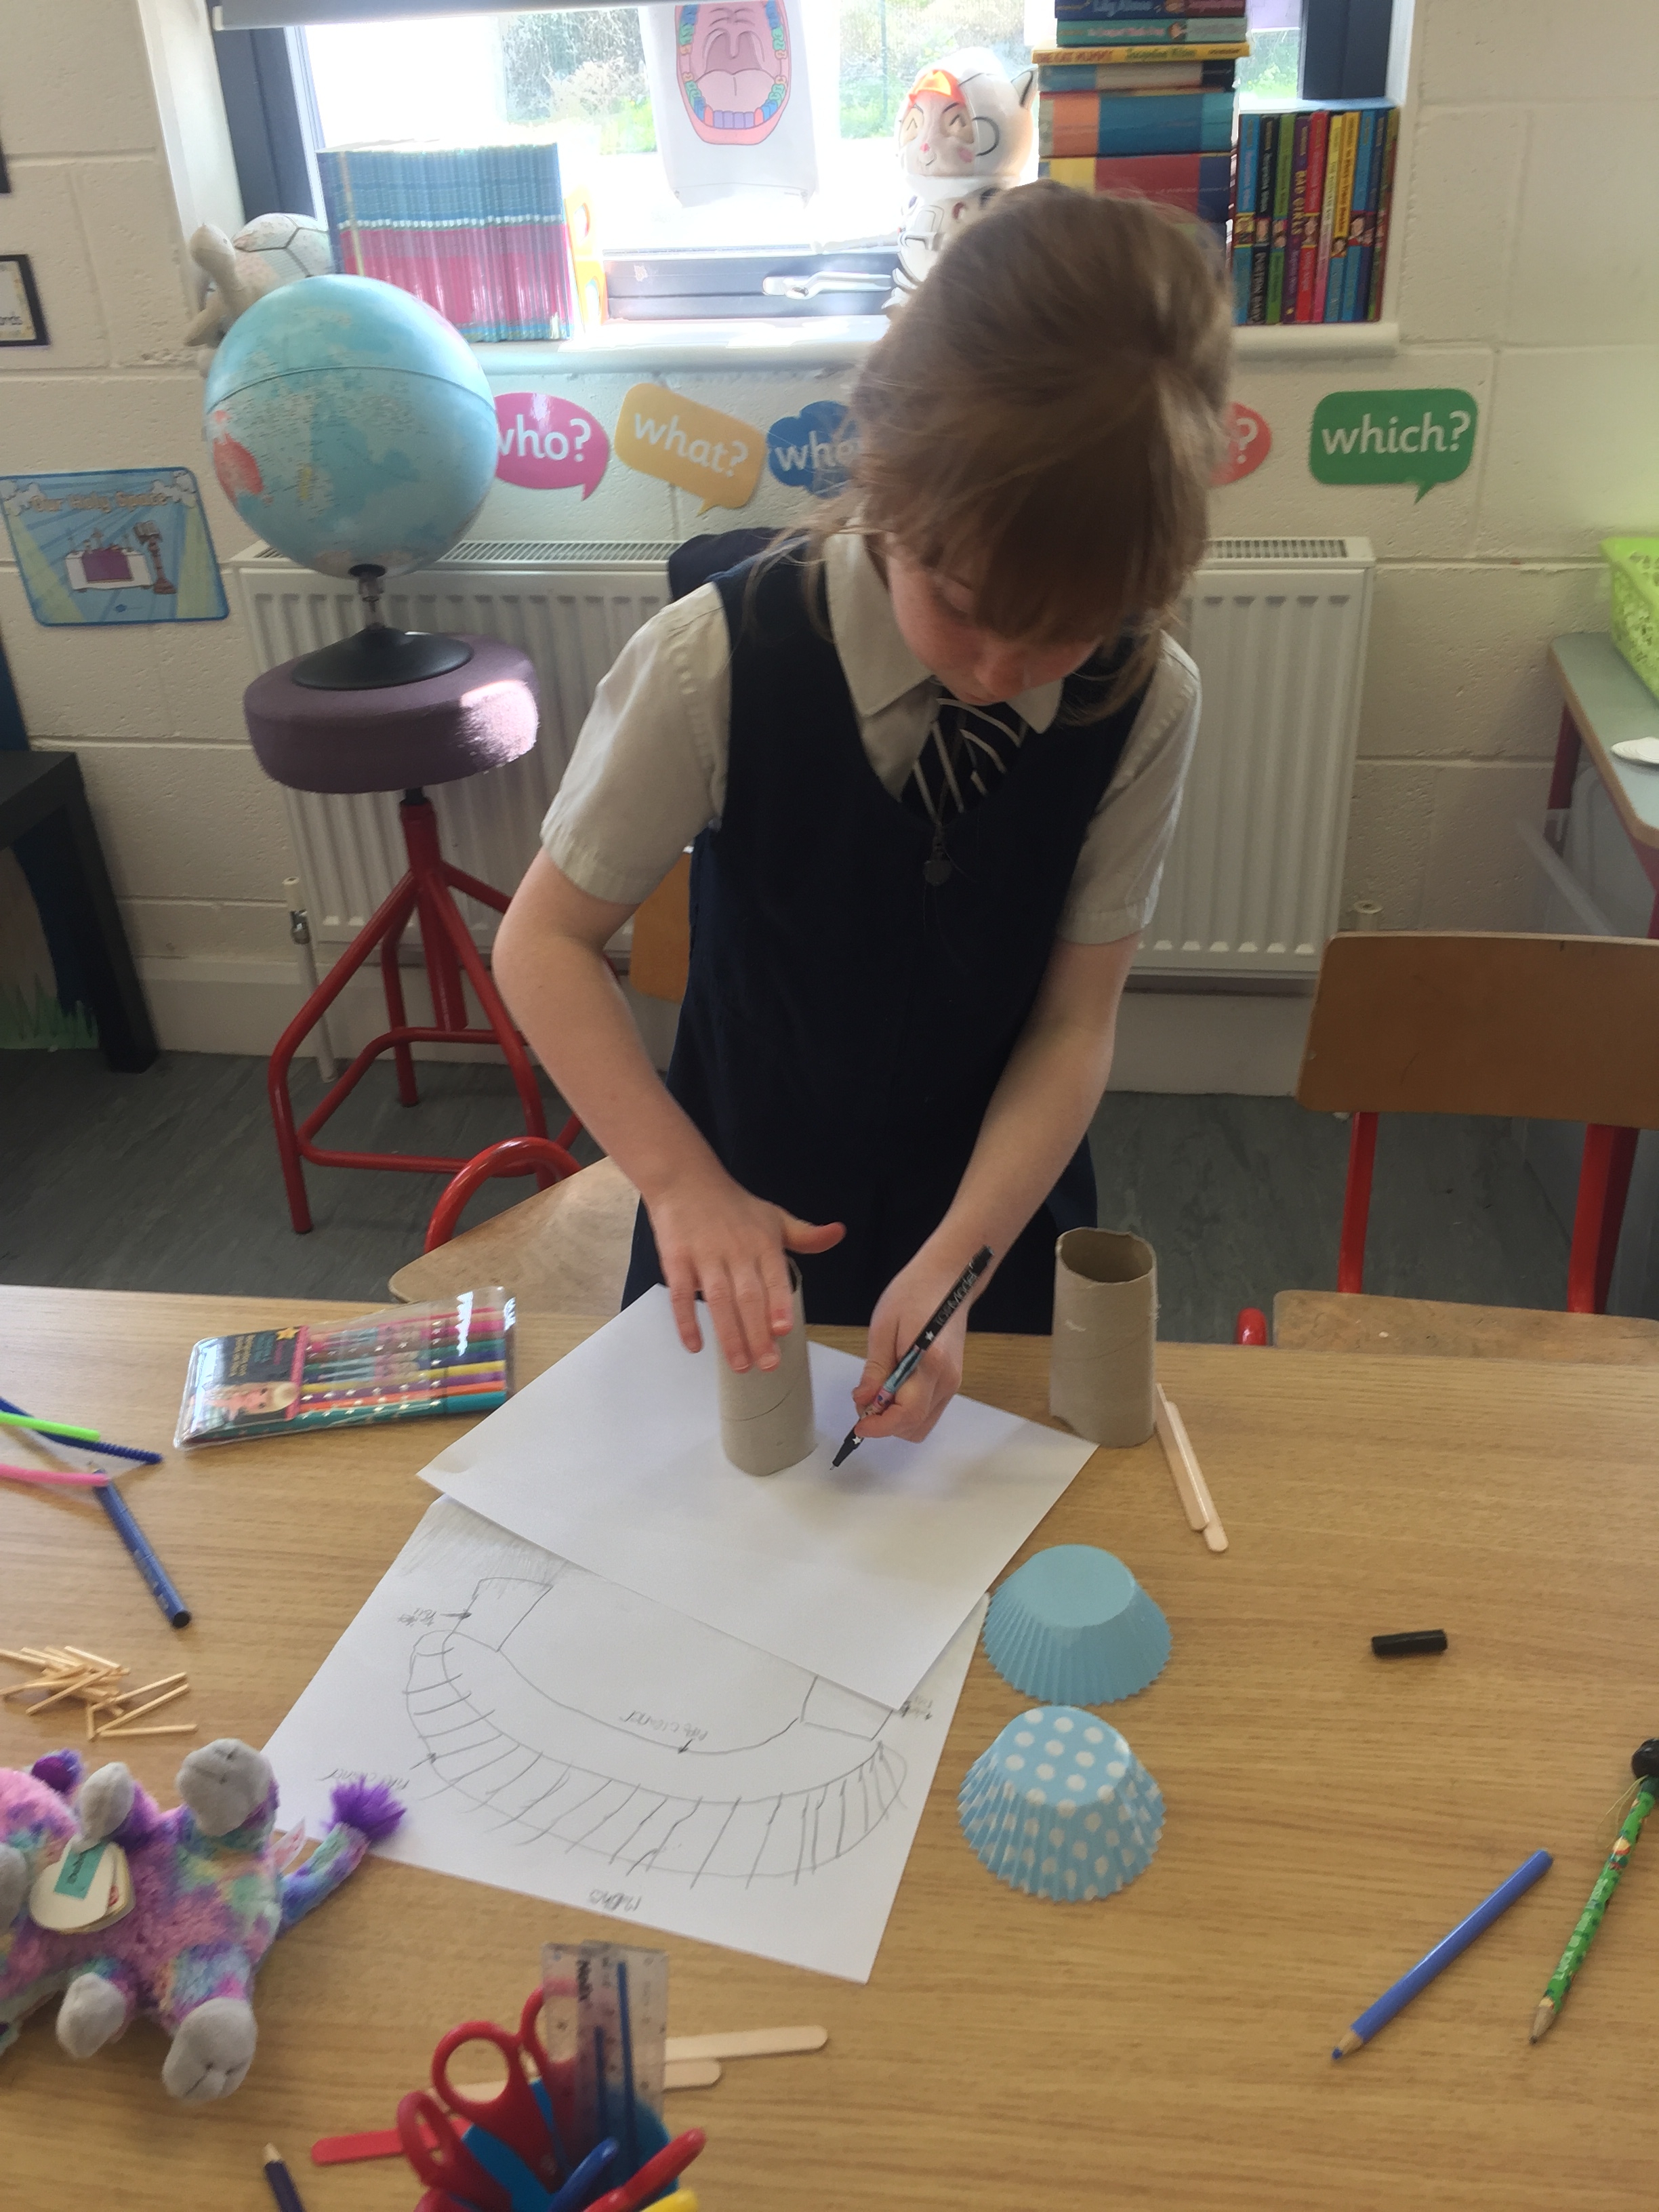
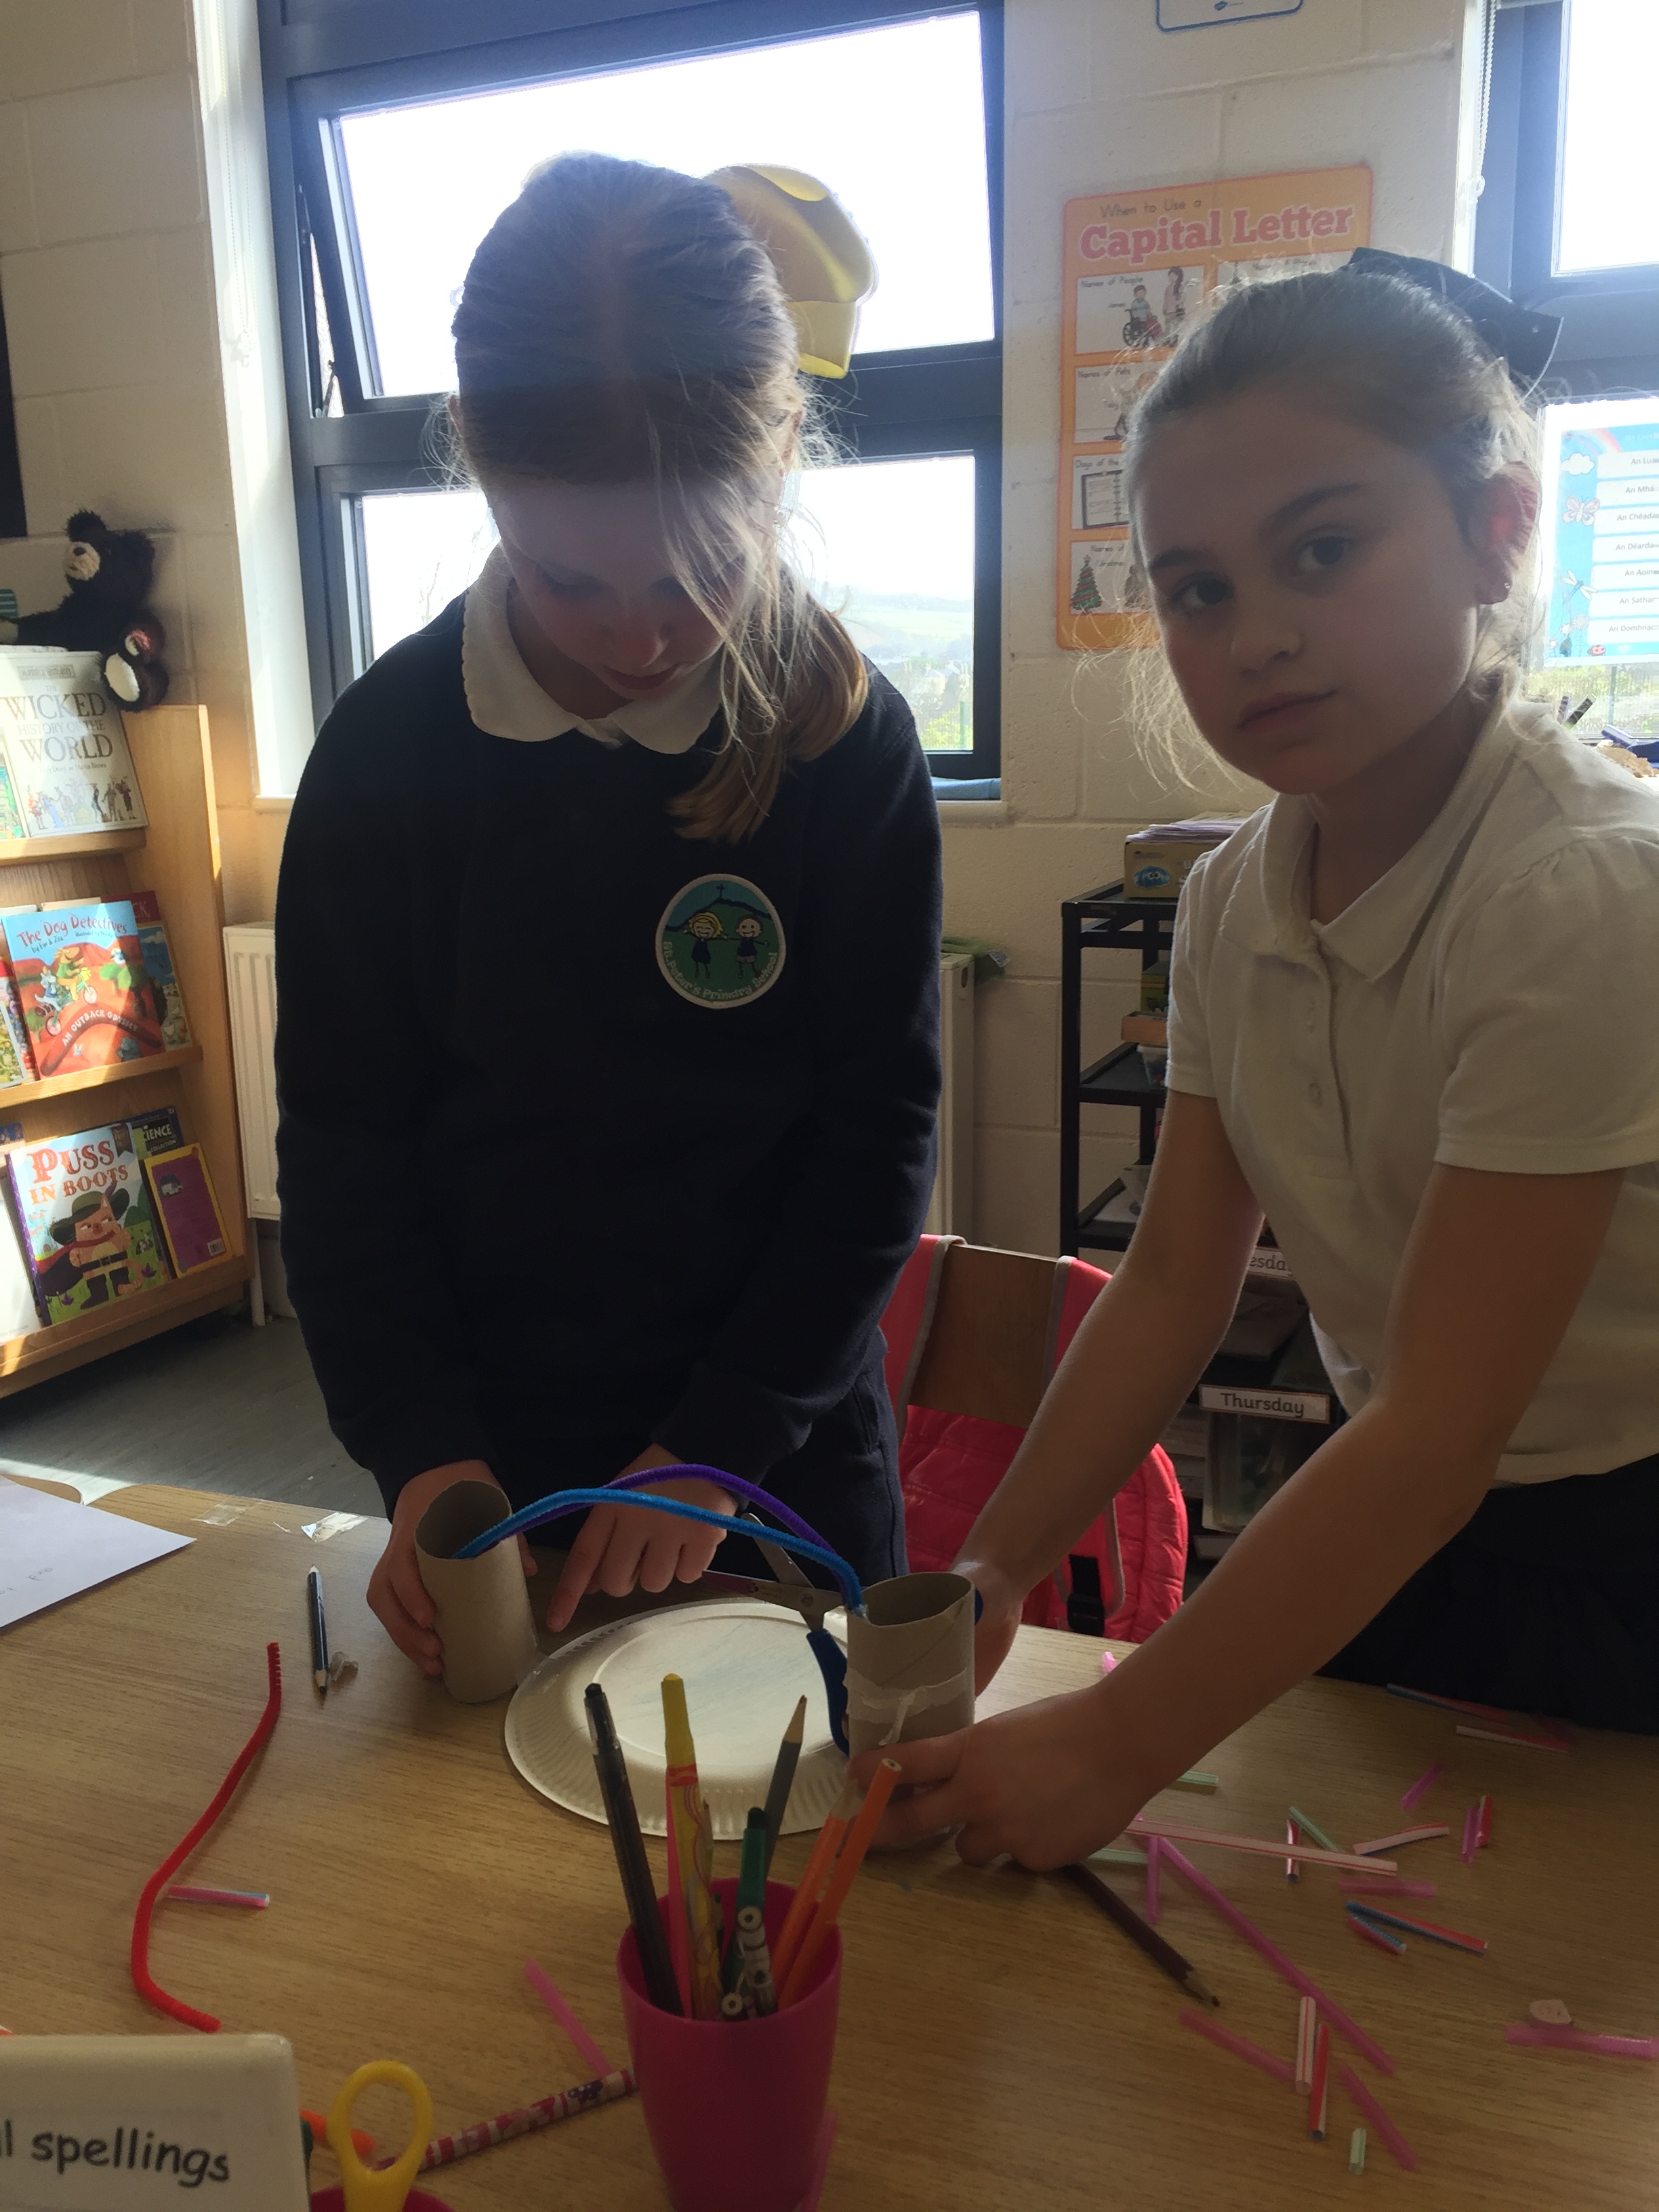
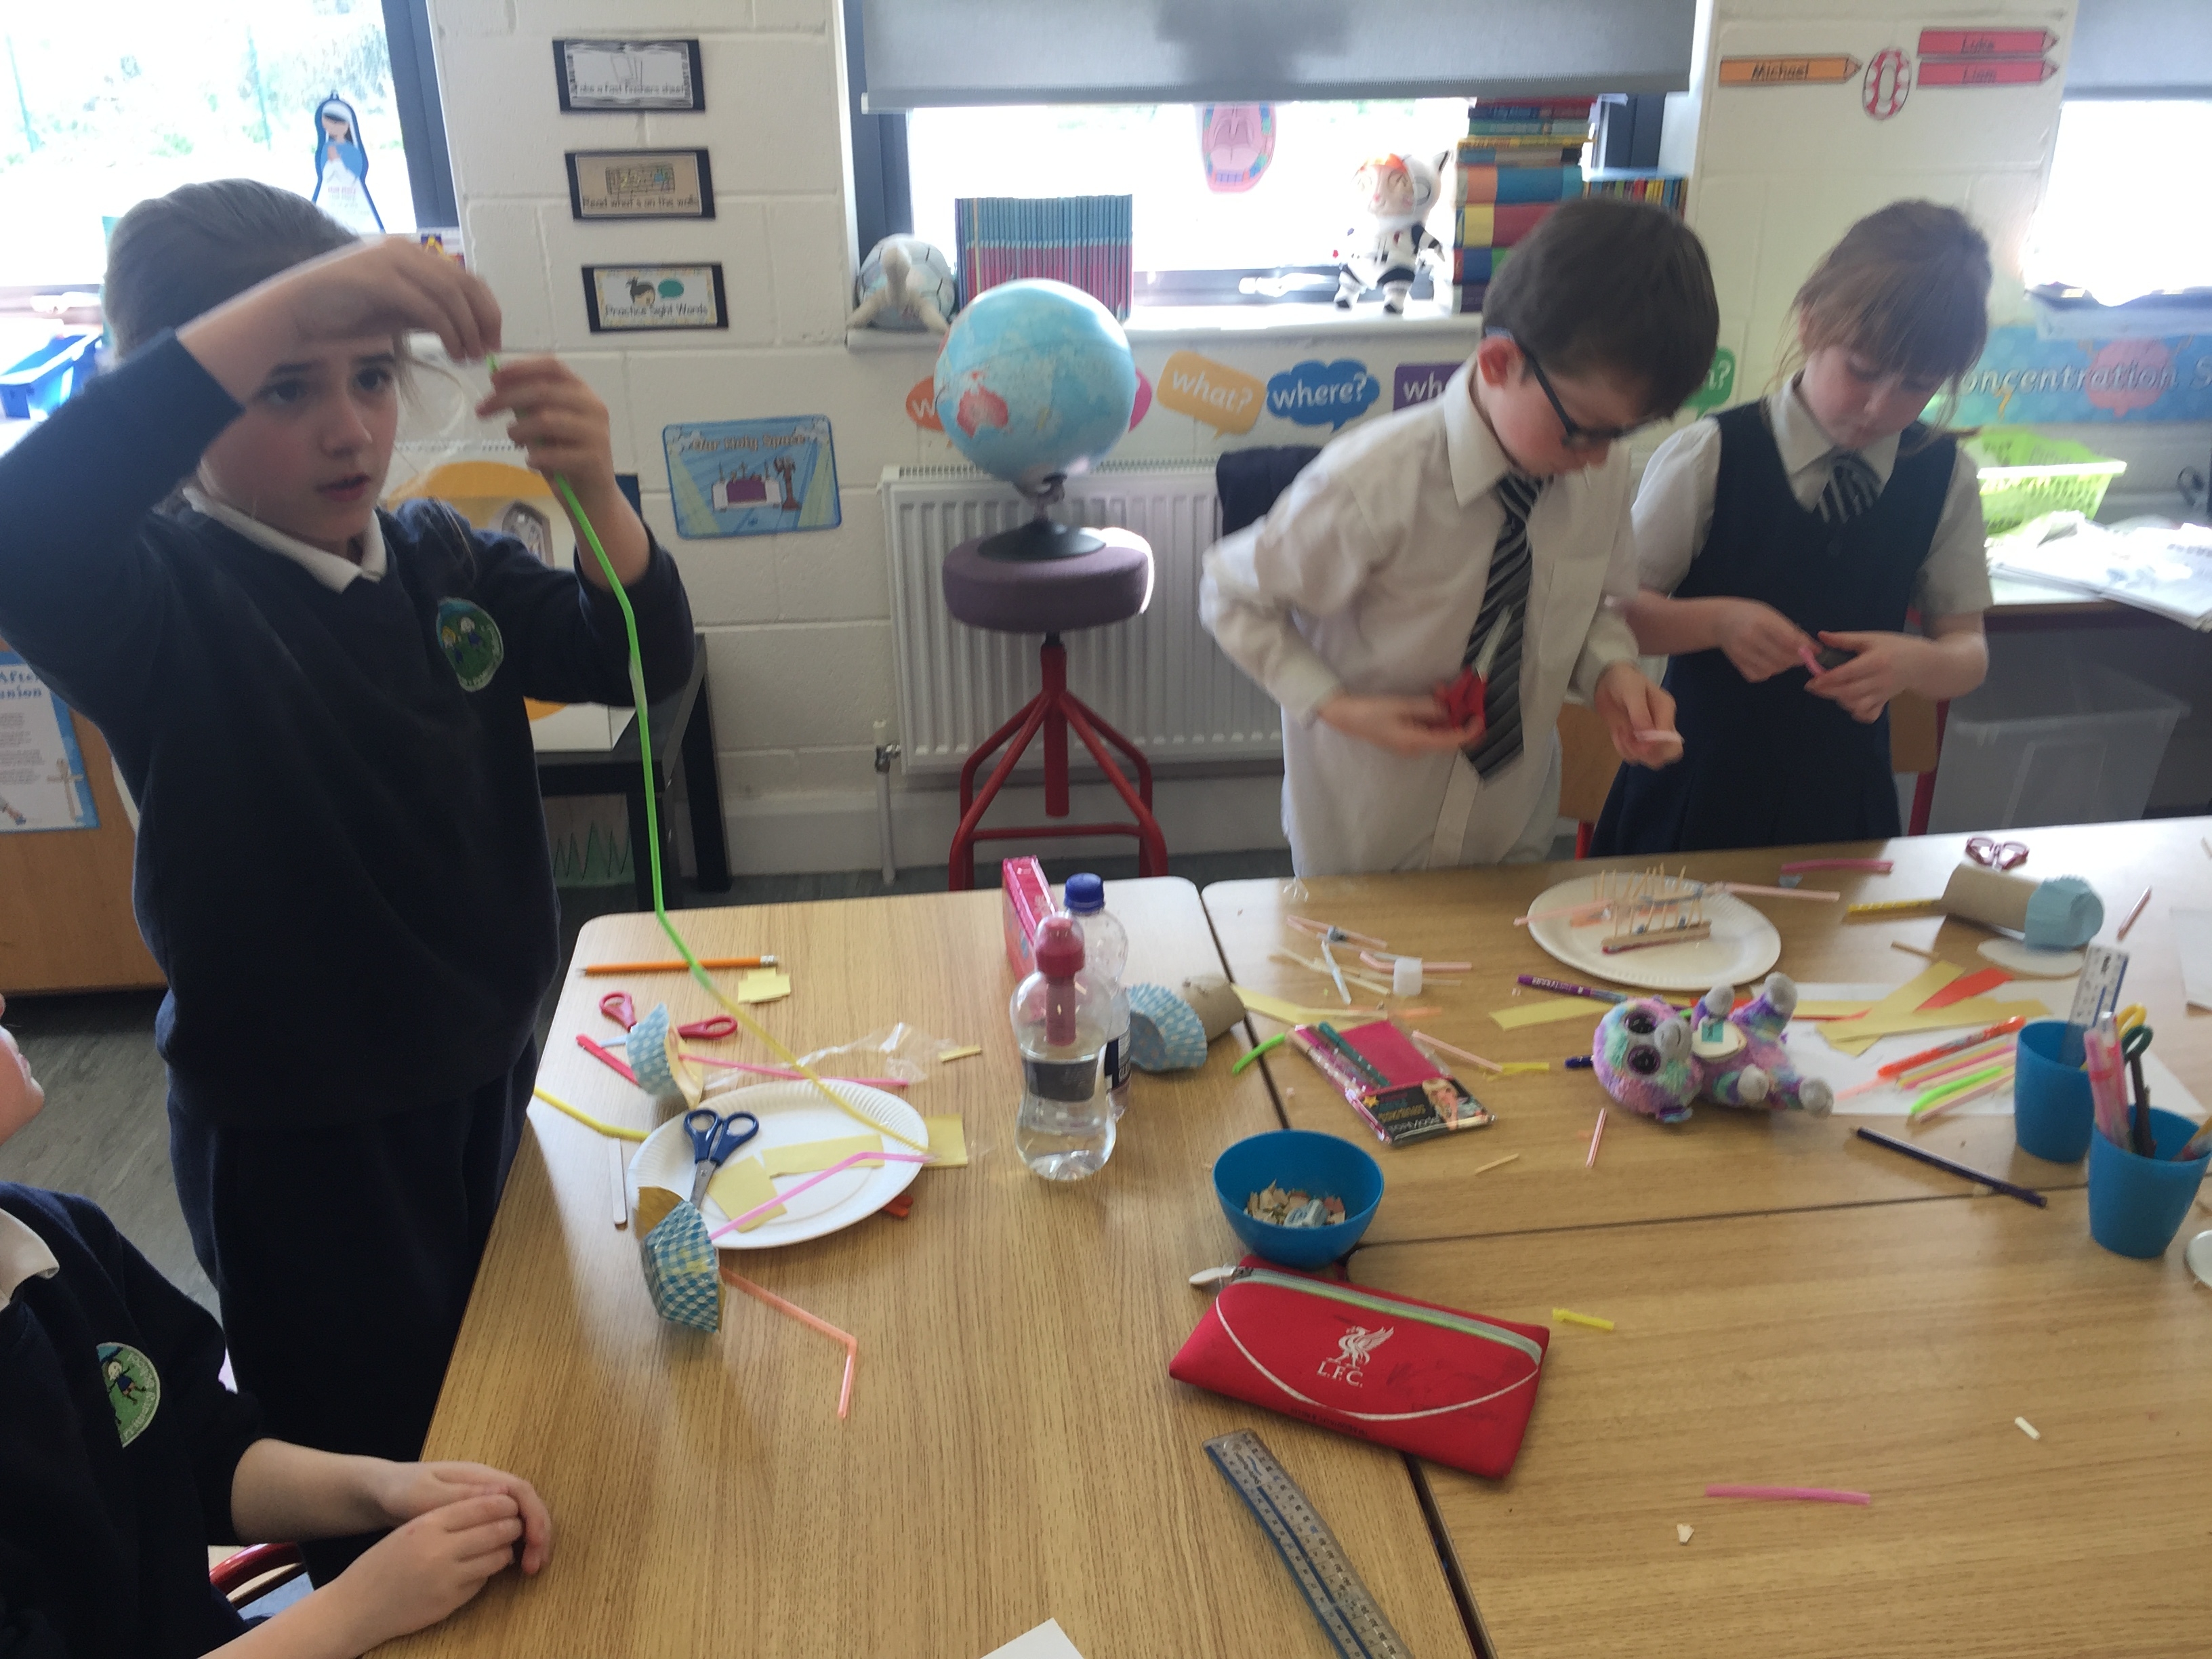
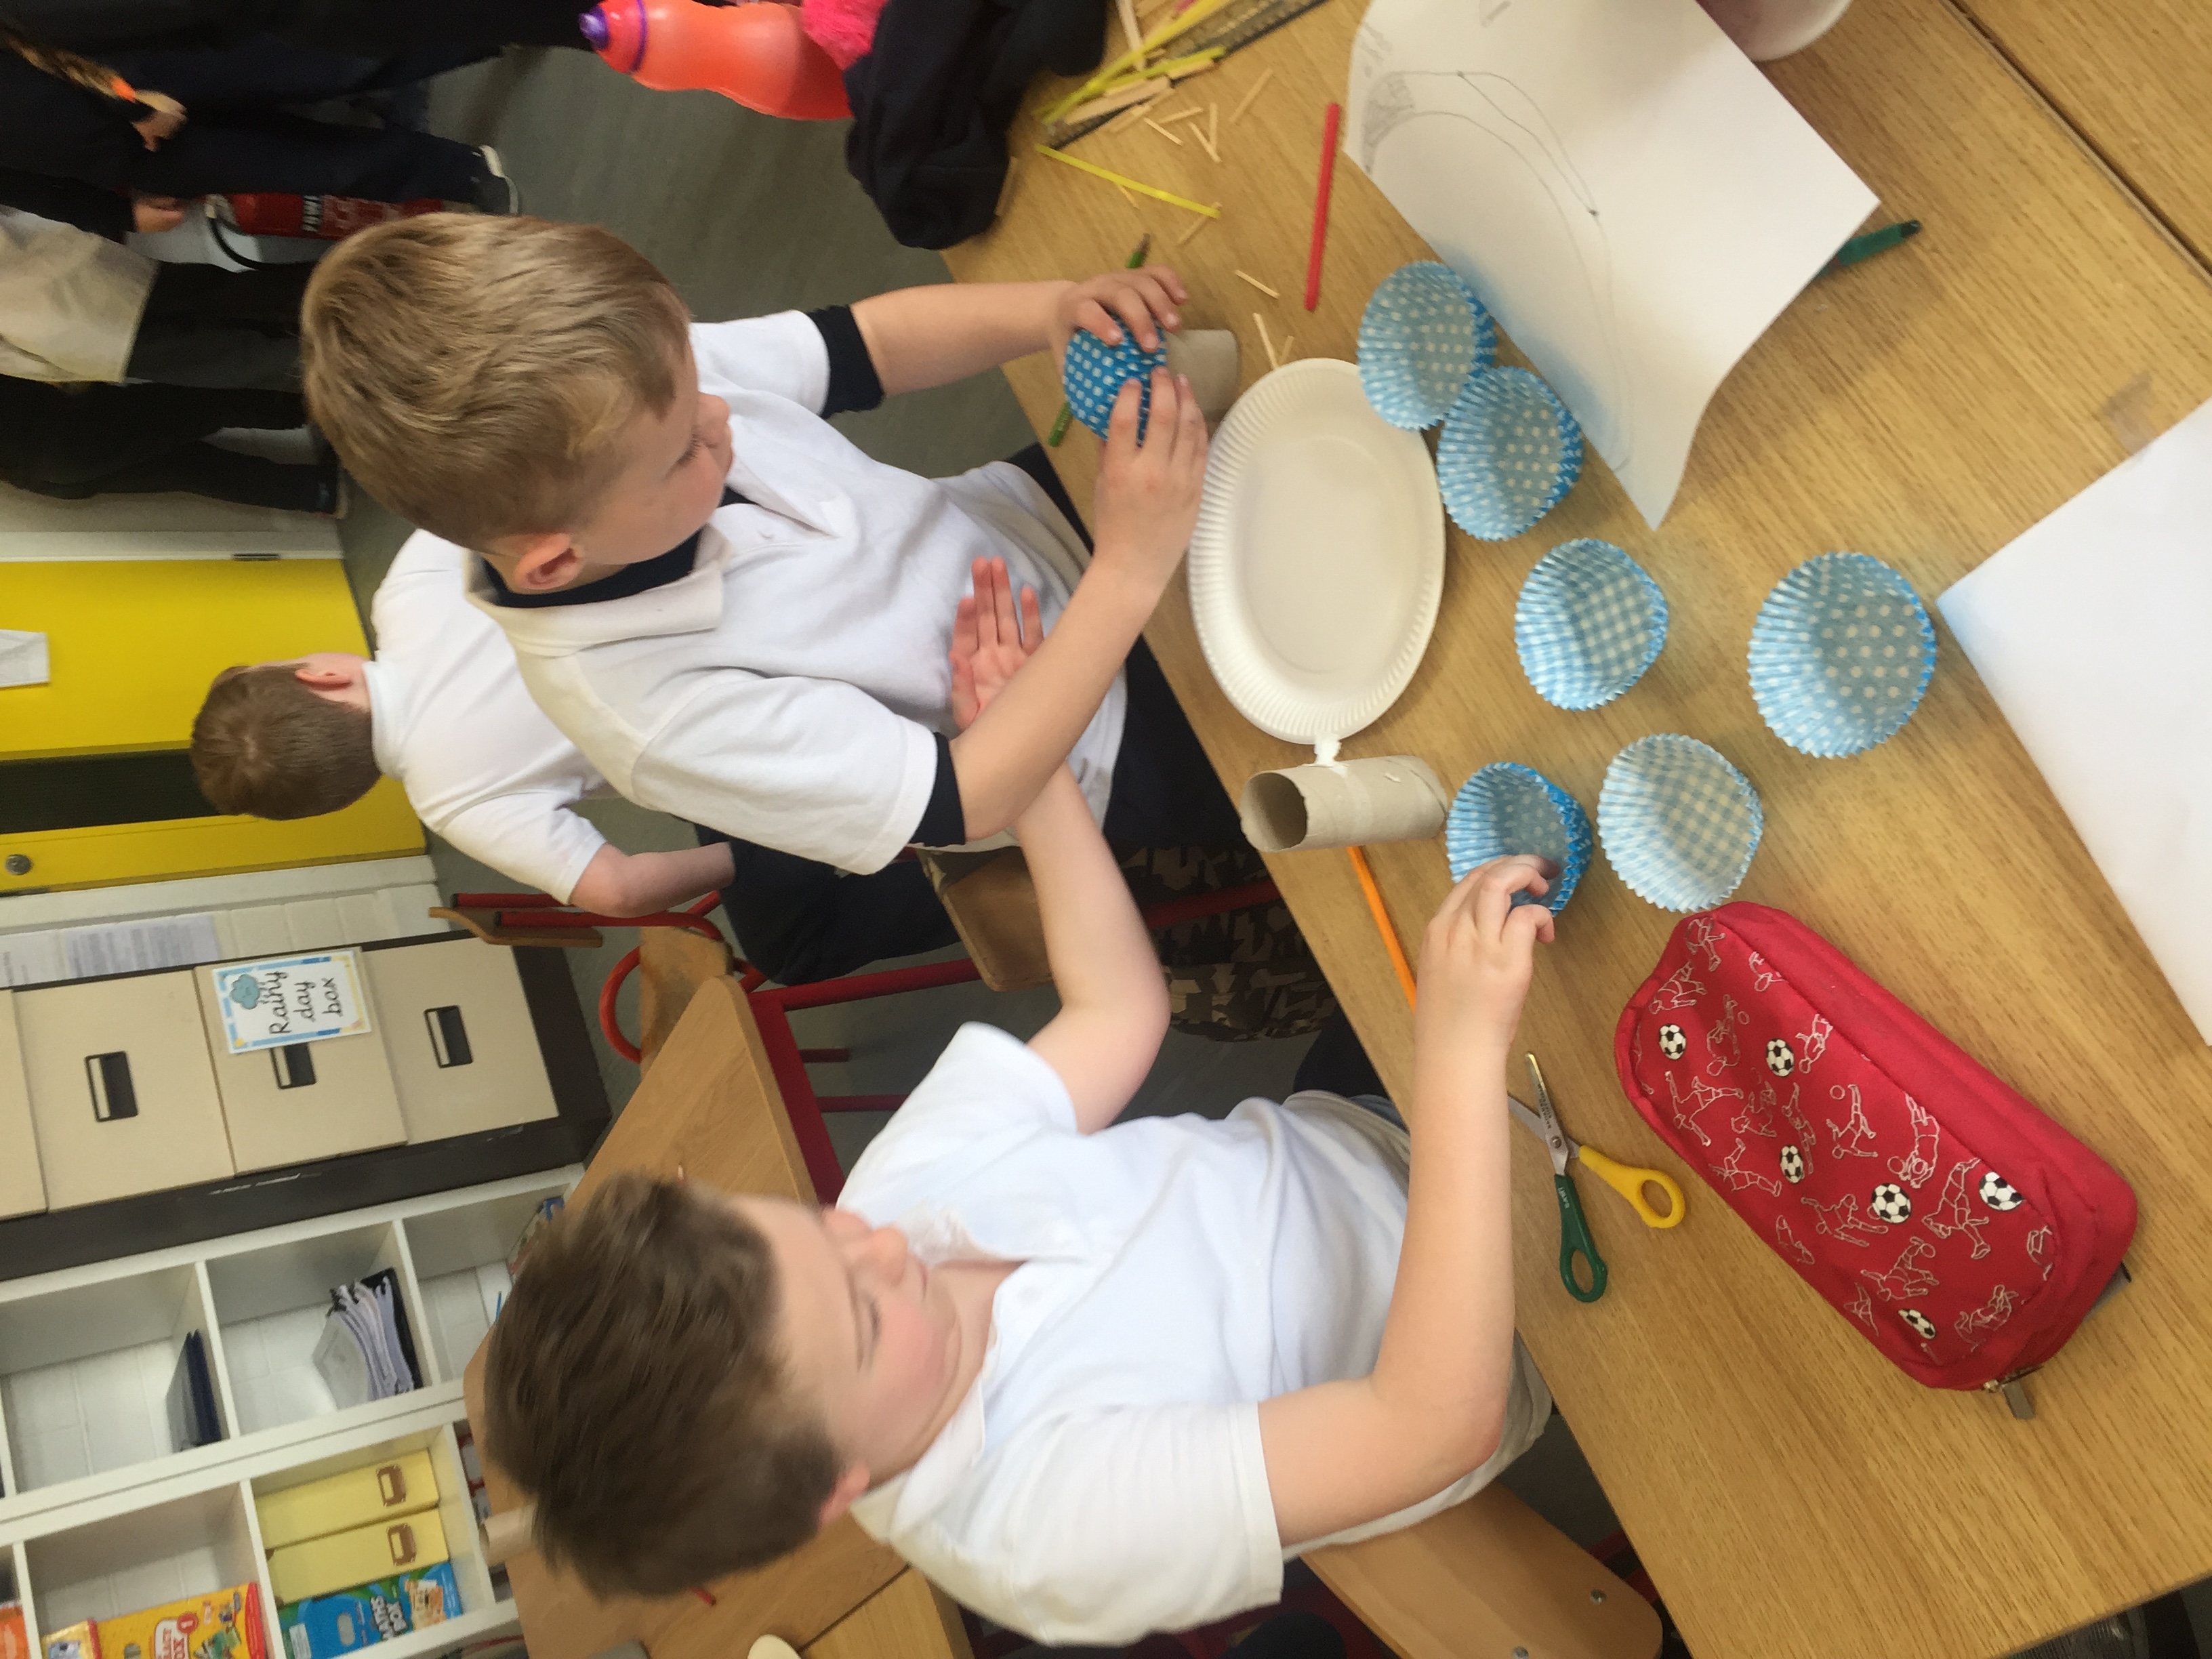
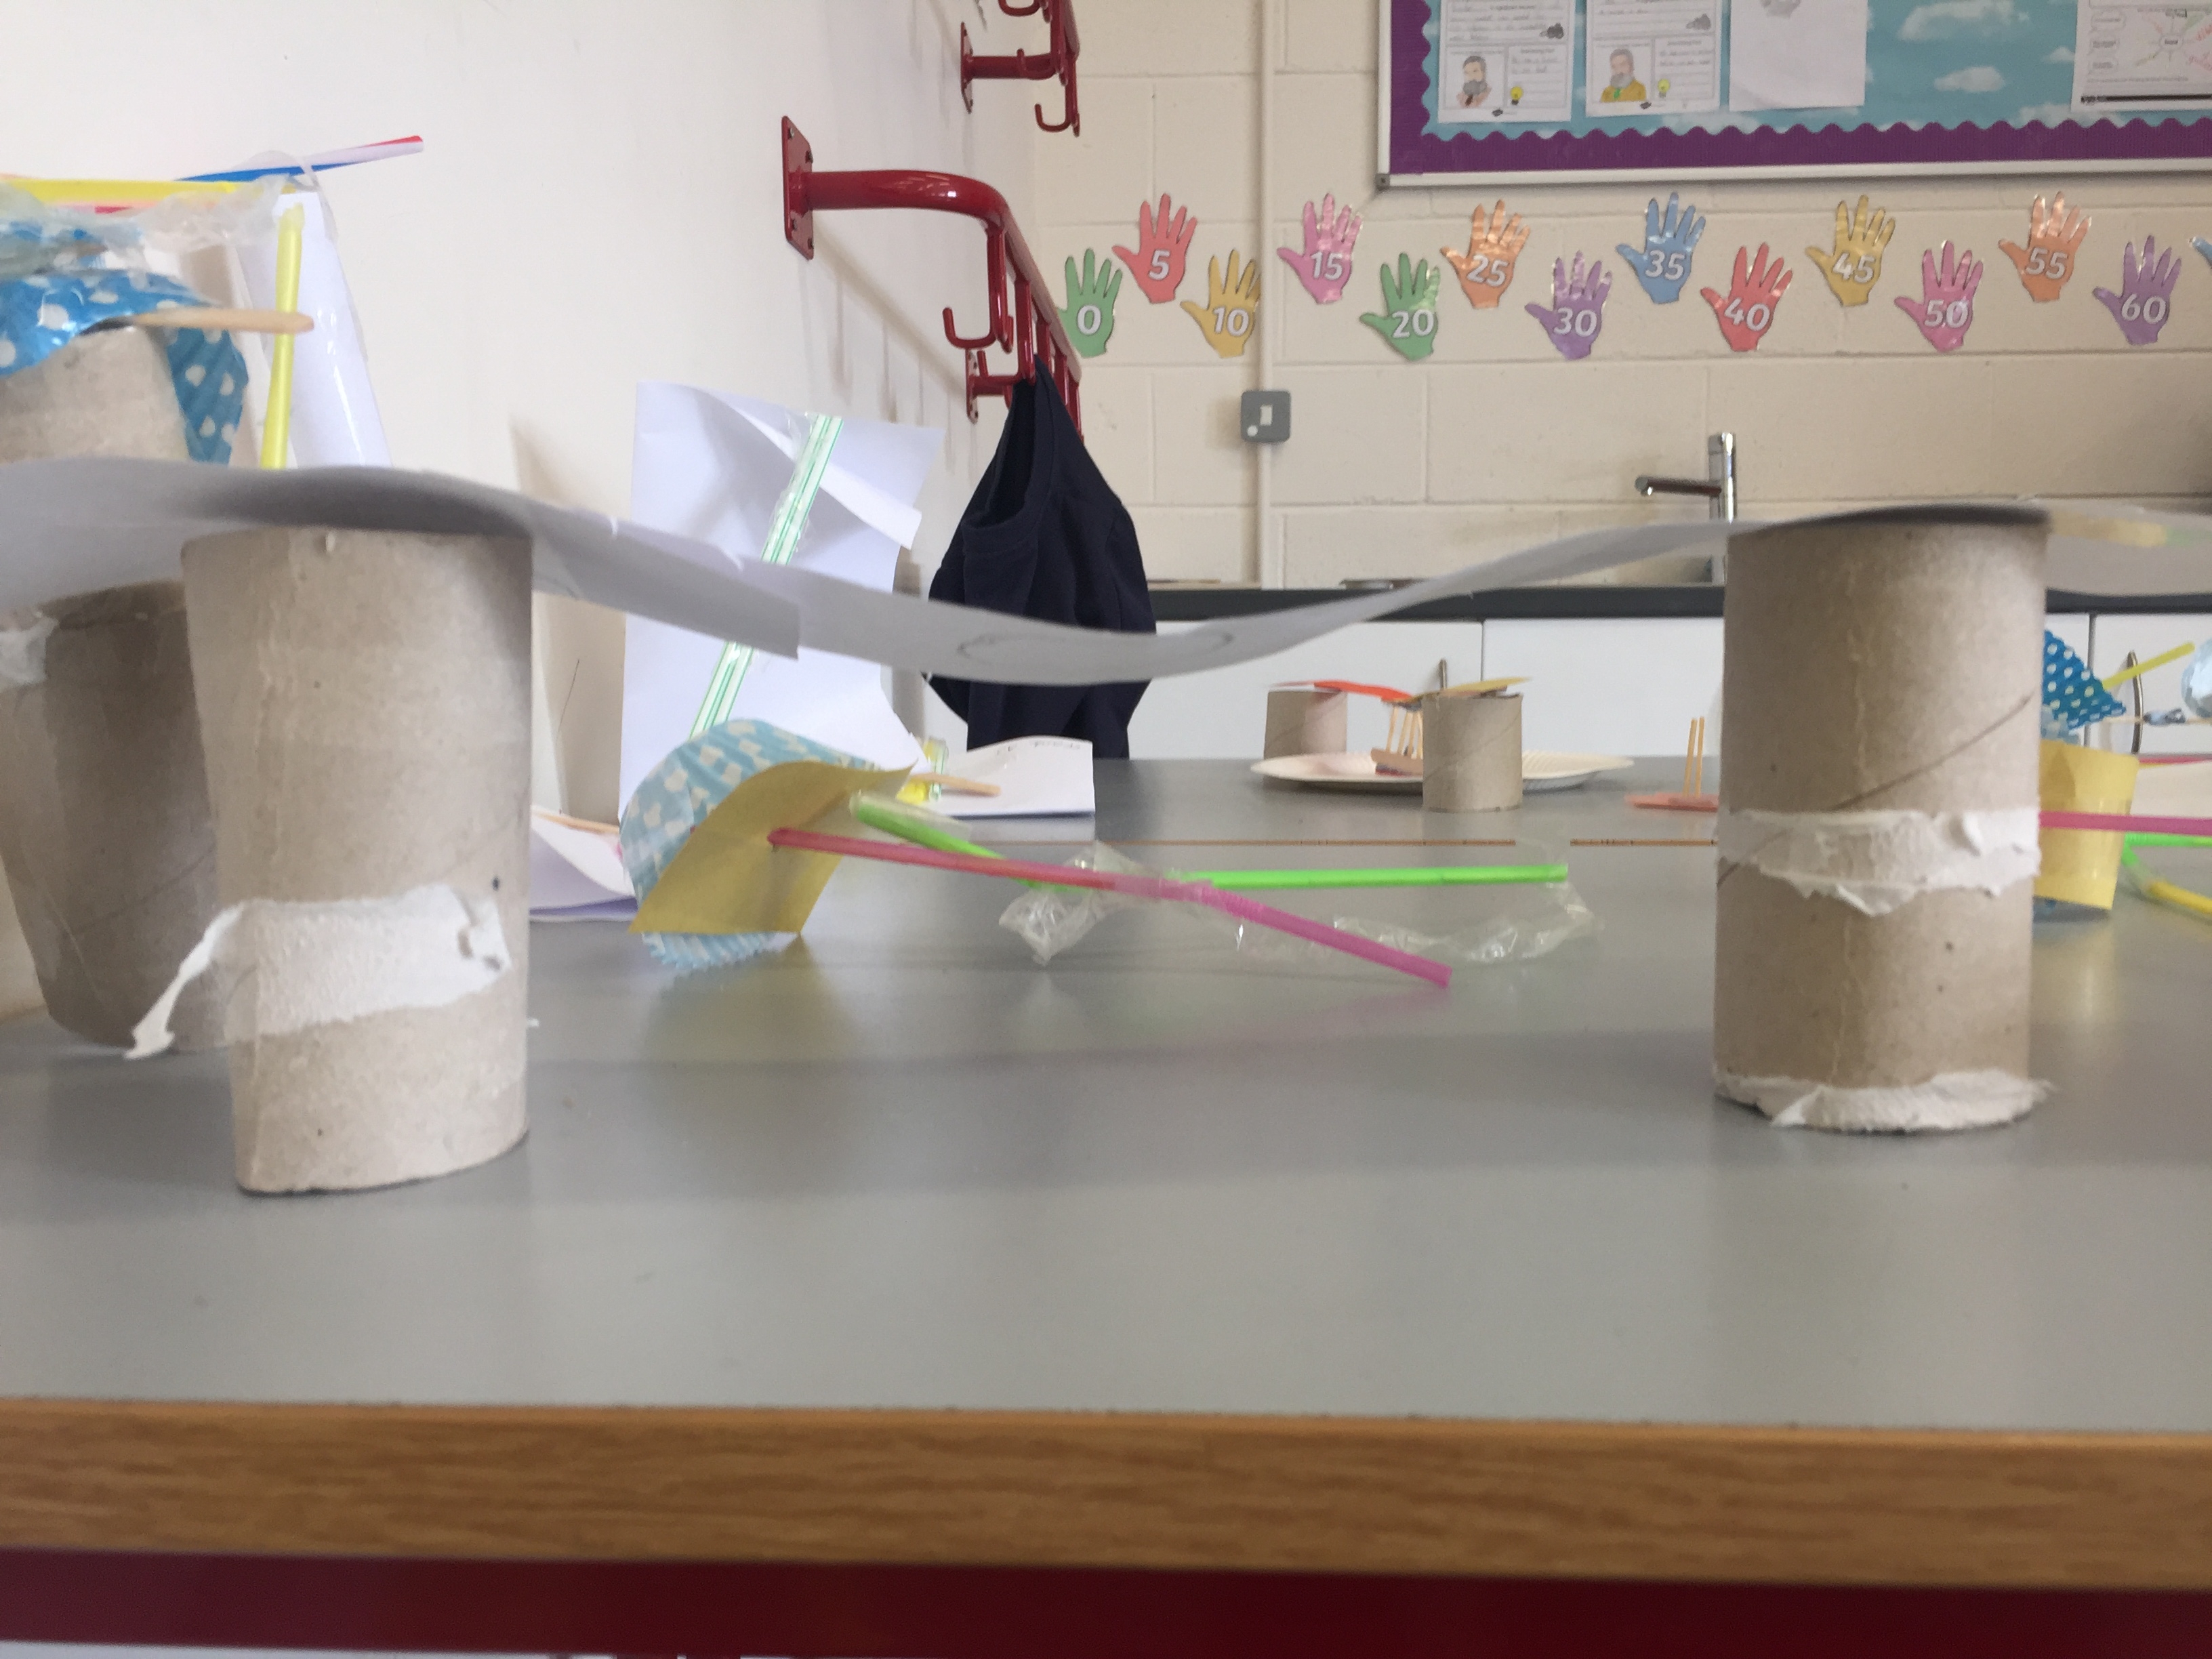
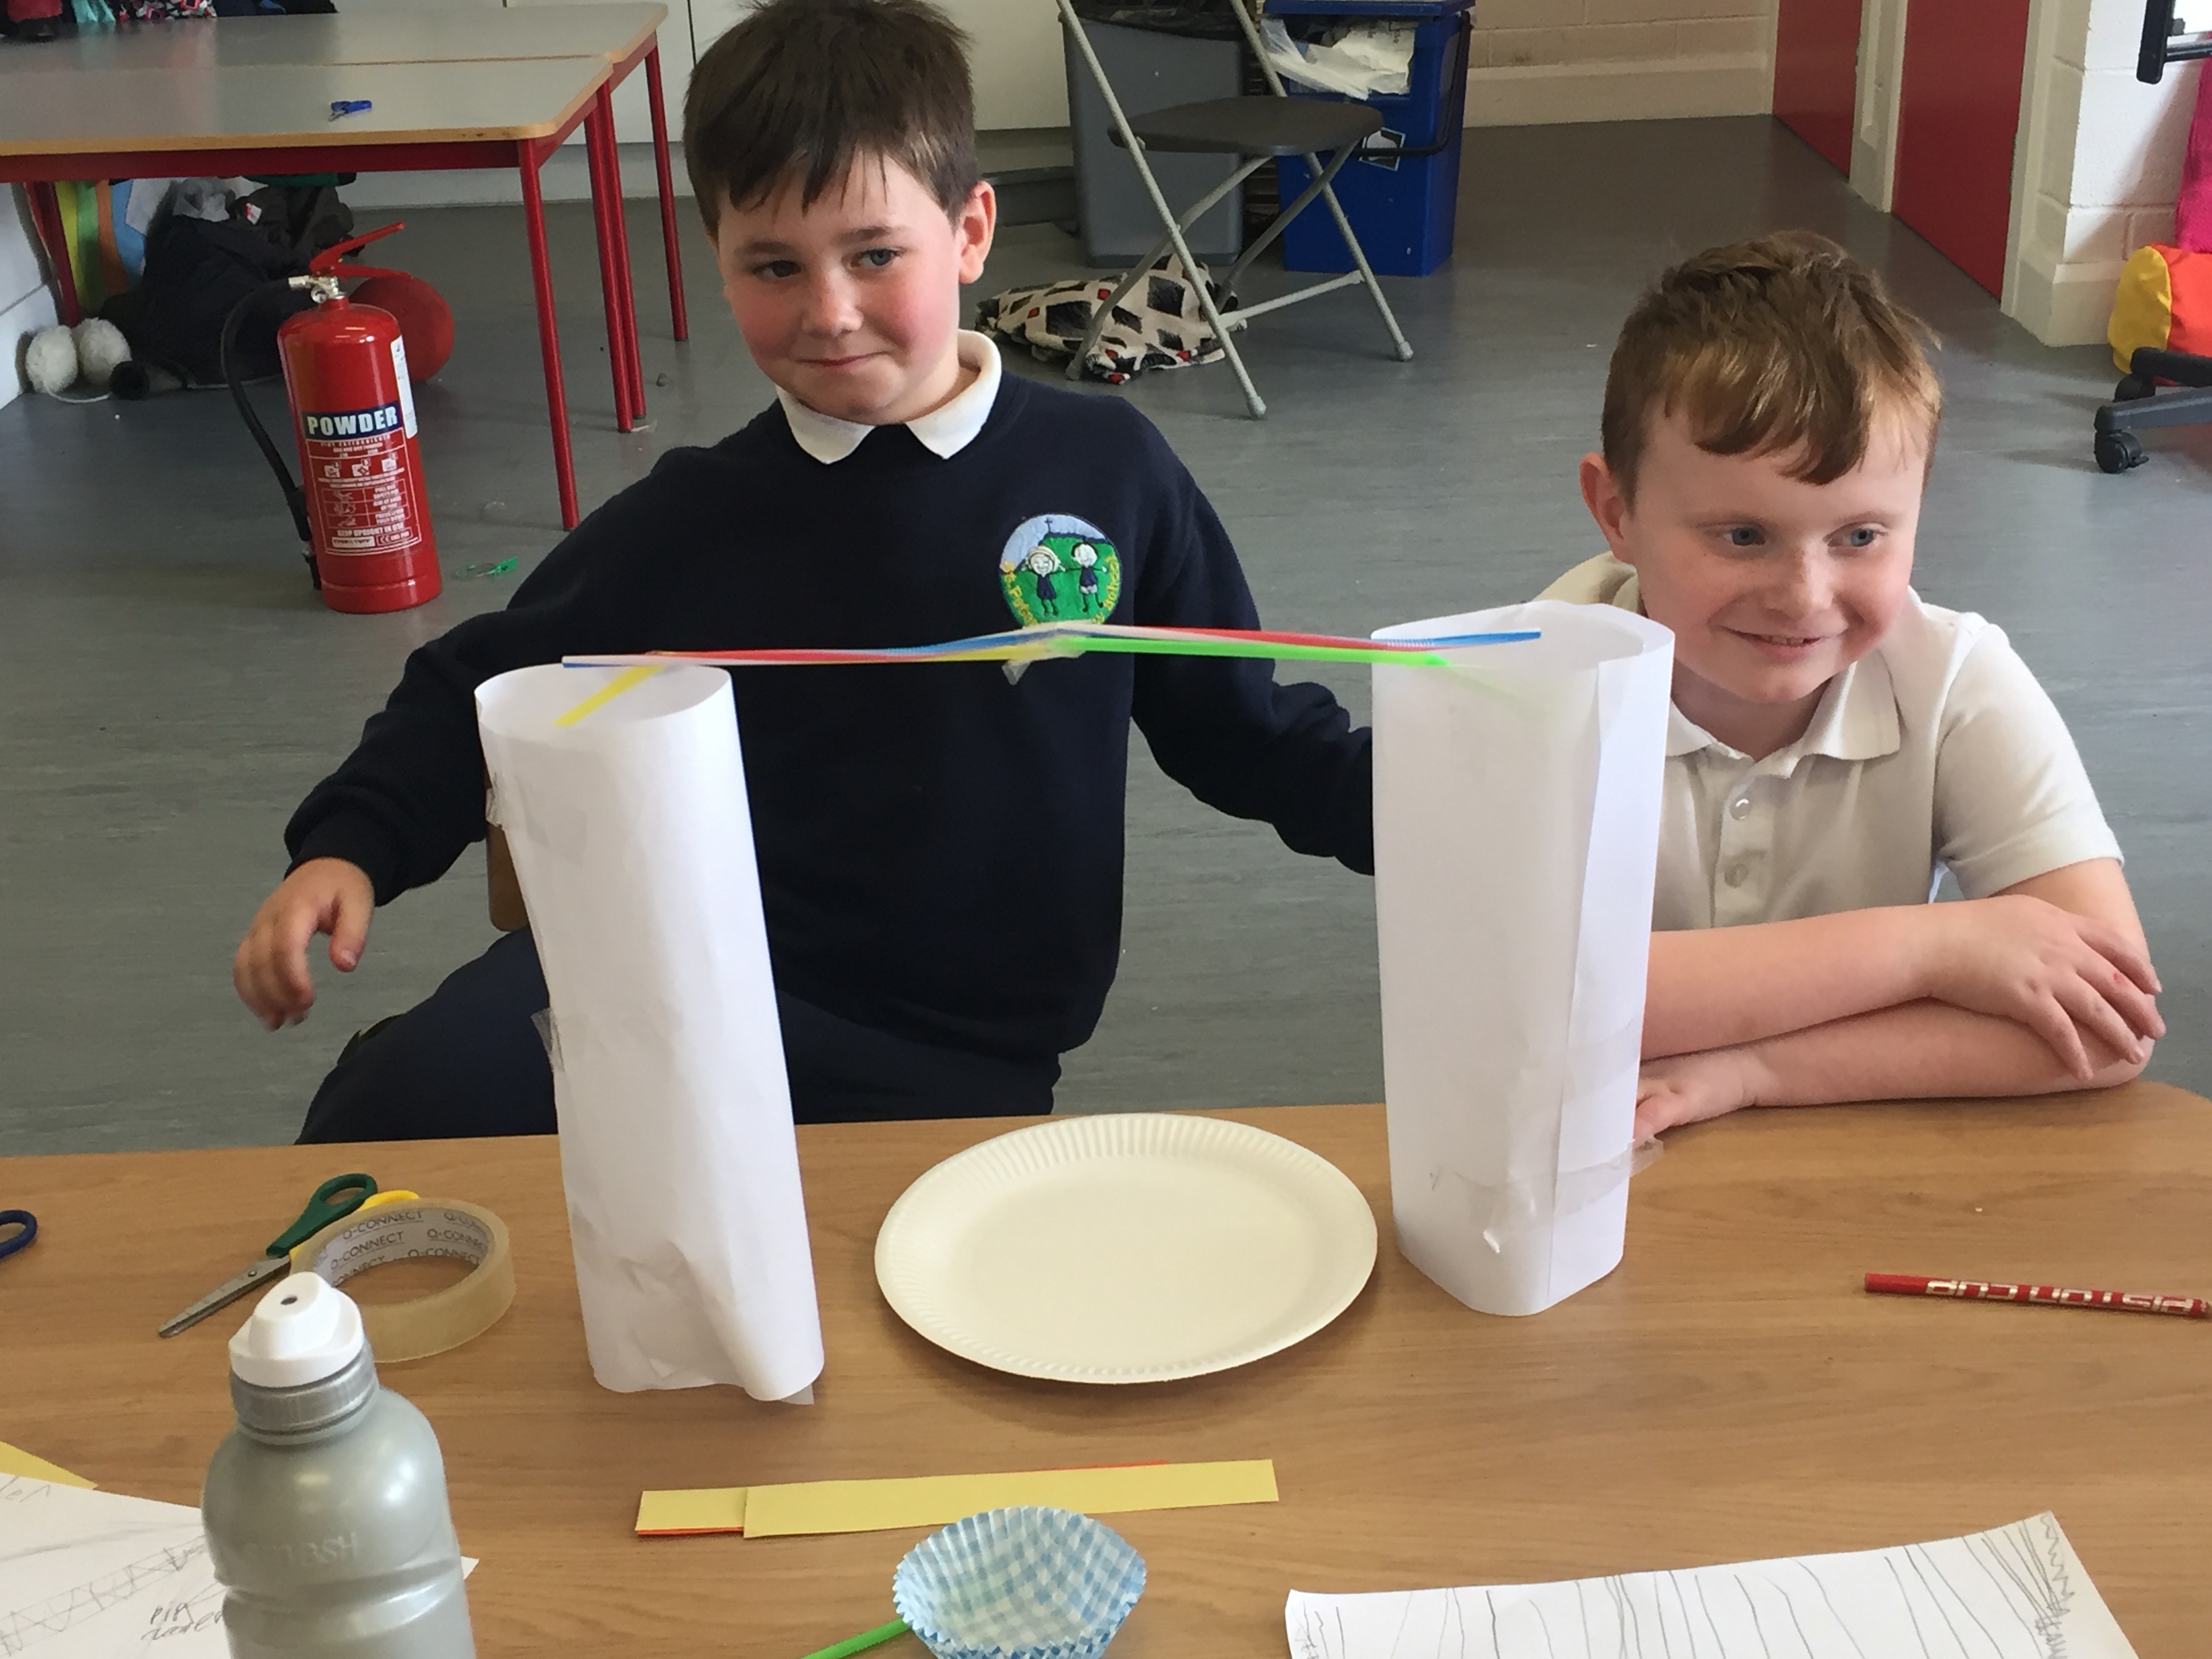
Last week, 2nd class read a wonderful book called Iggy Peck Architect by Andrea Beaty. In this story there’s a little boy who is always building things. When he went on a school tour, the bridge to their picnic area collapsed and he and his class had to build a new bridge to get back across. This got us thinking about how we could make bridges. We looked at a few different types of bridges and their structures and talked about local bridges we know of. This was all under the strand of Energy and Forces.

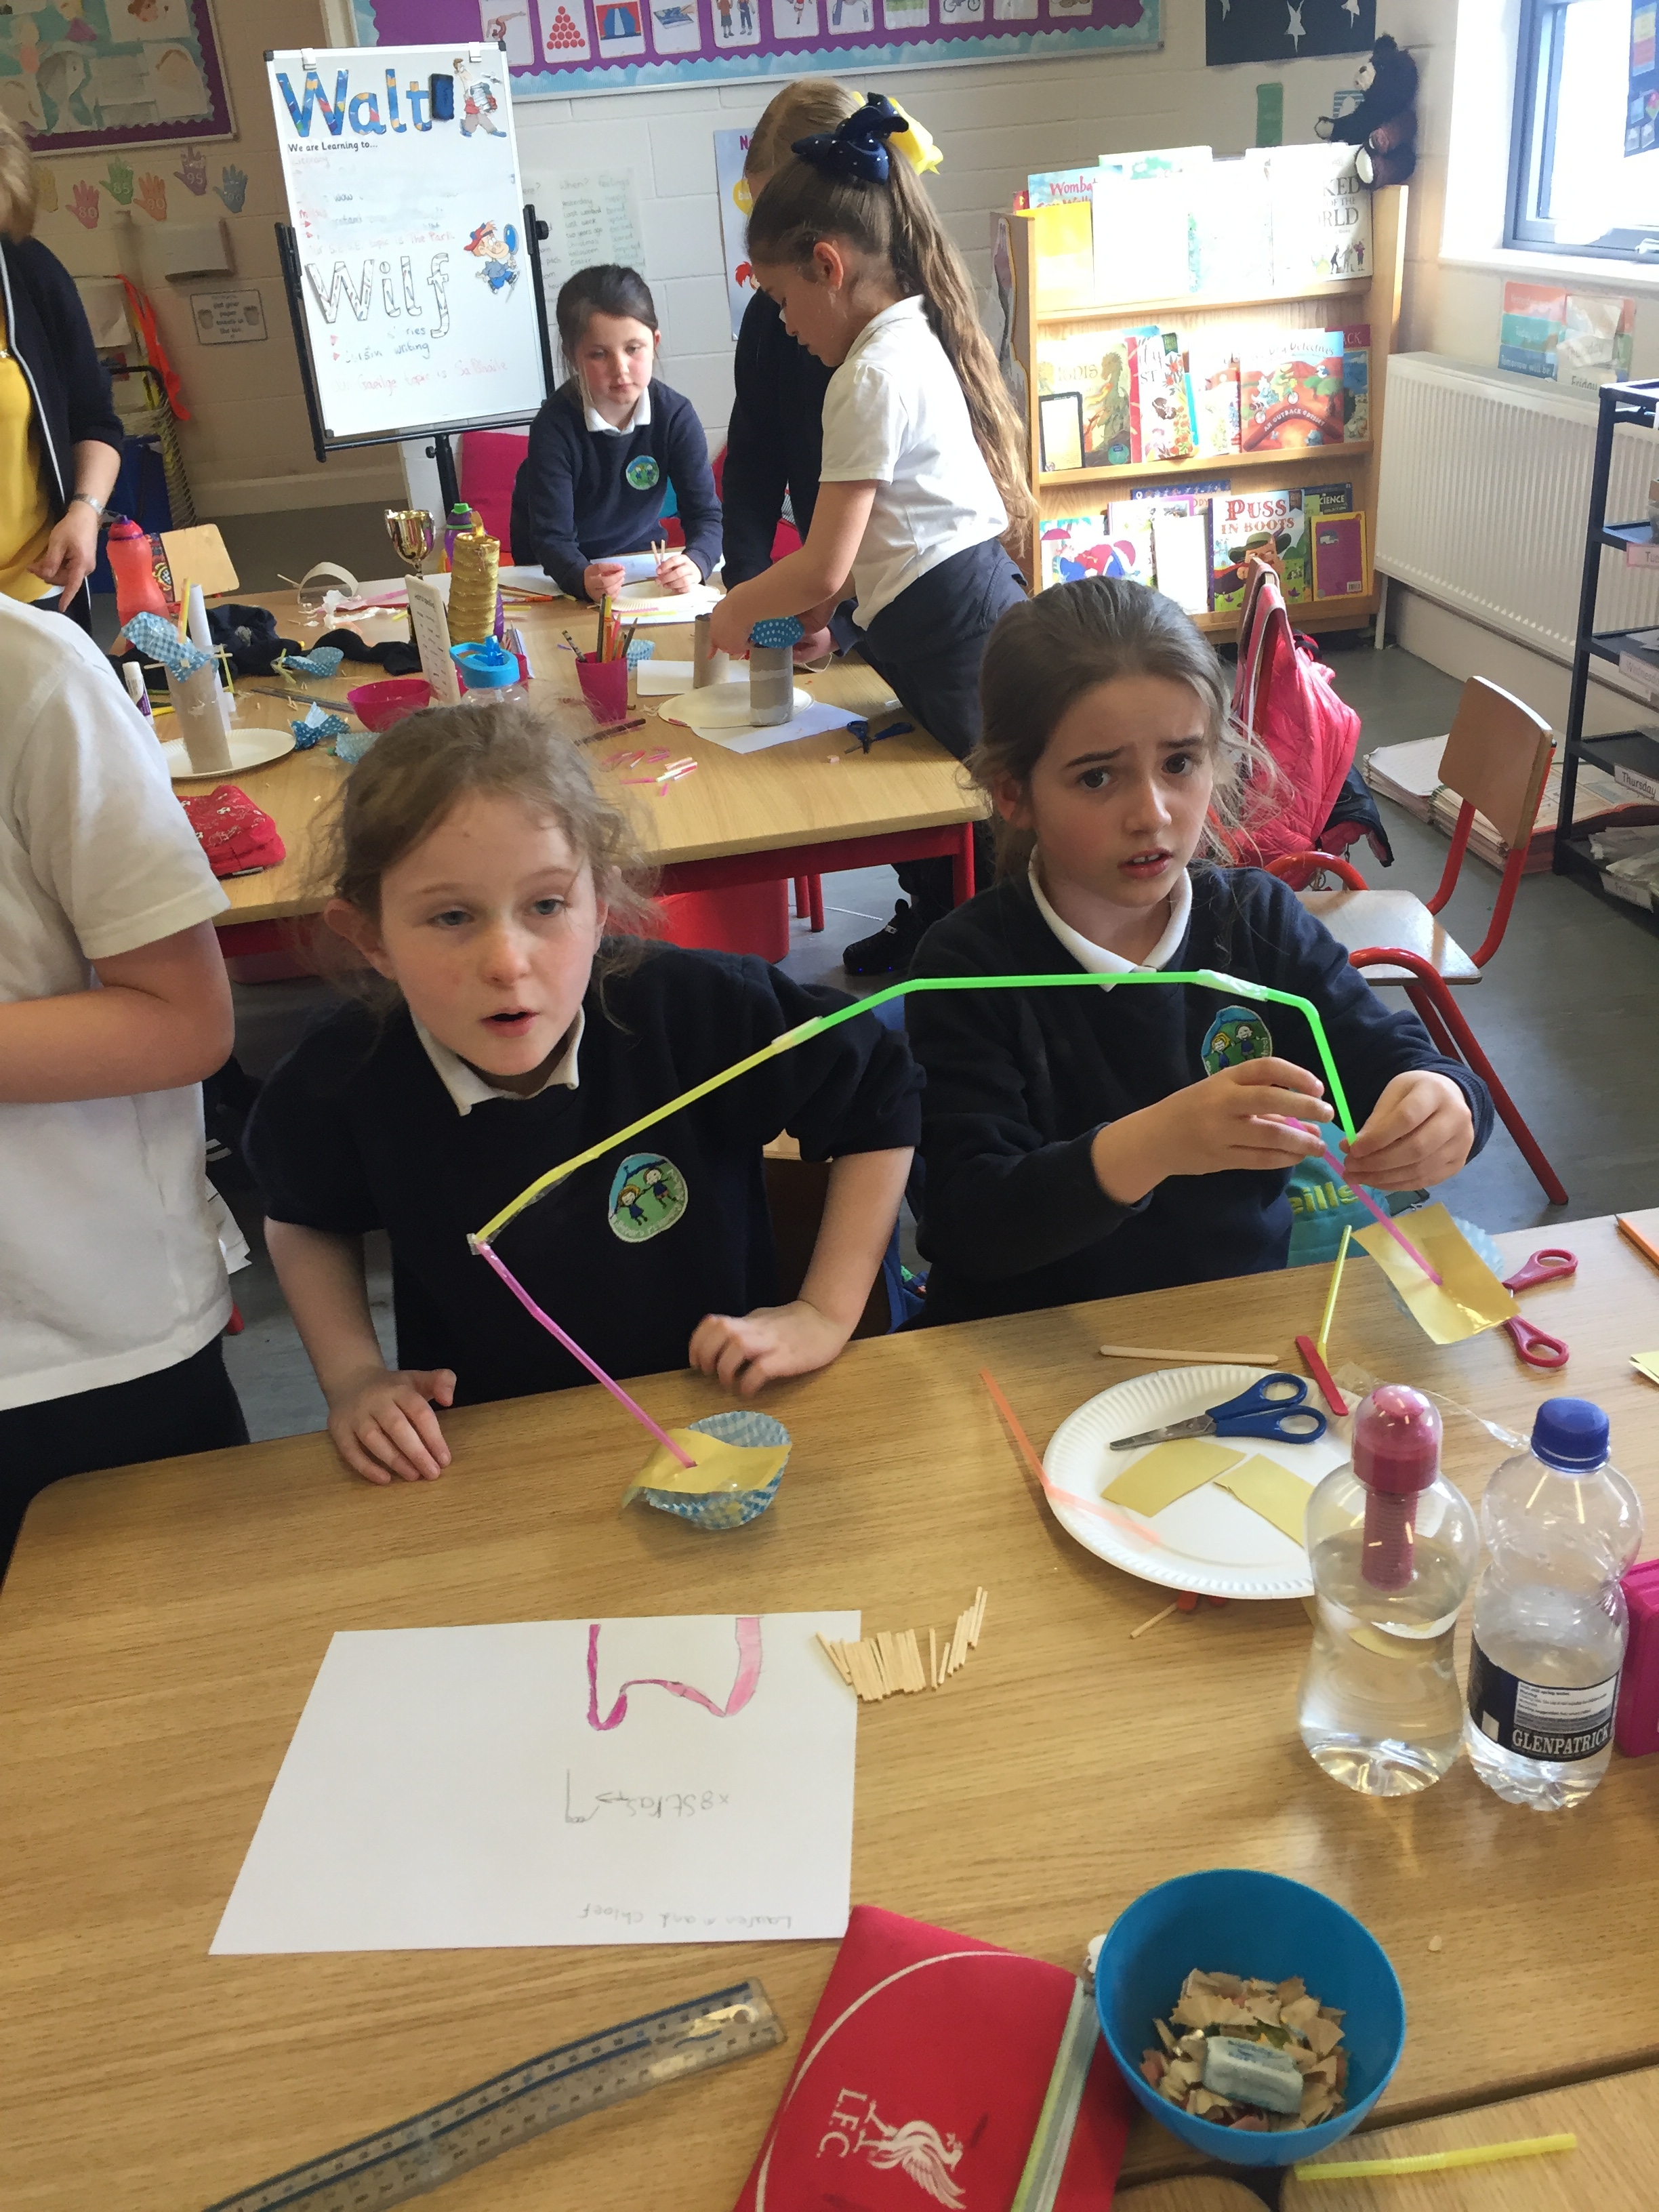
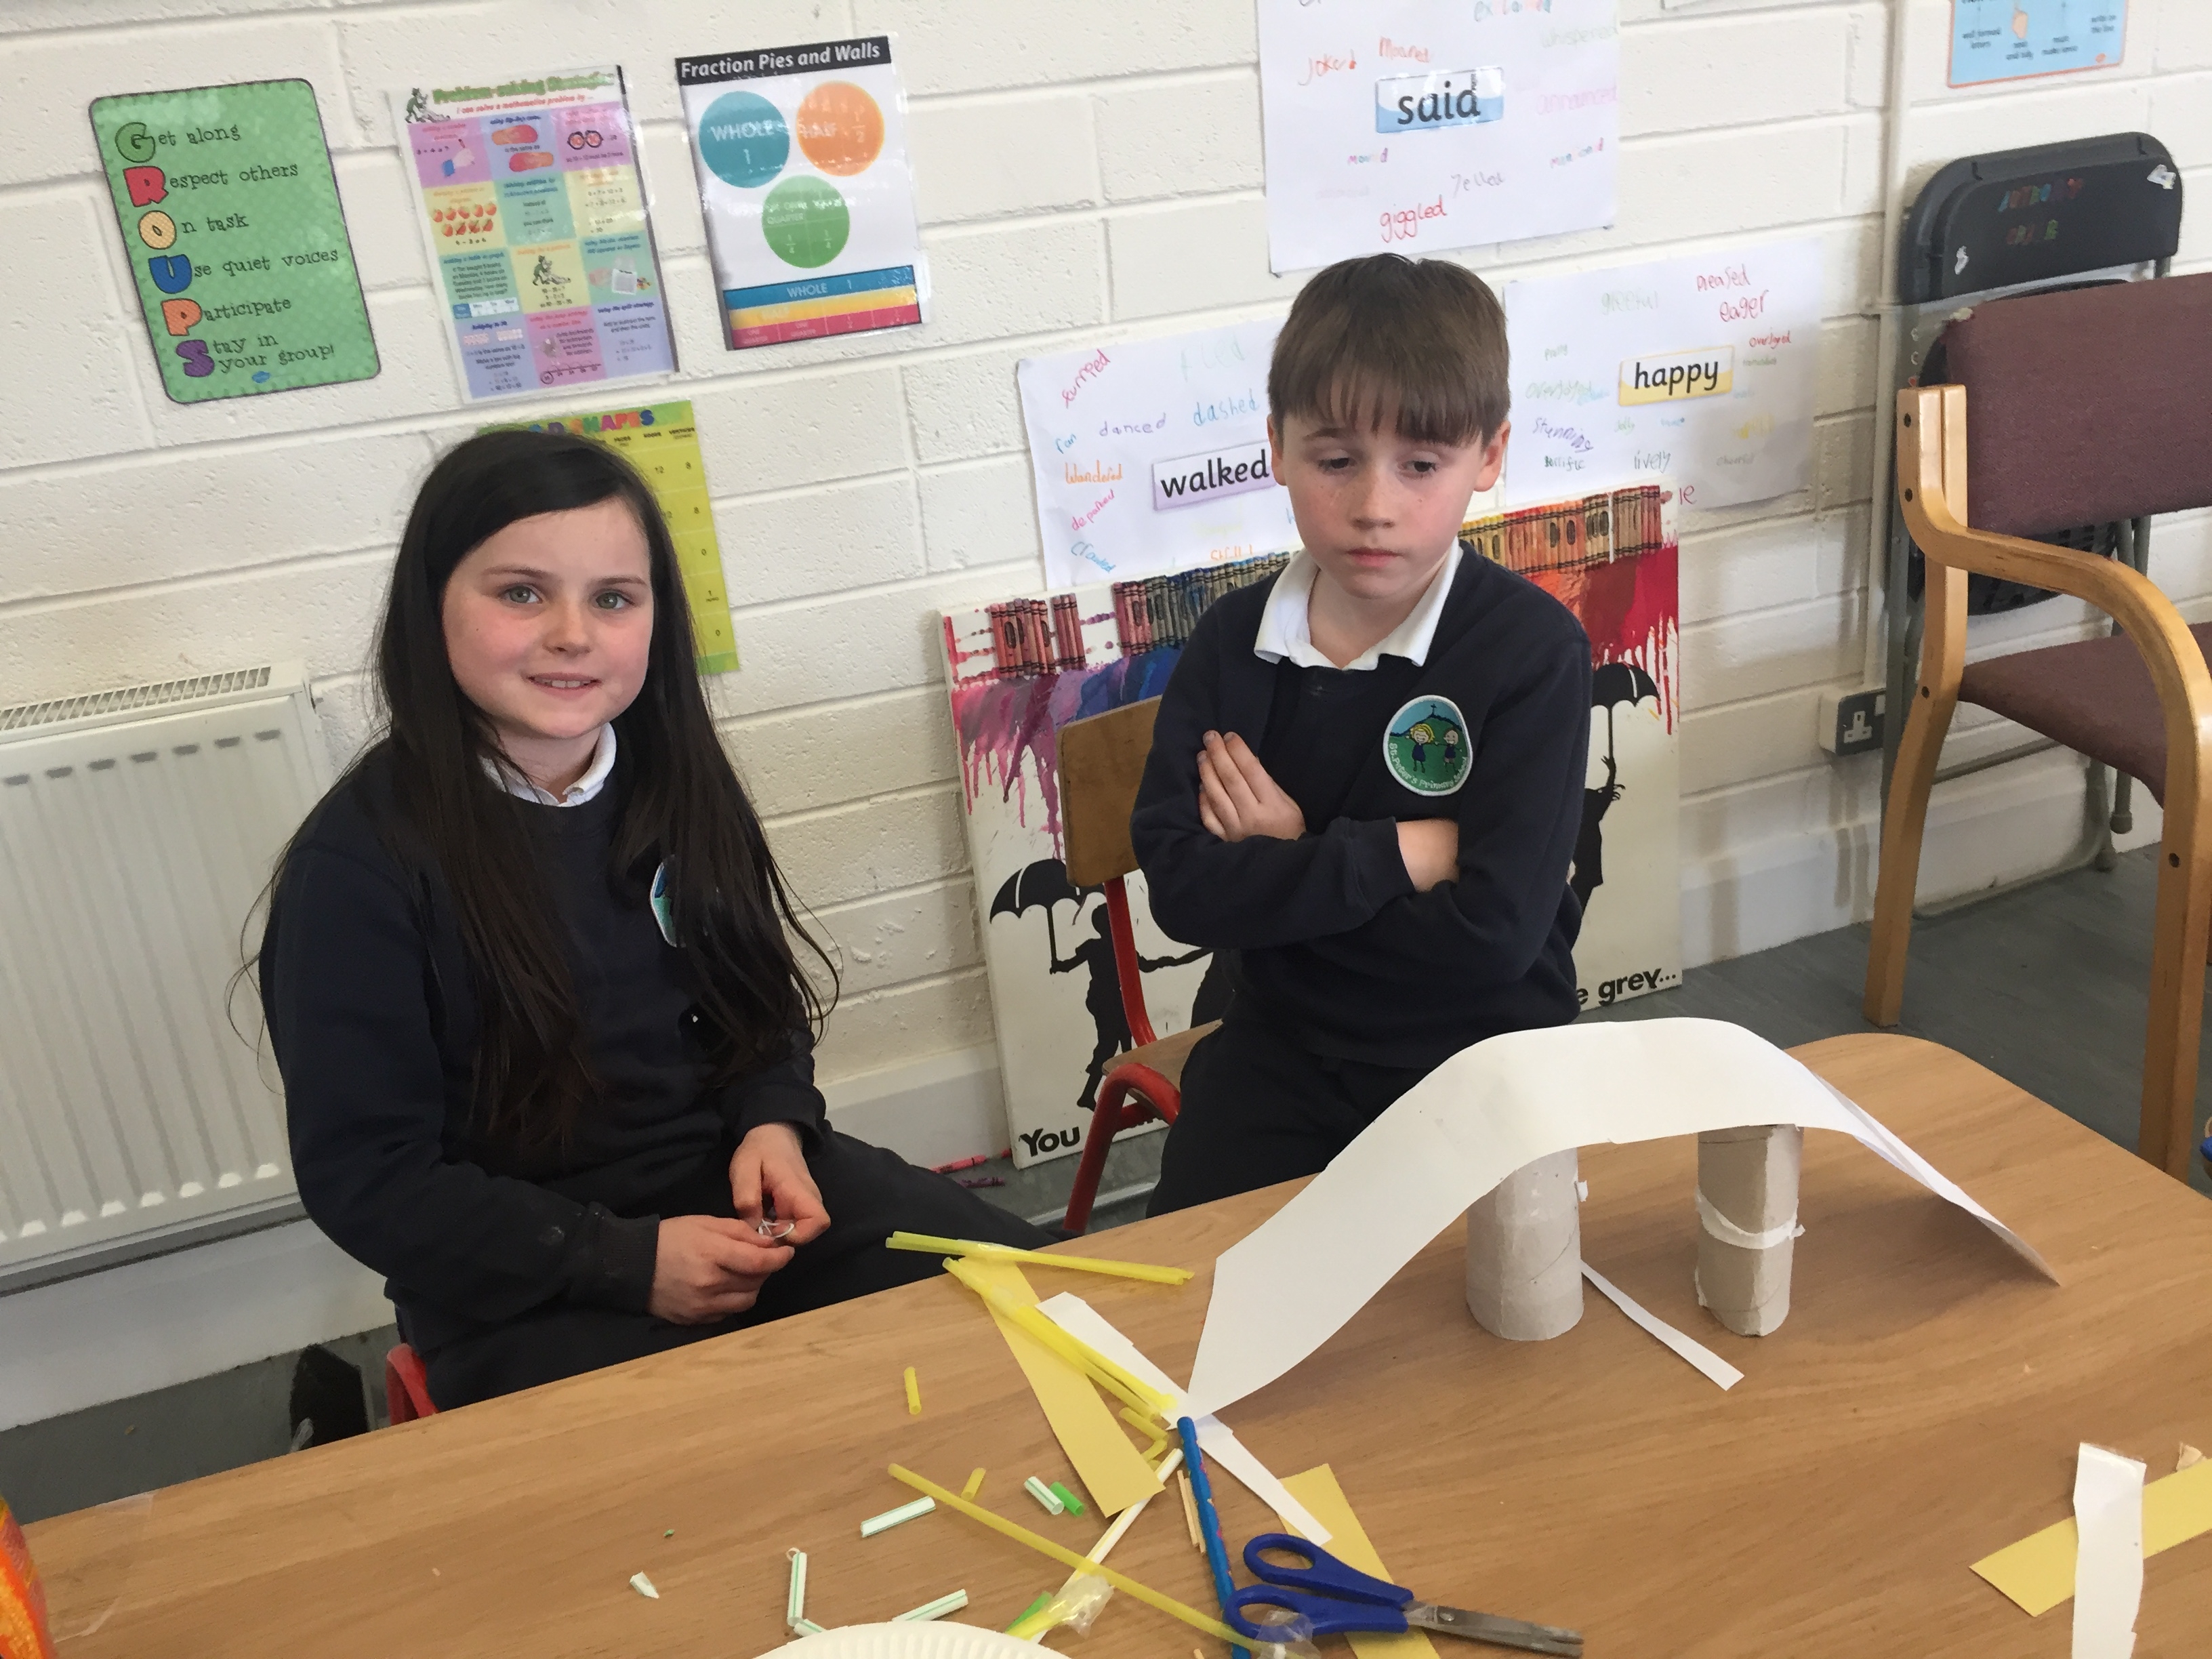
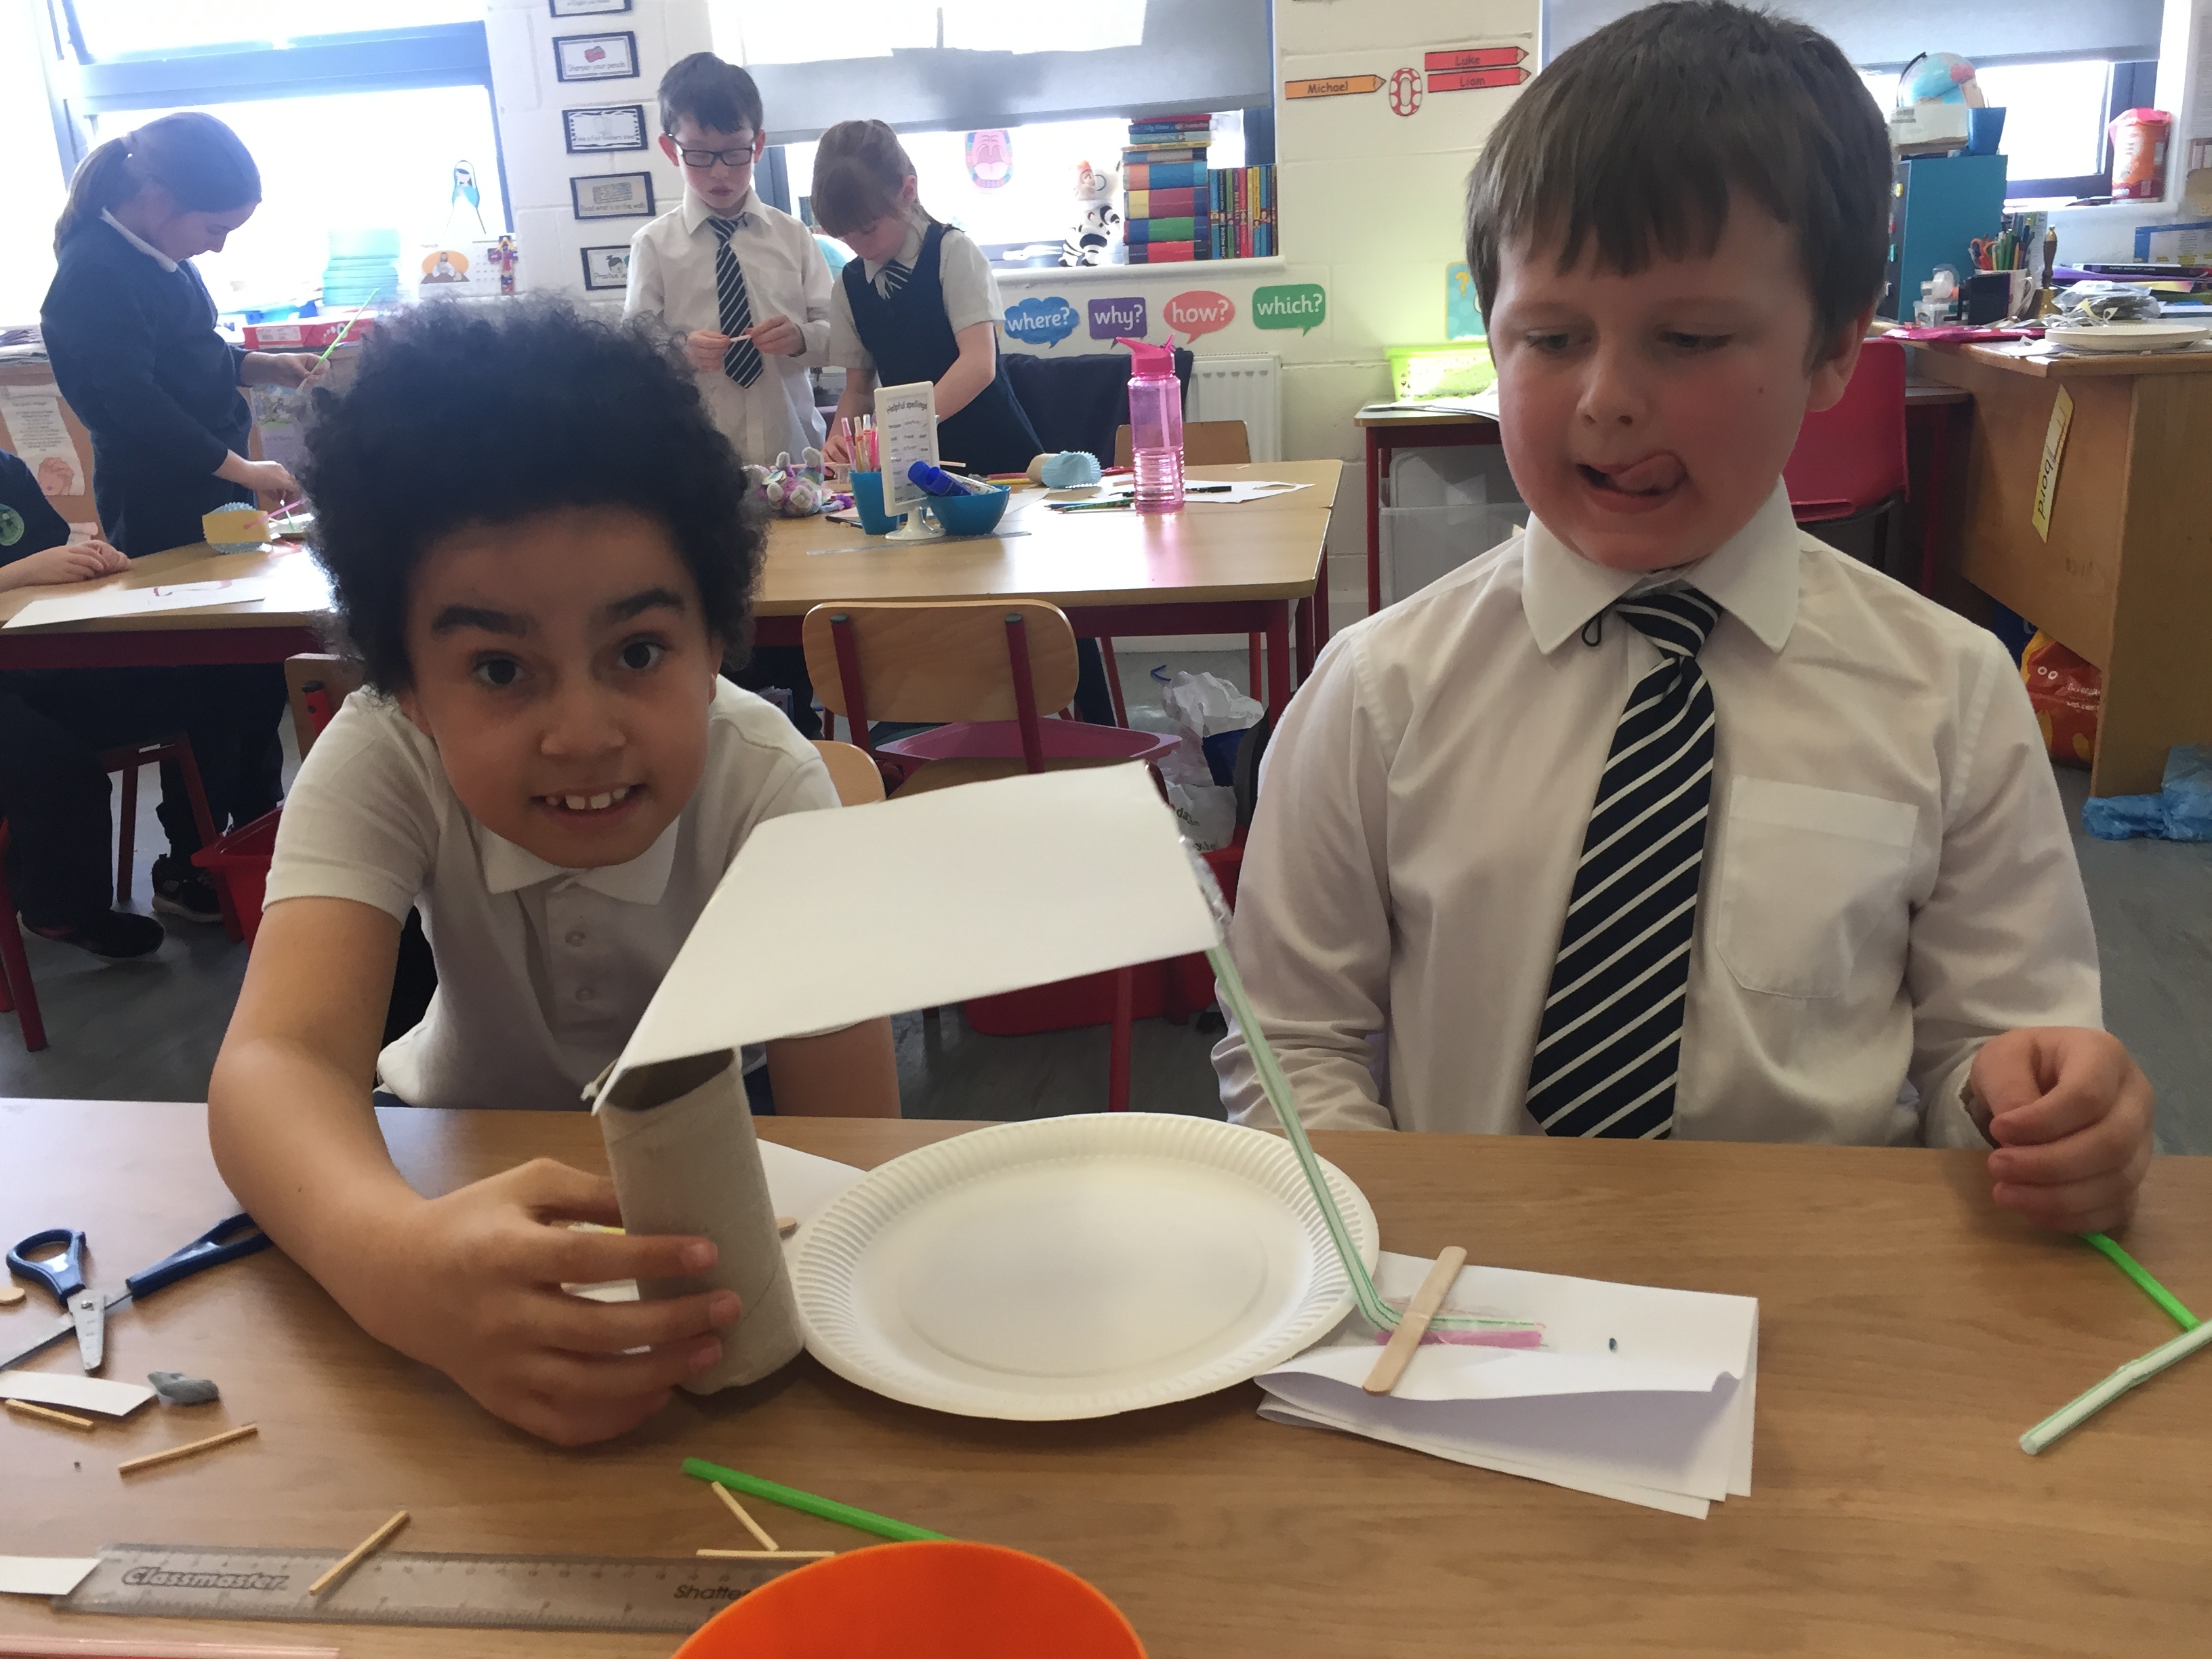
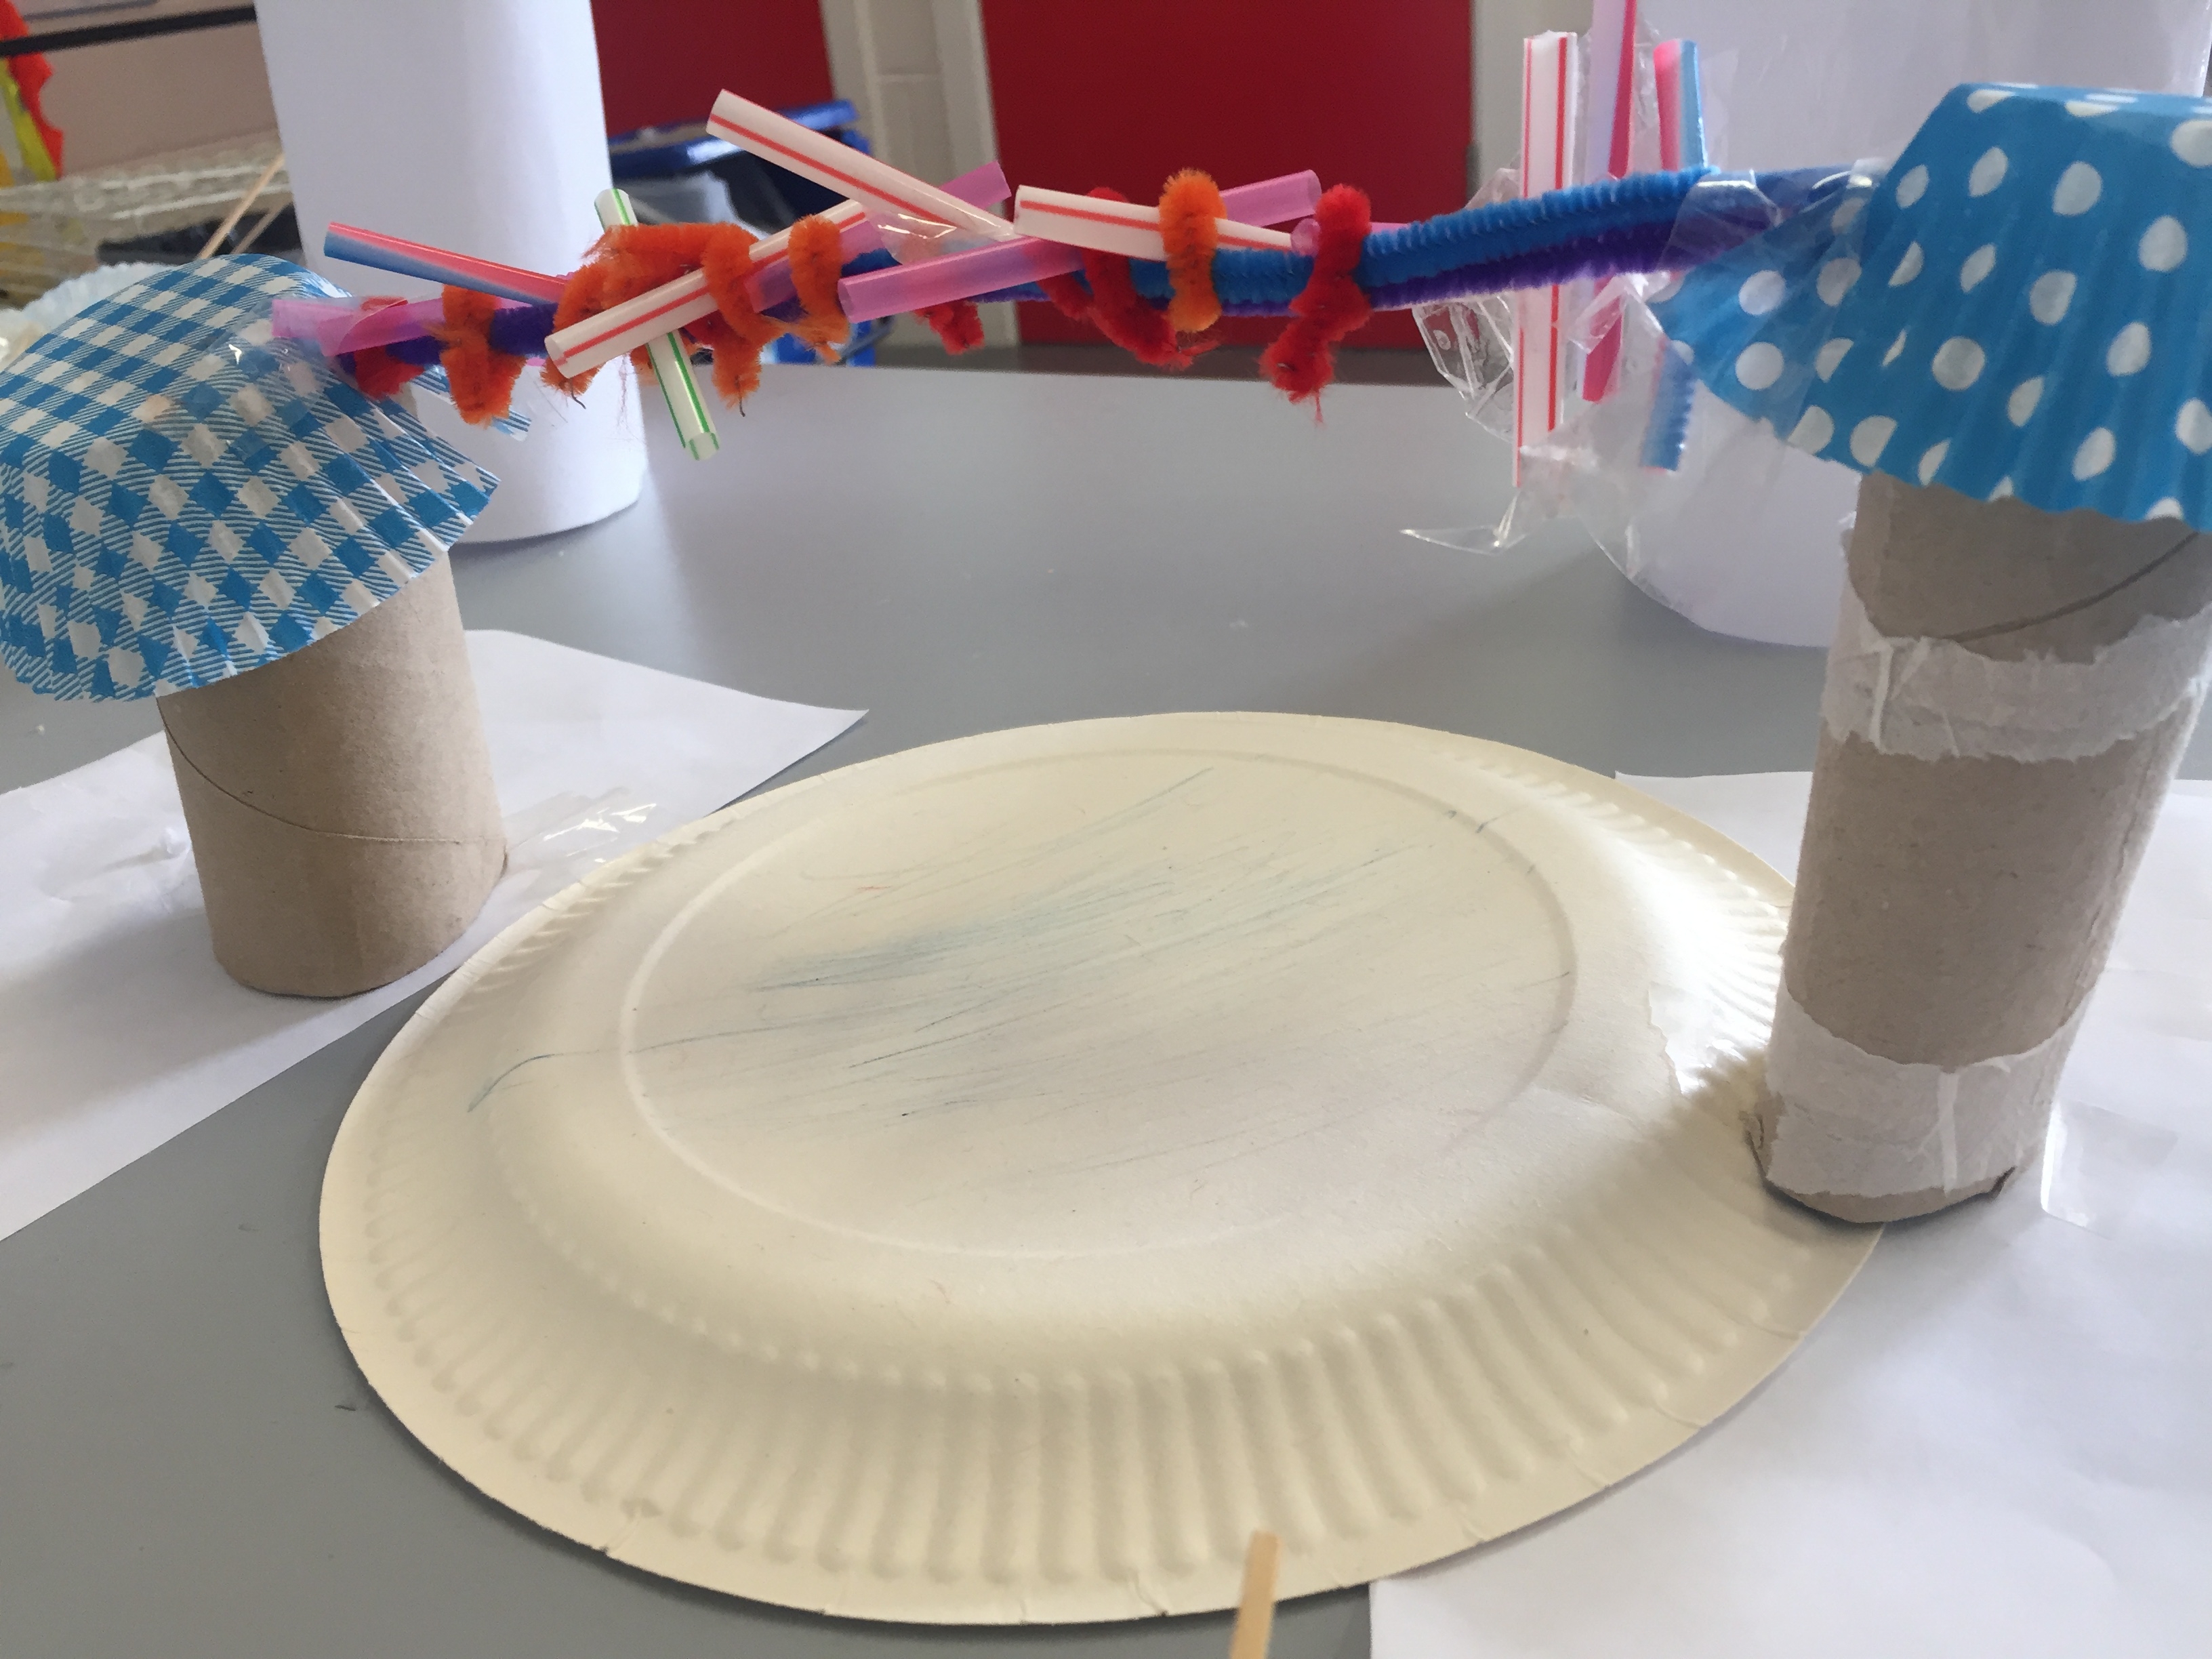
We then got into pairs and drew a plan of the bridges we wanted to make. We looked at all the materials that were available to us and made a list of what we would need. Then we got our materials and worked together to build the best bridge that we could. We used paper plates to represent the river to make sure the bridges were wide enough. We also discussed the term ‘best’ and what it meant in this context. We decided it would mean that it held strong without being touched, that it went across the paper plate and that it was stable enough for a small figure to walk across it.
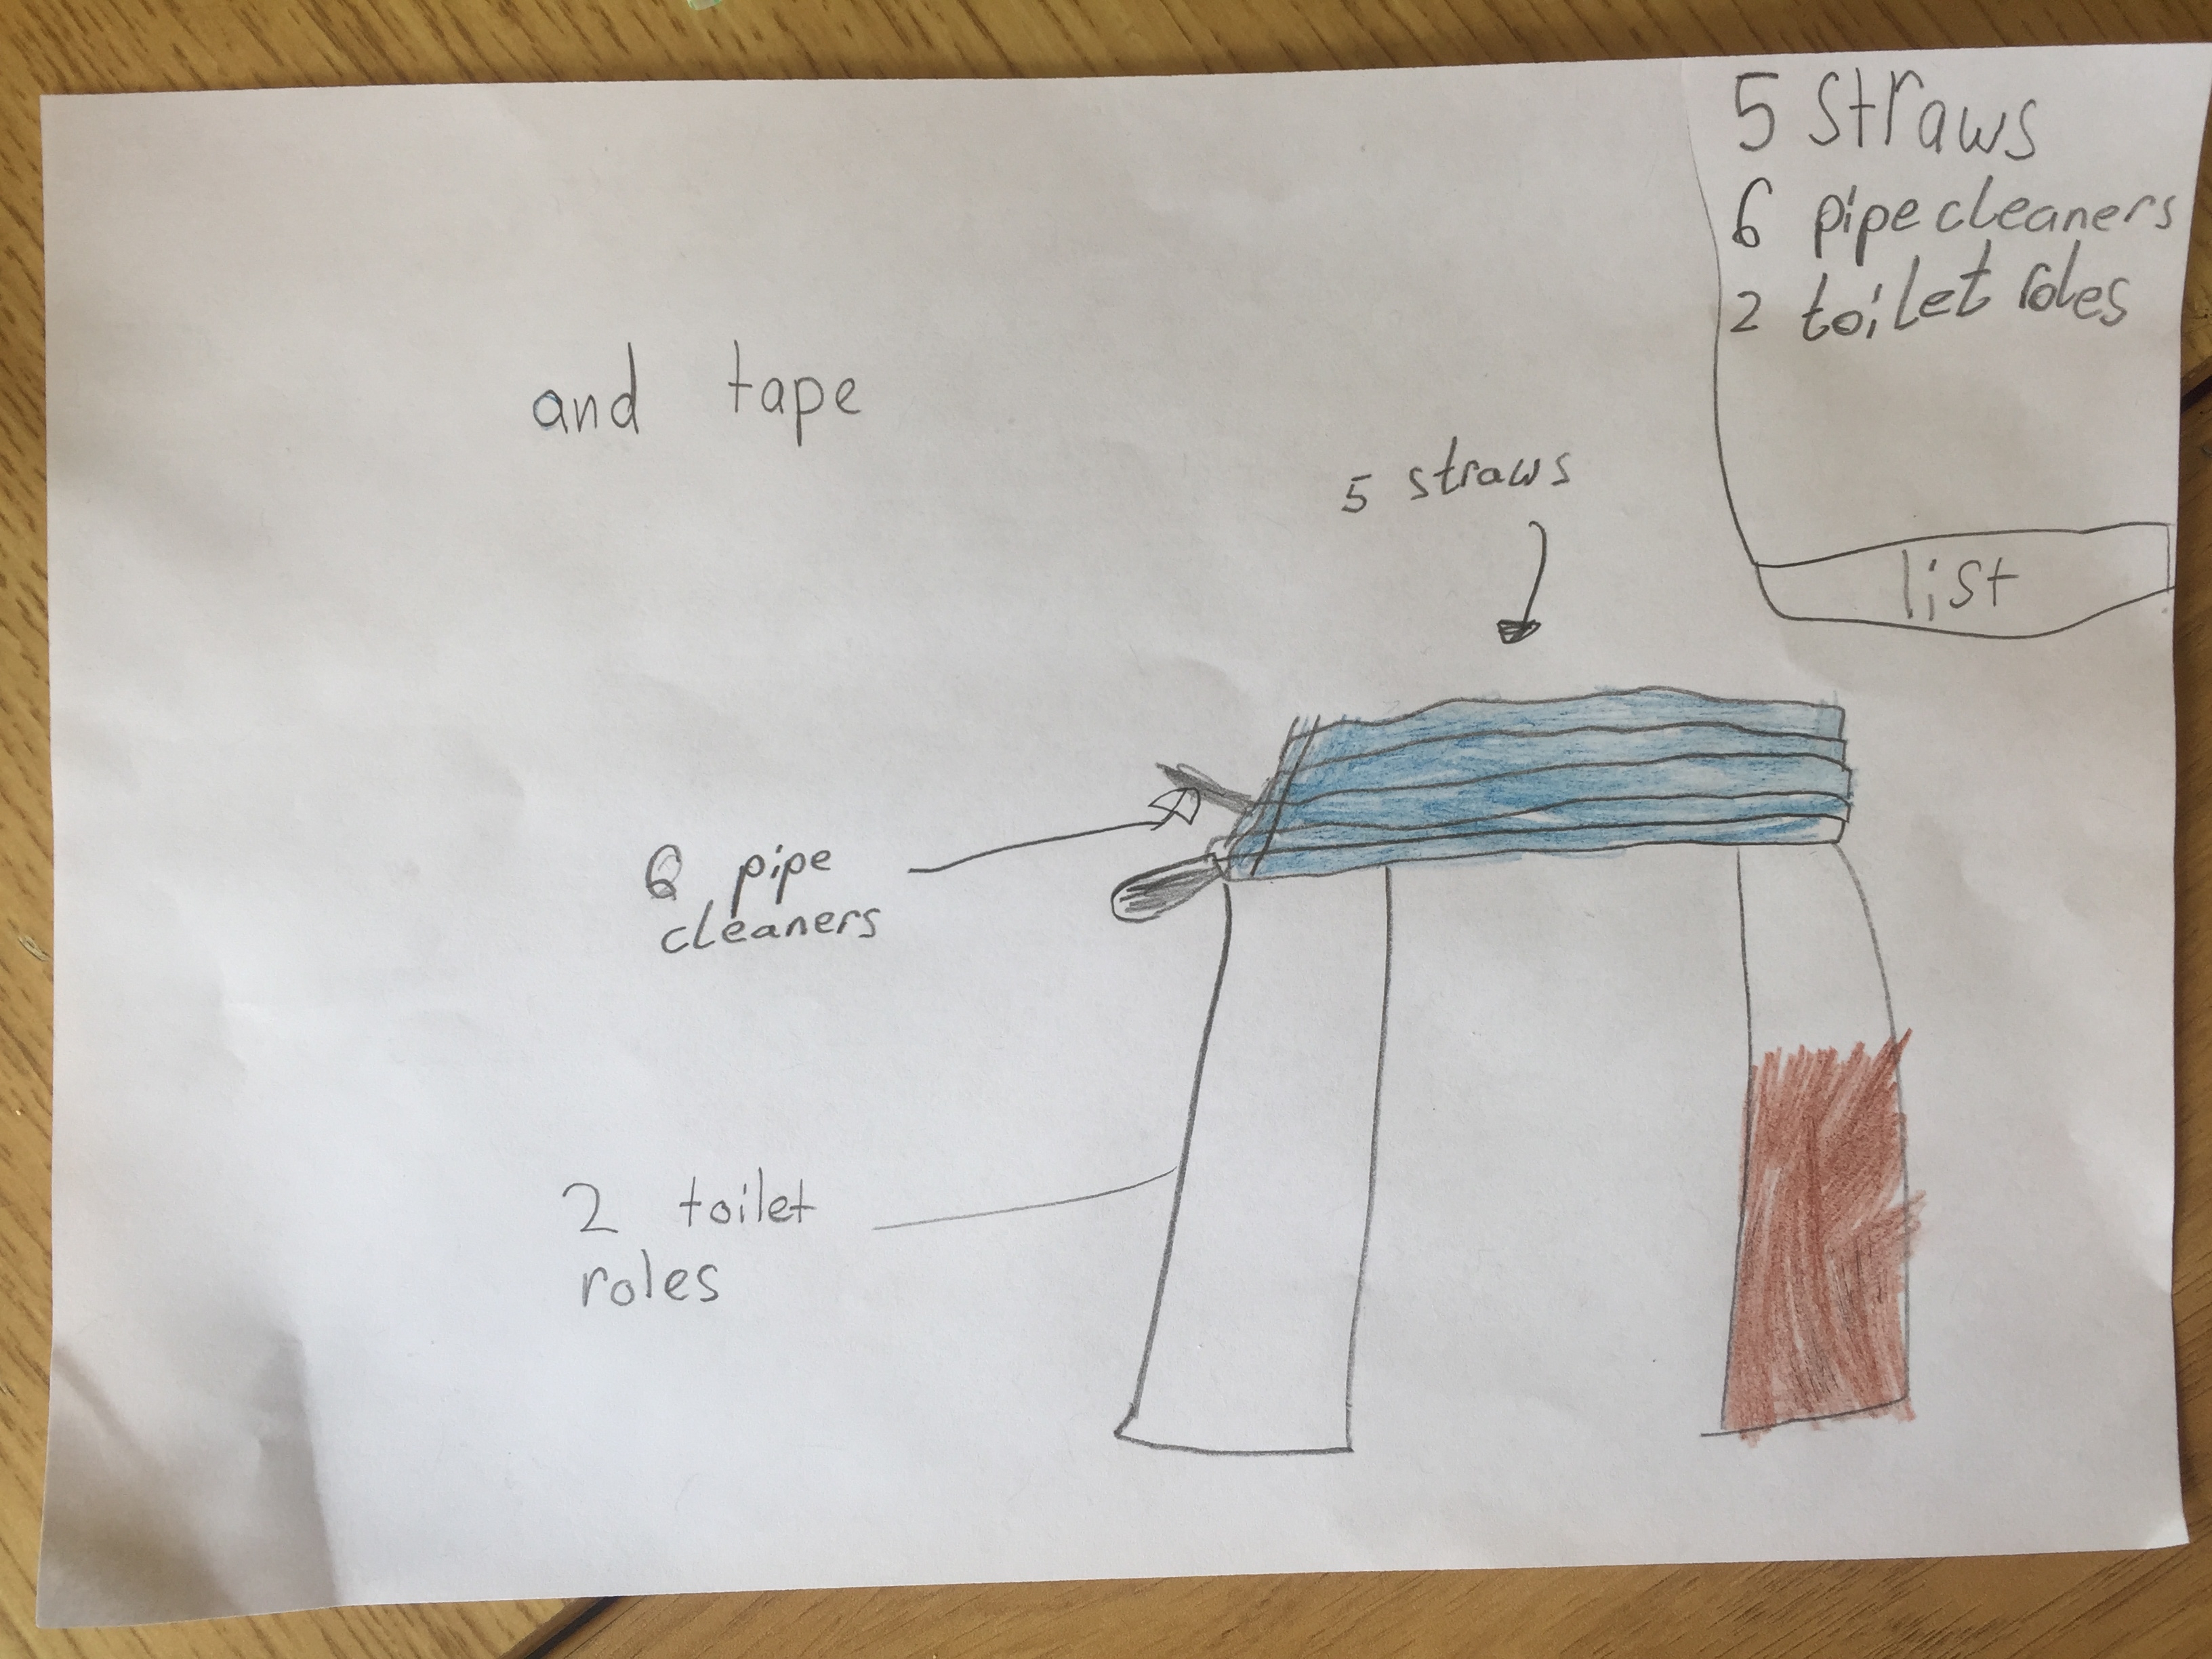
We came across some challenges as we went along, like not having enough of some materials, or the straws not being as strong as we thought they were. We learnt that they need a really solid, heavy base to stand and that it’s important to use enough tape so it doesn’t fall apart. We found that the strongest bridges tended to be corrugated paper ones.
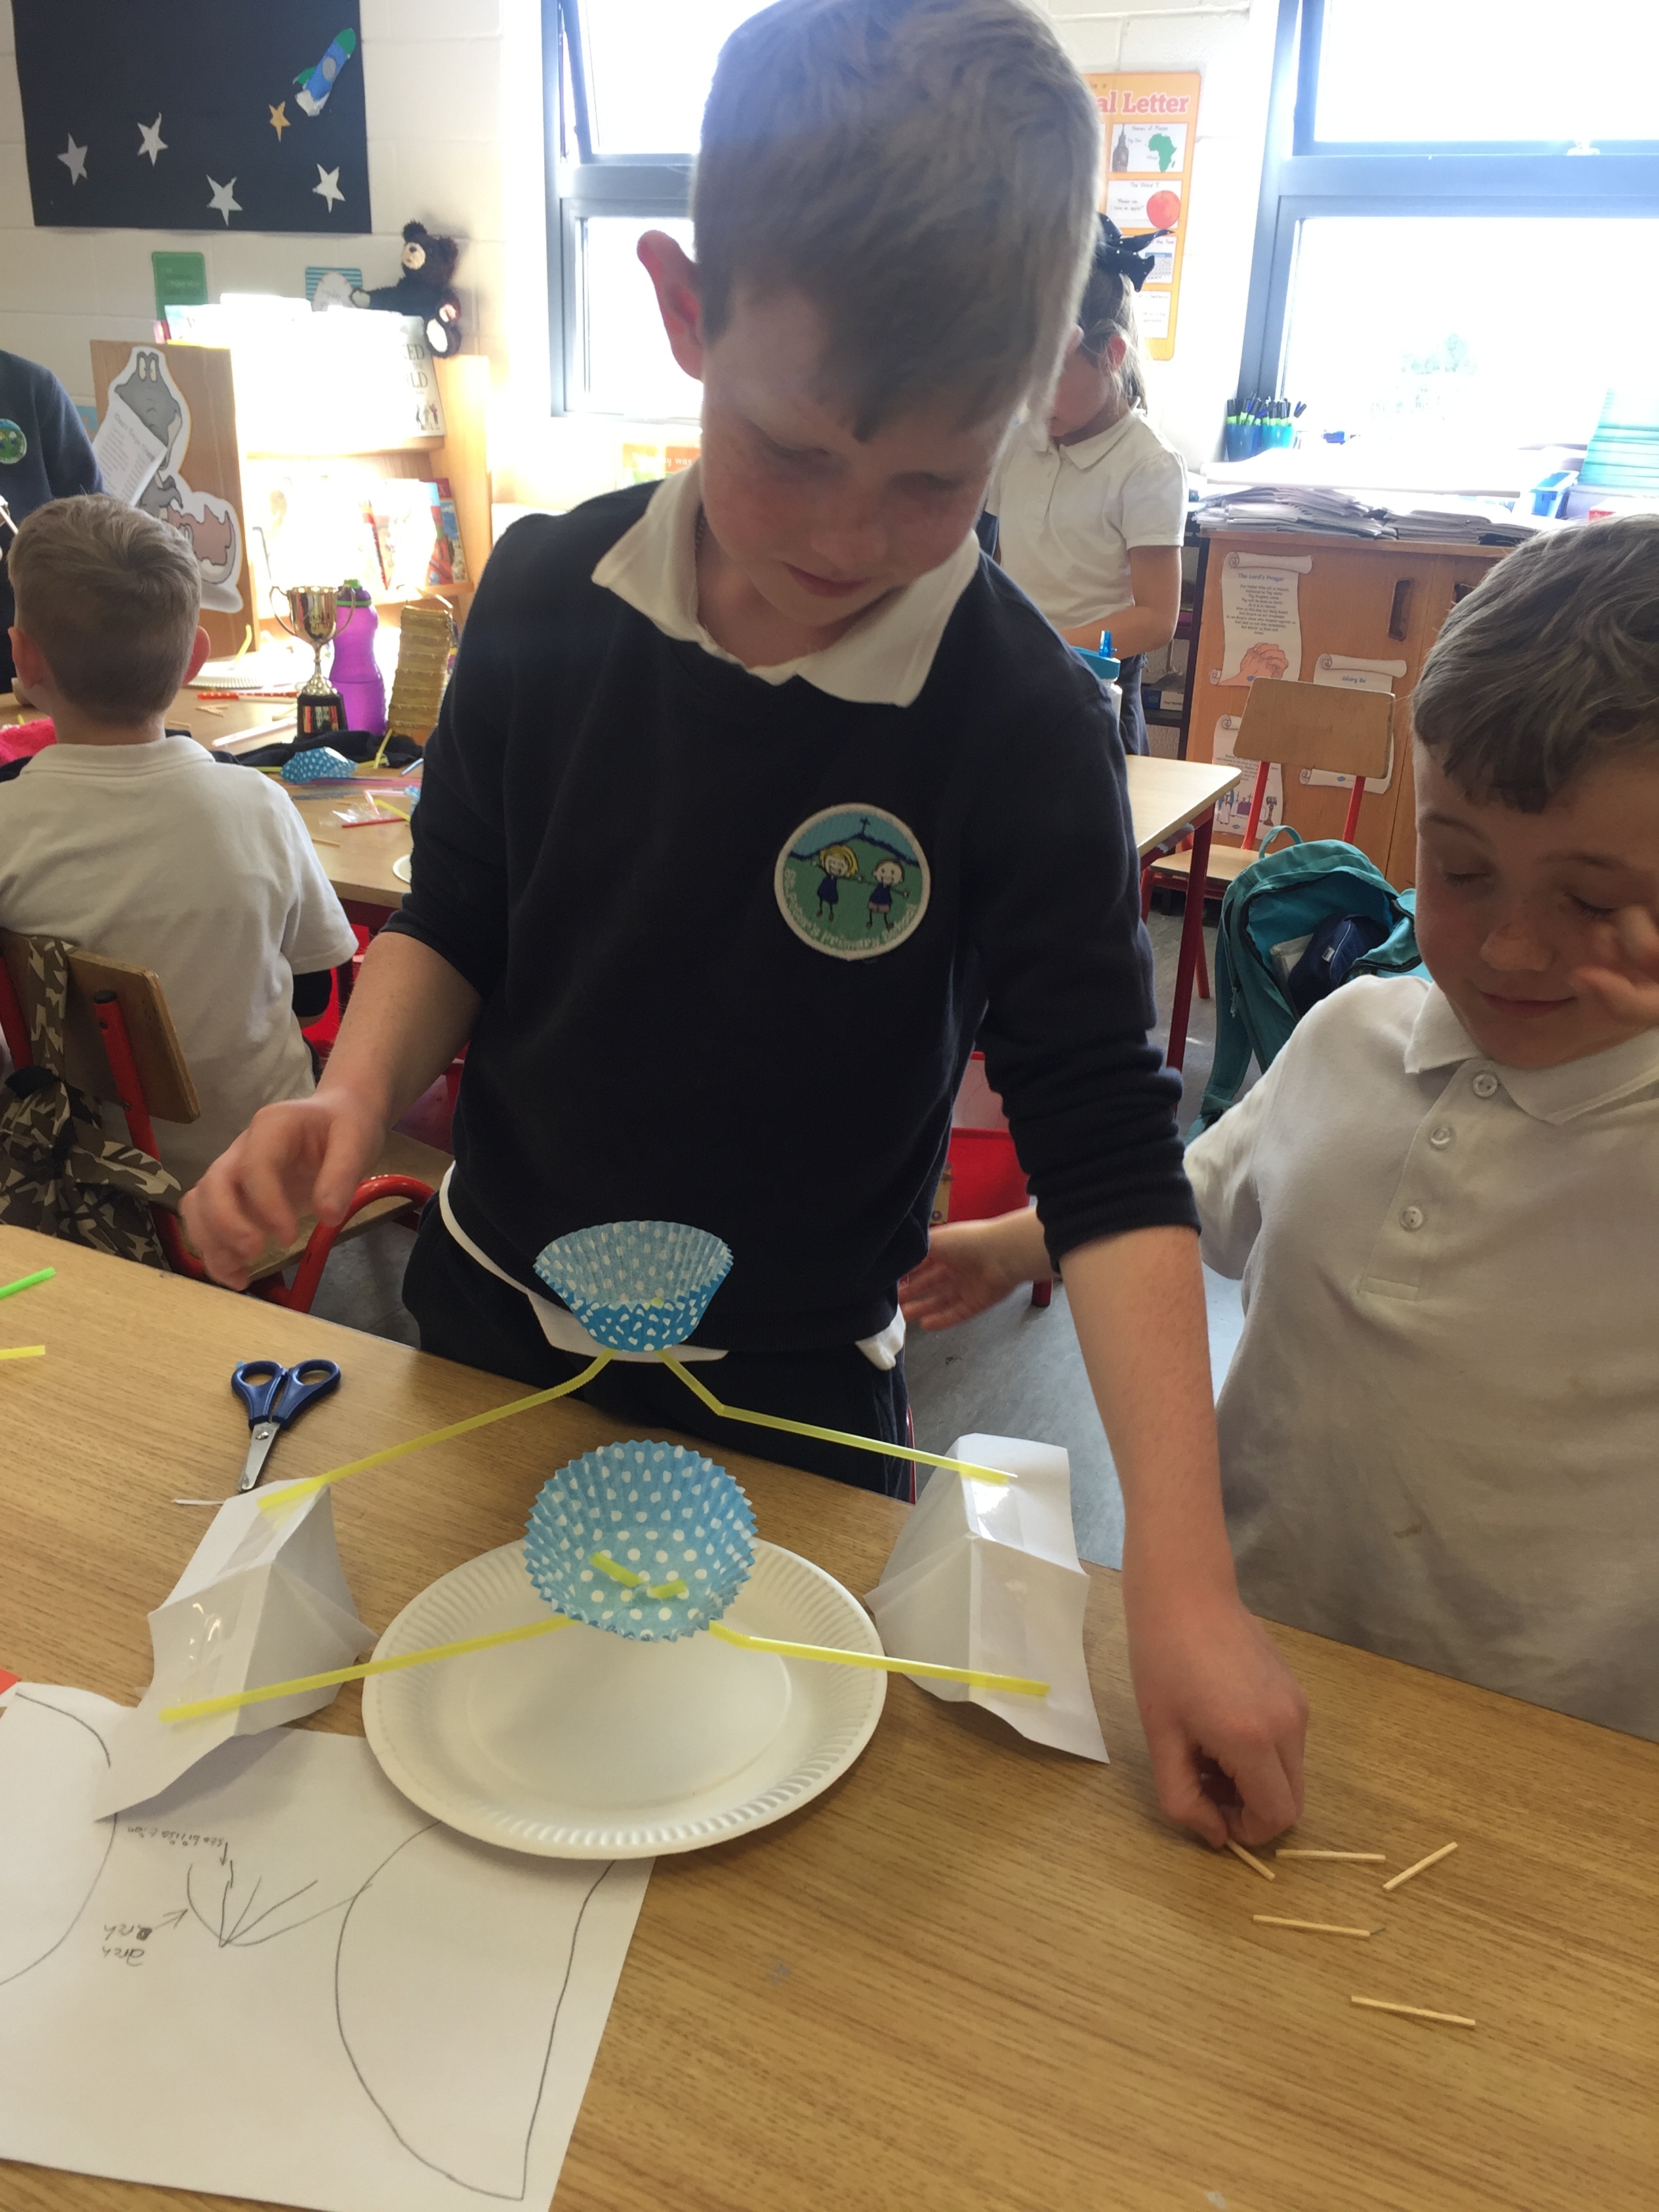
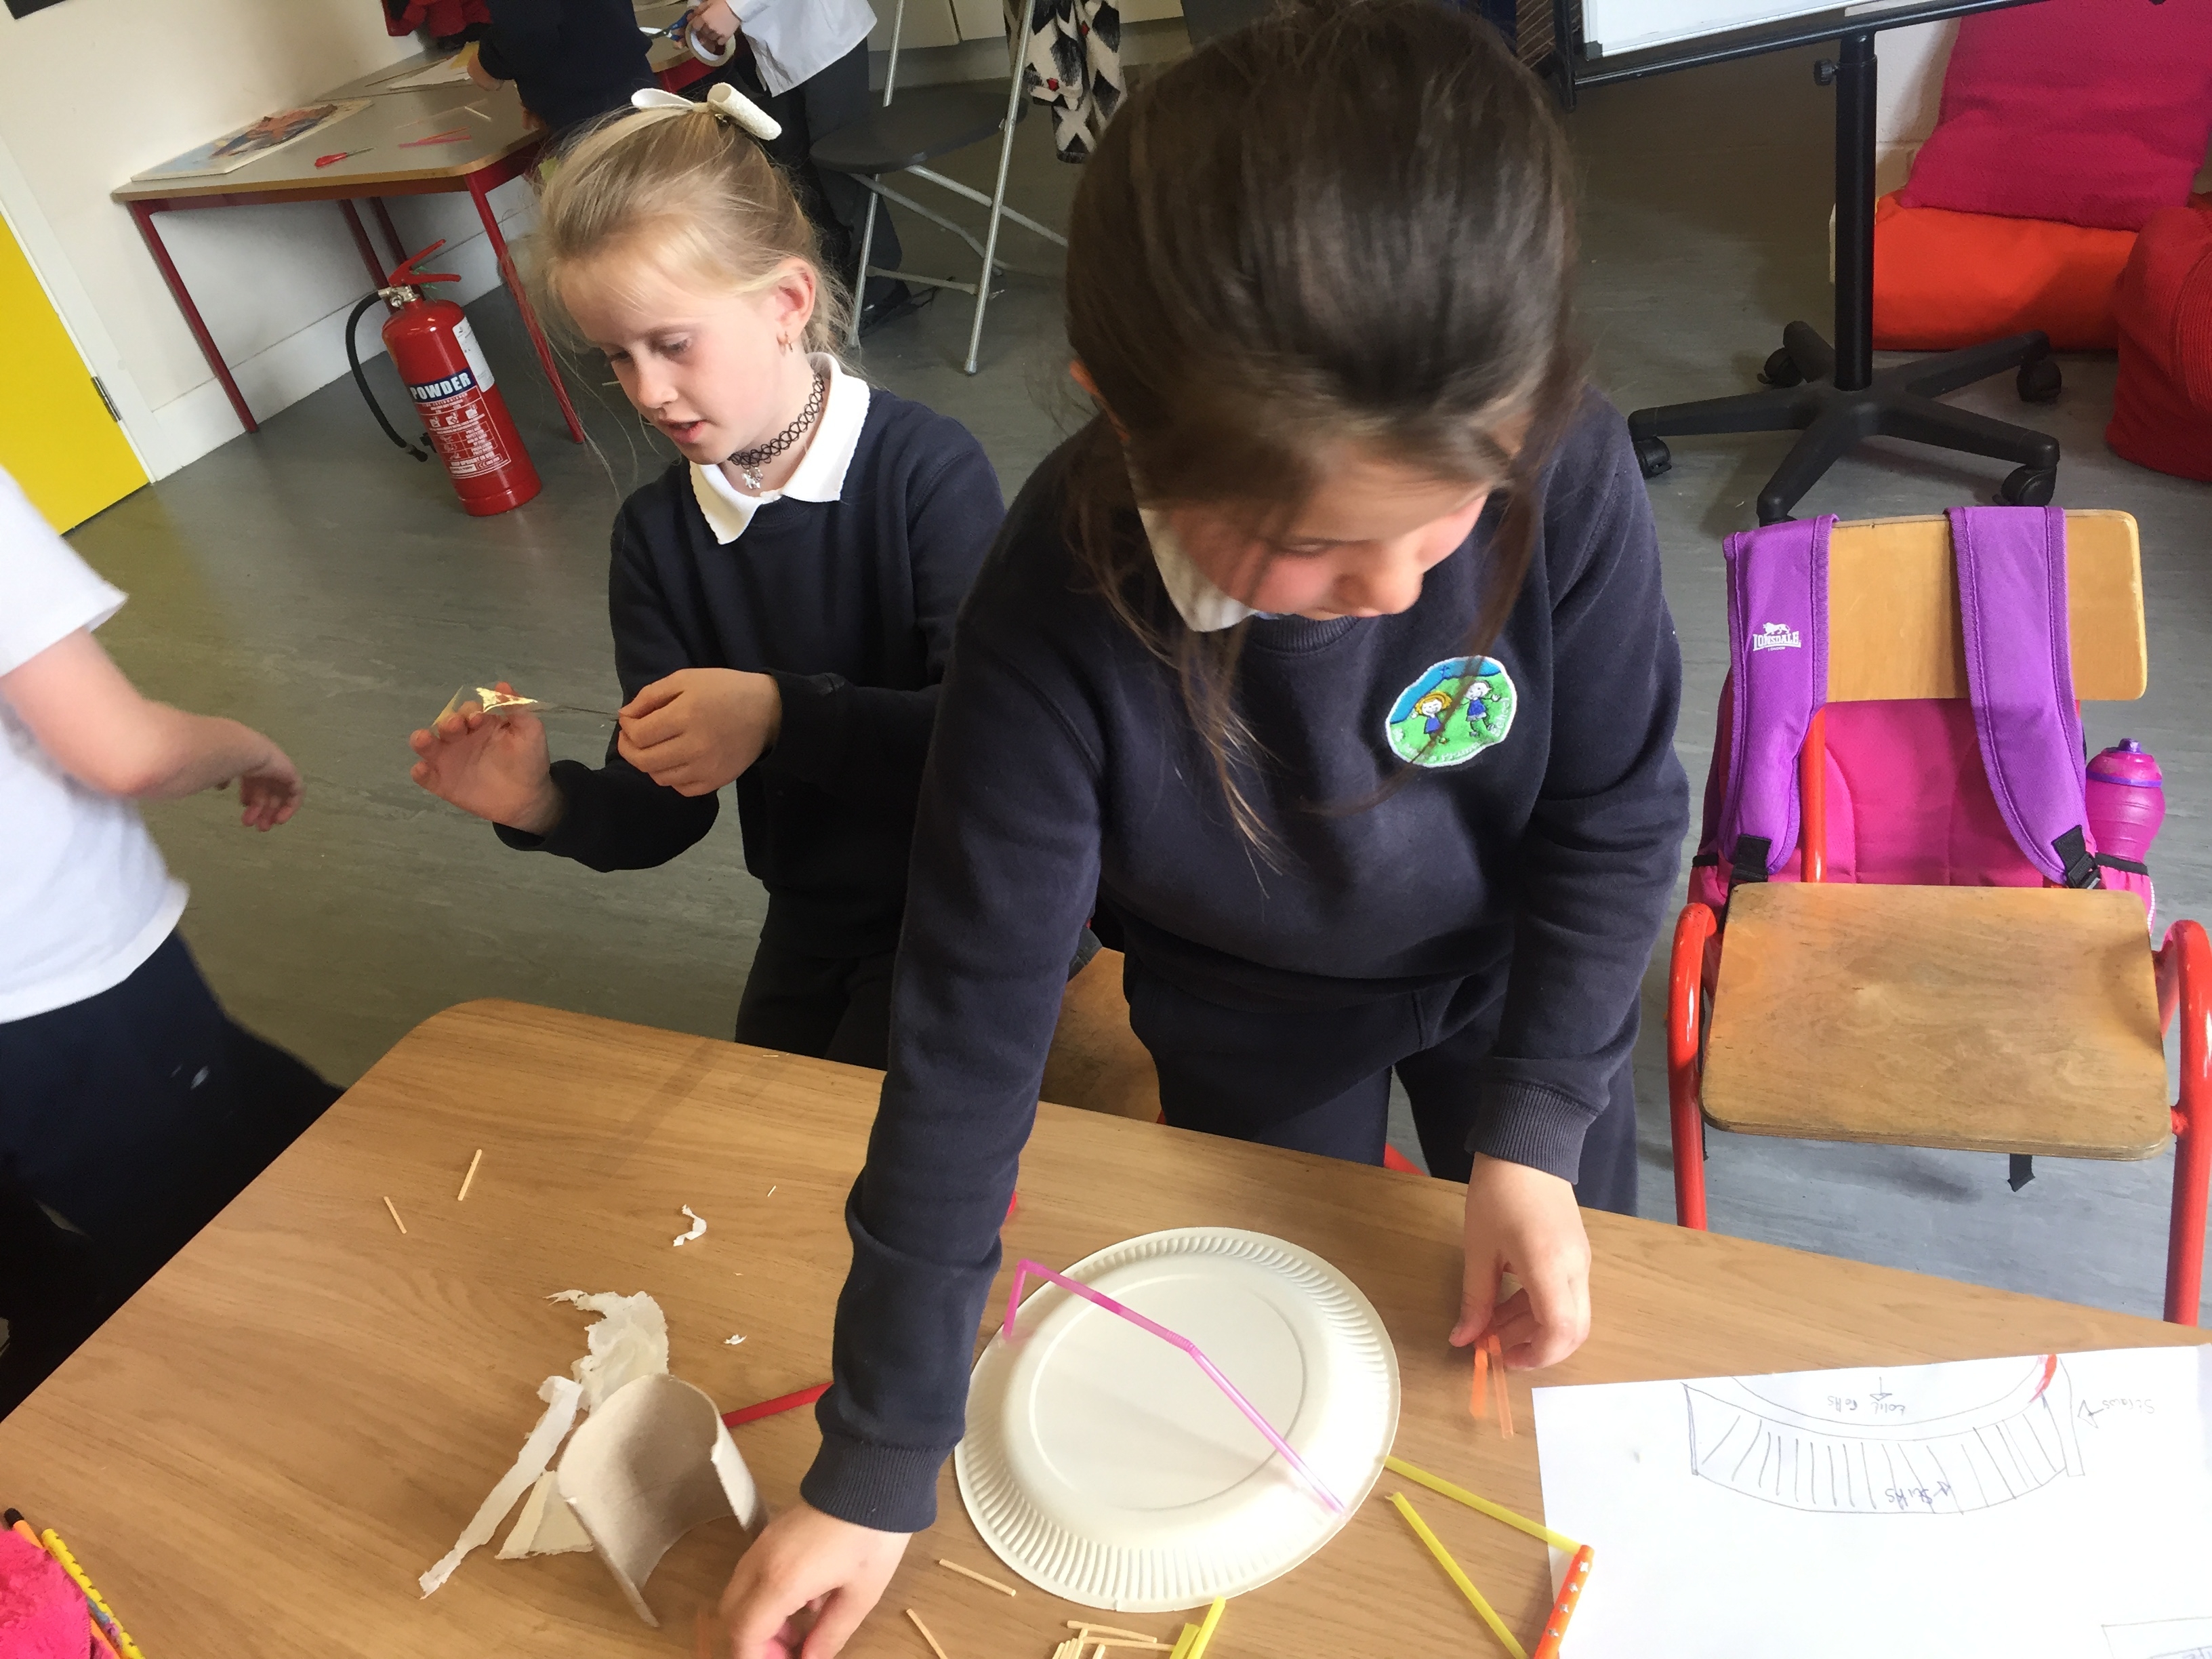
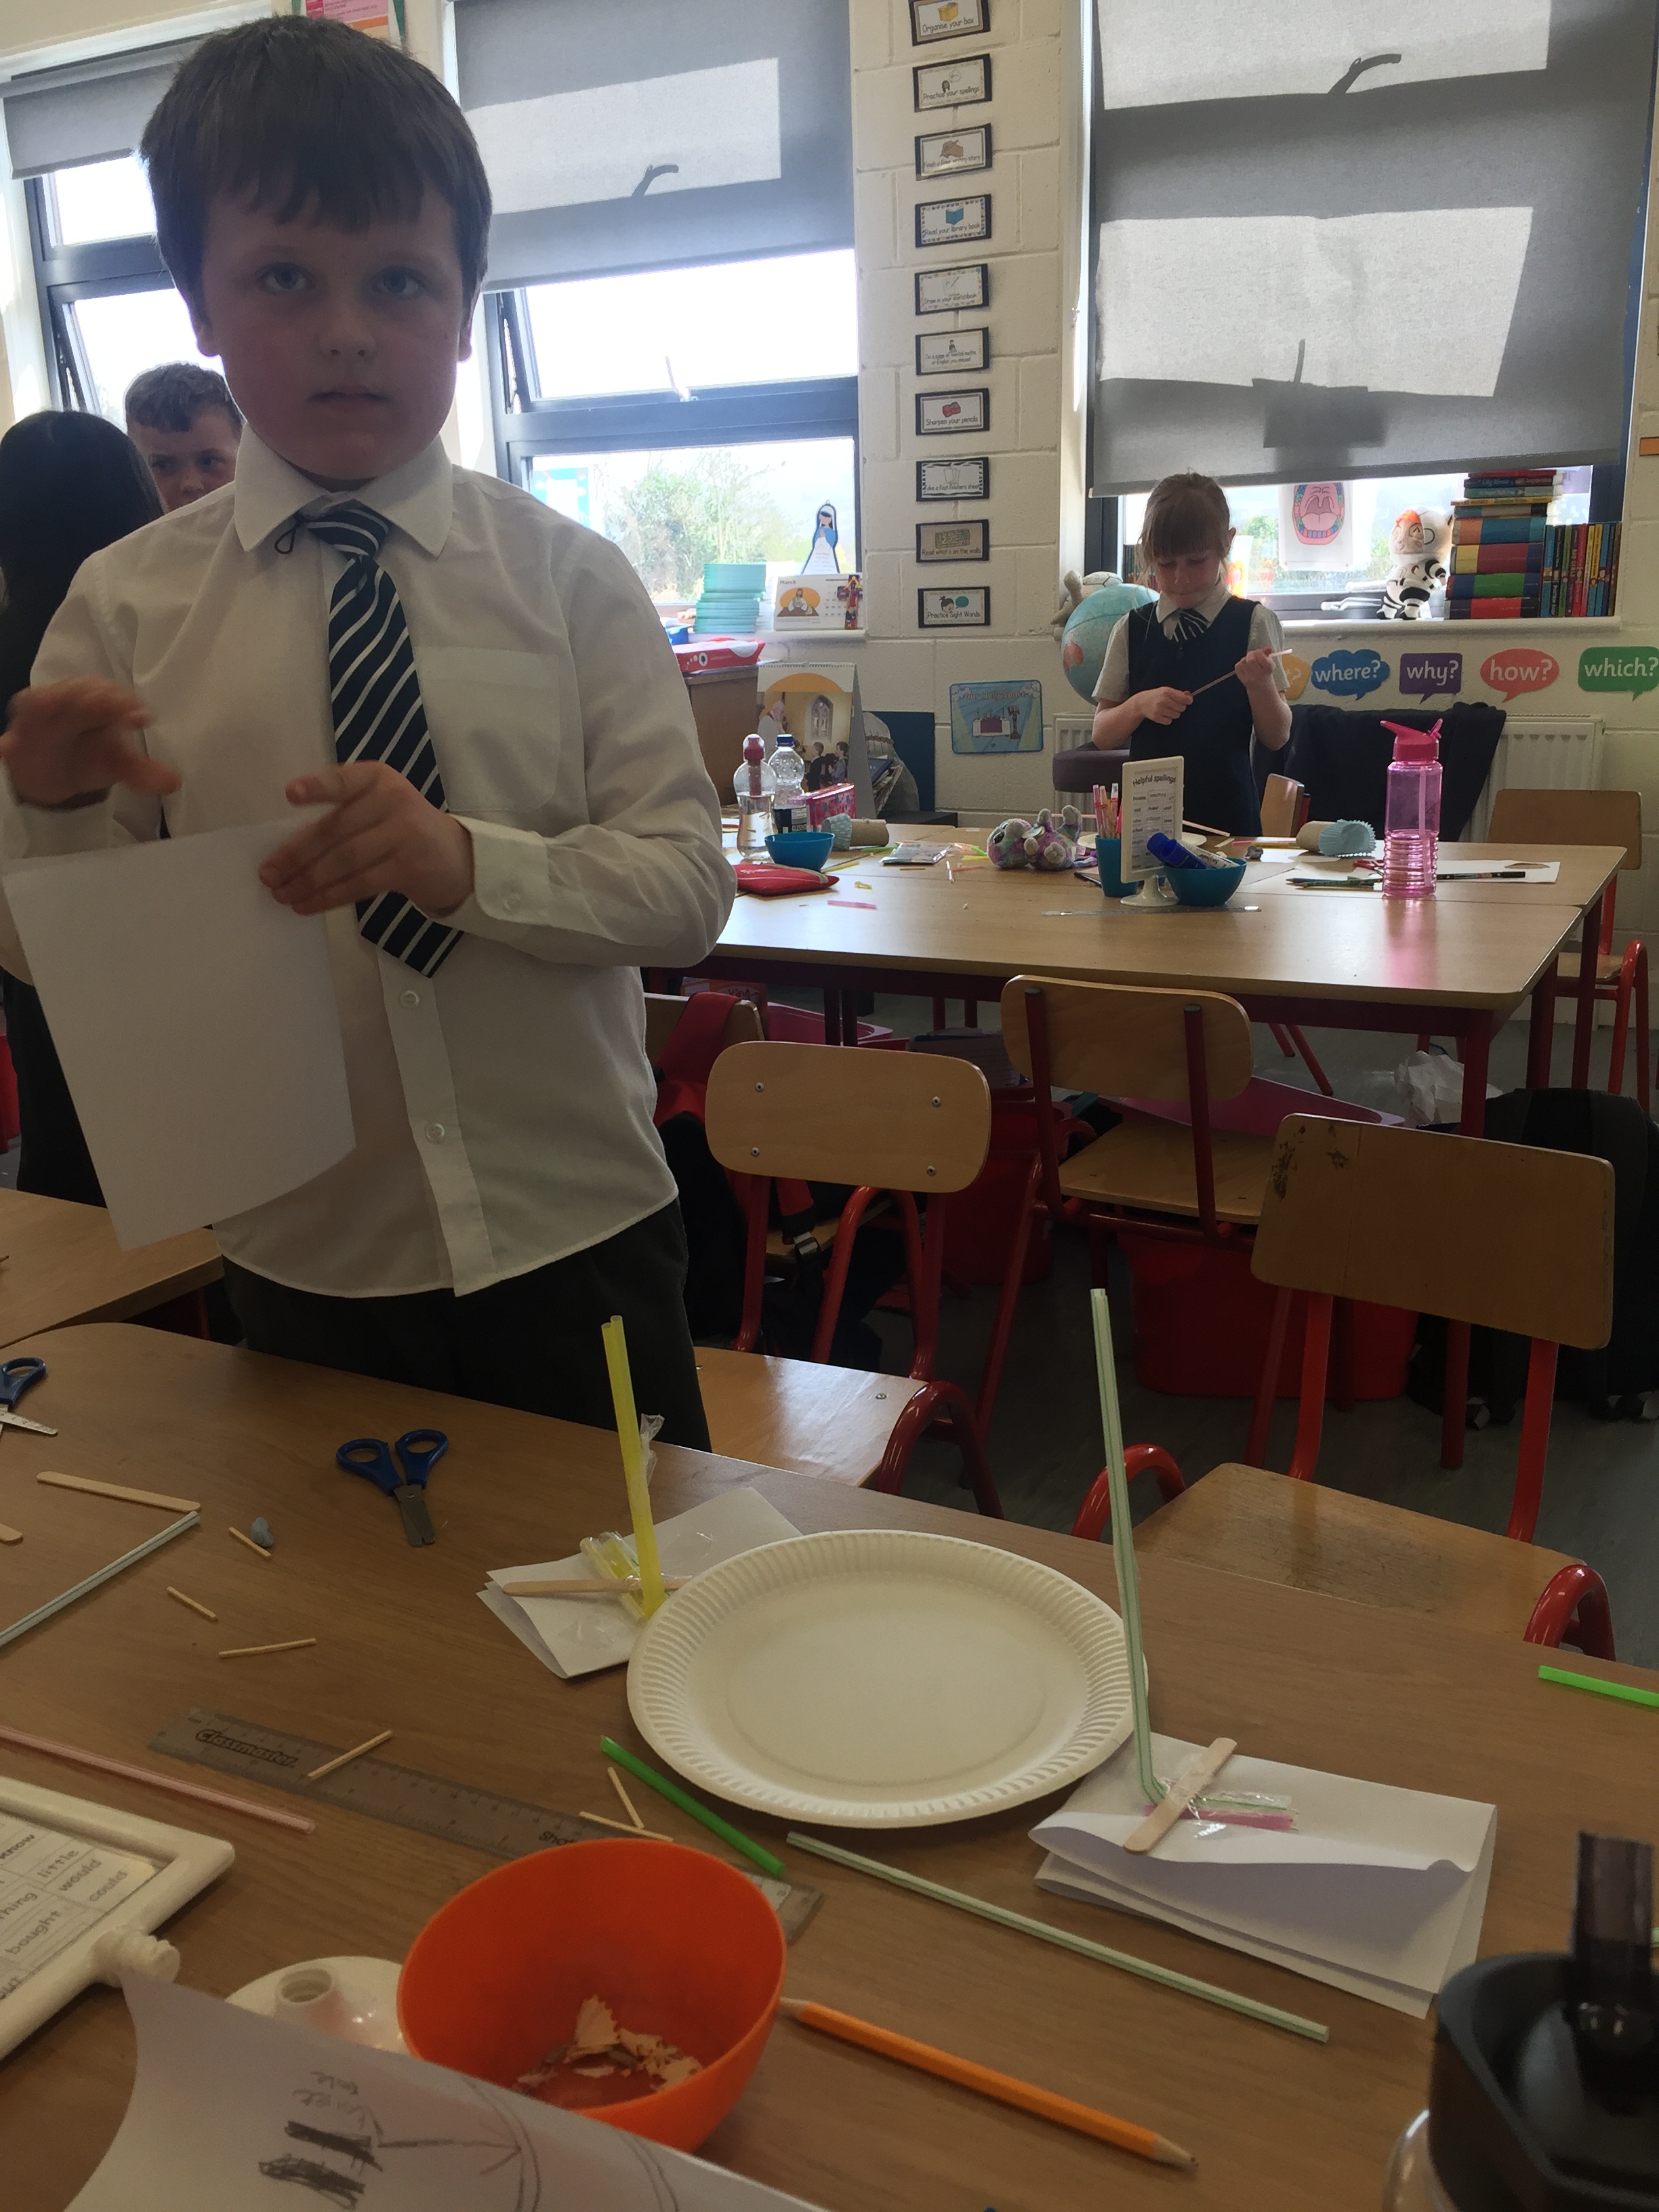
Once we had our final bridges, we presented them to the class, discussing how we made them, challenges we had to overcome and how the result differed from out original plan. We also measured them in centimeters using our rulers. We are doing length in maths so it was interesting for us to see what made some taller than others. We also talked about how the ones that were 25cm and 50cm tall were the same as a quarter meter and a half meter.
We were delighted when we shared this on Twitter and Andrea Beaty (who wrote the book that got our ideas started) saw it and commented on it! As budding scientists, engineers and architects, our favourite quote from the book was
“There are worse things to do when you’re in grade two than to spend your time building a dream”.
2nd class designed, made and measured some wonderful bridges after we read #iggypeckarchitect by @andreabeaty @DPSM_Activities pic.twitter.com/6en2wDIX2G
— St. Peter's Primary (@StPetersBray) April 19, 2018
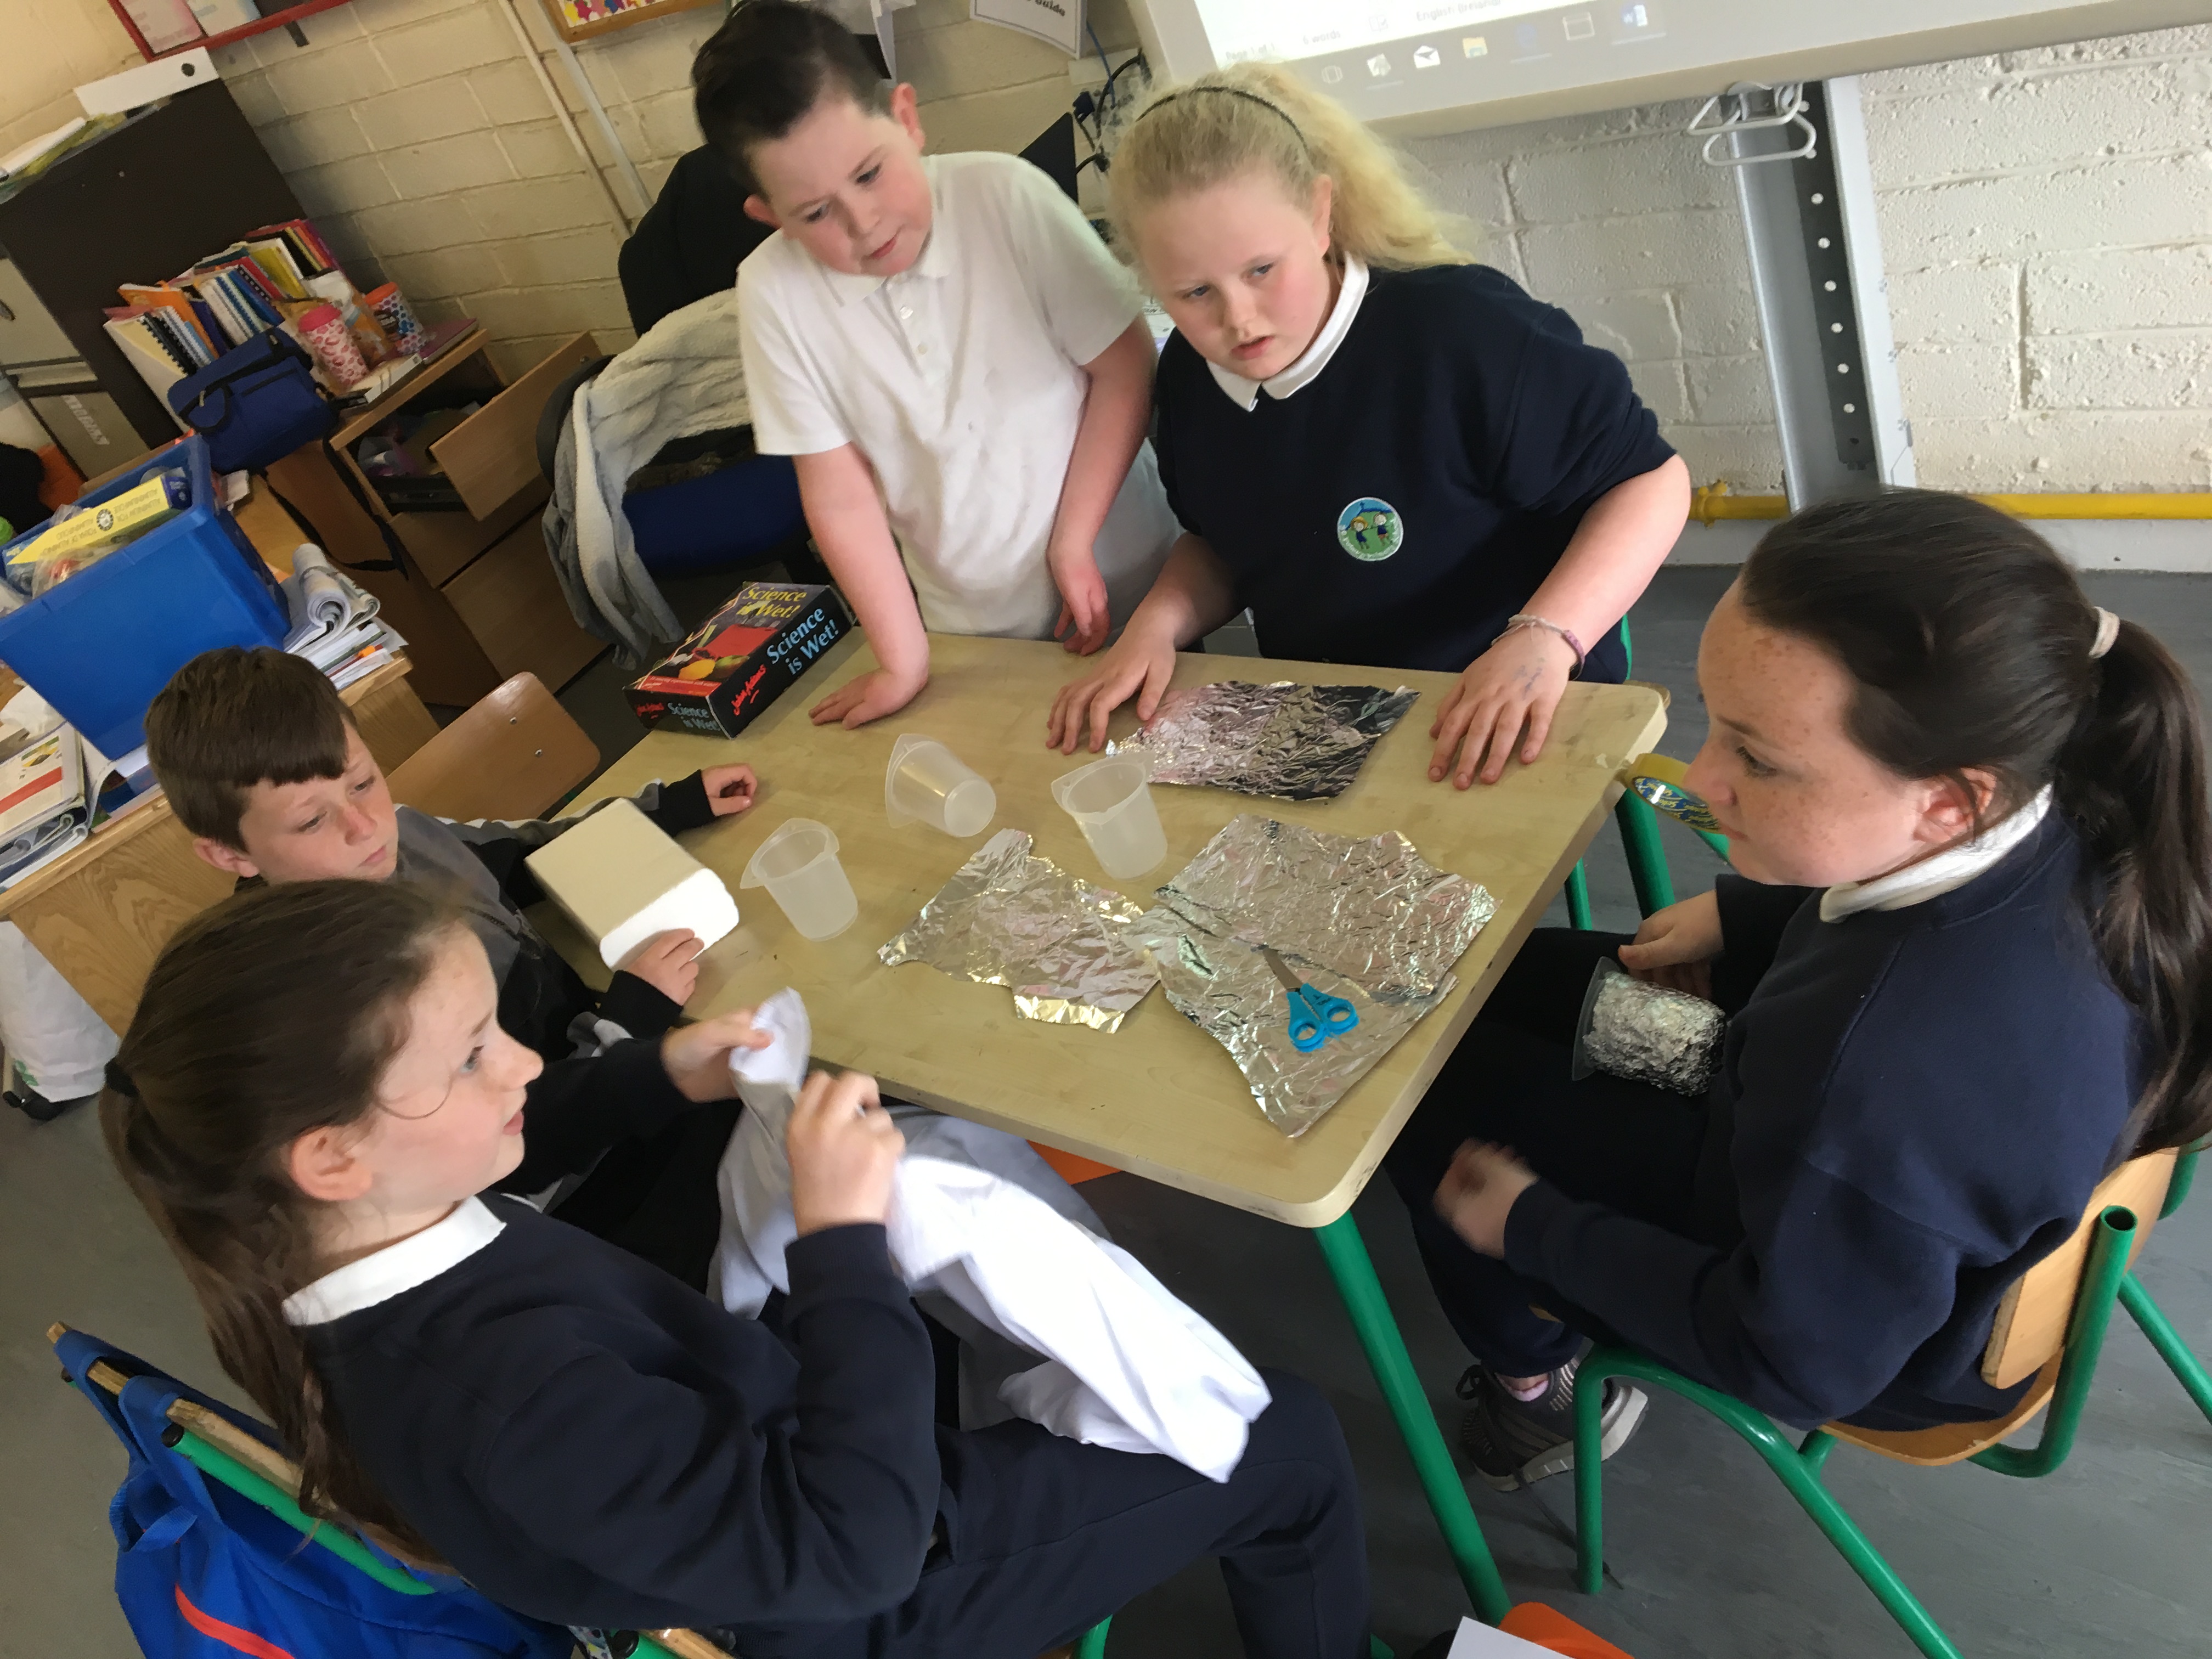
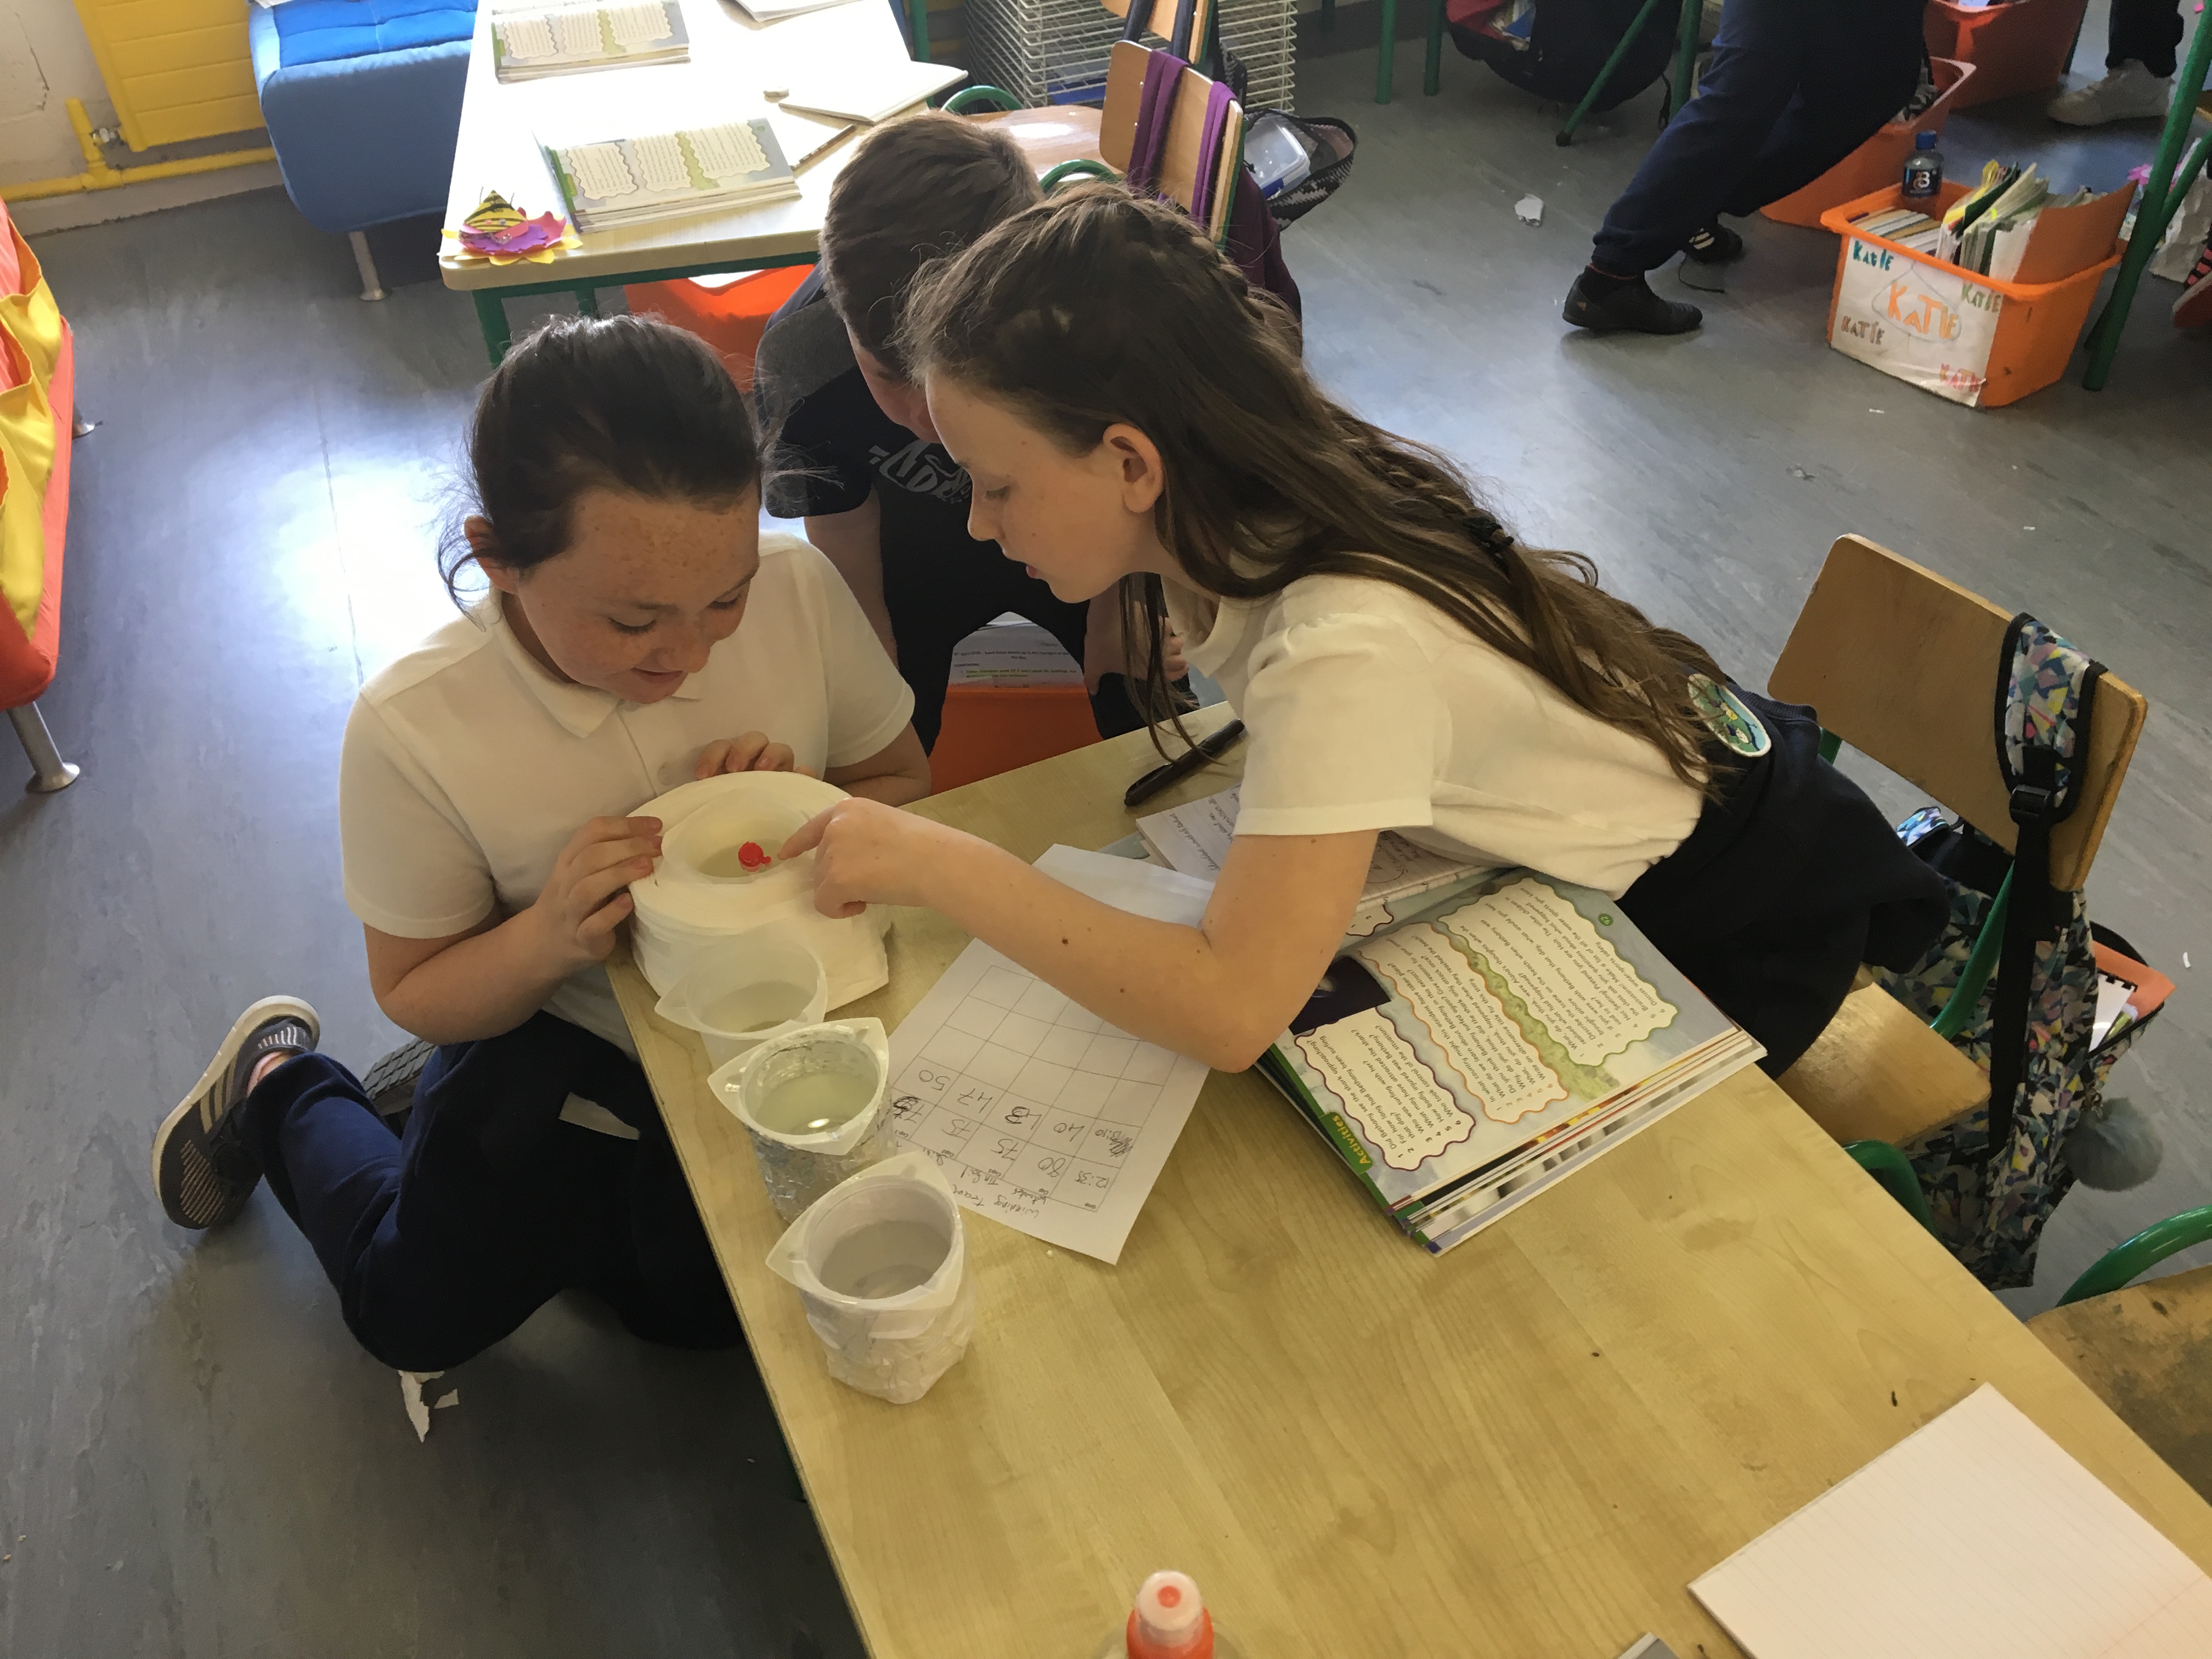
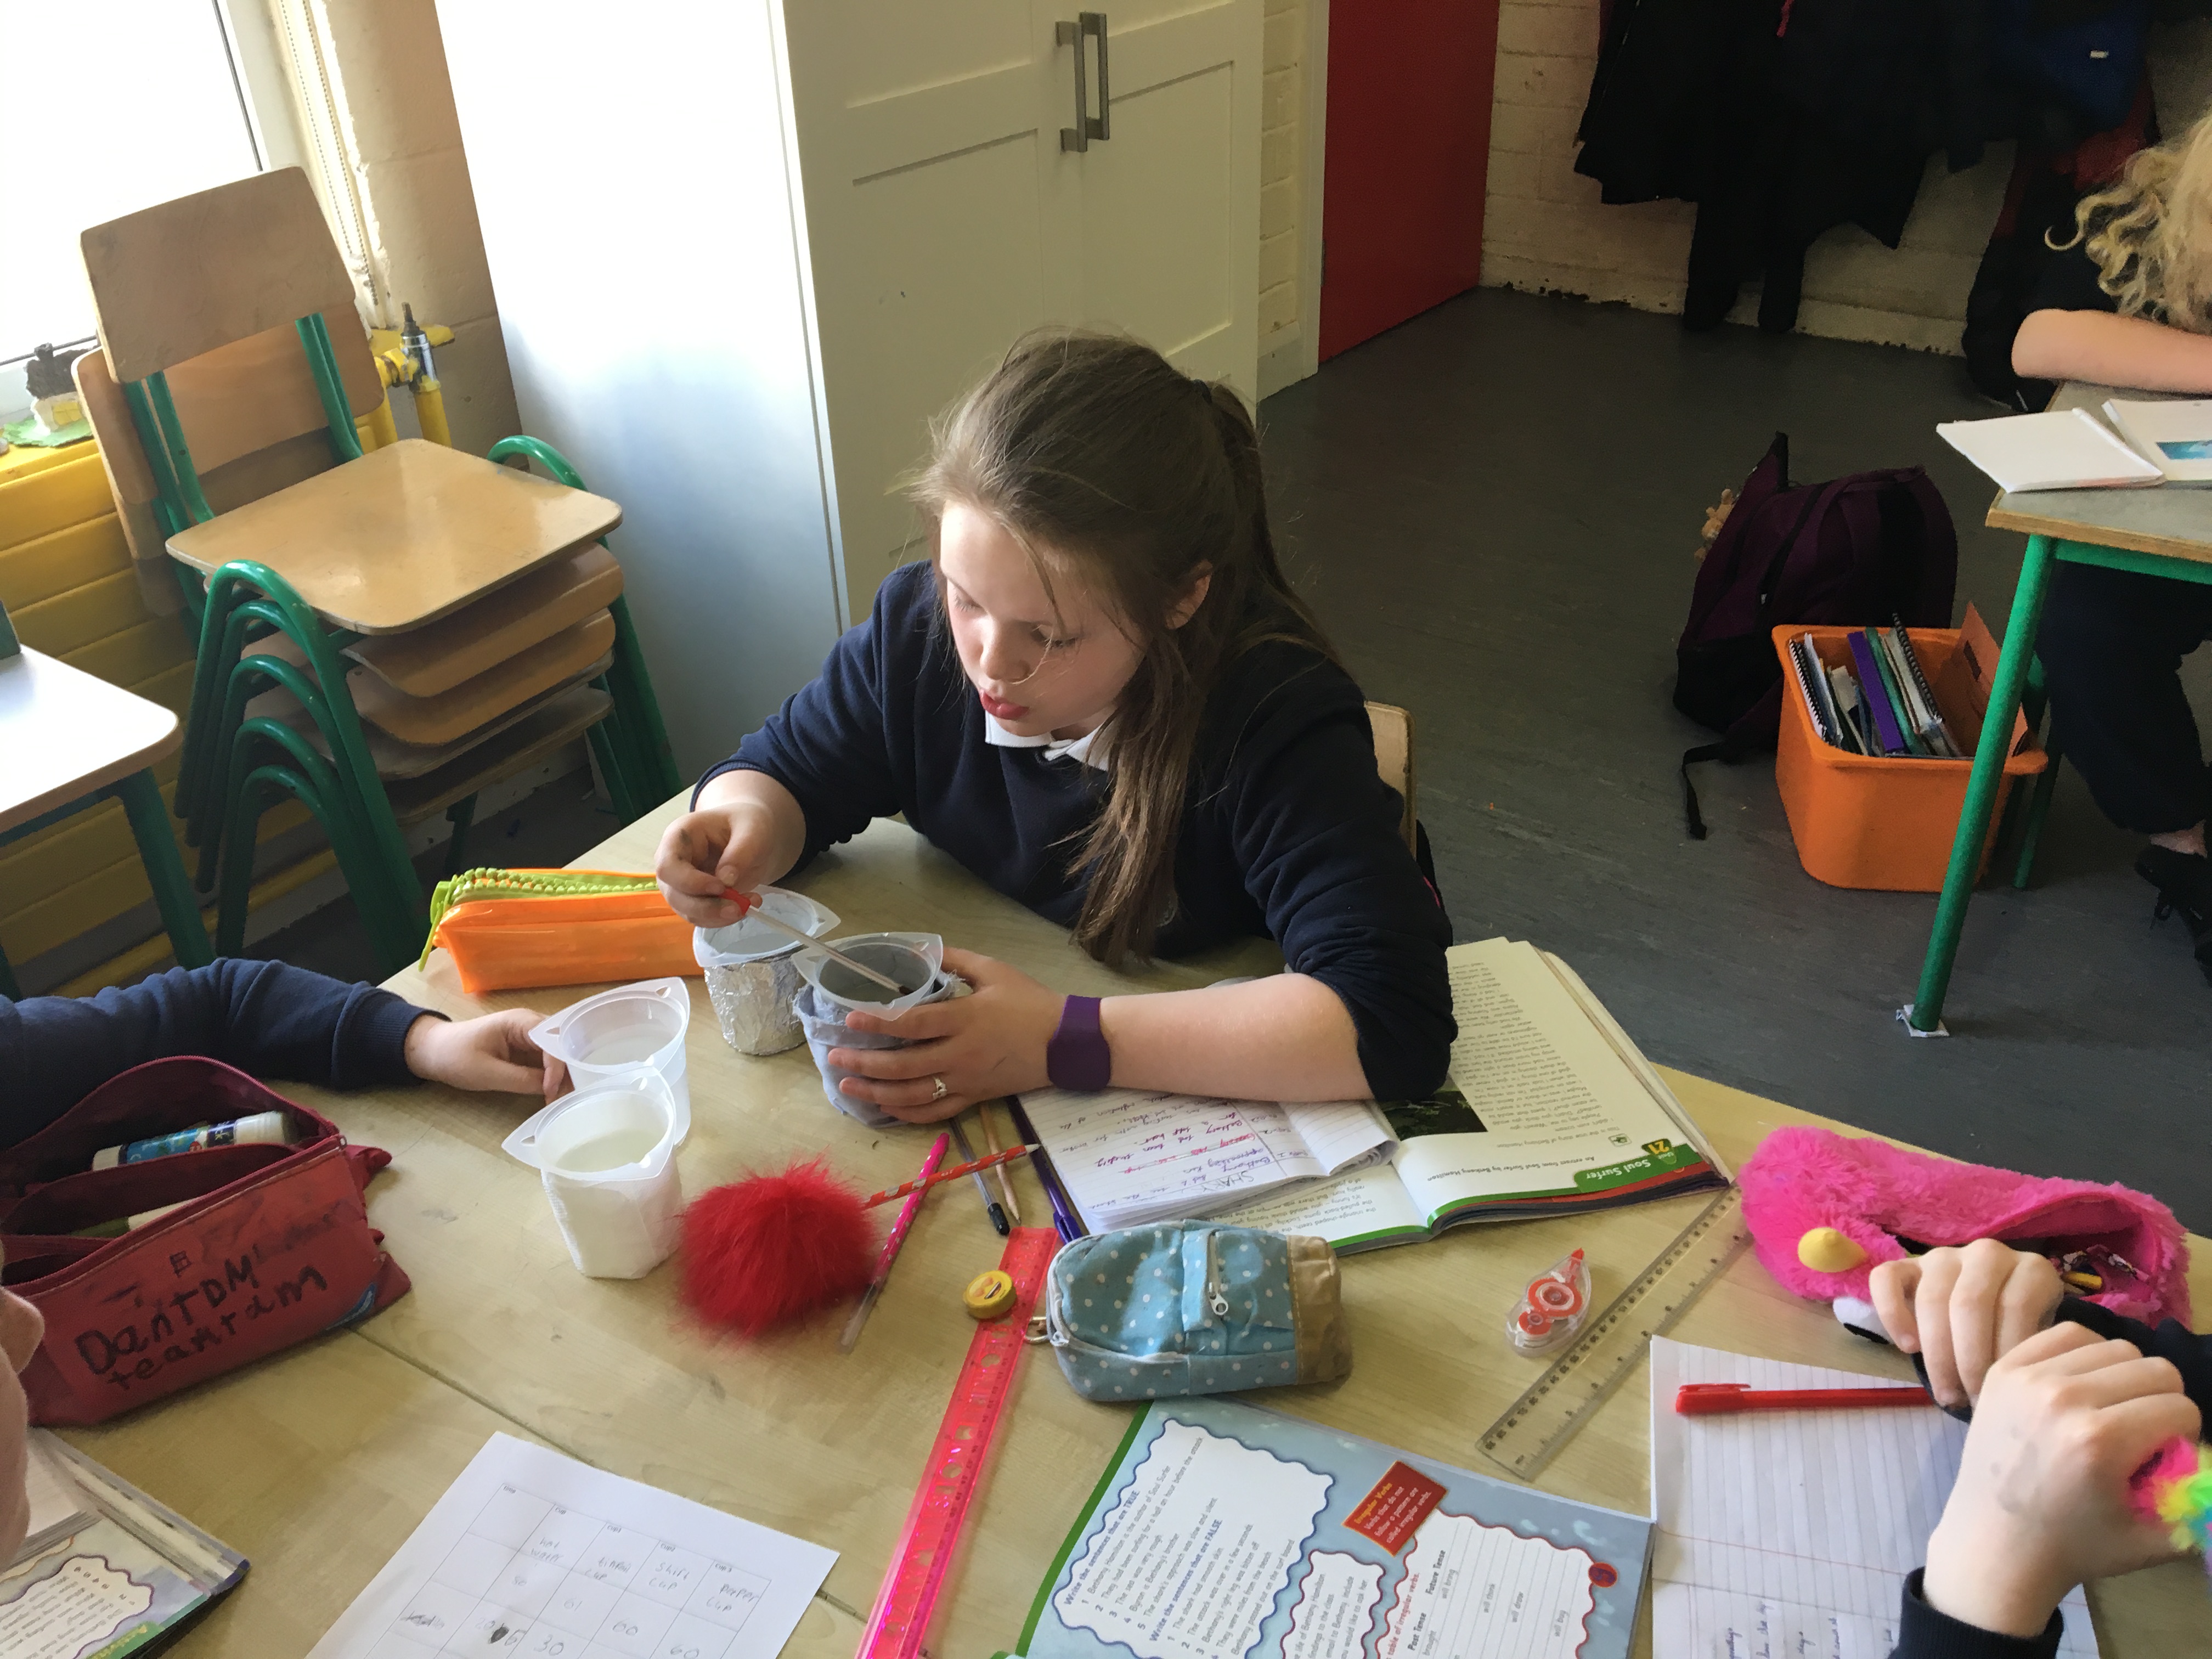
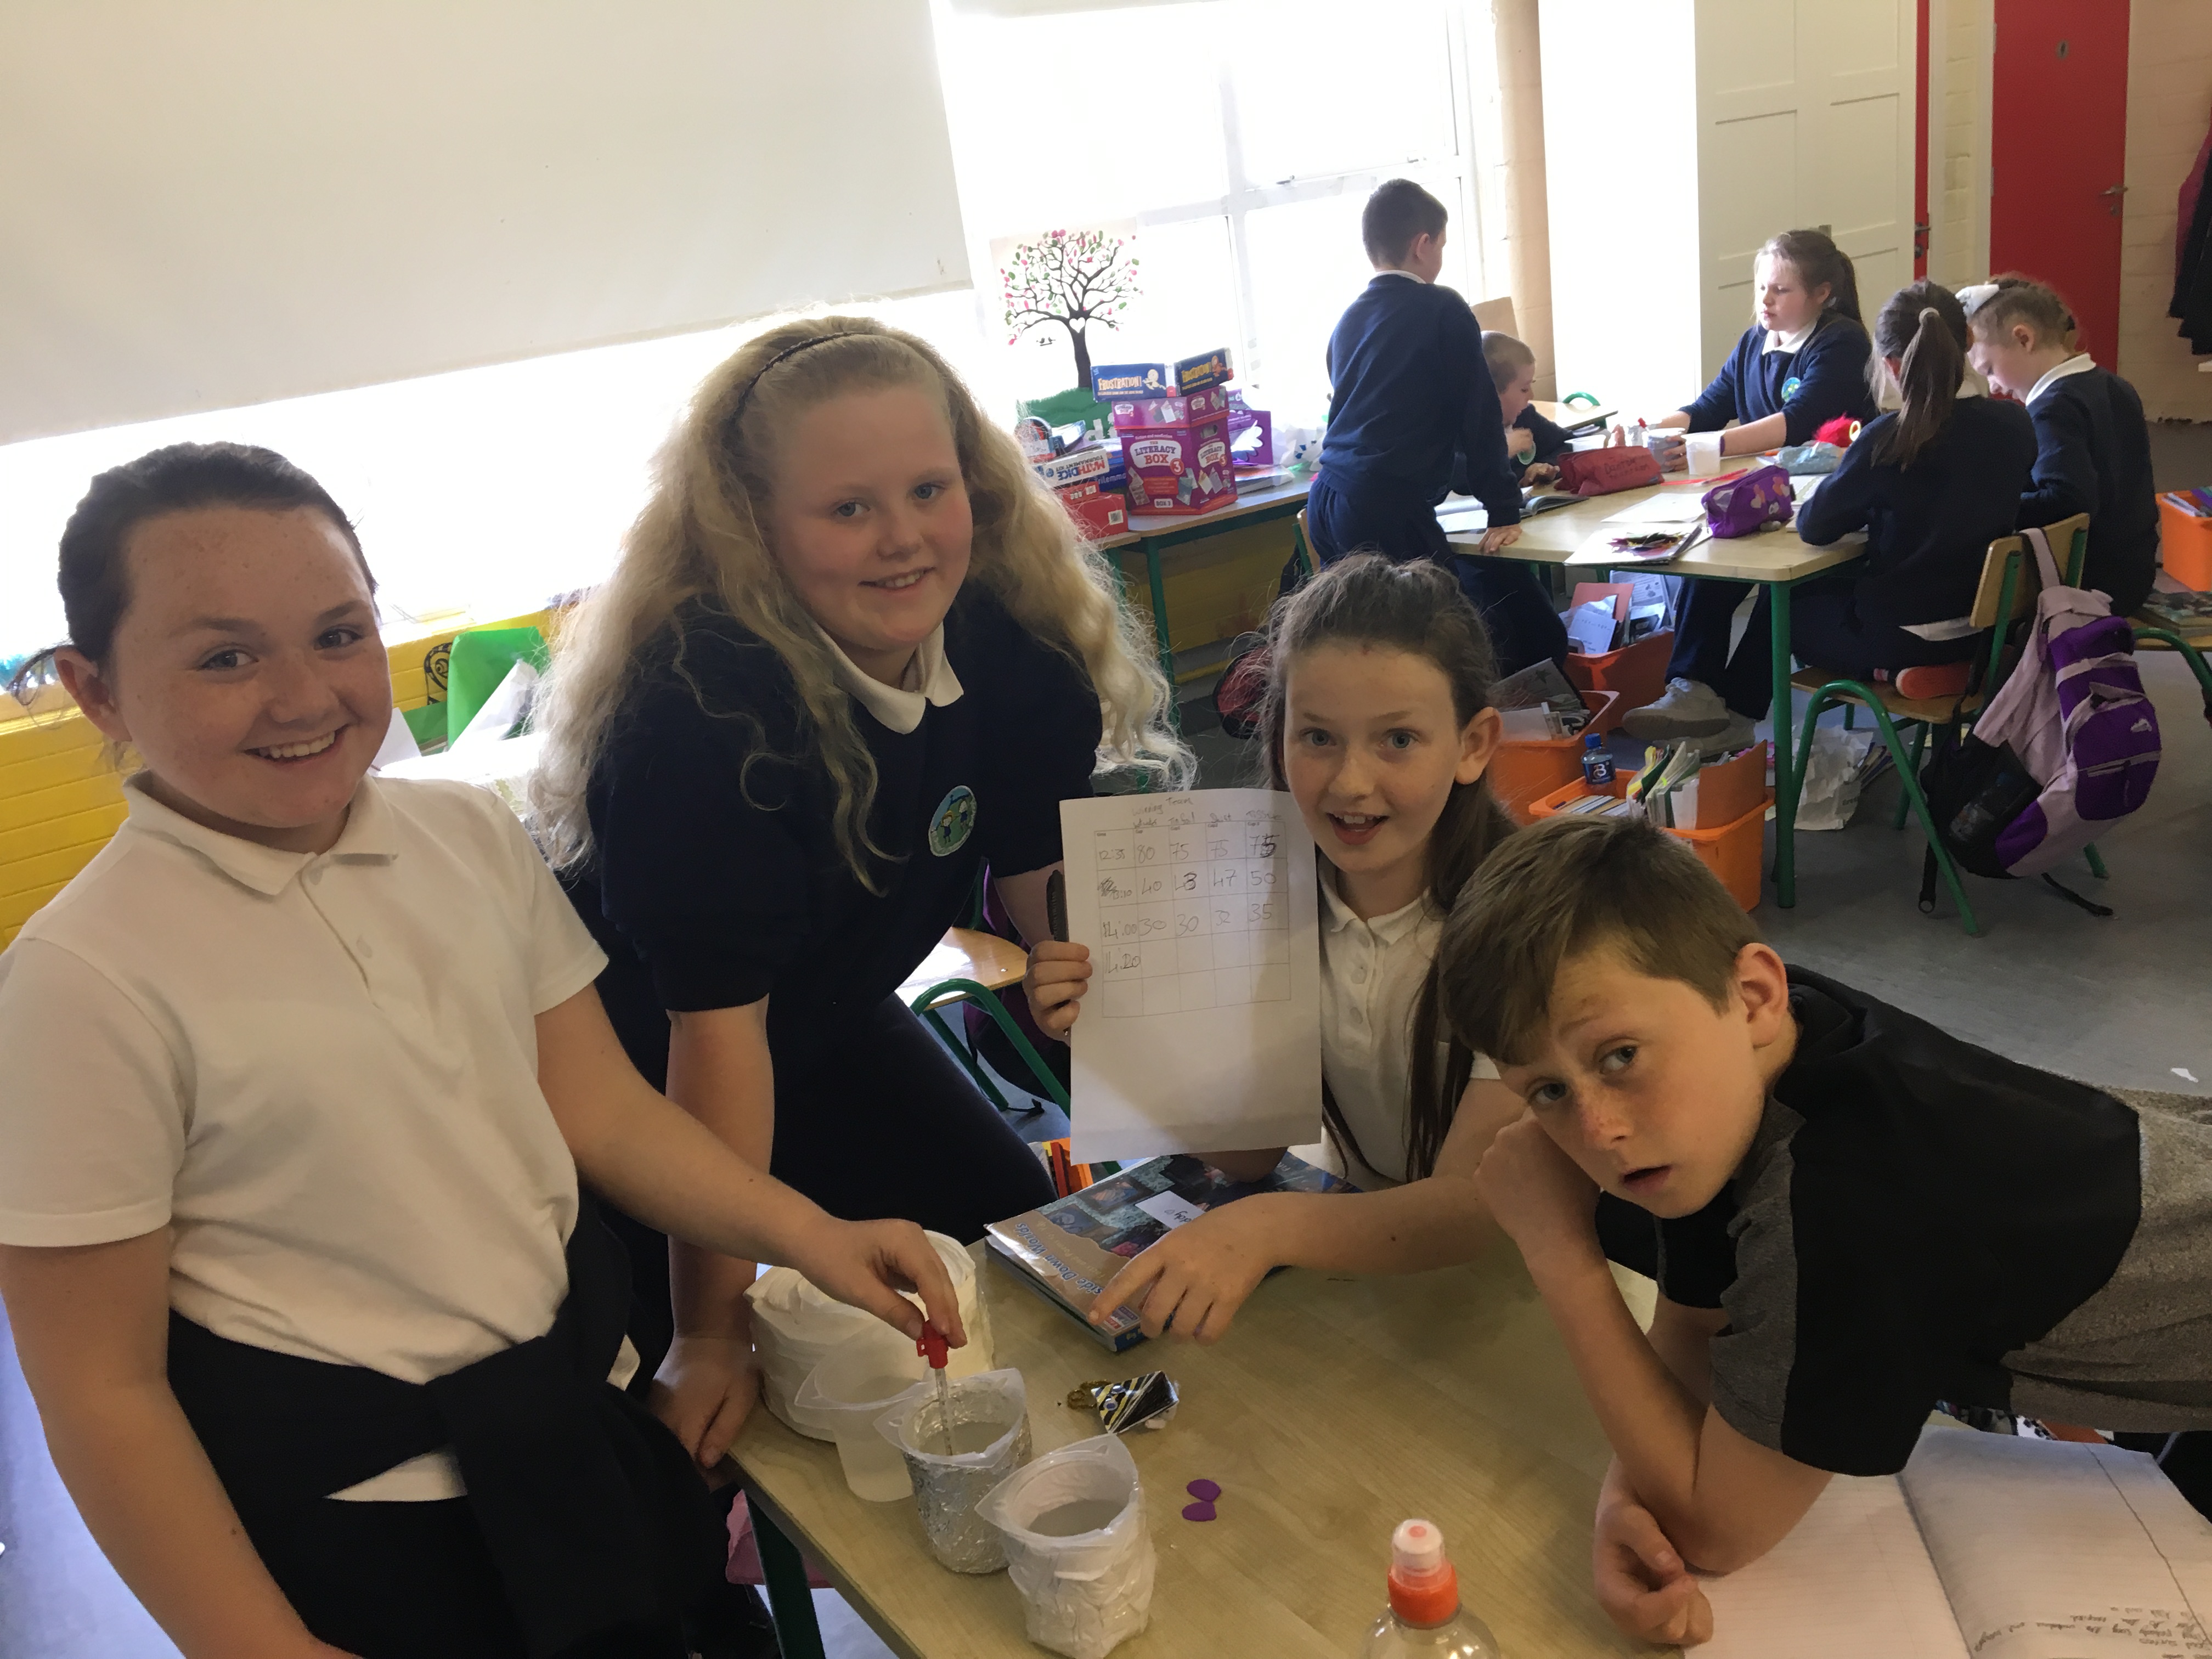
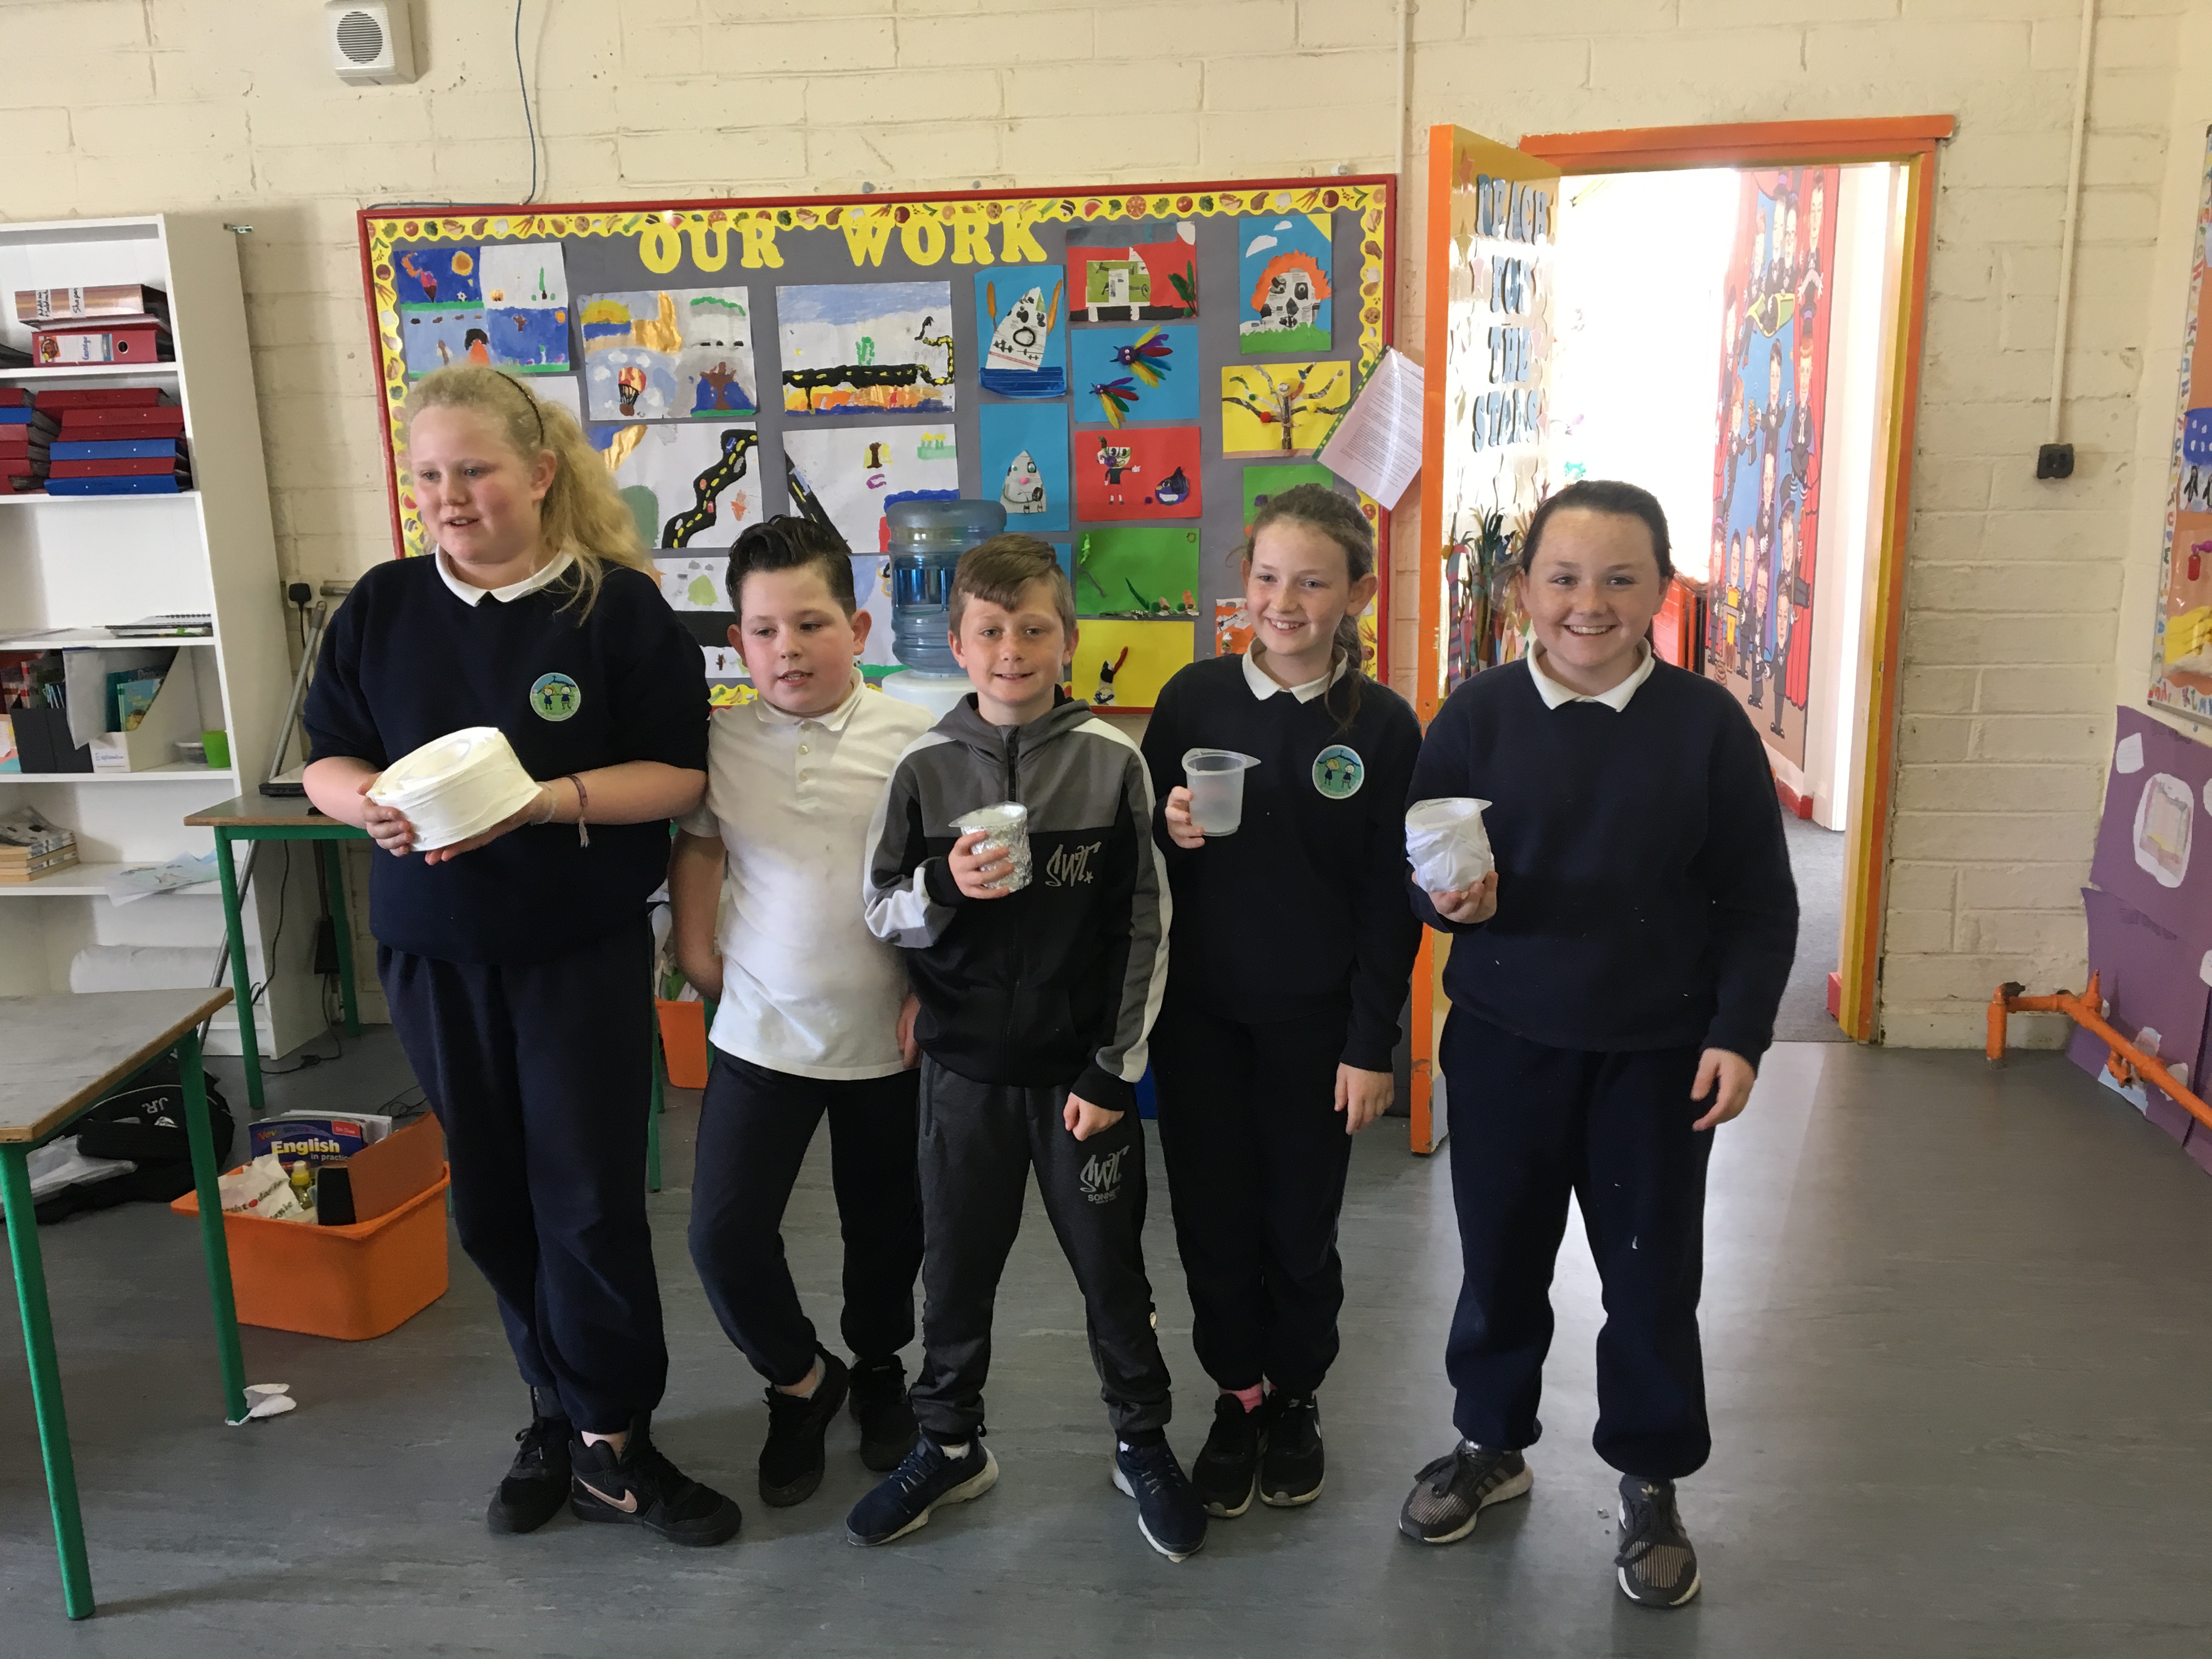
5th class conducted an experiment this week using the strand energy and forces and the strand unit heat. The objective of the experiment was to measure and record temperature using a thermometer. The children had to compare the heat insulation properties of different materials. These materials included, aluminium foil, fabric and tissue paper. Each group had to ‘insulate’ their cups using the materials provided. Each group was given a recording sheet and the children had to check the temperature of each cup throughout the day.
When the children had finished their experiments, they wrote a short synopsis about the experiment and its results. They also calculated how much the temperature decreased between each reading. We discussed what insulation material worked best according to the children’s findings. We also discussed, as a class, what they learnt about heat insulation and what other ways they think we could carry out the experiment.
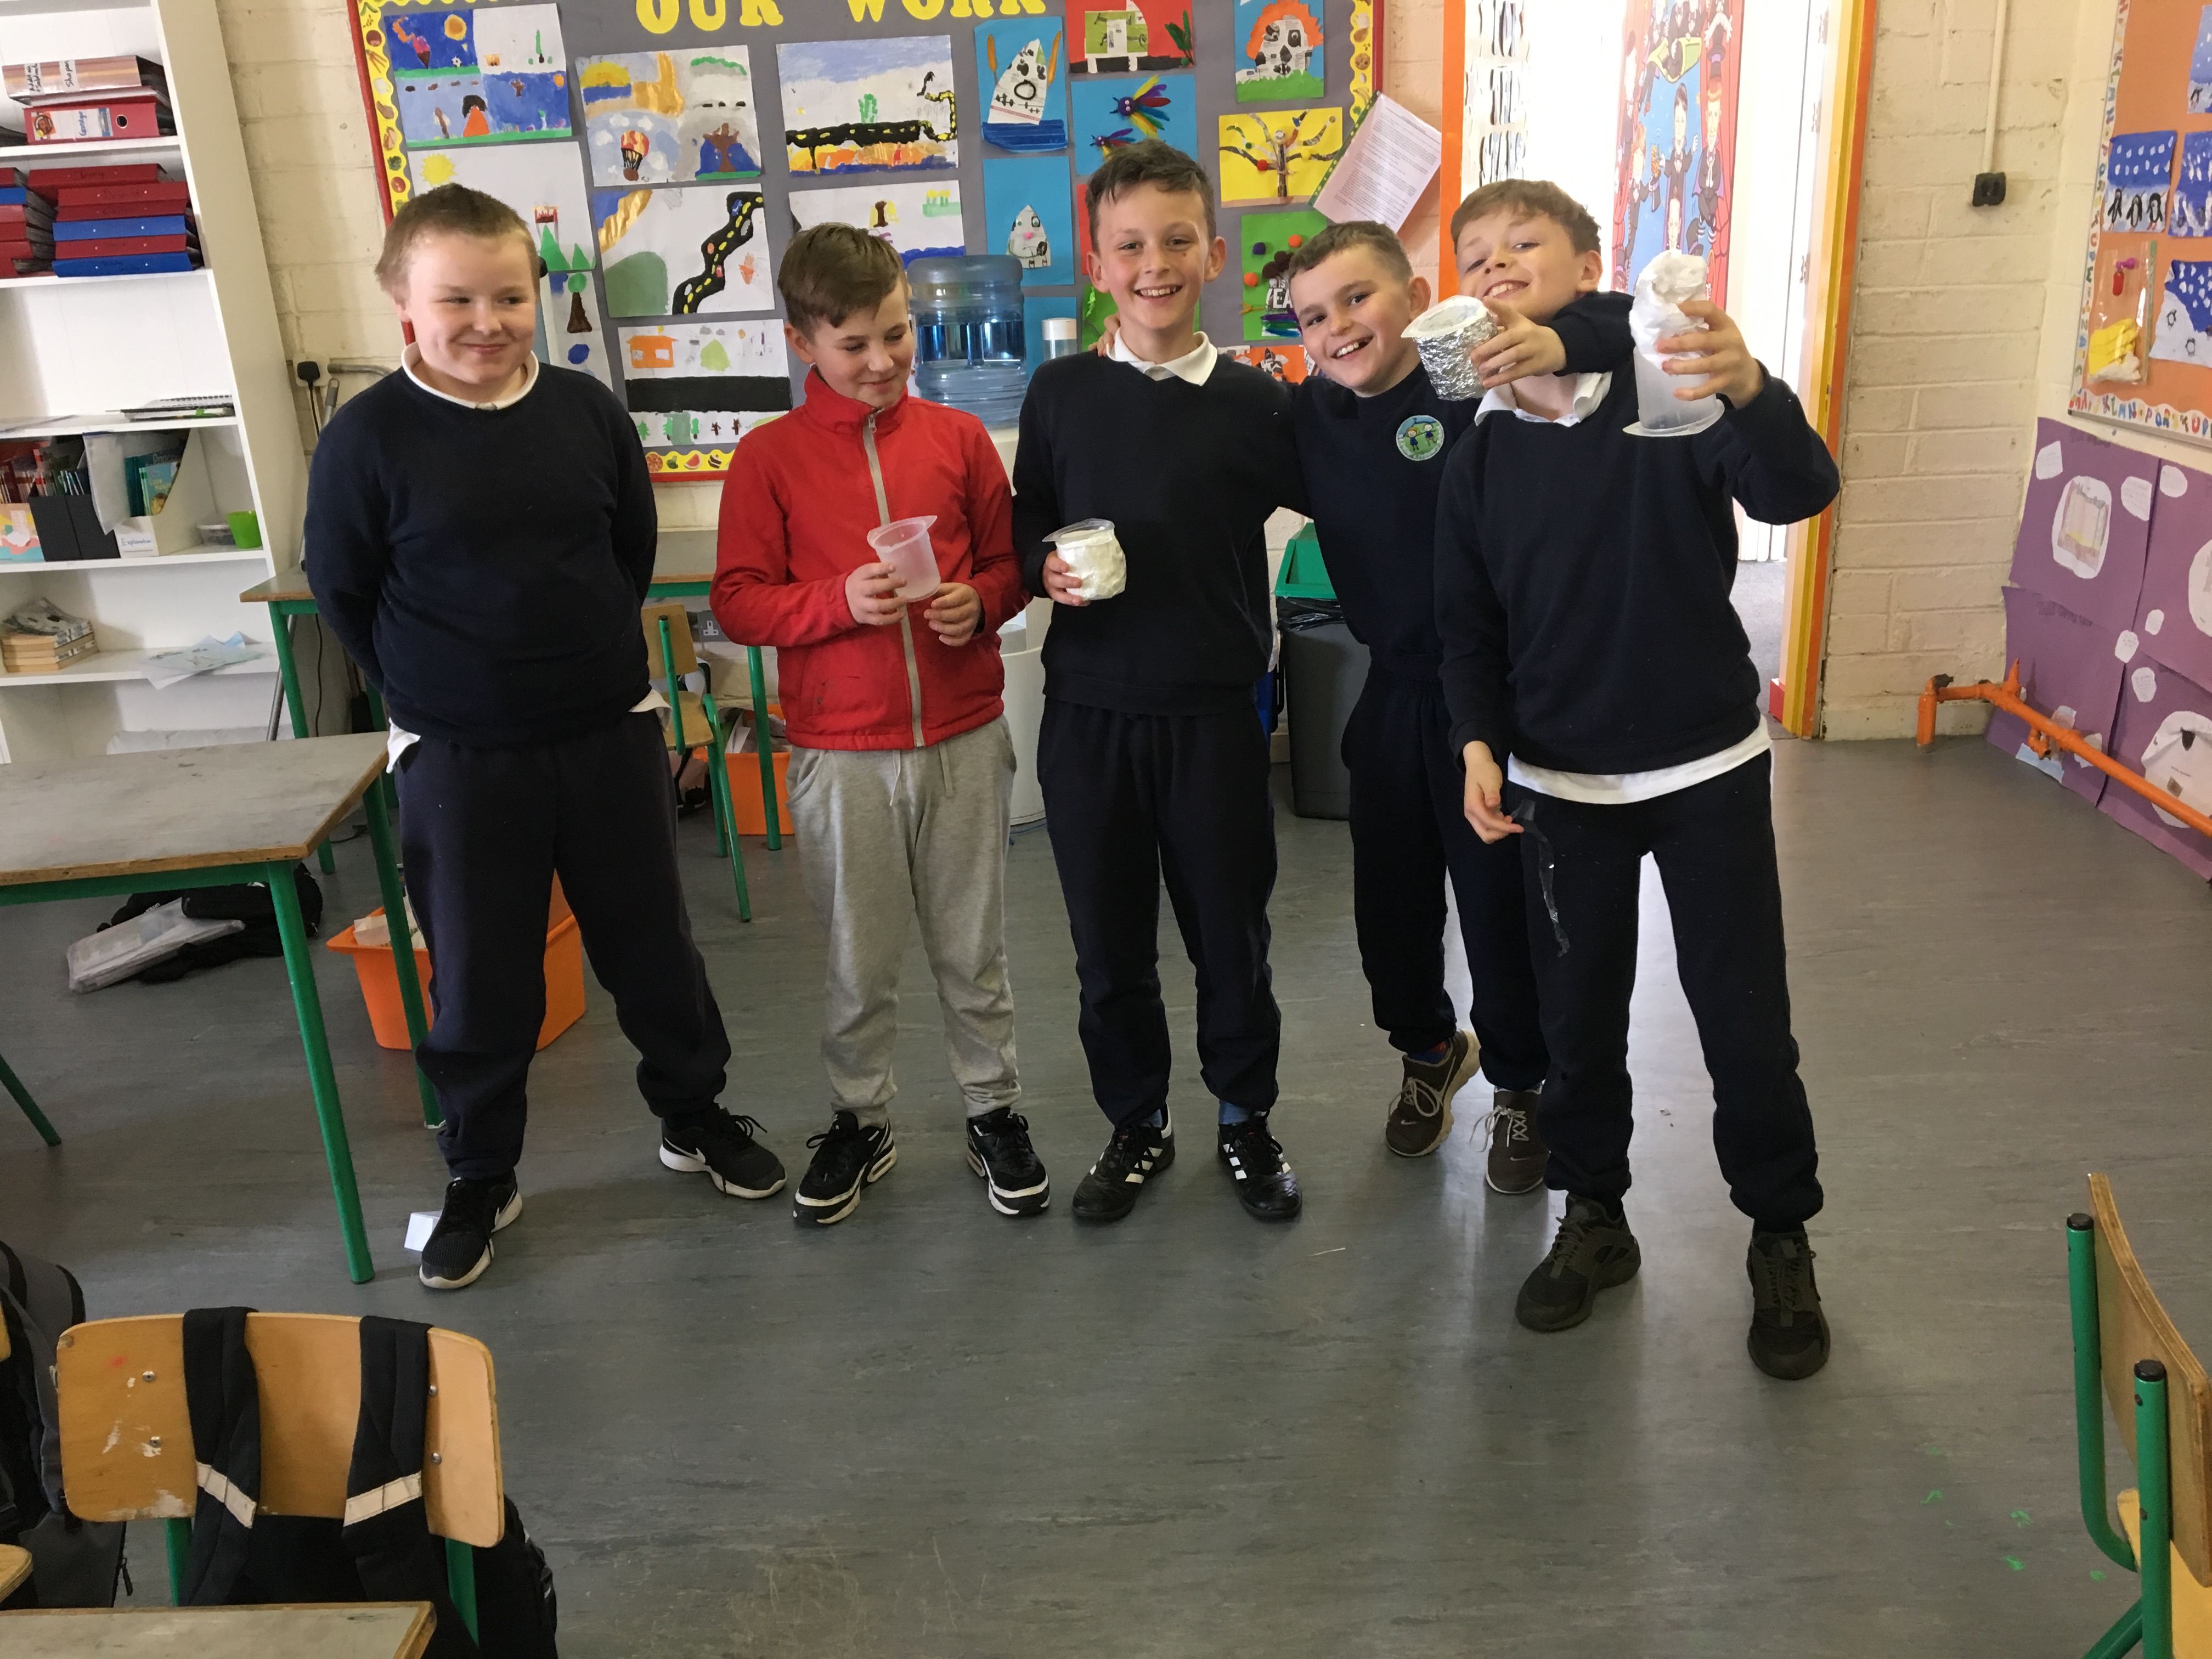
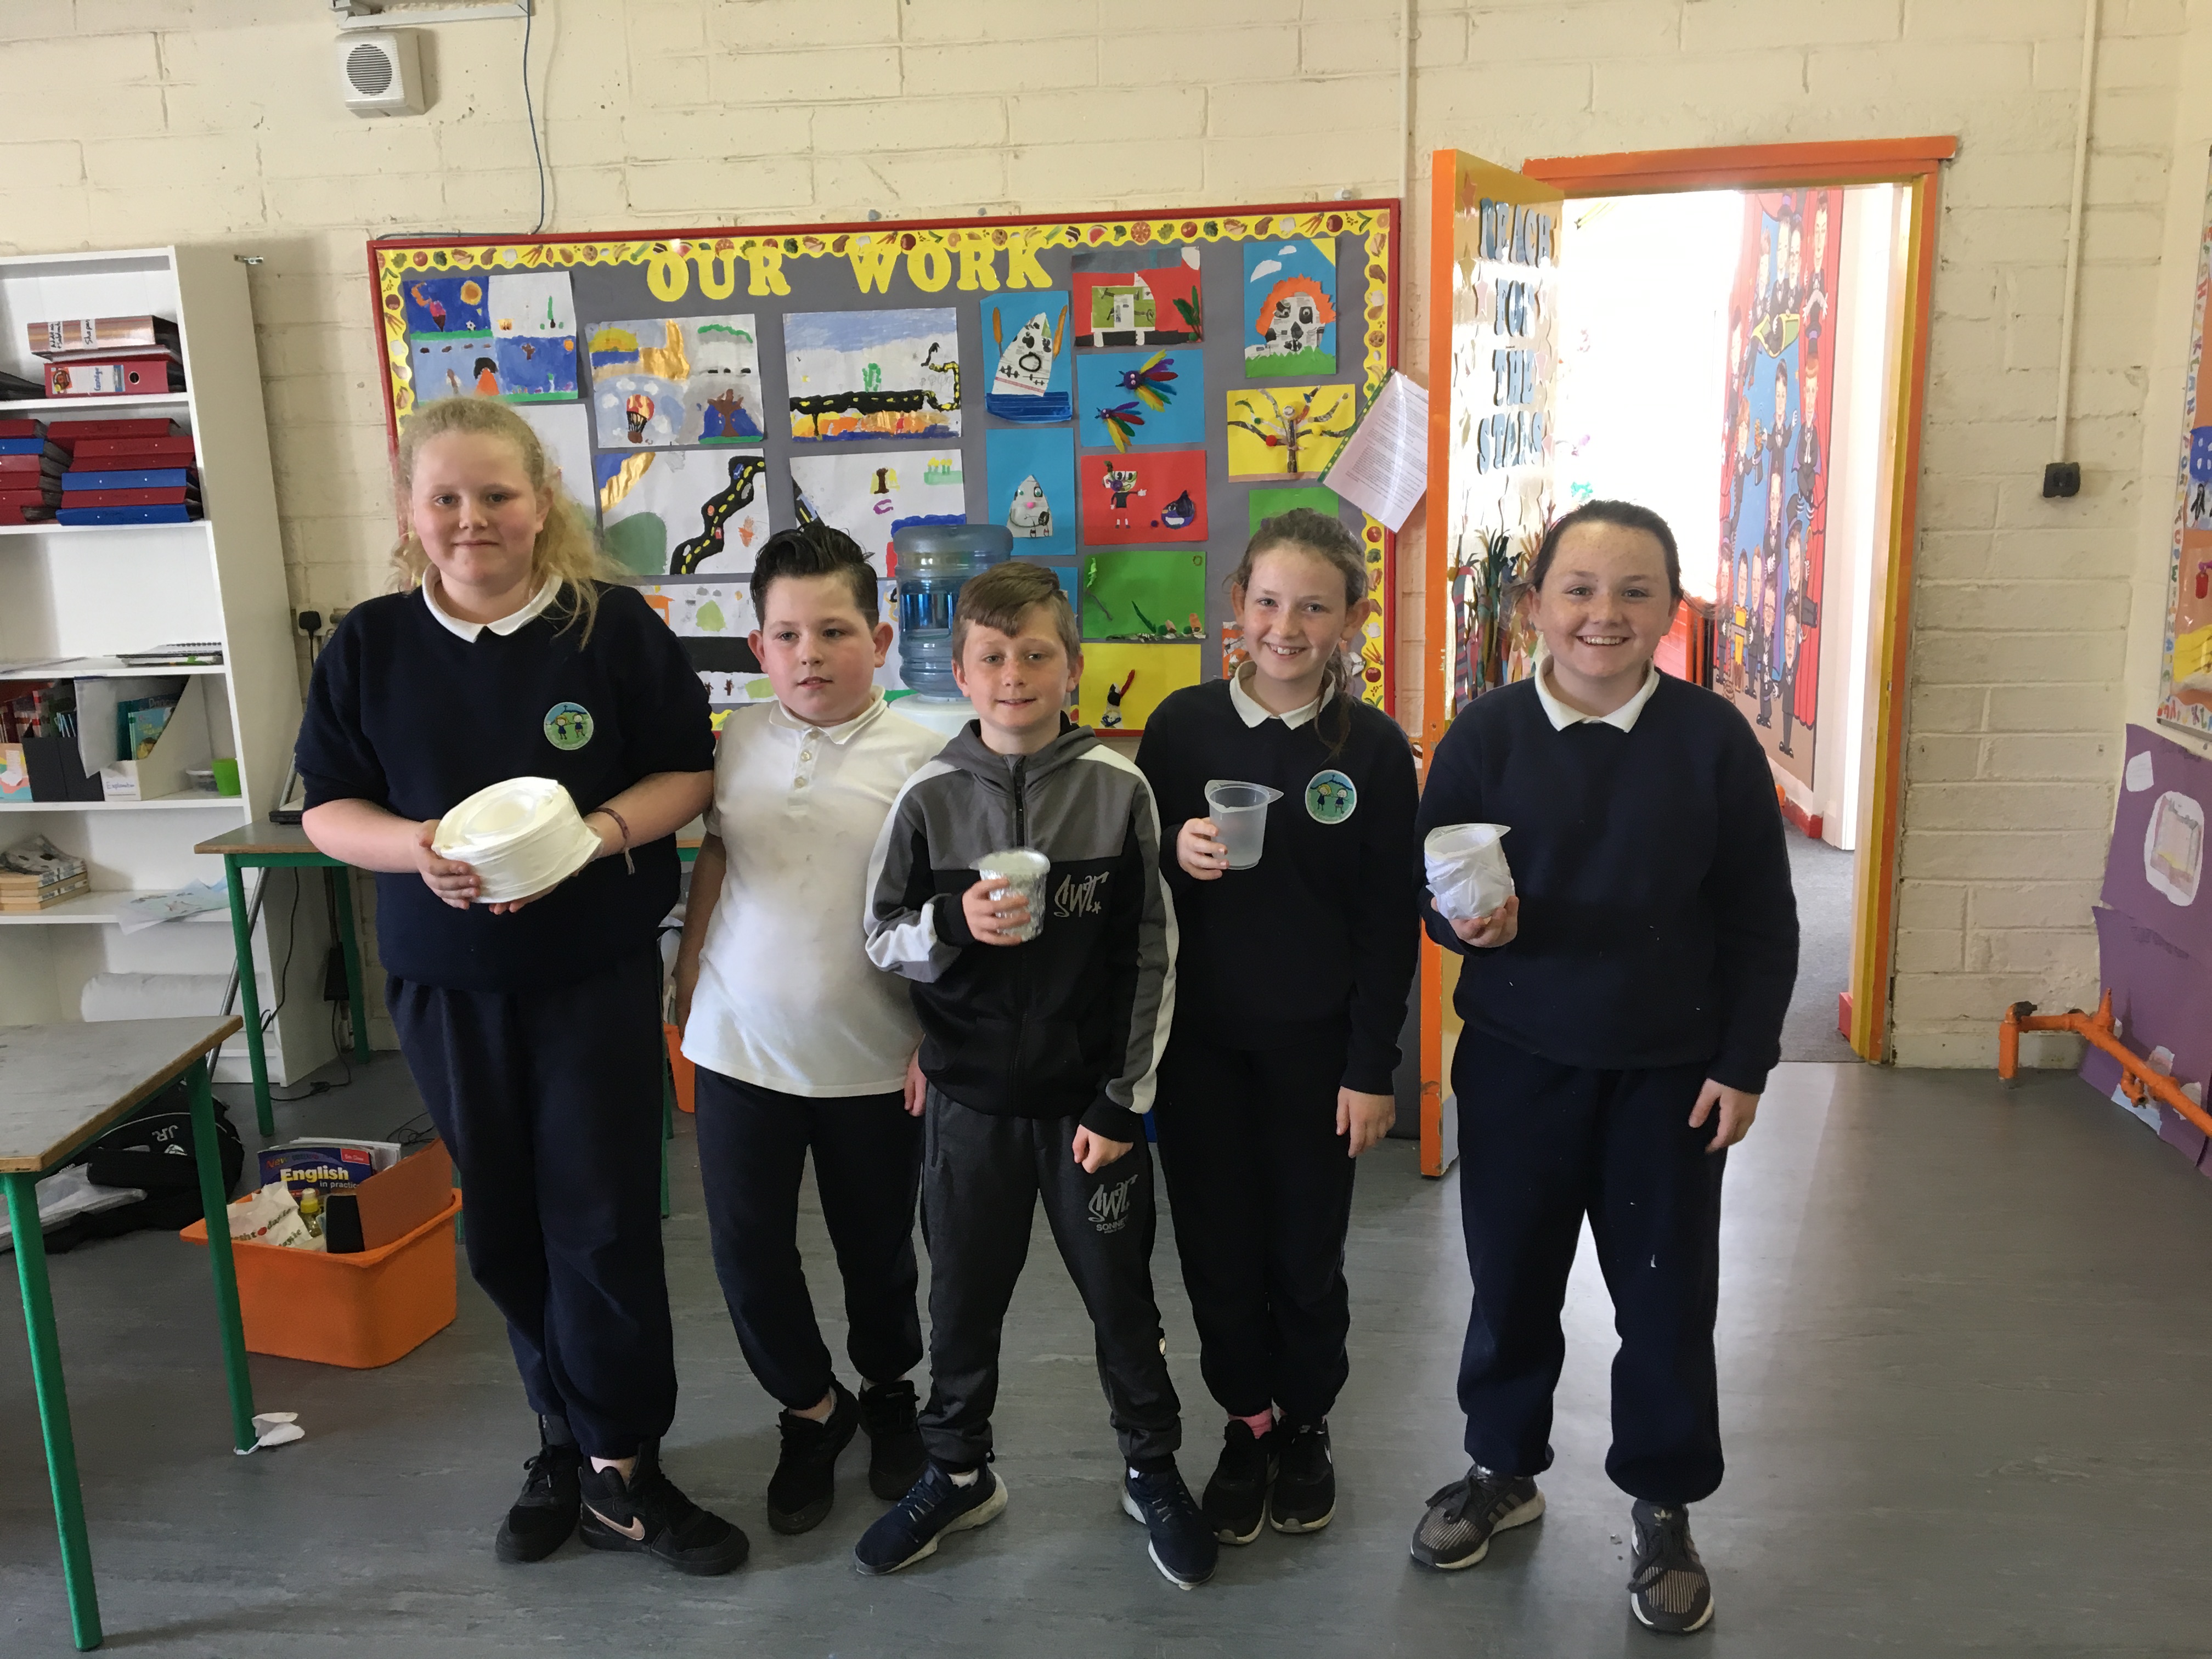
The children had great fun designing their heat insulators!
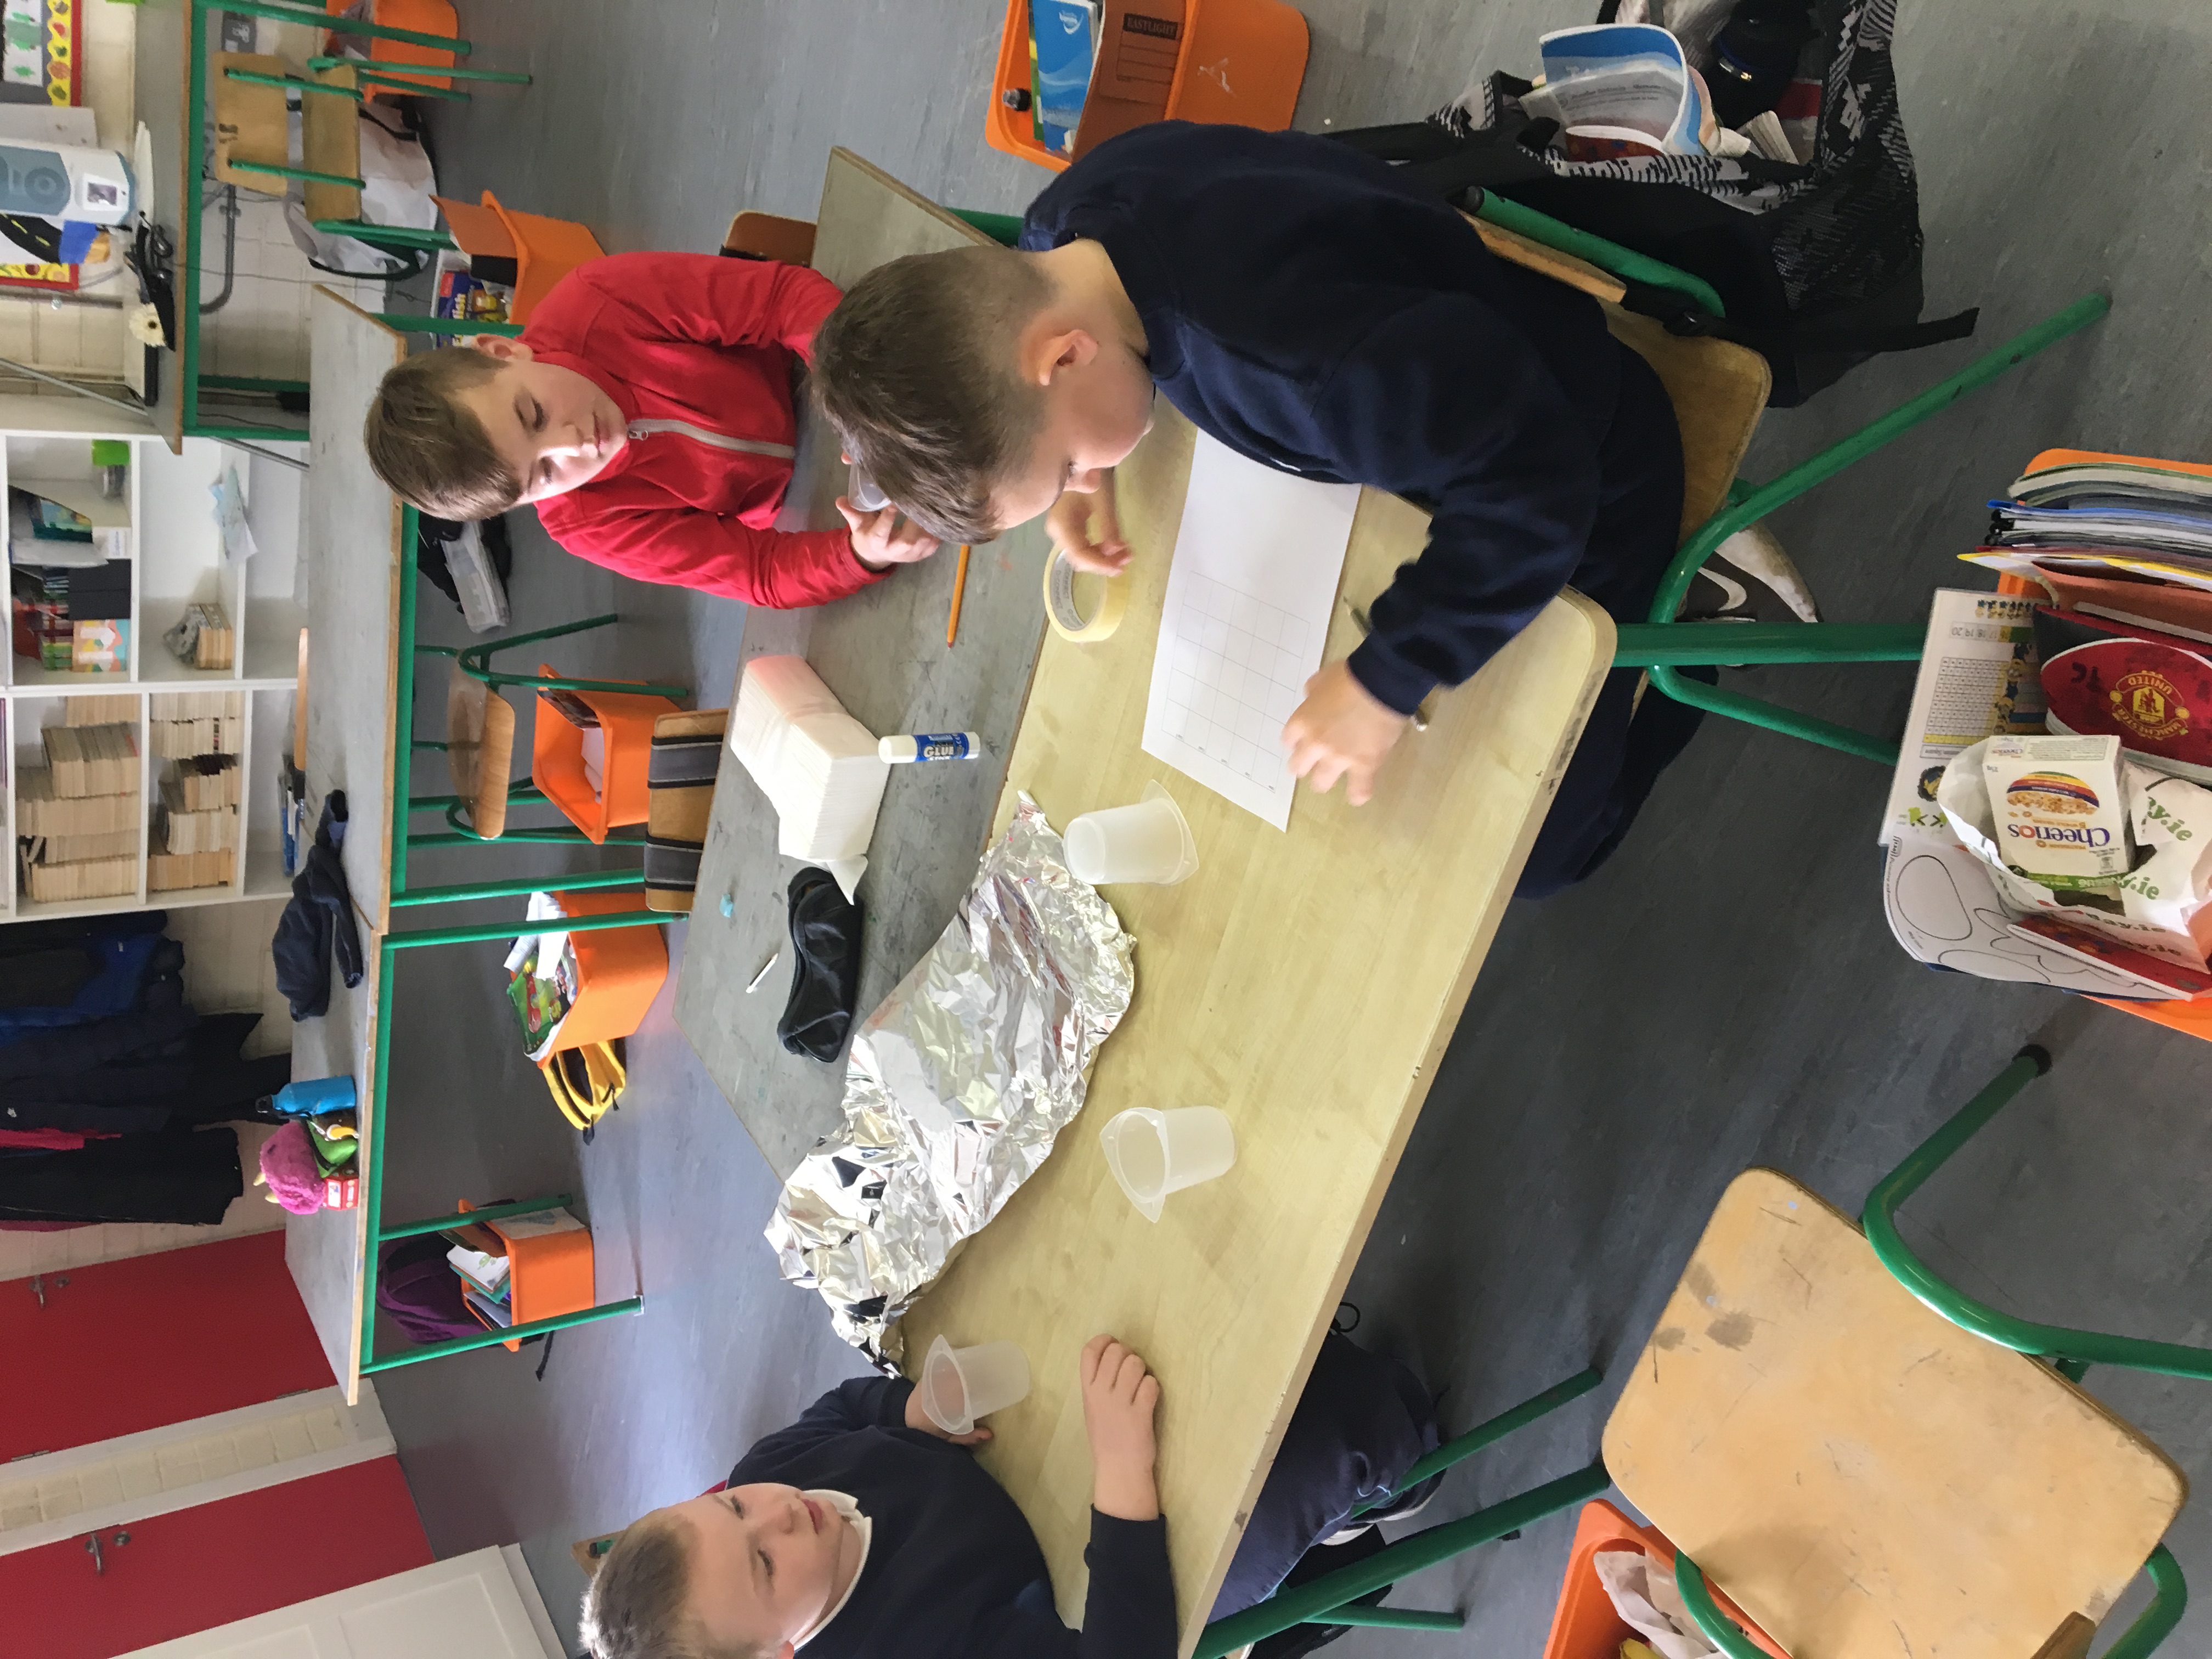
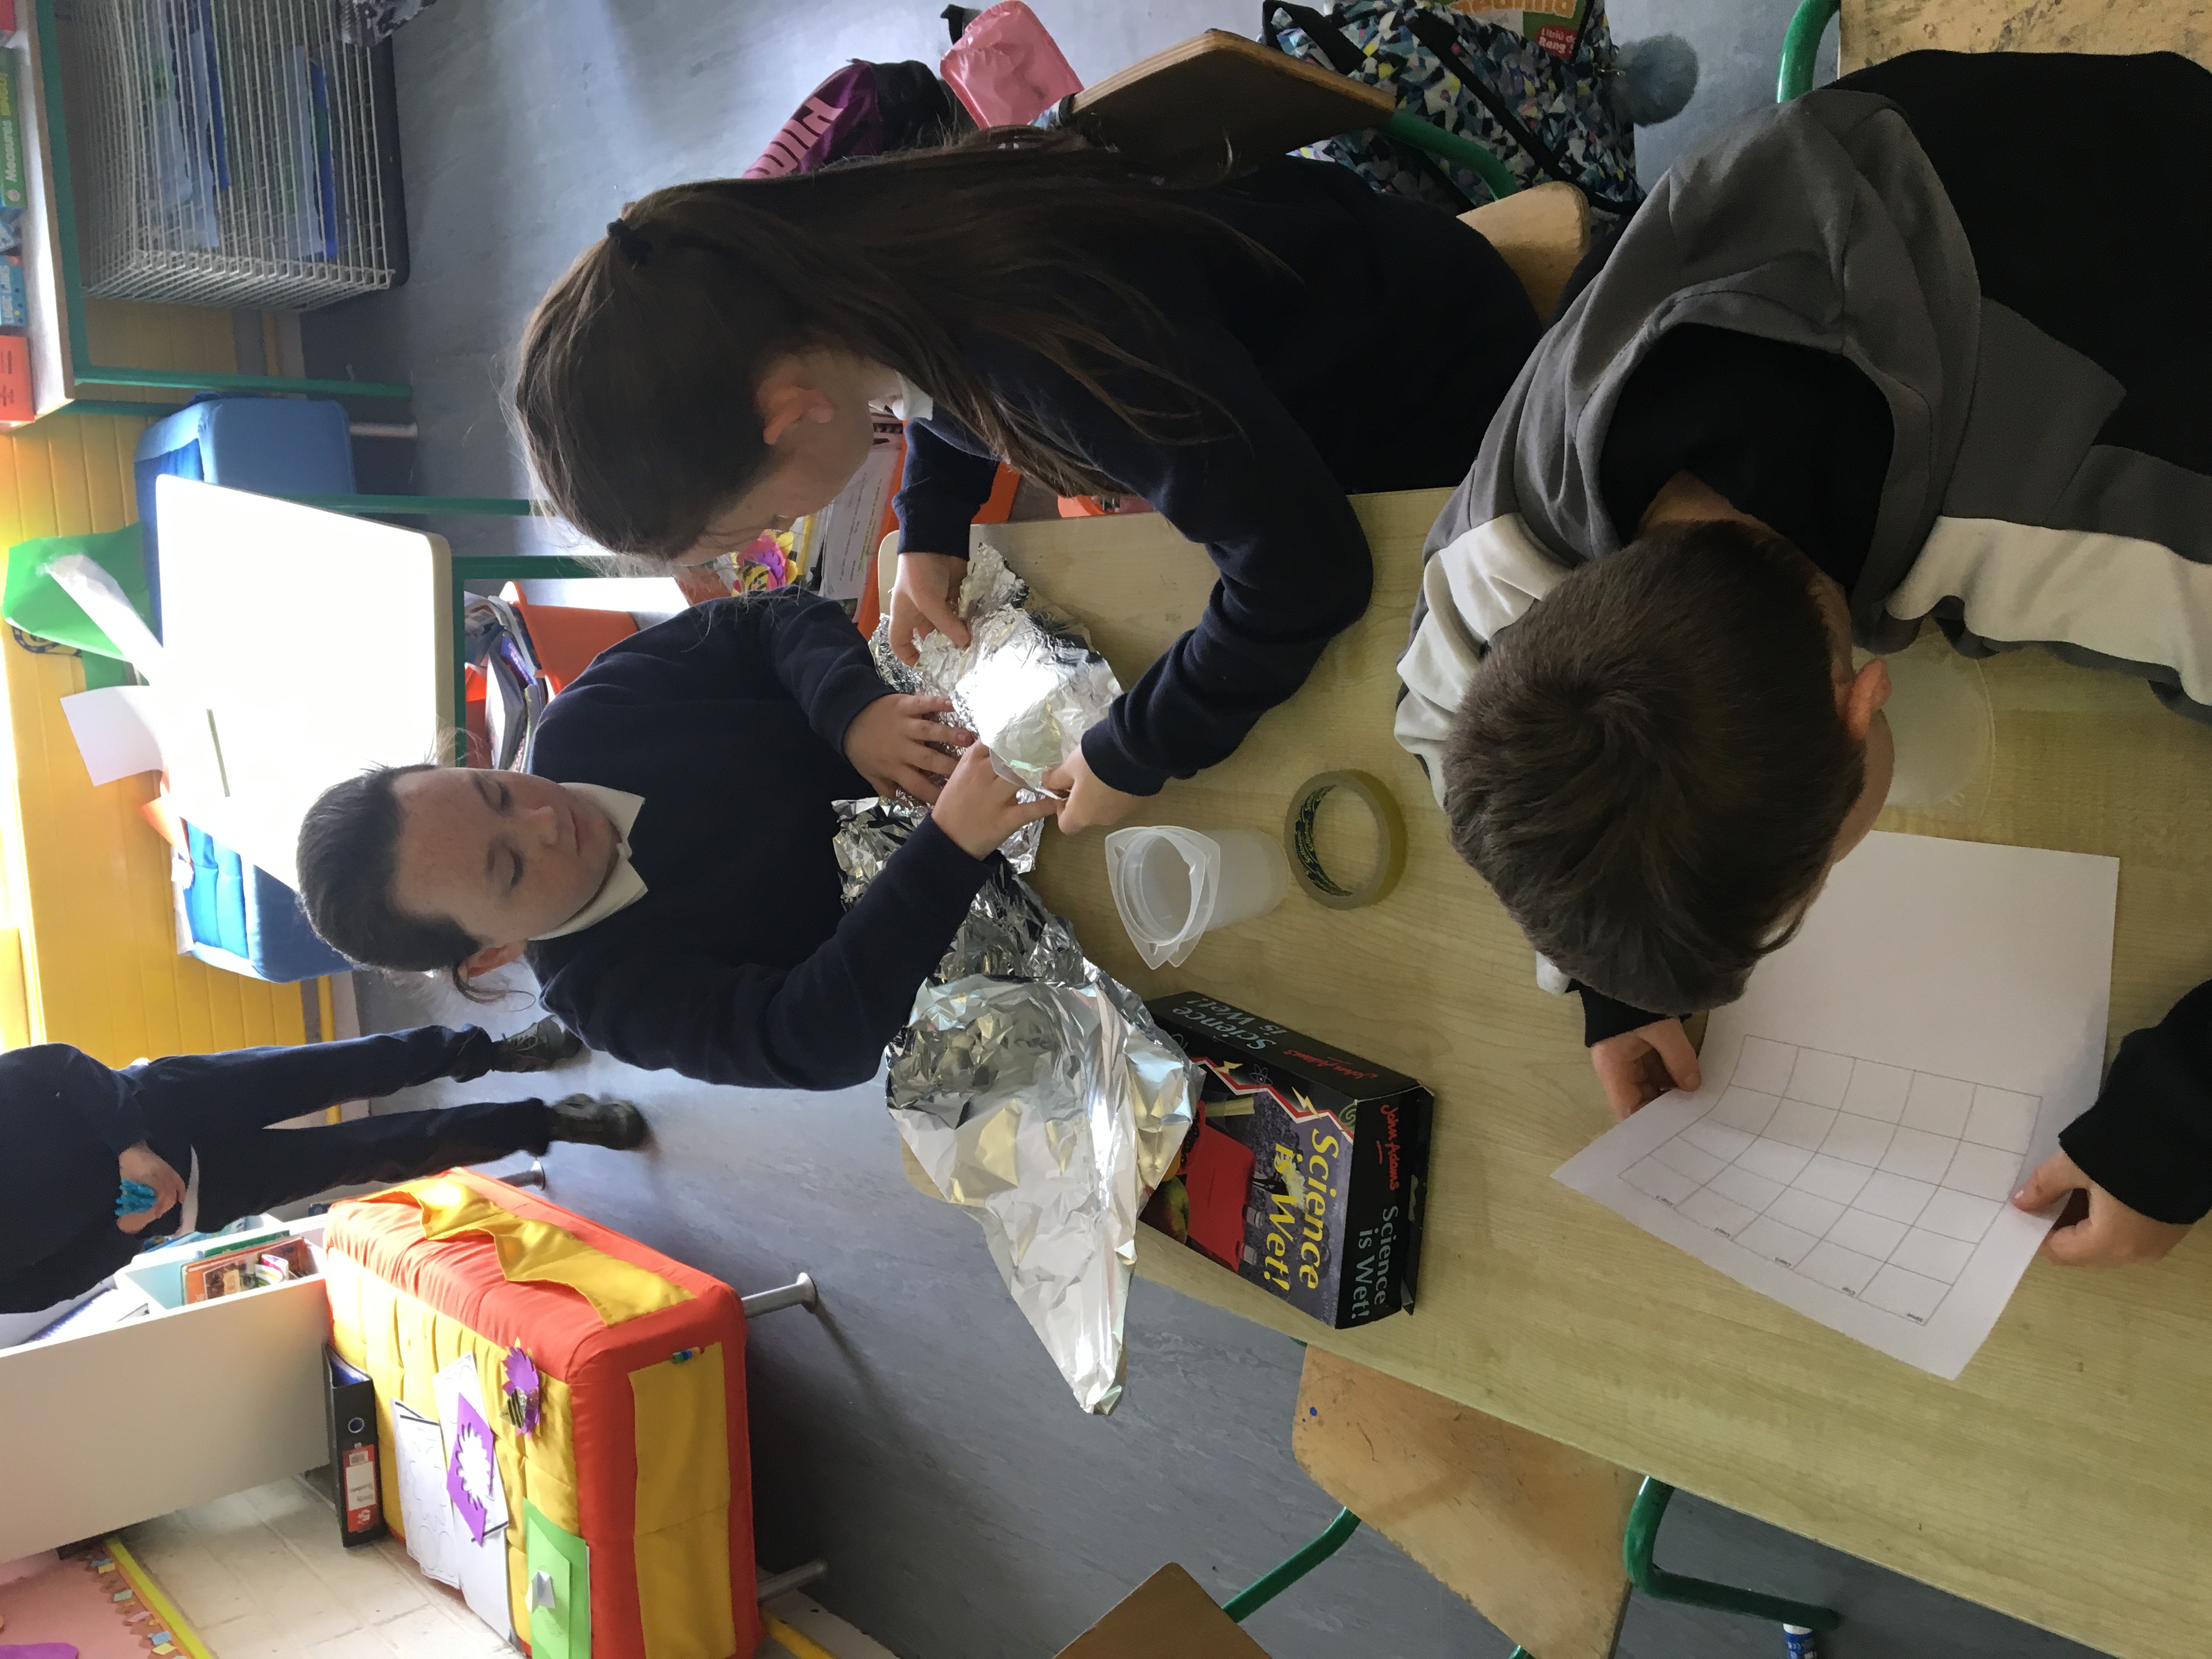
Recording their results
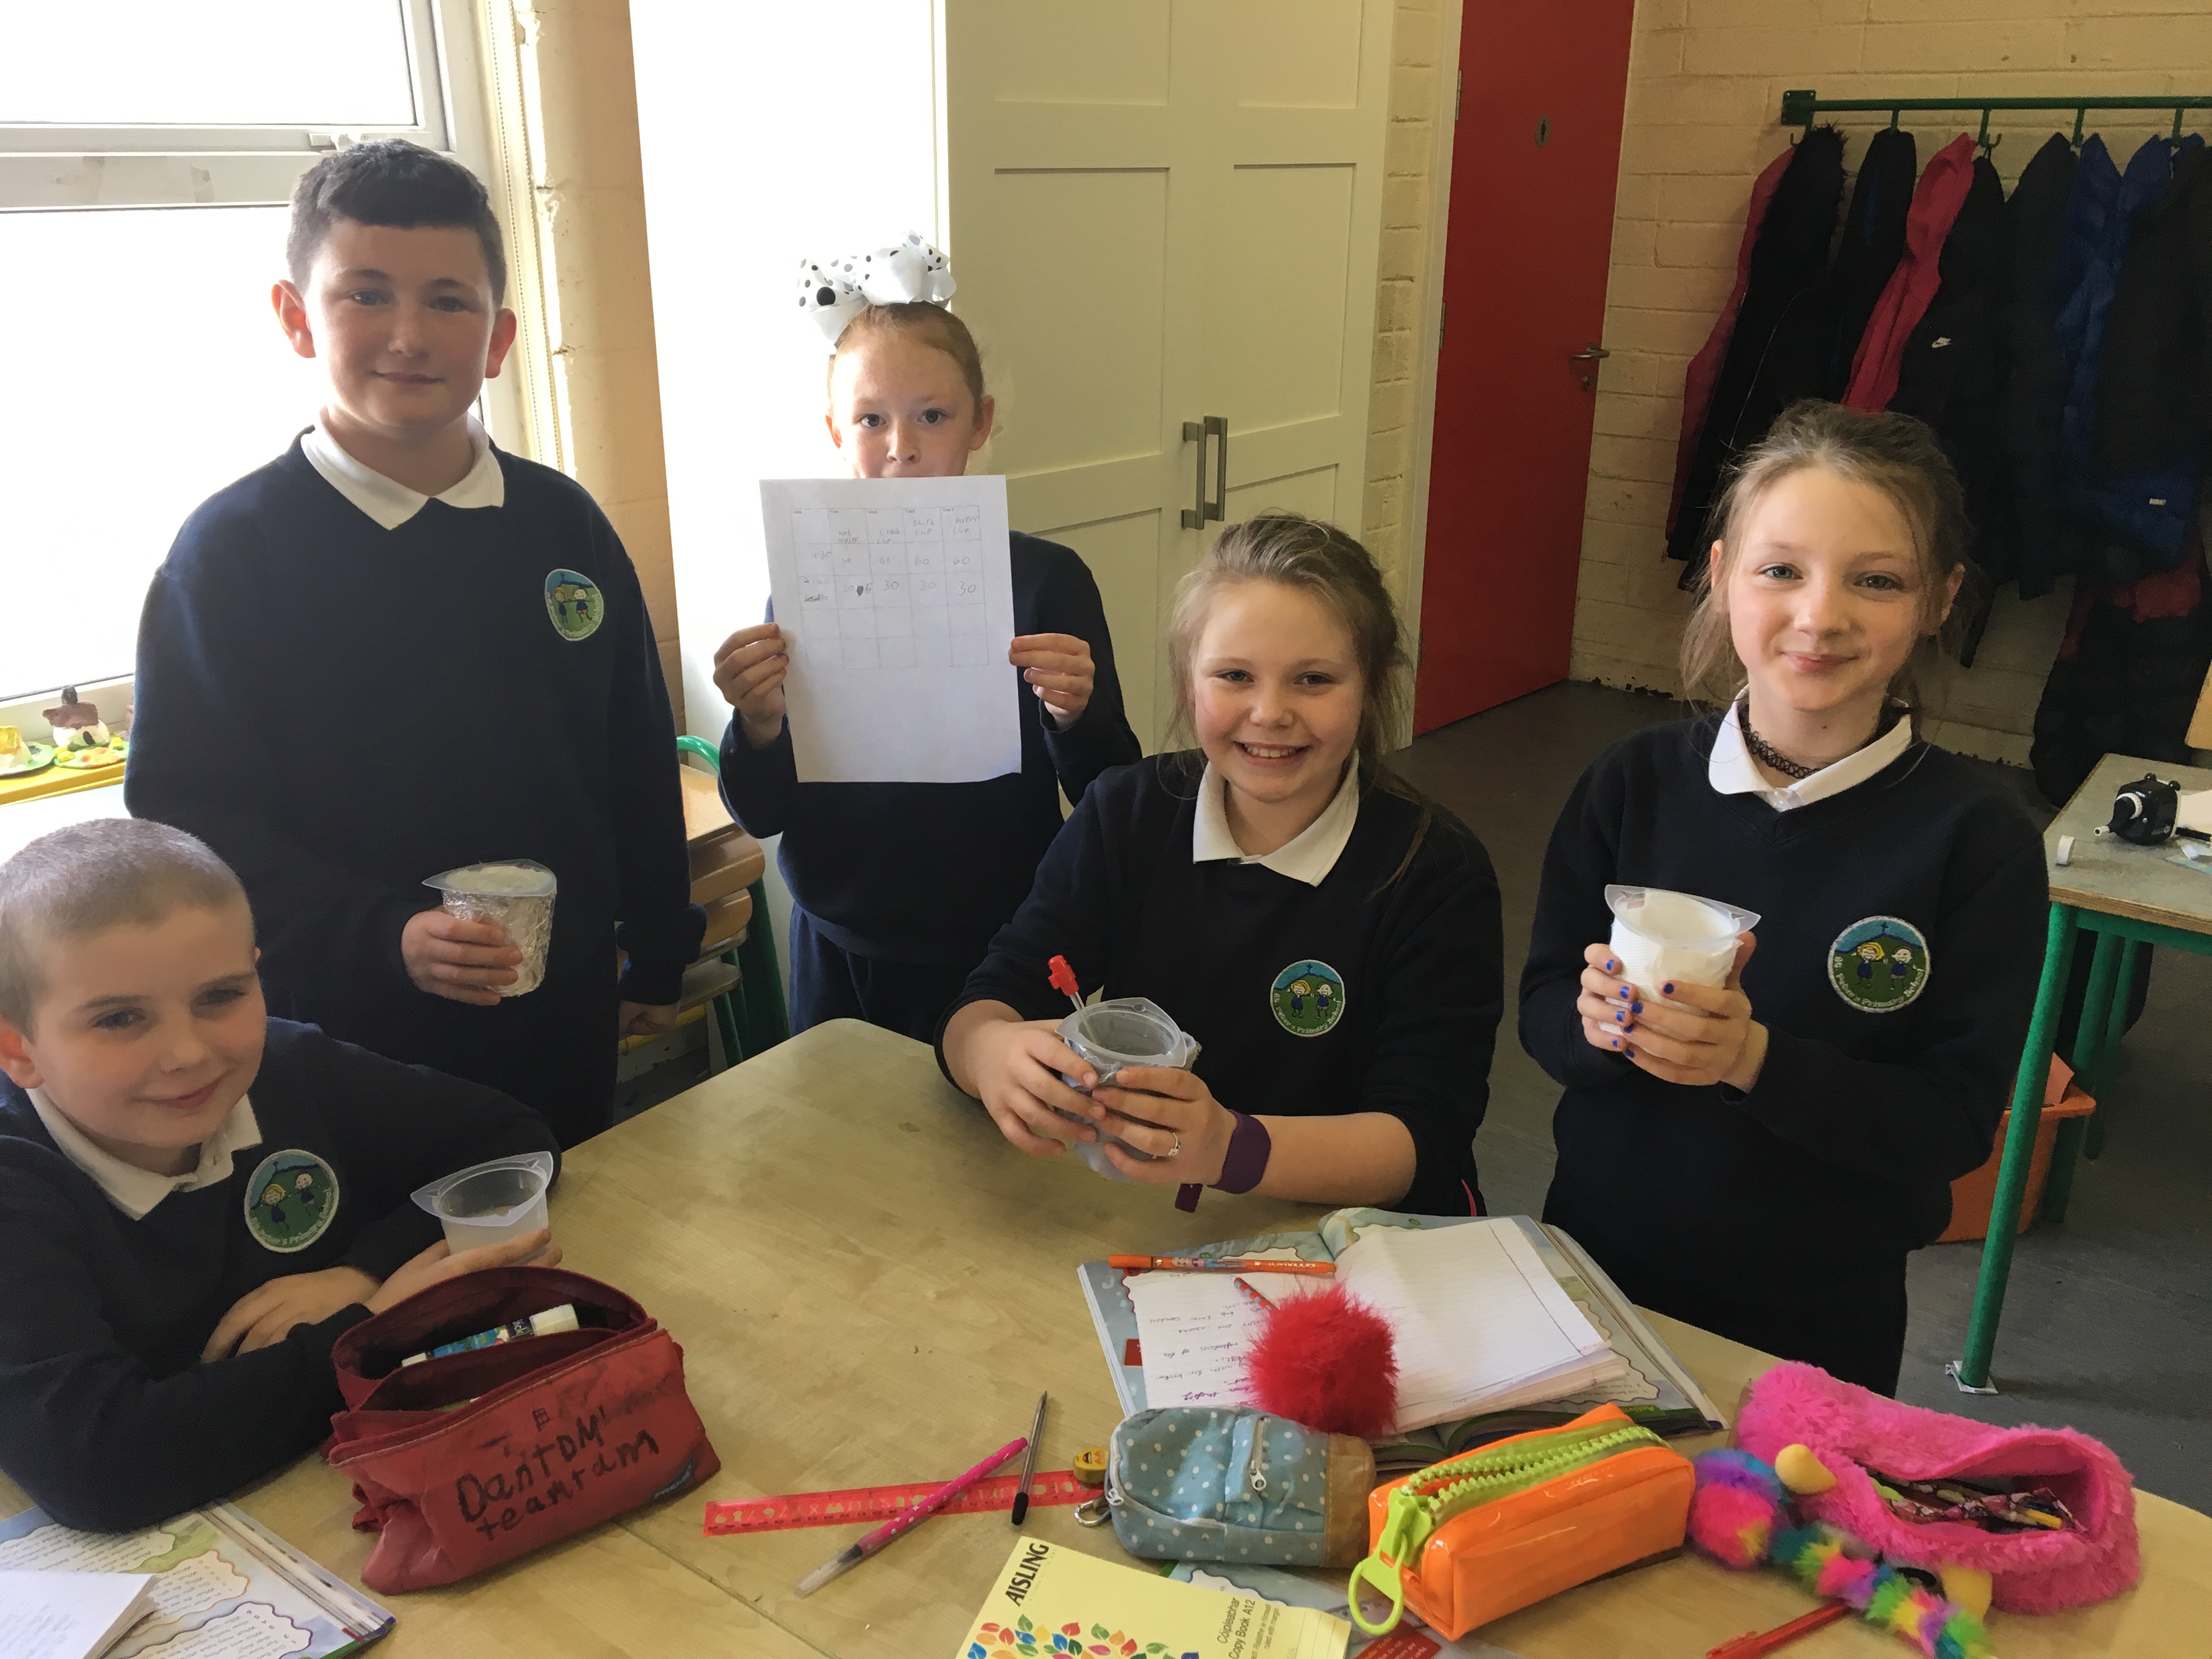
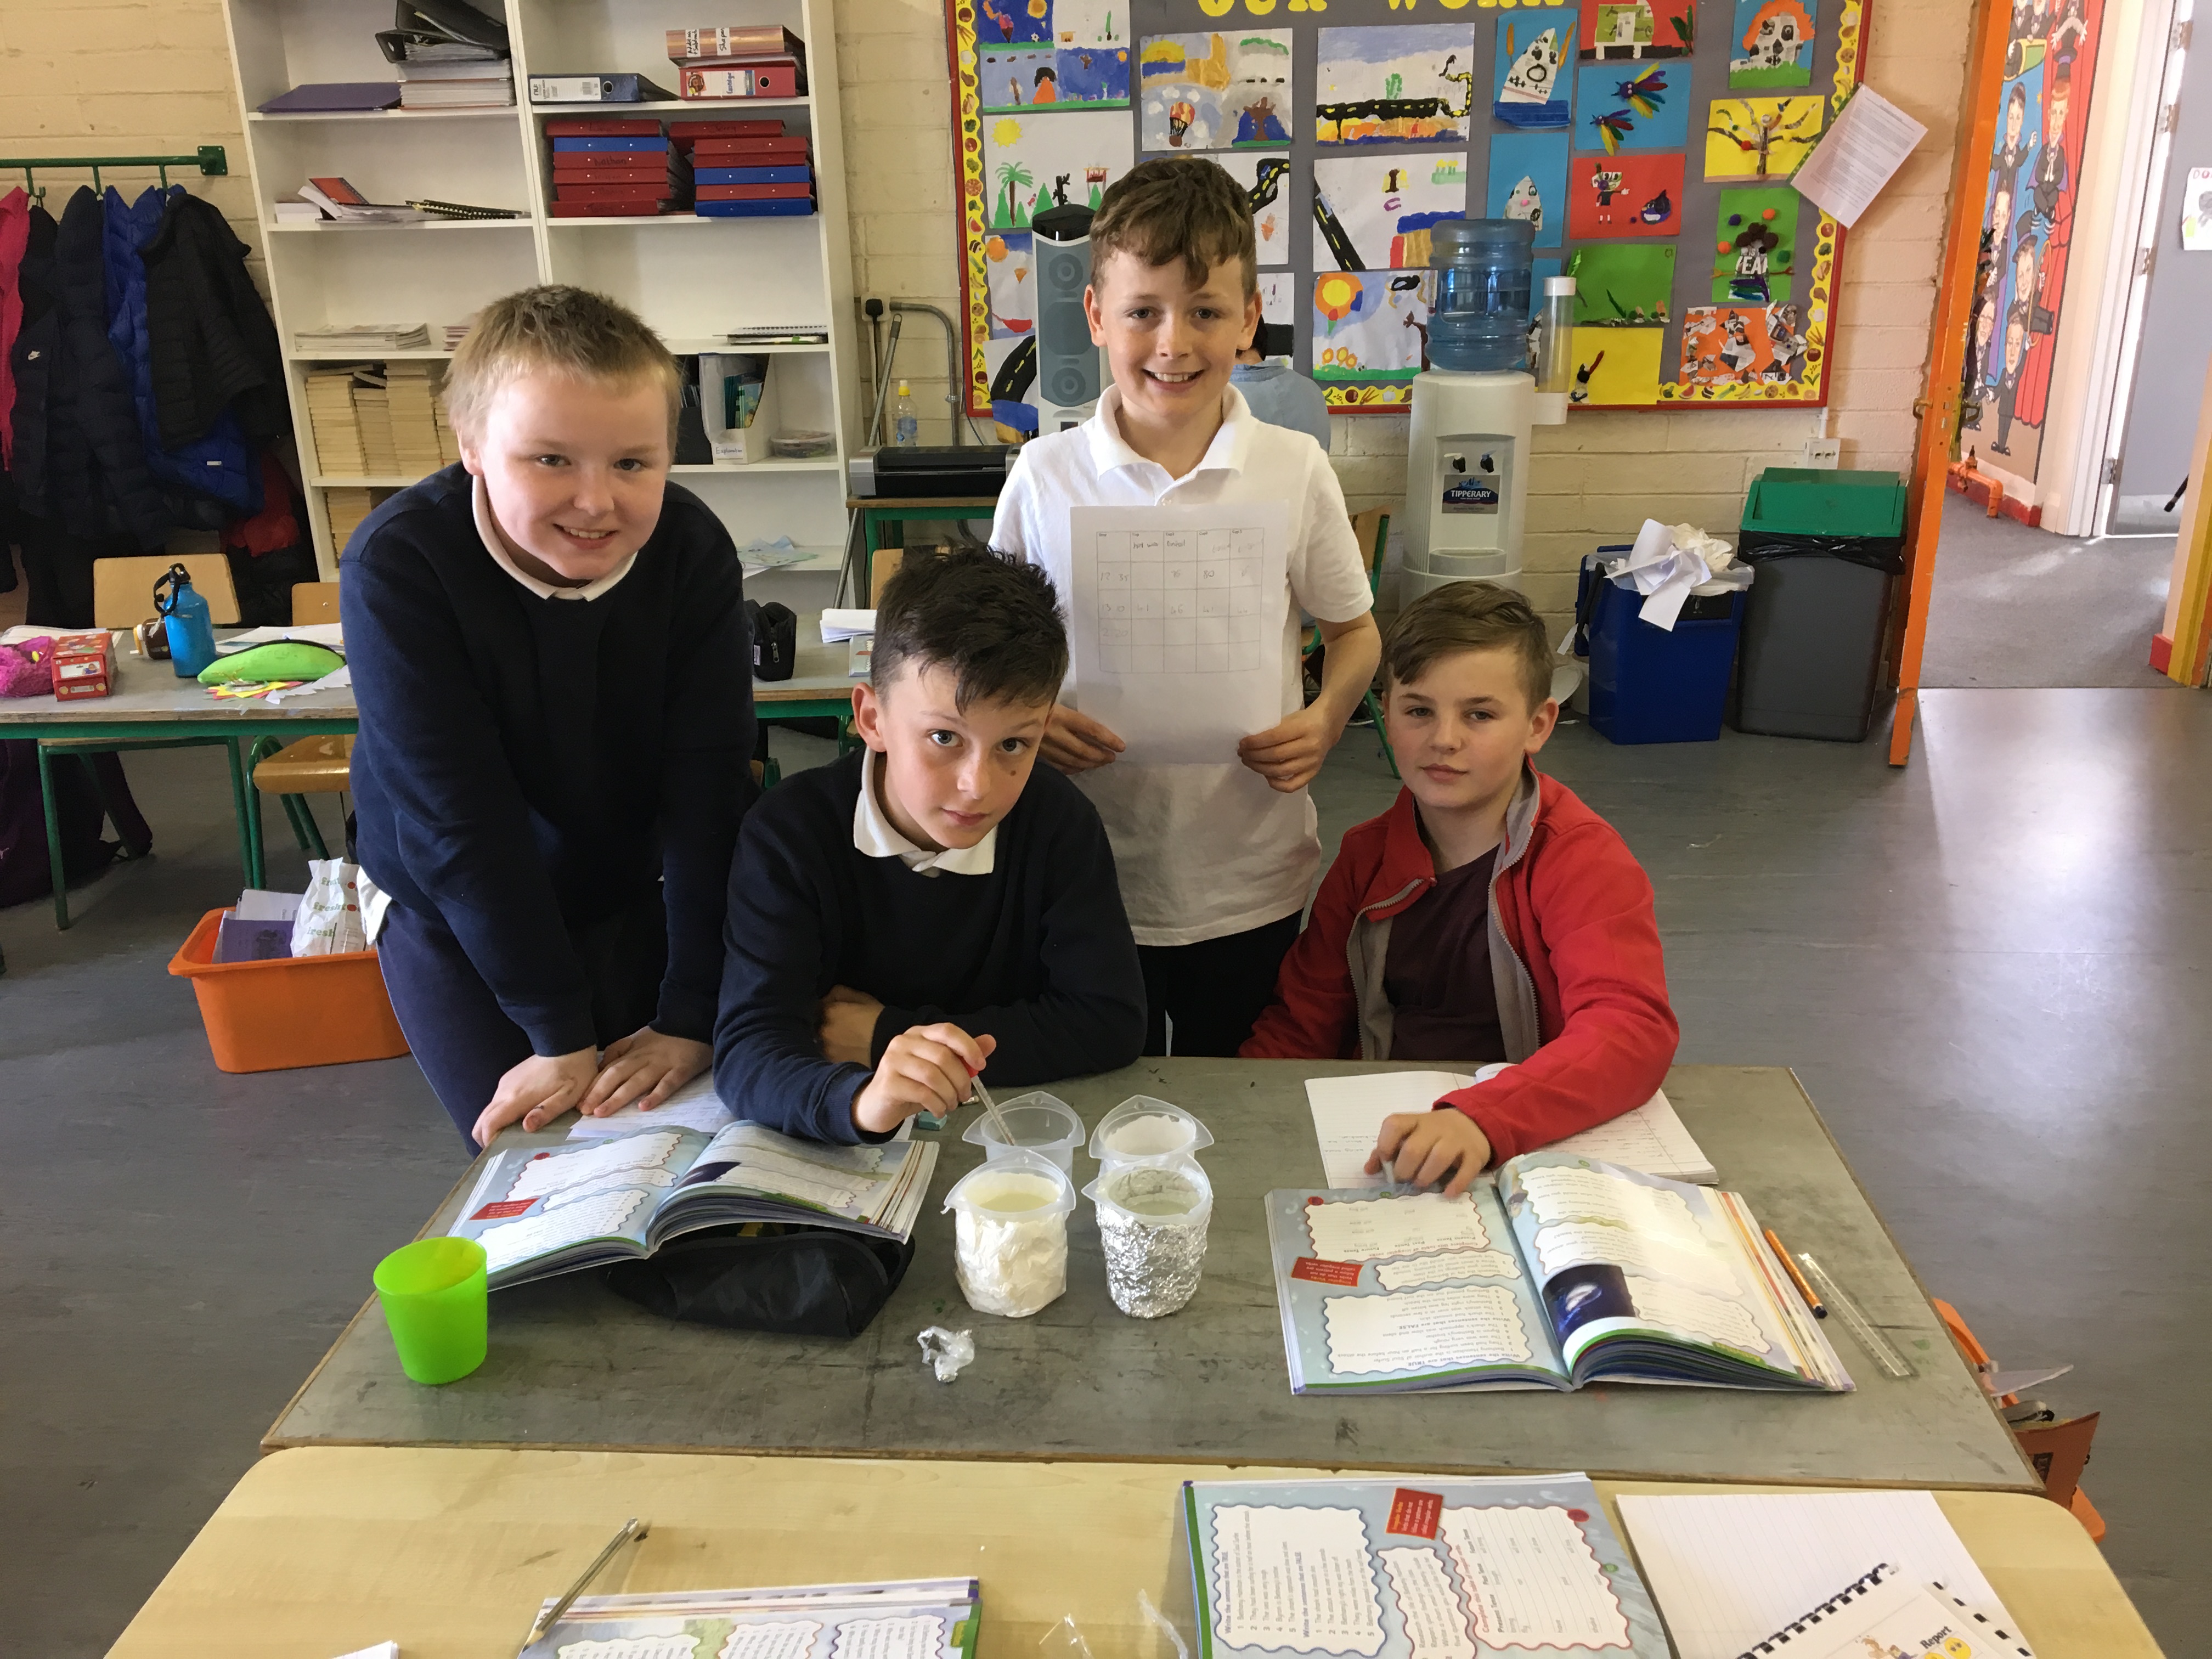
The children with their heat insulators

If you’d like to read about the work by this year’s Junior Infants, click here.
If you’d like to read about the work by this year’s Senior Infants, click here.
If you’d like to read about the work by this year’s 1st class, click here.
If you’d like to read about the work by this year’s 2nd class, click here.
If you’d like to read about the work by this year’s 3rd class, click here.
If you’d like to read about the work by this year’s 4th class, click here.
If you’d like to read about the work by this year’s 5th class, click here.
If you’d like to read about the work by this year’s 6th class, click here.
If you’d like to read about the work by Ms Kane’s class, click here.
We’d love to hear from you – please leave a comment on our posts!

We were the Scoilnet Star Site for December 2013!