Between preparations for the Mini-Scientist showcase (photos to follow) and Hallelujah Choir, not to mention our Christmas play, this week’s post is a little bit late!
This week is a tutorial on how to use Animoto! We discovered Animoto last June as a way to display our photos. The Animoto that made the most impact was the one on our Open Day.
Animoto can be used as a way for your child to present a project. It’s also a lovely way to display photos as a slideshow. It can be shared online by email or social media. Today we’ve a step-by-step way to set up an Animoto project. We hope you find it useful!
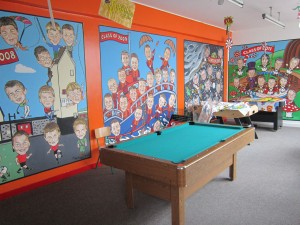
The photos I chose to work with are these ones from around the school. I usually copy and paste all the photos I want to use into a folder in ‘Pictures’ so that I can get to them easily, but you don’t need to.
You have to have an account with Animoto, but you can choose to have a free account. We have a school account with Animoto and because we use it so often, we’ve invested in a PLUS account. However, we had a free account for the first few months and it’s fine for family needs. You can read about the pricing here.
When you log into Animoto, you will see a little ‘create’ button in the top right corner.
Animoto gives you a choice of styles to work with. You can preview the video by hovering your mouse over the image. When you’ve decided which one you want, just click on the image and click ‘create video’. I chose ‘Animoto Original’ for this theme.
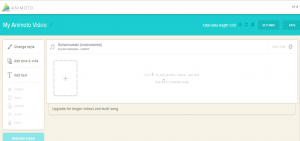
This is your create screen. You click the plus button to add photos or text and the music note to change the song.
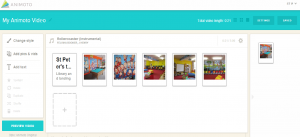
If you click the plus button, the option comes up to choose text or photos. If you choose text, you are given the option to add captions to your slideshow. I chose to add the text ‘St Peter’s tour’ and ‘library and landing’ and then I clicked ‘save’.
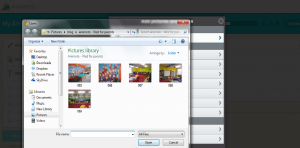
You can choose photos from social media or photo sharing sites, but I chose the option at the top – ‘upload photos and videos from computer’. I found the photos on my computer and clicked on each one that I wanted to add. You can hold down the ‘ctrl’ button and click the photos to add more than one photo at a time.
You can rearrange the order of the photos by clicking on them and dragging them into place. You can delete a photo by pulling it over to the space on the right hand side. This is what my screen looks like – you can see a photo I deleted in the space to the right. When you’re finished, click ‘preview video’.
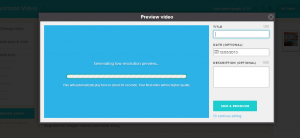
You can add your title at this stage and preview a low-res (blurry) version of your video. This gives you the option of continuing to edit if you forgot a photo or to go ahead and produce your video.
And here’s your final screen. The main sharing options (Facebook, Twitter, email) are to the right hand side. If you’d like us to show you how to embed your video on a blog or any of the other settings, we’re always happy to help. Let us know if you have any other questions, either in the comments or call into Ms Sexton or Ms Brennan!
Here’s the finished product:

